Here’s my attempt at a tutorial! Dedicated to the Mississauga gang who went through the first edition of this class!! This is a revised version that I think is easier to manage (you can let me know if you agree or not!!)
Materials: 3"x3" whisper white to be stamped with image of choice *measure width of your cello bag to be sure – I had some that were actually narrower!!
cardstock for frame: 3.5" x 3.5"
small cello bag
micro beads
sticky strip
scotch tape
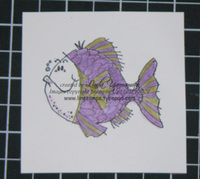
1) Stamp & colour image of choice. We used the fishy friends set and the metallic pencil crayons, blended with the blender pen (works well to smooth out the colour).
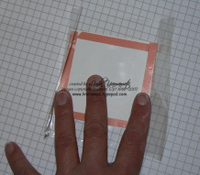
2) Apply sticky strip to the edges of the back of the image (as close as possible to edges). Leave liner on. This will keep the beads in front of the image.
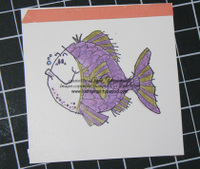
Apply a strip of adhesive along very top border of front of image. Leave liner on. This will prevent leakage of beads!
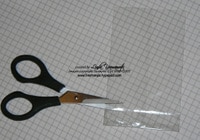
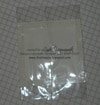
3) Cut off bottom seam of cello bag, and vertically along seam of bag to create open sheet with folds.
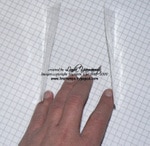
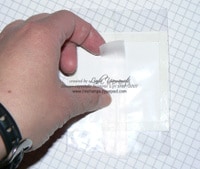
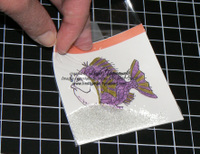
4) Remove red liner from sticky strip on back of image only & place face down in cello. (first pic: liner left on for picture purposes). Then, re-fold cello and adhere to sticky strip.
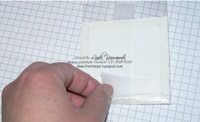
Refold along fold lines & adhere cello to sticky strip.
5) Apply scotch tape along back seam to ensure closure. (OK perhaps this is overkill, but I don’t want little beads all over the place when someone goes to shake the card!!)
6) Fold up the bottom of the cello package & seal with scotch tape.
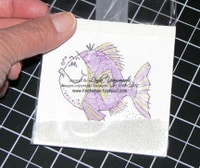
7) Insert about 1 tablespoon of microbeads in cello package. Note that the red liner is still on the front sticky strip.
8) NOW remove the red liner from the front sticky strip, and press cello against it to seal closed.
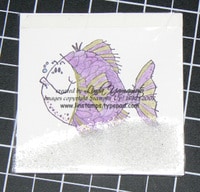
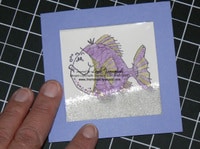
9) Fold down top of cello package & seal with scotch tape (at backside). TADA! A sealed shaker unit!
Create the frame:
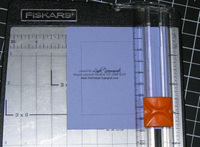
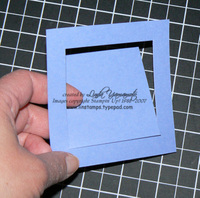
10) Use paper cutter to create frame for image. I used 3.5" x 3.5" square of brocade blue, and then cut 1/2" in from the edges to create frame. I prefer using my paper cutter when possible, vs a hobby blade….call me a klutz….
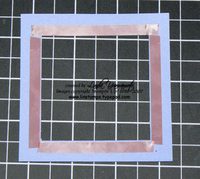
11) Apply sticky strip to inner edge of frame.
12) Remove liner & attach to shaker unit.
Construct the card
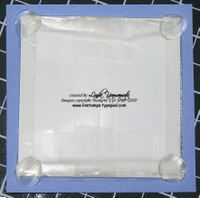
13)Apply pop up glue dots to back of package and then apply to cardfront – you’re done! We did a brocade blue card covered in the hot to dot wheel in brocade blue.
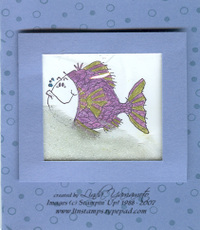 TADA! The finished product. Card is brocade blue, wheeled with the hot to dot wheel in brocade blue ink.

