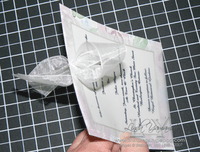
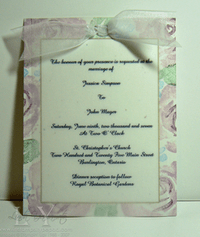
AKA the bow on my wedding invite swap. (Did you notice it was for Jessica Simpson & John Mayer?! LOL. What can I say, it was easier than making up 2 names).
First of all, I used the double rectangle punch to create the 2 holes. Much easier than trying to line up a single punch twice. The vellum paper is thin, so I could punch through that and the cardstock without issue.
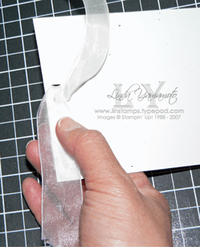
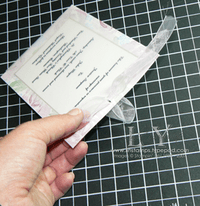
Next, I took a length of wide organdy ribbon, and put an end through either hole, front to back.
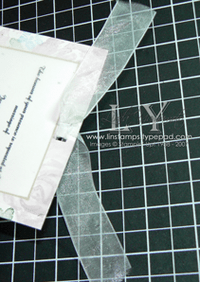
Next, criss cross the ribbon in back. I’m holding one end out of the way.
The end of the ribbon feeds to the front of the card, through the opposite hole. (I’m still holding the one end of ribbon out of the way).
(Don’t my nails look nice? didn’t even have to "edit" them with photo software!! LOL).
Pull the end through snugly….
Then repeat with the other end of ribbon.
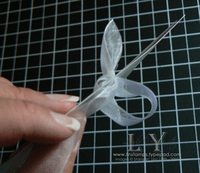
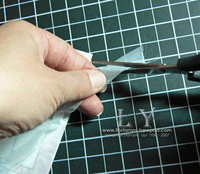
Finish the ends. Fold ribbon in half lengthwise, then snip on a downwards angle towards the fold. I call this "Martha"-ing the ribbon – it gives a notched edge to the ribbon, looks nice & helps prevent fraying. I originally saw it on Martha Stewart Living!
Once again, the finished project.

