diorama card
We did a diorama card at the punch class (Punch your art out!) and I had promised to post the instructions for the attendees so they could remember everything!!
This was taught to me by my friend & fellow SU demonstrator, Karen Motz, at another demo’s (Mo Dickie) demo meeting.
I used the In Full Bloom simply scrappin’ kit (as did Karen) because it makes life a little easier (and who couldn’t use that?!). I have a sneaking suspicion that we may lose this simply scrappin’ kit because the coordinating stamp set In Full Bloom is retiring at the end of June (*sob*). (No insider information here, but just hazarding a guess…..really).
Anyway…..
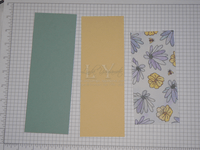
2 pieces of coordinating solid cardstock, 3" x 8.5"
1 piece coordinating patterned cardstock 3" x 6.5"
(or randomly stamped cardstock).
1-3/8" circle punch (for the holes on the front of the card)
1-1/4" circle punch (for the holes on the middle section of the card)
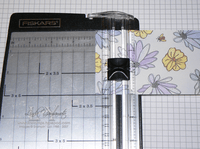
paper trimmer with scoring blade
adhesive
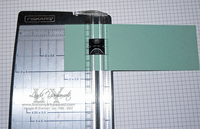
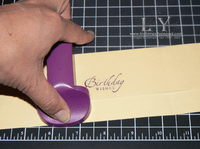
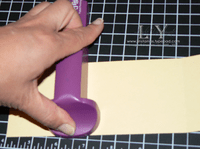
Score both solid cardstocks widthwise 2" from both ends.
Score patterned cardstock widthwise 1" from both ends.
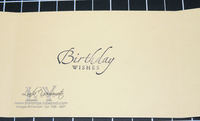
Choose cardstock to be the back of the card.
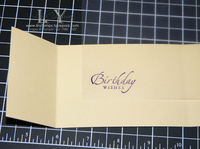
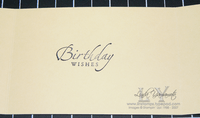
Stamp sentiment of choice on centre of this cardstock & set aside.
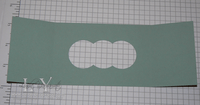
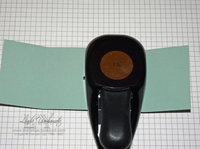 The front of the card
You may wish to stamp on the cardstock to decorate – you can do this either before or after punching holes.
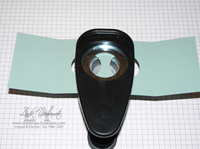
Punch first hole:
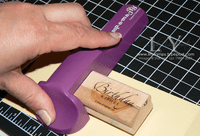
Line up the right edge of the 1-3/8" circle punch with the right score line, and insert the cardstock all the way into the punch.
(the physical edge of the punch lines up with the score line, not the shape to be punched
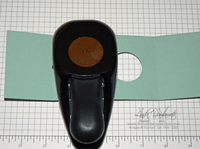
Punch 2nd hole lining up left edge of punch with left score line, again, inserting cardstock all the way into punch.
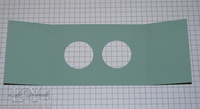
This is what you have so far. Use as a mask for Hallowe’en….or continue on to make the diorama card.
Using the punch upside down so you can see what you’re doing, punch a third circle in the middle of the two circles already punched out.
(truth be told, I usually punch upside down, perhaps I spent too much time "down under" in the South Pacific on my travels).
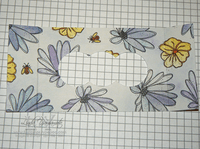
Repeat above process using the 1-1/4" circle punch on the decorative cardstock which will be the middle portion of the card.
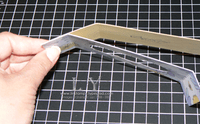
Start construction:
Adhere middle & back section of card first:
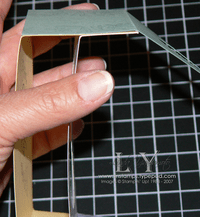
Apply adhesive to the outside edge of the decorative cardstock. Align ends of cardstock & adhere.
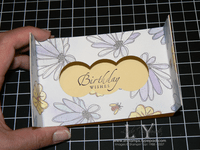
Repeat with other side so you end up with something like this:
Apply adhesive to front section edges & align & adhere to card body.
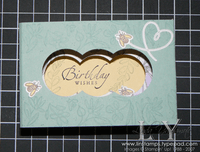
The finished project. I stamped images from the In Full Bloom stamp set & applied some adhesive die cuts from the Simply Scrappin’ kit.
One of the best things? This card folds flat and fits into the small open end Stampin’ Up! envelope!!

