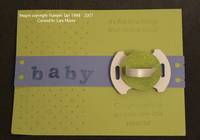
Die cut stamps
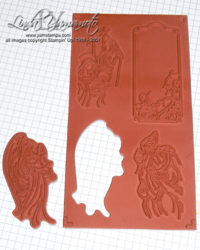 All of Stampin’ Up!’s rubber stamps in the holiday mini catalogue (and all upcoming minis) are die-cut. This means that all you have to do is pop them out & stick them onto the wood block! OK, so actually, this means less work for me at times….since I do mount my customers’ stamps if requested.
Anyway, this ties into a Frugal Friday tip (remember those….and remember how I said it would intermittent? You can’t say that I don’t live up to my word!!!).
Here’s the stamp set as it arrives, I’ve already removed one image from the sheet of rubber.
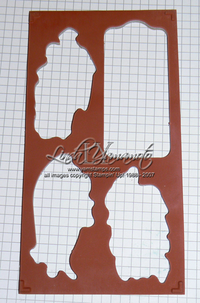 Here’s the remaining rubber once the images are all popped out.
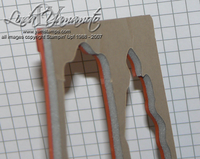 This is a side view of the sheet showing the rubber layer, the foam layer and the liner (since the backside of the foam is adhesive coated).
Now…the frugal part. You can use this on your cards as dimensionals. There’s a few ways to do this – one is just cutting up the sheet, removing the adhesive liner from the foam backing, and applying adhesive (liquid glue, crystal effects) to the rubber surface.
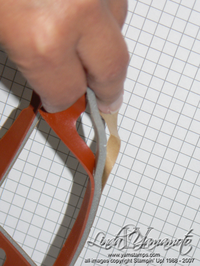 Another way to do it – cut up the sheet to the desired size/shape and then you can actually peel off the rubber layer as well as the adhesive liner to apply just the foam portion. There will usually be some adhesive remaining on the rubber side of the foam that will stick to your cardstock, but you may want to add some extra adhesive just in case. This thinner version is good if you want slightly less bulk or "pop" on your 3D items!
Lara Moore actually used this idea on her baby soother swap card, which is what prompted this Frugal Friday tip!
My weekend will be devoted to domestic duties and finishing up preparation for my upcoming chipboard class (Weds Oct 3) and the World Card Making Day Stamp a Stack (Sat Oct 6). Don’t forget to reserve your spot for these events!!

