Feb 28, 2011 | Announcements
I've finalized my March newsletter and it's set to go – lots of fun projects & techniques in it! Look for it in your email inbox tomorrow late morning. If you're not on my list – click here to sign up – you'll especially love what I've got planned for my mid-month email….. *wink*
Feb 24, 2011 | rubber stamping
If you've purchased Stampin' Up! product through me, if the package is delivered to me and I bring it to you, you'll know that I sort out the product, bag it and then attach a tag with your name on it and "thanks". My recent tags were inspired by the Simply Adorned charm I created the other day.
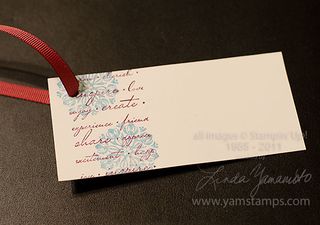
Imagine my delight when I opened one of the delivery boxes from Stampin' Up! to find this amongst all the new stamping goodies……
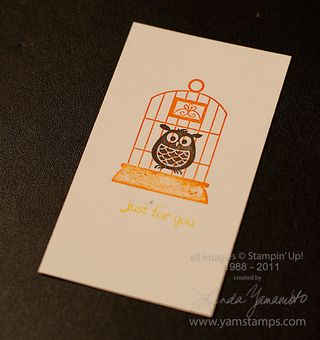
How fun is this?! Thanks to Dennis at SU for the little tag included in the delivery box! It definitely brightened my day and brought a smile to my face!!
Feb 23, 2011 | Announcements
You may remember a while back that I blogged about running and getting set to run the Around the Bay Race in March. I'm still training towards that goal, and increasing the distance I run each week as I'm able to….and because I feel that I have sooooo much spare time, I've recently agreed to lead a Women's Learn To Run program at a local running store!! (I know, what was I thinking…I'm sure my mother just kind of rolled her eyes at me when I asked if she'd be willing to help out with childcare while I did this – but luckily, once again, she agreed to support me on this one!).
This long story is to lead up to the fact that I need to change the date for the Easter Card Class, originally scheduled for Wednesday, March 23rd. I'm now offering this class on Thursday, March 24th, and have contacted those who have already signed up.
My April & May card classes will also be shifted to Thursdays for those months, and if the timing works out, I may choose to leave them on those days. (If you have an opinion on this, please let me know!!) I've altered my classes and events pages already. Thanks for your understanding, and hopefully you can try out one of my classes on a Thursday (great for those who couldn't make it on the Wednesdays?!).
As a reminder – here's the image & link for the Easter Class
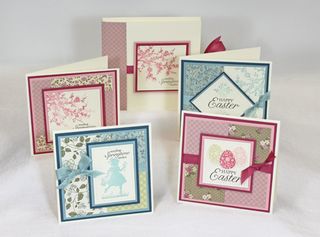
$25 for all supplies and instructions to create these beautiful cards and portfolio. Thursday, March 24th 7pm in Burlington ON. Click below to pay securely via credit card (Paypal) or contact me if you wish to pay by cheque/cash.
Feb 22, 2011 | Announcements, Business Opportunity
 A reminder that I'm having an Information Evening tomorrow at 7pm. If you're interested in finding out more about being a Stampin' Up! demonstrator and running your own business, please RSVP! There is no cost to this event, and no commitment involved (other than committing to showing up tomorrow!).
If you're unable to make it but would like more information, please contact me or take a look here. I have demonstrators in my team from across Canada and would love for you to be part of it!!
Feb 21, 2011 | 3D samples
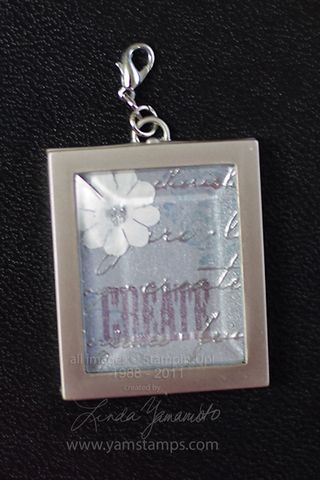 One of the fun things about Stampin' Up!'s Simply Adorned charms is how quickly you can turn out a mini art piece!
This is the 1" x 1-1/4" beveled glass front charm, suitable for a necklace (a bit on the big side for a bracelet!) I used a scrap of the Brushed Metallic Silver cardstock for the inset. I first stamped CREATE and the images (in the corners) from the Charming set in classic inks, and set aside to dry for a few seconds while I found my Embossing Buddy. I then used the Embossing Buddy on the cardstock to ensure that my silver embossing powder would only stick to the script that I stamped in Versamark ink. (Ummm ask me how I figured I should do that…this was my second try at the charm!!! LOL) Once heat embossed, I got a lovely dimensional feel to the charm. I cut the scrap to size (literally 1" x 1-1/4" exactly) and then added an extra small Paper Daisy. I had used the Versamarker to apply a dot in the centre & heat embossed with silver EP to give the flower more definition without adding bulk. Then I simply popped my mini work of art into the charm and I was done – easy to change out whenever I choose! If you have any questions about the Simply Adorned line, please feel free to contact me.


