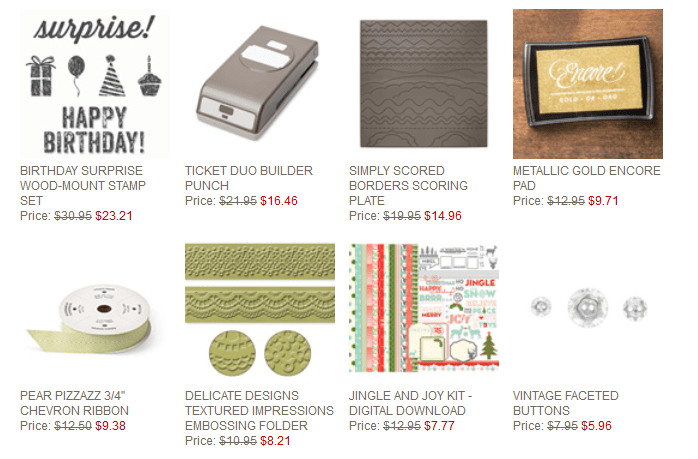
Dec 30, 2014 | specials, Stampin' Up!
I’ve been a bit quiet here the last week -what with all the celebrations and unfortunately feeling a little under the weather..bouncing back now though, and looking forward to the new year. In the meantime, though, here’s the last set of Weekly Deals for the year – and some goodies in there too! I think my fave is the Amazing Birthday set – a great birthday set that can be used for either gender! Click on the link beside each item to see it in the online store, or click here to see all the items at once. Don’t forget to check out the Year End Closeouts as well – there’s some CURRENT Holiday catalogue product at discounted prices! If you have any questions or need assistance placing your order, please contact me! Happy Shopping.
Dec 23, 2014 | specials, Stampin' Up!
I know you’re probably busy with other things on your mind….but here’s something to give you a bit of a break from all the shopping, cleaning, cooking and planning! This week’s deals from Stampin’ Up! Canada. See the Weekly Deals here, or click on the link beside each item to see it in the online store. Nothing like a little early Boxing Day shopping?! I have my eye on the “Be the Star” set that coordinates with the Star Framelits, and in my opinion, you can never go wrong with a good basic shaped set of framelits like the squares. Also be sure to check out the Year End Clearance Rack – new items have been added (including some items that are from the Holiday Catalogue!) If you have questions, or need assistance placing your orders, please contact me. Email is best right now, since I appear to have lost my voice….thankfully this waited until AFTER the choir concerts!
Dec 19, 2014 | cards, Christmas, Tutorial
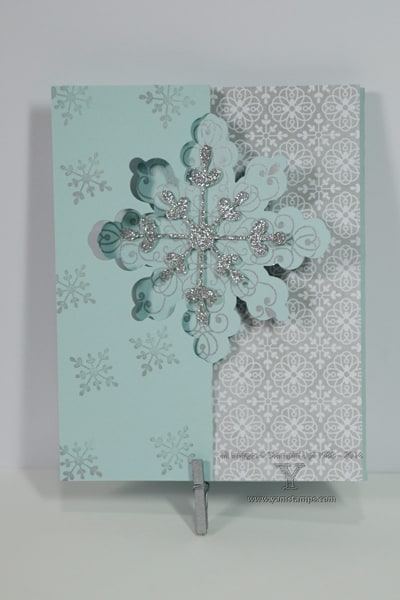 The Twelve Weeks of Christmas mailings are finished now – but why is it that I’m still surprised by how quickly time has passed? (Note – this would be the heads up that I have not really finished my own cards…LOL). Stampin’ Up!’s Snowflake Card Thinlits die does make for a fairly quick and impressive card, though! Of course, everything also looks more impressive when you add some bling – in this case, a snowflake from the Silver Glimmer Paper. The All Is Calm Designer Series Paper covers the back flap of the card, and the small snowflake from the Letterpress Winter Photopolymer set is on the front of the card, with the large snowflake taking centre stage.
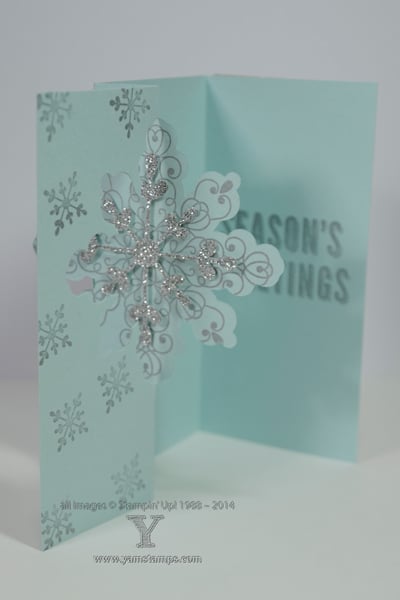
The next shot shows the open card. You can make your card long like this one by cutting your cardstock to 5-3/8″ x 8.5″ and having the one end of the cardstock on top of the die (at the end farthest from the snowflake), rather than underneath it. This allows the snowflake end to be die cut/embossed, while not chopping off the other end of the cardstock. Then you simply fold the long end inwards and you have an extra area that will let you write on the inside of the card without having it exposed when the card is closed. (The last photo shows how to position the cardstock.
 I hope you have the chance to try this out! In the meantime…off to finish preparing for the big family party this weekend…
Dec 16, 2014 | specials, Stampin' Up!
Here are the Stampin’ Up! Weekly Deals for starting today, 16 December 2014. Fun to stuff your own stocking?? LOL. Don’t forget that I offer Gift Certificates in any denomination so you can let your loved ones know that there’s still time to get you one for Christmas!!
Dec 12, 2014 | cards, Christmas, Stampin' Up!
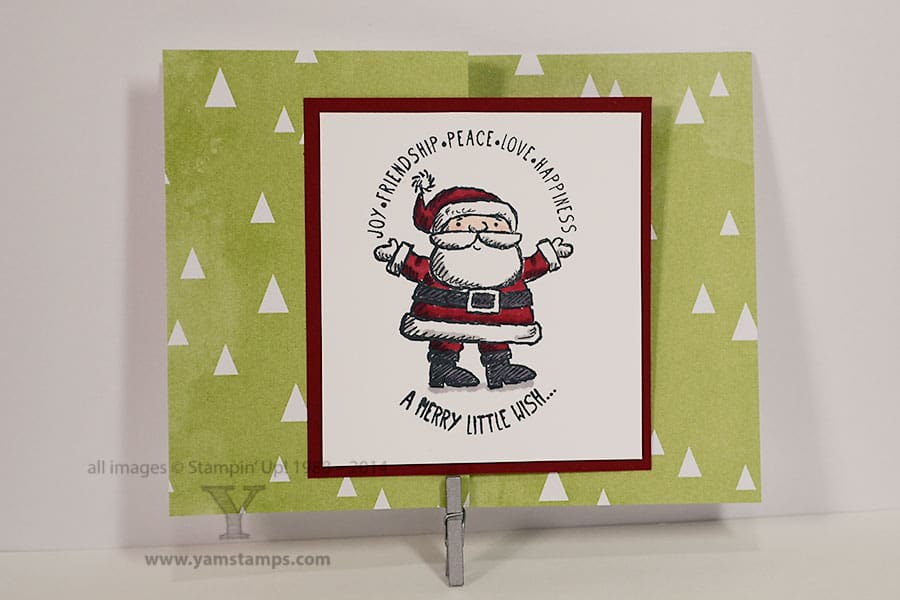
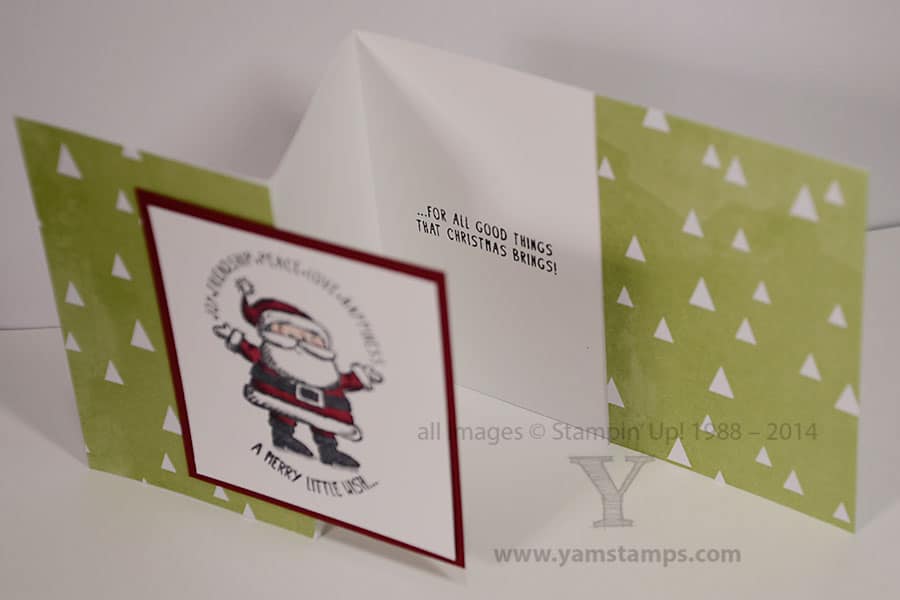
A fun way to make your cards stand out is to vary the fold a little bit. This “Z” fold card adds interest without adding a lot of time to your crafting! (Handy when you’re mass producing). Cut your cardstock to 4.25″ x 11″, score and fold in half, then fold back one side so the edge of the cardstock meets your fold. (You may want to score it again, or just use your bone folder to ensure a neat fold. I did a quick video tutorial on cutting and basic card folds in this blog post: http://yamstamps.com/2013/10/cardmaking-basics-tutorial
For this Santa card, there’s a piece of the All Is Calm Designer Series Paper on the front flap and back edge so the closed card reads like a more unified front. The Santa is from Get Your Santa On and was coloured with Blendabilities. Love those alcohol based markers (and if you do as well, just wait until the new Occasions and Sale-a-Bration catalogues – hint hint!). The other fun thing about this card is because the stamp set is photopolymer, I could curve the “A Merry Little Wish” stamp on the block (granted it may need to be reapplied a few times, because it’s really a straight line) – but it ties in with the curved greeting above Santa.
This weekend my choir (OK not MY choir, but the choir with which I sing…) has two concerts so it’s going to be a busy one! If you’re looking to hear some holiday music, please join us! We’re in Ancaster on Saturday evening and Guelph on Sunday afternoon and tickets are available at the door.