
So my personal preference for cards tends to run towards clean & simple….if you can’t tell. I had a couple of designs for Christmas cardst this year that I thought I’d share here, especially since most of the recipients won’t get theirs by Christmas Day…..LOL!
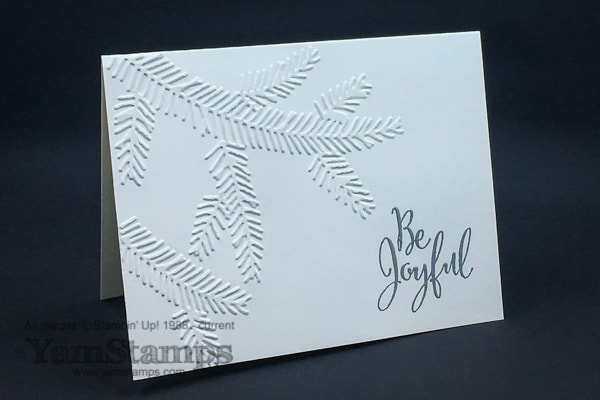
I loved the clean look of this design….though it may not look as impressive in the photo LOL. I used Thick Whisper White cardstock (I _love_ that cardstock, especially for a card without additioinal layers on it) and embossed the words in Silver. It features the Pine Bough Embossing Folder (on sale as part of the Year End Closeout), and the sentiment is from Merriest Wishes – which is available in wood mount, clear mount (on sale) or as part of a bundle with the Merry Tags Framelits (framelits on sale)- again, either in wood or clear. **If you like clear mount, your best deal is to buy the set and framelits SEPARATELY because with the sale pricing it ends up being LESS than the discounted bundle. If you like wood mount, your best deal is the bundle.**
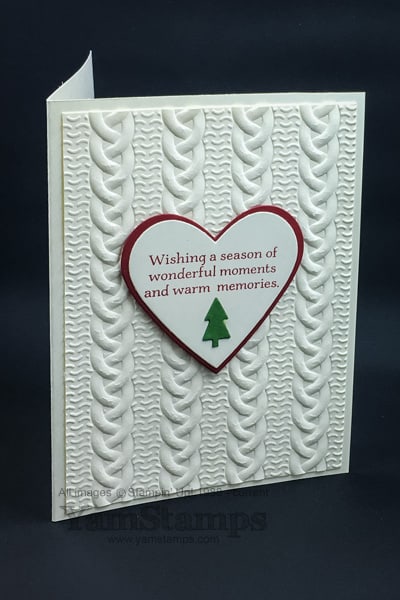
This is a version of a card designed for a class earlier this year. I love the Cable Knit Dynamic Embossing Folder and the depth it brings to projects! Used the Sweet & Sassy Framelits and added a tree selectively cut from the Outdoor Adventures Framelits. The sentiment is from Peaceful Pines. This was my first design that I started creating.
So here are some of my tips for bulk card making…..or “Linda’s Learn From My Mistakes List”. (I will post this here as a reminder for myself….and perhaps repost it early next Christmas Card Season?!)
- Figure out how many cards you need in advance and figure out how much you will need in terms of supplies. (Hence two designs for me as I ran out of Very Vanilla cardstock.) (This has sadly reinforced my stockpiling paranoia).
- You can score an 8.5″ x 11″ sheet of cardstock at 4.25″ lengthwise BEFORE cutting the sheet crosswise in half at 5.5″ to create two scored cards of 5.5″ x 8.5″. (I cut, then scored twice as many times as I needed to.)
- Do “batch” processing. I actually DID do this… Cut all the cardstock at one time, dry emboss all the cardstock at one time, stamp all the cardstock etc. rather than creating each card in individual steps. The only thing you can’t batch do? Heat embossing. Get that done before the ink dries! Since my Pine Boughs card didn’t have much else to be done on it, it wasn’t too much of a chore to heat emboss the outside & inside sentiments one card at a time.
One last tip – think about thickness and bulk if you’re going to be mailing your cards – don’t want to get dinged for extra postage or risk cards getting caught in the processing machines, so think about how many layers and how many dimensionals you want to use on your design!
I am hoping to have a Christmas message for you up on the blog here tomorrow but there are some behind the scenes glitches that may interfere…so fingers crossed. Otherwise, I hope that you are able to spend some time with friends and family over the next few days. Thank you for being a YamStamps reader, and Merry Christmas!


Linda your tips are so great. I, too, ran out of cardstock the colour I needed but I did do sort of an assembly line thing using the merry mice stamp set and it made everything so much easier and less stressful. Looking forward to more of your helpful ideas in 2017.