
My least favourite card to make is a sympathy card, but it’s often the most appropriate and appreciated. Unfortunately, I’ve had to create a few of these for friends lately. I never feel that creative when I’m sad, so often when I “need” a sympathy card, I don’t feel like making any cards at all. My grandmother recently passed away just before her 99th birthday, and we received some lovely sympathy cards, including some beautiful handmade ones (I shared a few on the YamStamps Facebook page). A card can be like getting a hug from a friend in the mail, and it’s truly appreciated at a sad time, but this occasion also reminded me that I should send cards for happy occasions, and “just because”.
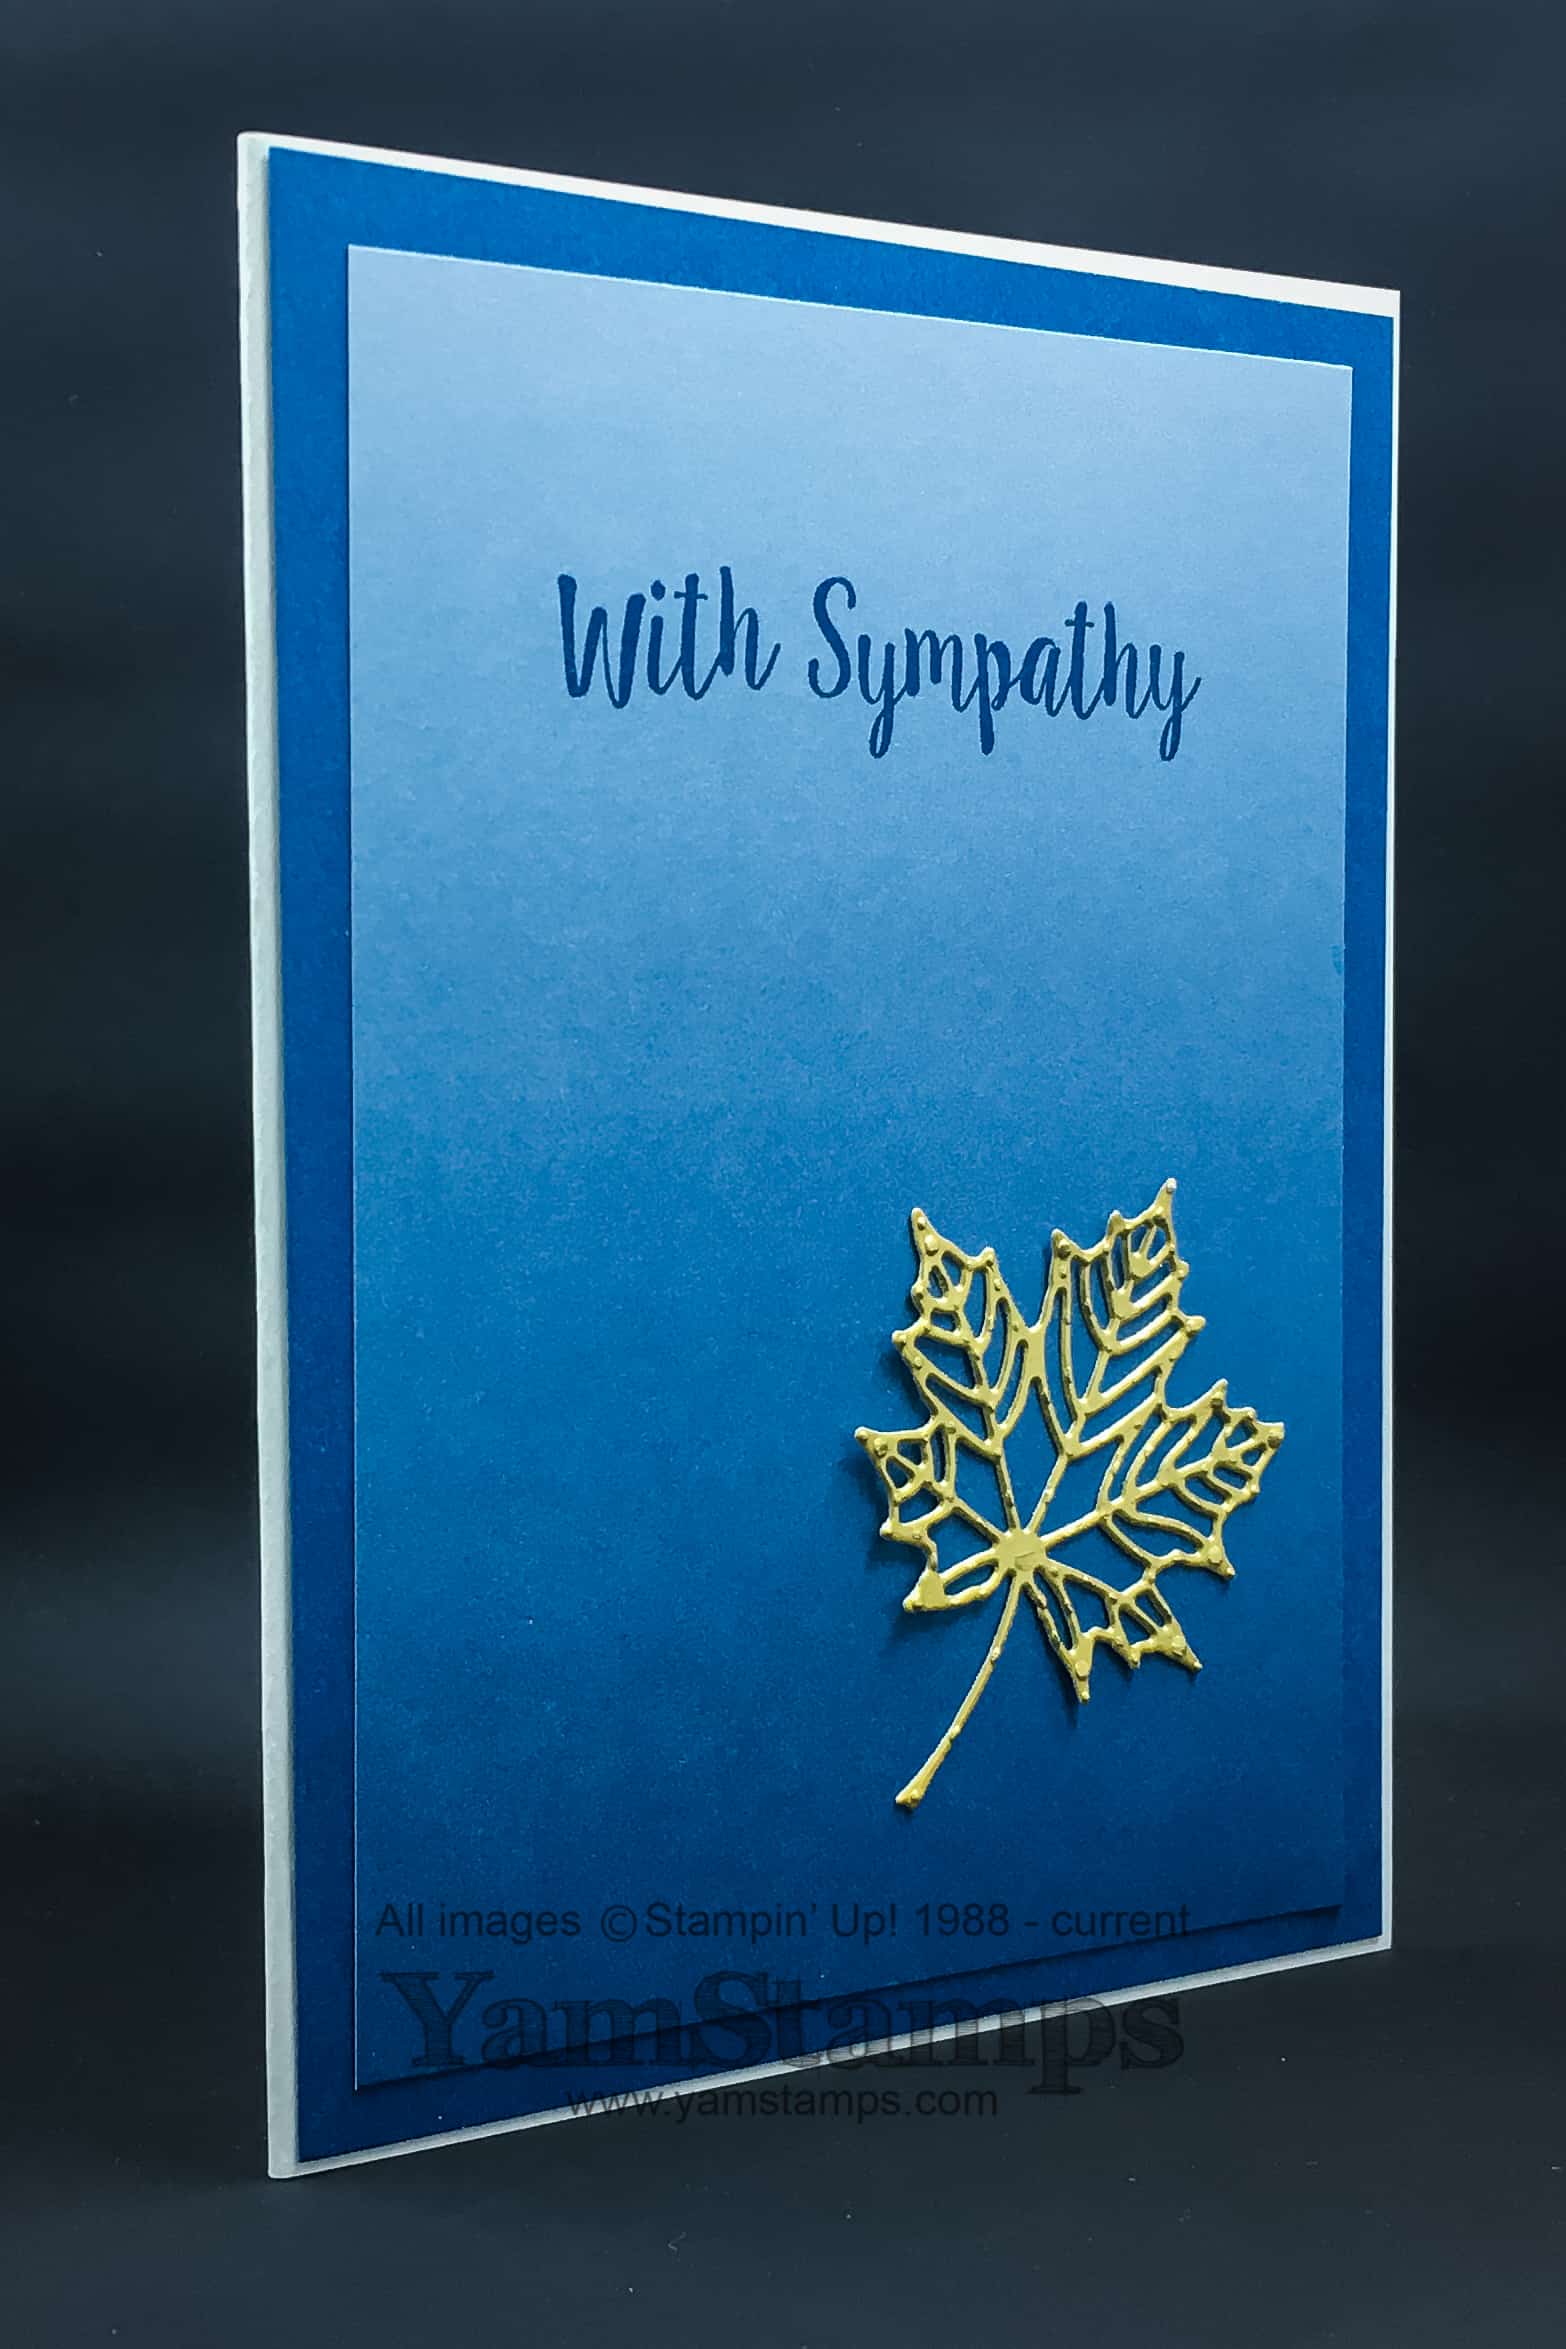
Simple, clean cards (also sometimes referred to as CAS – clean and simple – cards) are a great “go to” design in general, but especially when you don’t feel like fussing a lot. The featured sympathy card uses the Colo(u)r Theory Designer Series Paper Stack, the Seasonal Layers Thinlits Dies, and the Better Together stamp set, which is available in wood mount or clear mount. I love how the ombré paper makes this very simple design more interesting and eye catching but not too busy. This particular Designer Series Paper Stack has this design in a number of different colours so you can change up the colours as you feel inclined.
I love the detailed leaf die cut from the Seasonal Layers Thinlits, though it can be a bit “fussy” to adhere them to projects. The return of the Adhesive Sheets to the Stampin’ Up! catalogue has made attaching fussy cuts so easy! The sheets are 6″ x 12″. I cut my Gold Foil sheet to 6″ x 12″ and adhered the adhesive to the back, leaving the second liner sheet in place. It’s ready for die cutting after that – I cut my foil into 2″ strips, then die cut the leaf. Peel off the remaining liner sheet, and it exposes the sticky adhesive, already in place on the back of the die cut! The other option is to place a the die cut piece onto an adhesive sheet to tranfer the adhesive onto the back of the die cut. This is great for those moments when you don’t have a pre-lined piece of cardstock prepped, or for the more solid cut outs, but I do find it can be a bit messy for me with the more detailed cuts.
I often find it helpful to make a few sympathy cards to have on hand in my stash, so that I’m prepared if I need one. Often, in my classes I will have a card that doesn’t have a sentiment on it, so that it can be an all purpose card, or so that you can stamp the sentiment when you know what kind of card you need. My Monthly Card Classes are always the first Wednesday of each month here in Burlington, ON, but I also take them on the road for private card classes too. Please feel free to contact me if you have any questions, want to register for a class, or want to book a private class with your friends and family.


