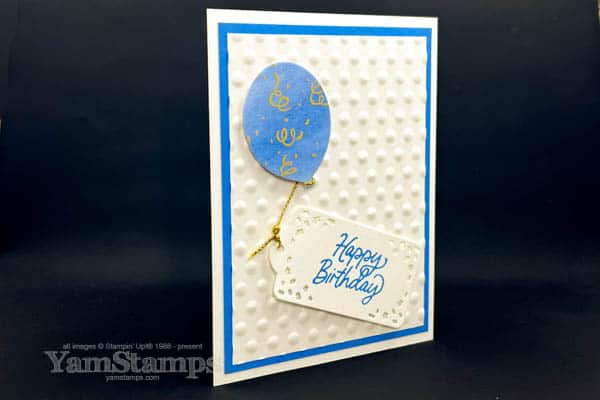
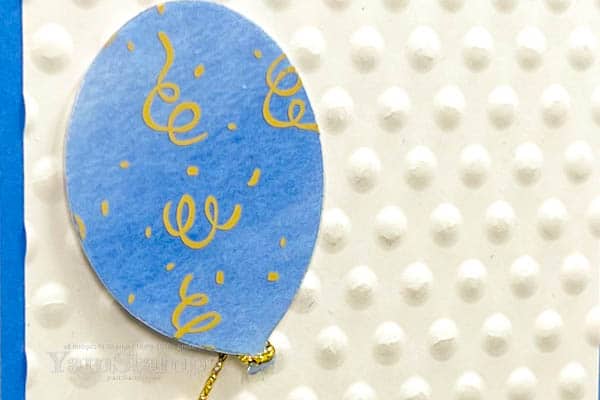
Typically, birthday cards are how a lot of crafters get into card making – because we always need birthday cards to send (at least once a year…). Using the coordinating dies to create a balloon and tying a tag to the balloon makes it more interesting. On this card, the balloon was die cut from the Bright & Beautiful Designer Series Paper (on sale until 30 June 2023…), and then adhered onto a balloon die cut from the Gold Celebrations Specialty Designer Series Paper (which is printed heavy duty window sheets).
A great way to “hide” adhesive when crafting with acetate or window sheets is to use an Adhesive Sheet! I applied the Adhesive Sheet to the back of the Gold Celebrations Specialty DSP before die cutting the balloon. After it was die cut, I peeled off the adhesive liner, then attached it to the Bright & Beautiful DSP die cut balloon before adding it to the front of the Beautiful Balloon Birthday Card with Stampin’ Dimensionals. Since the adhesive is covering the entire surface of the balloon, it’s more difficult to see – as compared to using double sided tape or glue dots – you often can see the borders of the adhesive.
I added texture to the background with the dotted Basics 3D Embossing Folder and used the accent colour of Azure Afternoon (one of my most used new colours…) for the ink and cardstock. I love using embossing folders for the backgrounds – it adds interest and texture without being too distracting.
I know we are looking forward to the upcoming long weekend, but don’t forget that the Designer Series Paper Sale and the Starter Kit+ Promotion both end Friday 30 June! Don’t miss out on the savings! Message me if you have any questions or need assistance completing an order.
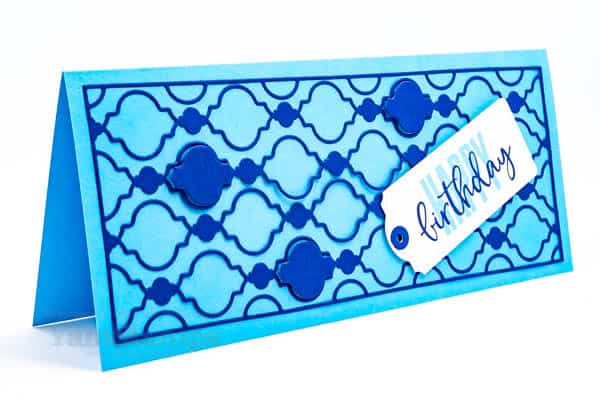
Check out this Slimline Birthday Card with a fun die cut background!
Stampin’ Up! makes it easy to make and send slimline cards – with appropriately sized dies and envelopes!
Slimline Birthday Card
We made this fun slimline birthday card in Stampers Club this month. It features new In Colours and a fun die from the January-June 2022 Mini Catalogue. The cardbase is Tahitian Tide, and the accent die cut is Starry Sky. I used the Slim Card Dies to die cut the Starry Sky cardstock – but not before I added strips of Adhesive Sheets to the back of the cardstock. For this sample (which was my prototype) I just added smaller strips of the sheet at the borders of the die – so you may be able to see that the centre details aren’t totally adhered to the card. When I prepped for club, I put the adhesive all over the back of the cardstock so everything could be totally flat and stuck down. Some of the die cut shapes were added back in place as a design element – Stampin’ Dimensionals help them stand out. This card fits in the Slimline Envelopes from Stampin’ Up! so you don’t have to worry about how to send them!
I decided to make a slimline birthday card, so I made a tag from the Tailor Made Tags. I die cut the reinforcement from one of the shaped discard pieces so that it had adhesive on the back already – which made it easy to adhere in place on the tag. The sentiment is from the Biggest Wish stamp set. I love layering the two fonts on top of each other! I try to stamp the script word in the darker ink (in this case, Starry Sky) so it stands out against the bolder, larger font (stamped in Tahitian Tide).
A tip if you’re planning on recreating the slimline birthday card…I removed adhesive from one portion of the die cut first – along the top edge. I placed the die cut where I wanted it before removing the rest of the liner strips and adhering the rest of the die cut. Since this creates a rather fine/lacy die cut, you just have to watch that it doesn’t get stuck to itself when you’re peeling off the liner.
If you need a regular crafty “fix”, consider joining the Stampers Club! We are meeting virtually each month right now and participants receive their package of supplies for the cards before club so we can craft together. If members can’t make it to the “live” Zoom class, they have access to the recording after the fact in our private membership area, so they can craft at their leisure. See more information here on the YamStamps Event Page, and then contact me to join us! New members can start each month. Our next Club meeting is Monday 13 June at 6:30pm Eastern. Open to anyone across Canada since we are meeting virtually right now!
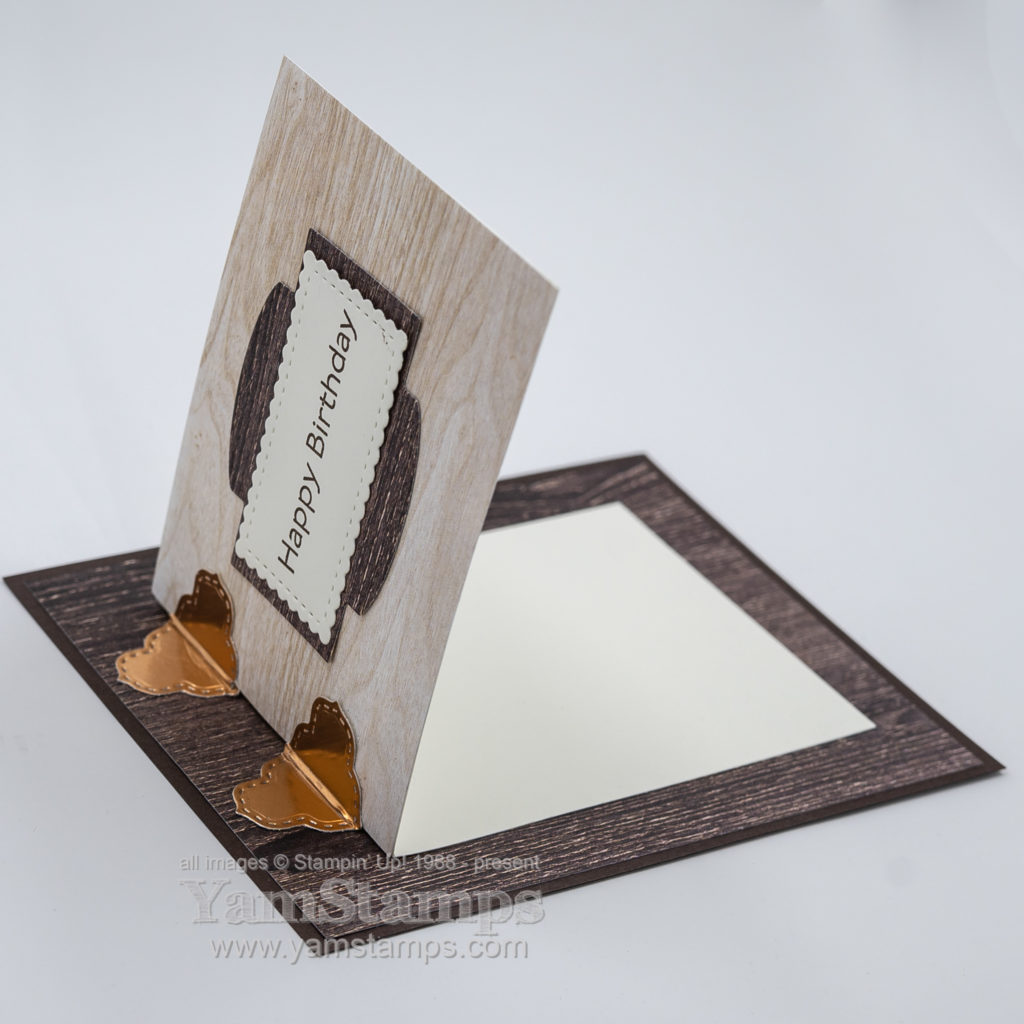
Here’s an easy fun fold card – though I’m not sure what the true qualifications are for a card to be a fun fold, other than “not the typical card fold”….so since it’s a little vague, I’ve decided that this design qualifies.
Easy Fun Fold Card – Hinged Woodgrain
This card features a mini card that opens traditionally, and it’s attached onto a backing card. It features the woodgrain designs from the In Good Taste Designer Series Paper, which is part of the Designer Series Paper Sale that runs until August 2nd – you can grab it for 15% off while the sale is on!
The dies that cut the “hinges” and the sentiment piece are from the Stitched So Sweetly Dies. I had some scrap pieces of Copper Foil Sheets with the Adhesive Sheets on the back, so after die cutting the “hinge” pieces, it was simply a matter of removing the adhesive backing and sticking them in place. I ran the rounded end of my Bone Folder along the fold of the card to make a marking in the foil hinge, and so that the mini card would open a little more easily. If you’ve been following YamStamps or have attended a class with me, you’ll know that I cut the backing piece for the sentiment from the bottom layer of Designer Series Paper – because the hole gets hidden by the mini card! This easy fun fold card is also a frugal card…
Easy Fun Fold Card – Open
The mini card itself is a 3″ x 8″ piece of Very Vanilla cardstock folded in half. The front of the mini card is covered by a piece of the lighter woodgrain Designer Series Paper – and it goes across the whole surface, rather than leaving a border, because I liked the effect better. I did still leave a bit of a border between the darker woodgrain paper and the Early Espresso cardstock.
A reminder that the Designer Series Paper sale runs until August 2 – select Designer Series Papers are 15% off. You can place an online order from anywhere in Canada in the YamStamps Online Stampin’ Up! Canada store – shortcut is yamstamps.com/shop, or you can email me for assistance placing an order.
Mini Catalogue cover
I’ve had the new Mini Catalogue and Sale-a-Bration catalogue mailed out to current customers, so they should be arriving soon, if they haven’t already! (I’m hand delivering the local ones). If you need a copy of the catalogue and don’t have a current Stampin’ Up! Demonstrator, please feel free to contact me to make arrangements to get one! If you’ve already received your copy, you may notice that it’s called the “July-December Mini Catalogue” HOWEVER it will be active on the same start date as Sale-a-Bration – August 3rd. Stampin’ Up! made the decision a few months ago to push back the official start date of the Mini Catalogue to compensate for some shipping delays that were beyond their control, and despite their planning. We are all continuing to navigate our changing situations as best we can, right?! You can be sure that there will be links for the digital versions of the catalogues available through the YamStamps Site, as well as the newsletter that will be released that day as well.
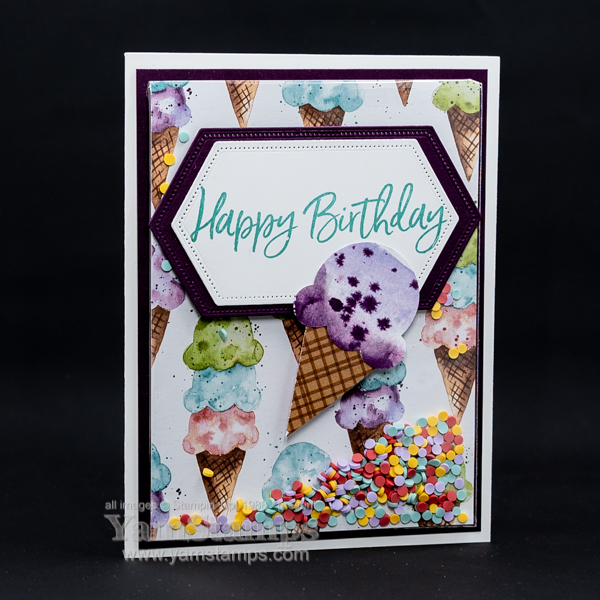
I do like crafting, but I don’t like crafting that’s too complicated or overly messy…LOL. Here’s a take on a shaker card that doesn’t have to deal with window sheets or foam tape. “Shaker card – but make it easy”
Easy Shaker Card
This card uses products from the Ice Cream Corner Suite in the January-June 2021 Mini Catalogue. I love how Stampin’ Up! gives the “easy” button for coordinating products – one item code gets you all the items in the suite. For this card, I used the Ice Cream Corner Designer Series Paper, the Ice Cream Corner Sprinkles embellishments, the Ice Cream Corner Builder Punch and the Sweet Ice Cream Stamp Set. The punch and stamp set are available together in a discounted bundle. I also used the Stitched Nested Labels Dies, which are retiring from the Annual Catalogue, so only available while supplies last/until May 3. (Bonus: they’re sale priced right now). I will also give the heads up warning that the punch and sprinkles are showing as low inventory right now, so may go on back order/unorderable status.
I had an easy shaker card tutorial in a past weekly email newsletter (get on my mailing list so you don’t miss future installments), but essentially you use Stampin’ Up!’s medium clear envelopes and insert everything inside and seal around the Designer Series Paper. The sentiment and the punch art ice cream cone are actually on the front of the sealed envelope (not inside). Easy peasy. The colour coordinating products make it seamless too!
Stampers Club members made this in a previous month’s class. Right now, the club class focuses on techniques and fun folds that aren’t heavily stamp/ink based, since we aren’t meeting in person. I can prep the projects and send out supplies ahead of time, and then we create them together. (Stampin’ Up! regulations prohibit us from pre-stamping items as part of class materials). It’s definitely keeping my brain working! If you’d like to join us, new members can start their 6 month membership at any time. You can contact me for more information. At this point in time, we will be continuing online (via Zoom), and likely will be doing so for the rest of 2021. I think even when we do get back to in person classes, I may still offer the online version as well if there’s demand for it!
In the meantime, we continue the countdown to the new Stampin’ Up! 2021-2022 Annual Catalogue product launch on May 4th! It seems like the catalogues are starting to arrive in mailboxes – so I’ll be following up with those on my list to make sure everything arrived safe and sound. Don’t forget that retiring 2020-2021 Annual Catalogue products are only available while supplies last/May 3 2021 – whichever comes first. Online shopping shortcut is yamstamps.com/shop or email me for assistance placing an order!
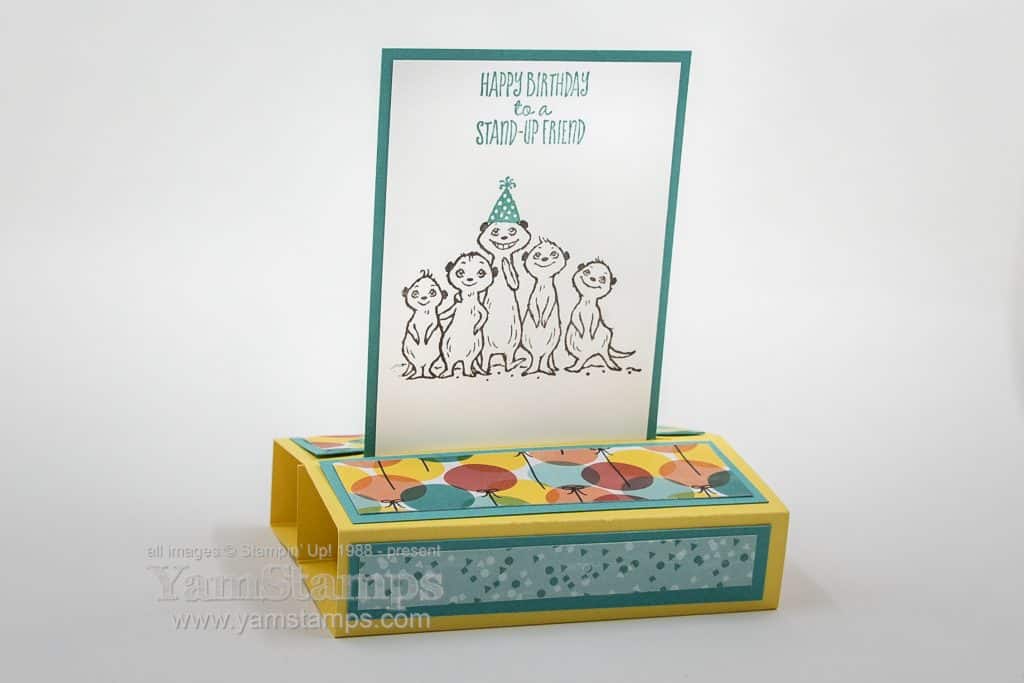
Love these meerkats – because we all need a reason to smile these days! I thought it was appropriate to make a stand alone pop up card for this card/sentiment…
Get it….stand up friend….stand up card? (The social distancing is obviously getting to me a bit more than I thought). Anyway….this card features the Sale-a-Bration Level 1 reward stamp set The Gang’s All Meer and the suuuper cute Birthday Bonanza Designer Series Paper from the Jan-June Mini Catalogue. This is one of those papers that it’s hard to pick a favourite side – since these papers are double sided. While the patterns are really functional for all sorts of cards, you are inevitably hiding a cute design on the other side (in this case I think we hid some koalas….).
I am planning on doing a facebook live for this card tomorrow (Thursday), I’ll do it on the YamStamps Facebook Page, so please “like” and “follow” the page to get notified when I go live. (Please note how close I am to a nice round number of “likes”, not that numbers are all I care about and all that it’s about, but come on). At this point I’m thinking late morning, depends on how my day is going. You know, jobs to avoid doing, dust bunnies to step around…I am actually amazed at how little I can truly get accomplished in one day, even when I’m not leaving the house – though I justify it by saying that I am on vacation (which I am)….but still. I’ll probably get a huge burst of initiative and inspiration on Sunday! LOL.
Anyway, I’ll show the construction of this card, and then I will post an instruction file in the Paper Crafting with YamStamps Facebook Group, (if you’re not a member, click on the link and request to join). Just a heads up if you want to craft along with me – You’ll need 4.5″ x 11″ piece of cardstock, plus a 3″ x 4.5″ and 2.75″ x 4.25″ (those last two measurements are off the top of my head right now, hoping I got it correct…I guess we’ll find out tomorrow). I hope that you can join me for a break in your day and make this stand alone pop up card with me live! See you then!
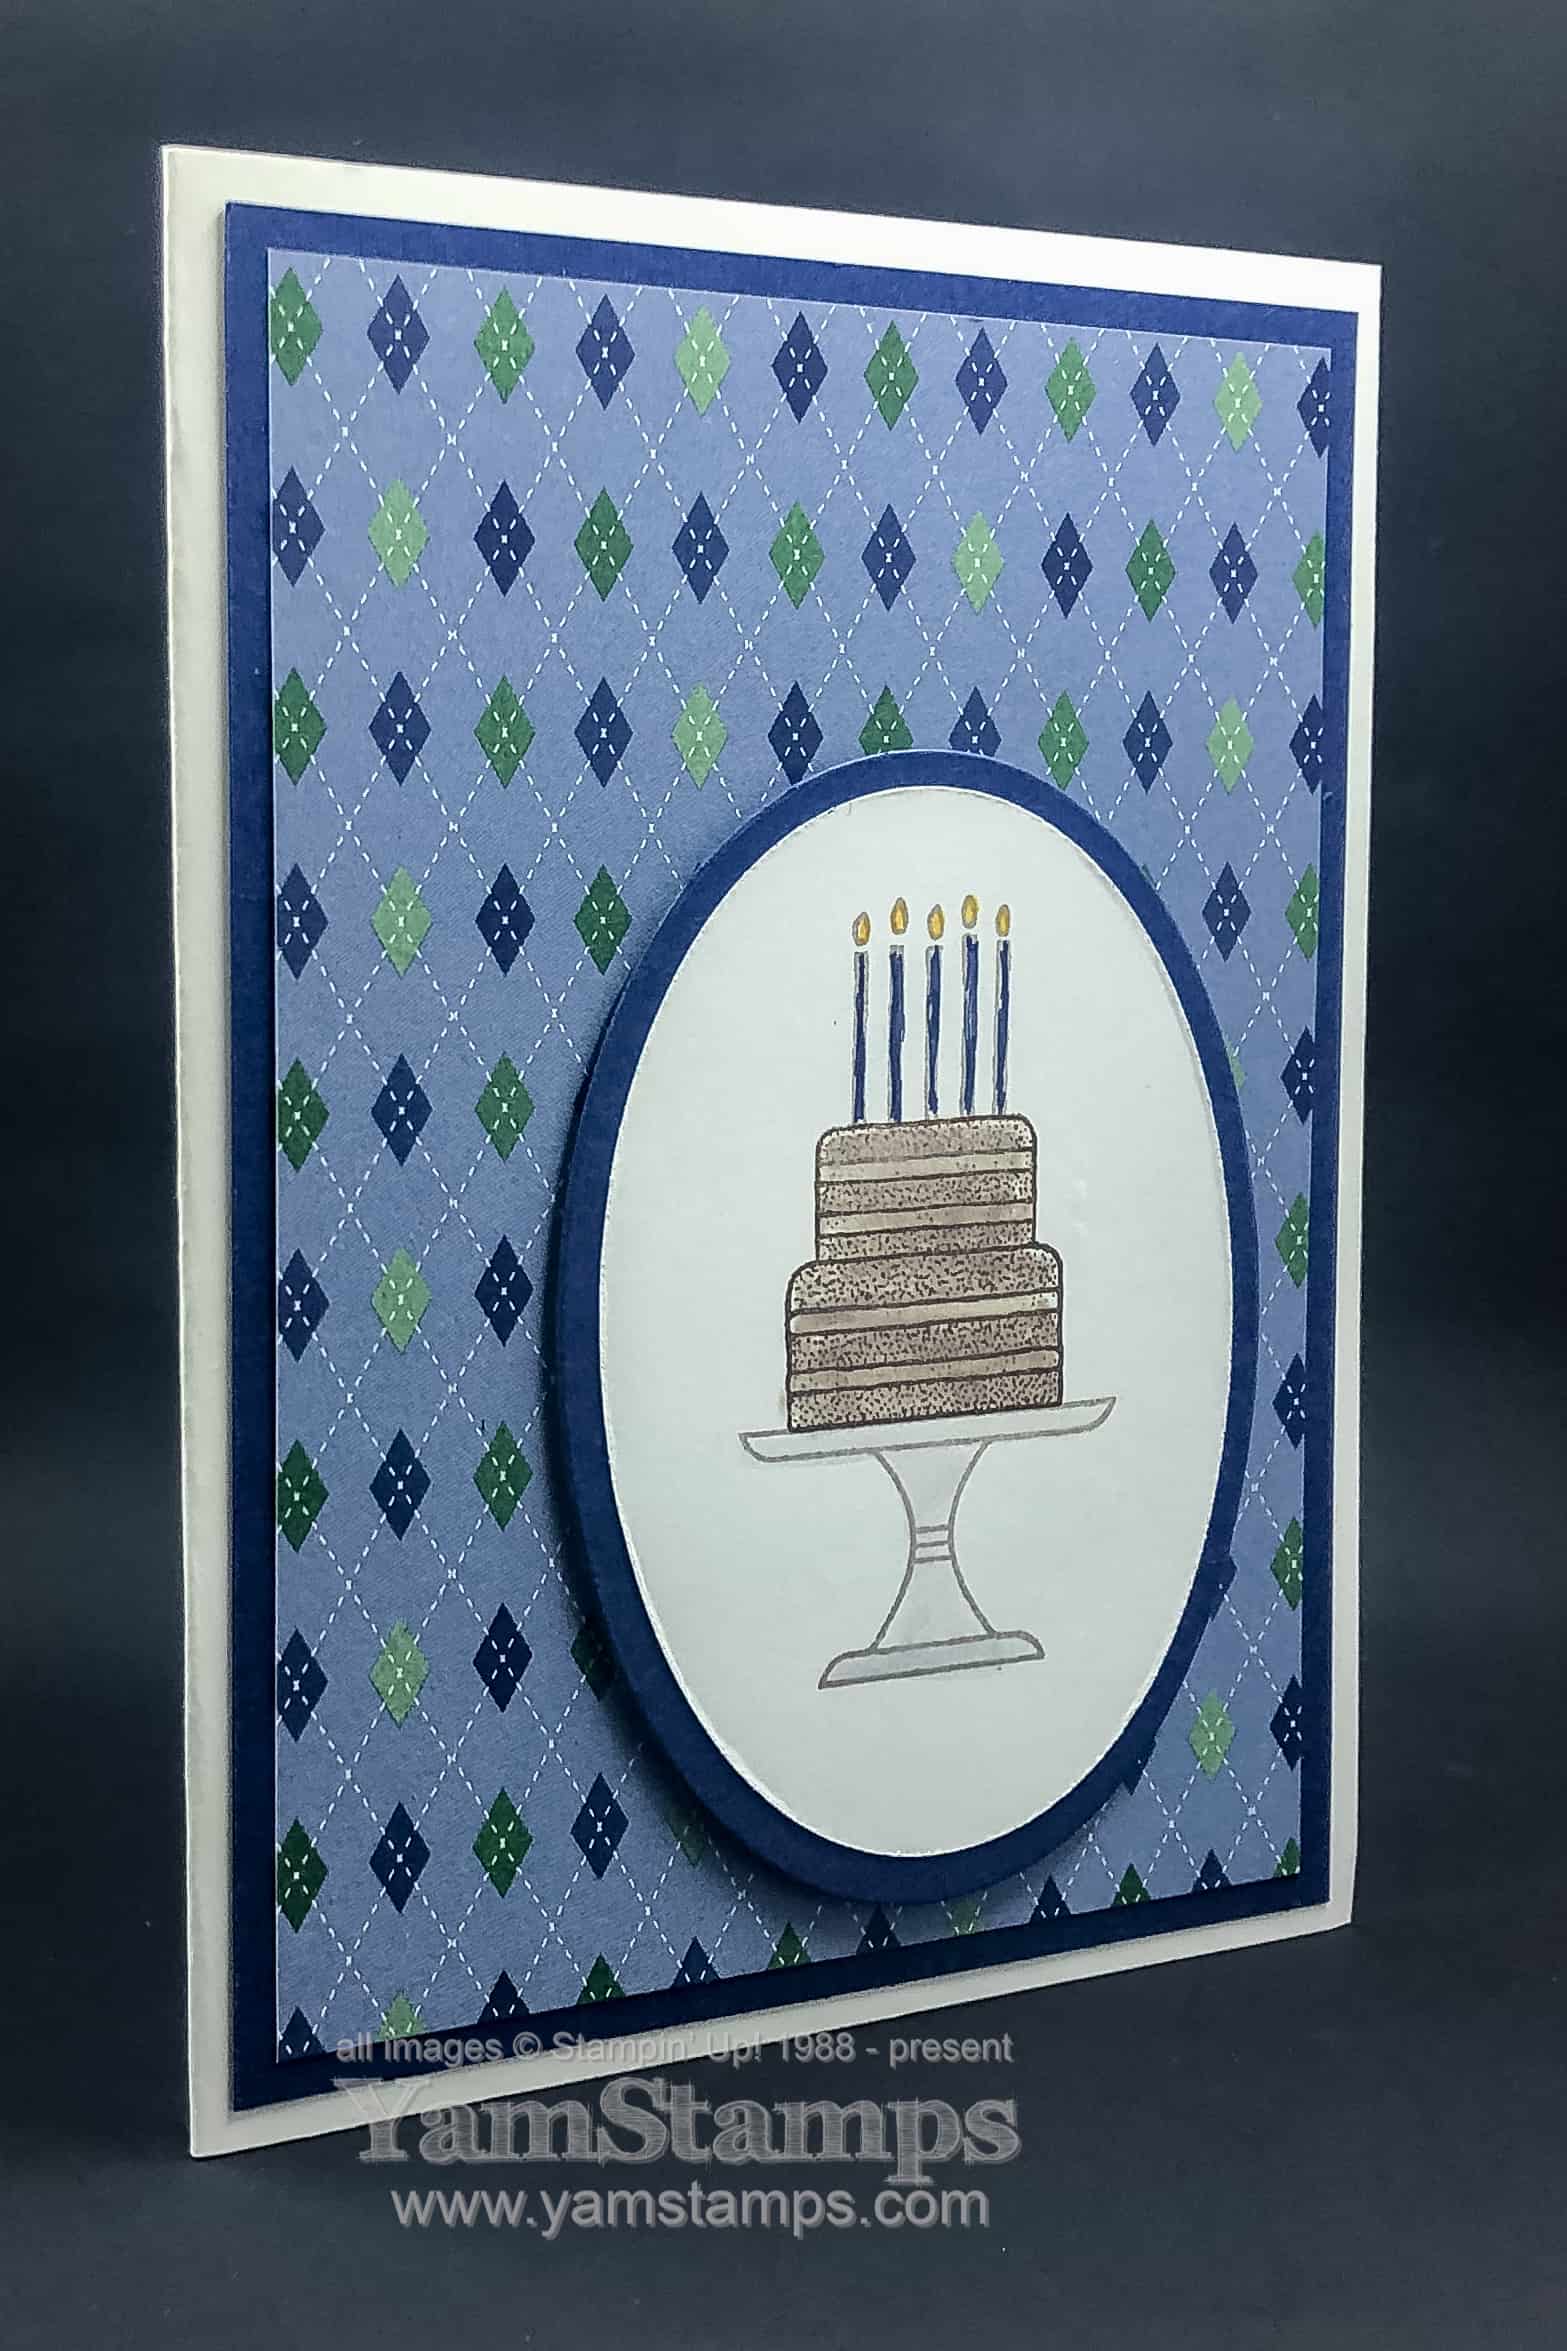
This Birthday Cake Card is today’s clean and simple card. Quick and easy to help someone celebrate!
This card is made even easier by lining everything up with the Stamparatus. If you’ve been following this YamStamps Blog for a while or have attended a class with me, you’ll realize that the larger oval is cut from the centre of the backing Night of Navy Cardstock. I used the Country Club Designer Series Paper for the background – using the argyle side rather than the obvious golf side. The main image on this card is actually three different stamps – the cake stand and outline of candles were stamped in Smoky Slate, and the cake was stamped in Early Espresso. I lined everything up on the Stamparatus so that it was easy to reproduce.
If you’re making multiples – and die cutting the stamped image, the easy technique is to line your stamps up on your Stamparatus. Place your cardstock in the corner of the Stamparatus, and stamp it. Remove the cardstock from the Stamparatus, then die cut with a Layering Oval die. Place the piece of cardstock (the one with the hole in it) back into the corner of the Stamparatus, and use that as your template/guide. For the next images, die cut the oval first, then place it in the hole in the cardstock in the Stamparatus so that your images will be in the right spot. Clear as mud? Check out this video I have on the YamStamps Facebook Page to see this technique in action. Oh – and don’t be like me in the video – place the magnet over a corner of the die cut shape so it doesn’t move…LOL.
Quick and Easy, Clean and Simple – this birthday cake card will be sure to please the recipient, and you’ll be able to whip one up at the last minute and still have time and energy to enjoy the celebration!