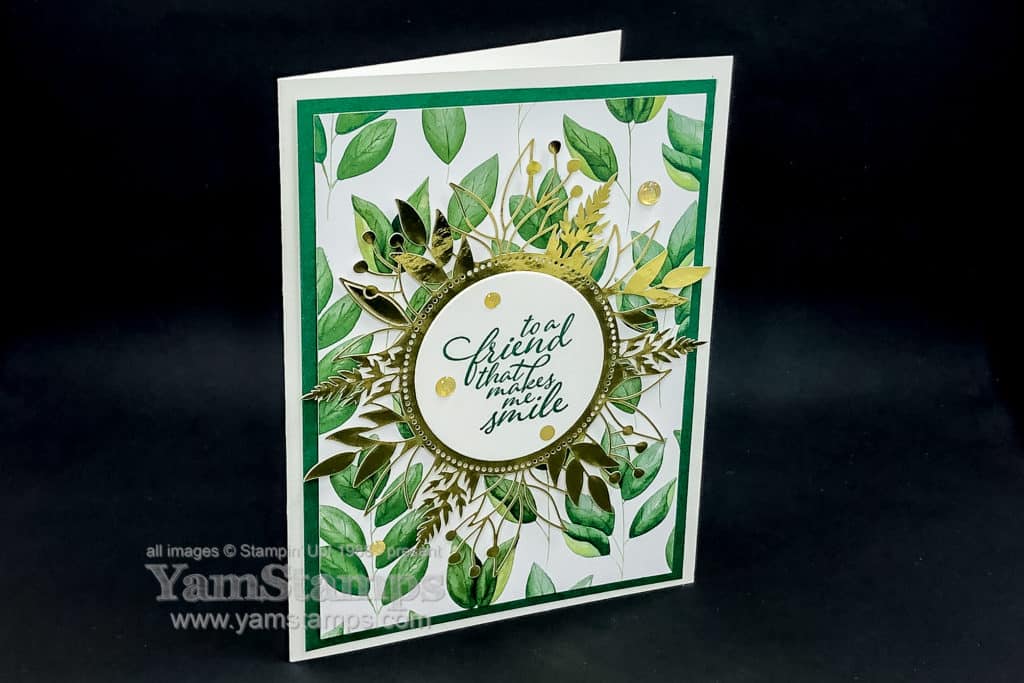
Stampin’ Up! Product Suites typically include a bundle (stamp set and a punch or die set that coordinates), Designer Series Paper, embellishments and often another coordinating tool. From the Forever Greenery Suite, I chose to use the Forever Fern stamp set (it also comes in a discounted bundle with the Forever Flourishing Dies), the Forever Greenery Designer Series Paper, and the Forever Gold Laser Cut Specialty Paper. By purchasing the suite, it’s like the “Easy” button for the products – you don’t have to enter each item’s code one by one – you get all the coordinating products with one easy item code. It’s a nice option if you know you love everything in the suite anyway!
For this Greenery Greeting Card, I added a die cut circle of Whisper White Cardstock, stamped the sentiment in Shaded Spruce (which is one of the colours used in the Designer Series Papers) and then added a few Gold Glitter Enamel Dots – the one item that is not part of the suite, but coordinates nicely with the gold theme.
Super easy! Honestly, I think the most time consuming part was being sure to be careful when removing the gold laser cut element from the sheet! This greenery greeting card probably took me about 5 minutes max. Perfect for a Manic Monday!! Pick the elements from the suite, pick the colour to coordinate and you’re off to the races.
The YamStamps Newsletter is going out tomorrow and will feature a card tutorial that also features leaves, but in a totally different colour scheme (and with a totally different stamp set than today). Be sure to be subscribed to get weekly paper crafting information and inspiration! In the meantime, I’m off to play with my new Stampin’ Cut & Emboss Machine! (Did you see the pic I shared on the YamStamps Facebook Page?) Demonstrators get to order the machine right now – before actual sales open up in September. By then I’ll be all set to help you figure out how to use it when you get to place your order next month!
On this Manic Monday I thought I’d highlight a few crafting tips that I shared in the recent Live session I did on the YamStamps Facebook Page. The shortened video version is below, but thought I’d highlight a few things if you like to read vs watch…
full video below….
Distinktive Stamps are more photorealistic and have multiple depths on the same stamp. Crafting Tips for good distinktive images: To get a clear image of all the different depths, it helps if your ink pad is not too juicy – you can rub the surface of the ink pad with the back of a spoon or your bone folder to push excess ink into the pad vs having it on the surface to get better definition in your stamped image. The stamp set used in the video is Forever Lovely; another distinktive stamp set example is Baby Bear.
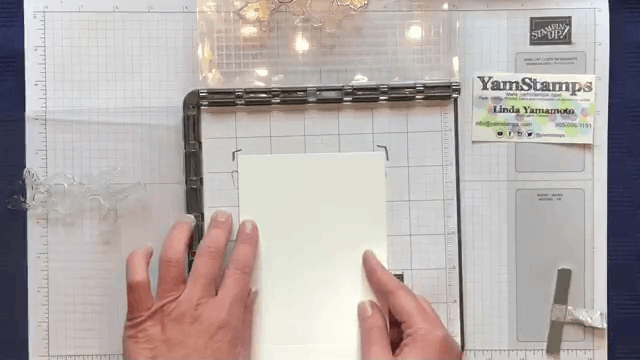
Crafting Tips with the Small Grid Paper: Positioning multiple step stamps and coordinating framelits. In the video, I use the Stamparatus to stamp the images – because once they’re in the right place on the plates, you don’t have to think about it again! My tip – stamp onto the Small Grid Paper so you can see where your image will end up. Position your card stock and mark where the corners of the cardstock are on the grid paper so you know where to place it for future reference.
You can also position the framelit over the stamped image and mark where the side edges of the framelit are on the grid paper so you have it for reference. You can use the grid paper when stamping with the stamparatus, then remove it and place it onto your Big Shot plastic cutting plate as a reference for placement of the framelit – just be sure to remove it before you cut!!
That way, your reference sheet will be intact and ready for future use.
Last tip you might have picked up in the video – put your Big Shot Die Brush and foam pad into a small shallow box to catch all the bits (and store everything together! I used an old cardboard box (it actually held my carvable stamp set, remember that one?), but you could also use one of the full wide stamp cases.
How do you prefer to get your crafting tips & tricks? Video? Written format? Let me know so I can be sure to have you covered for future tutorials – leave me a comment below or message me!
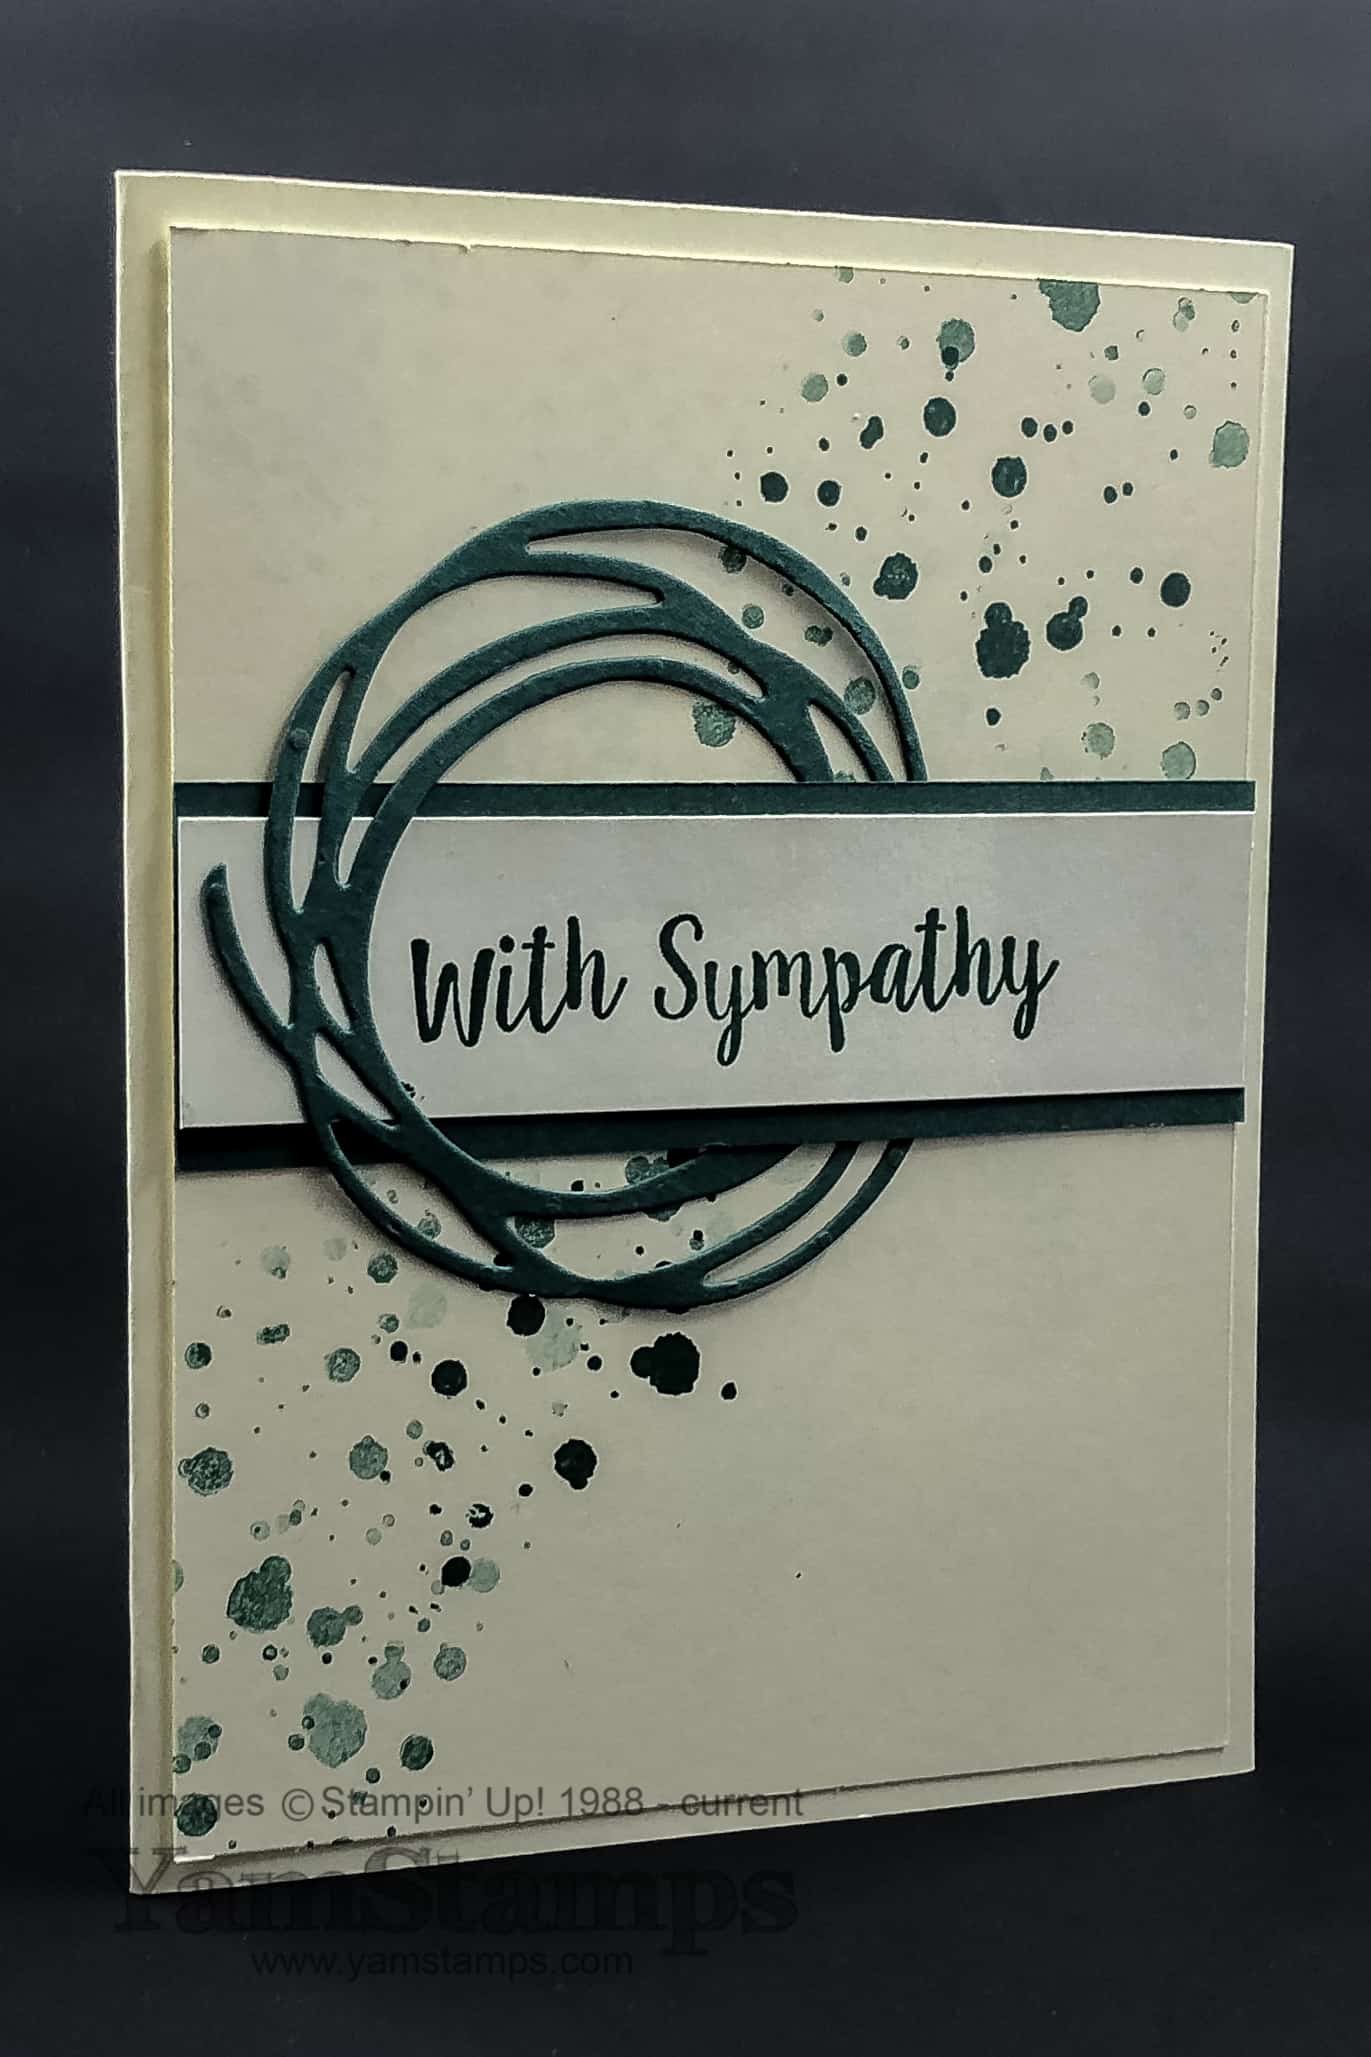
Sharing a simple handmade sympathy card idea with you. Sympathy cards are often ones we need to have on hand but not ones that we are often inspired to create. This card could be used for any number of purposes by just changing the featured sentiment and/or colour scheme, perfect for a “Manic Monday” project – a project you can create even if you don’t have a lot of time.
I always think that a single colour scheme is very elegant (and very easy). This card features Tranquil Tide (a 2017-2019 In Colour) and Very Vanilla. The splatters are from the Swirly BirdSet, and the die cut is from the coordinating Swirly Scribbles Thinlits Dies. The splatters are stamped in first, second and third generation images to give a variation and depth. A first generation image is where the stamp is inked and then stamped onto the cardstock. Second generation = the next image stamped by the stamp WITHOUT reinking in between. It’s often best to ink the stamp and then stamp onto scrap paper and THEN onto your project if you want a second generation image. I’ve often found that when I am stamping images off the edge of the cardstock and re-stamp right away that my second generation image can be uneven because the ink didn’t get used up evenly on the rubber surface. For this simple sympathy card, the swirl was die cut from Tranquil Tide cardstock and then fed over the sentiment strip. Bonus points if you can figure out what motivated this design choice….
If you guessed (or inspected closely) that it was because I got an ink smudge on my sentiment strip, you are correct!! Somehow, I managed to smudge a spot on the sentiment, and I found that the die cut swirl could be positioned to distract/cover up that little error. In the end, I think it’s much more interesting than if I had used it behind the sentiment strip (which is where I originally thought I would place it…). Simple Fix for a Mistakeon aSimple Handmade Sympathy Card! The sentiment is from the Better Together set, which is available in wood mount or red rubber clear mount. That set has a number of different sentiments so you could change out the sentiment and colours on this card design for an easy variation.
Are you a YamStamps Mailing List subscriber? A special exclusive for subscribers is the Annual Twelve Weeks of Christmas. This week brings Week FIVE (can you believe it?!), and the last week of card ideas. We move on next week to gift ideas. Like the “regular” YamStamps emails, each project has a picture, supply list (with links for easy reference), and complete instructions. You can jump in and get the remainder of the project ideas by subscribing now! You can subscribe in the sign up box on the YamStamps site itself, or click here to be on the list. You’ll also get access to a subscribers only free video tutorial. See you in your inbox soon!
I apologize that it’s been a little quiet here on the YamStamps Blog! I have been posting on social media (theFacebook page and instagram) a bit but not as much here as I thought I was…LOL. How have you all been? Somehow I feel that I’m not the only one who is feeling the need to come up for air!! Much as I love the holiday season, it brings a lot of busy-ness with it….add to it the busy-ness of being a volunteer with a marching band of 200 teenagers getting ready to go to the Rose Parade, and that’s the whirlwind in which I’ve found myself of late!
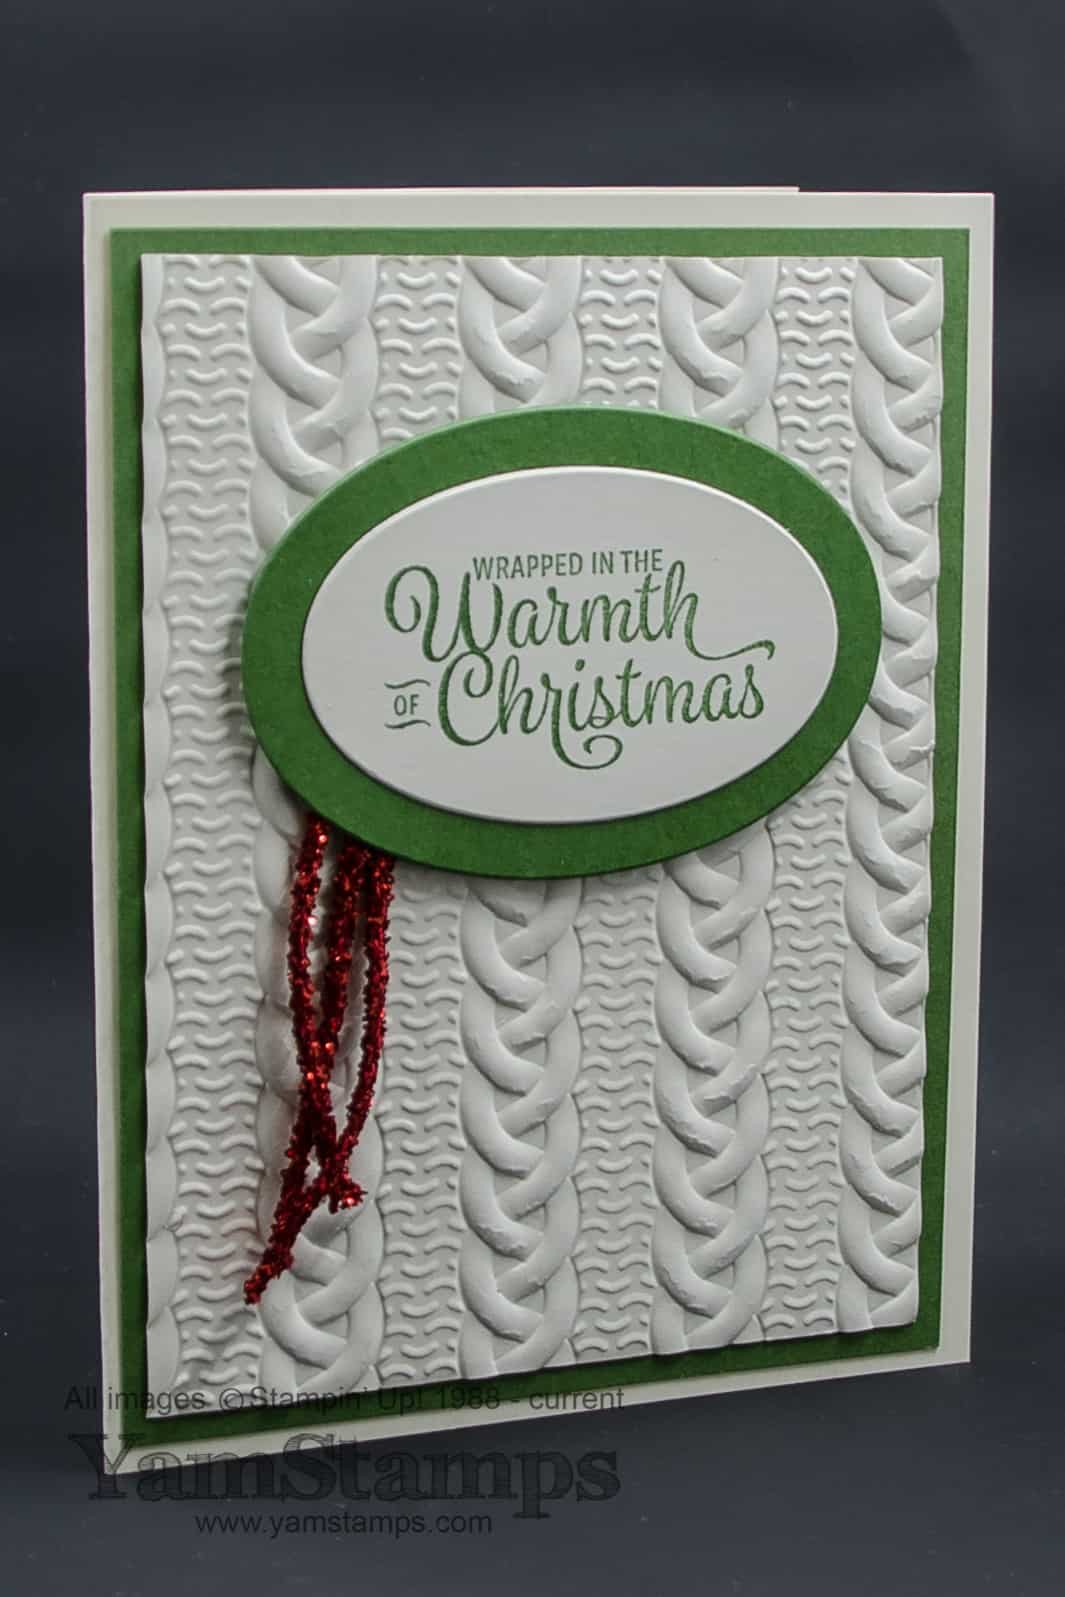
So here’s a fun and easy card to make that is also good for a Manic Monday (because it still is Monday right now, right?!). I still love this Cable Knit Embossing folder. Reminds me of the heavy wool sweater that my grandmother knit for me decades ago! I thought this sentiment from Snowflake Sentiments (available in wood mount or clear mount) was a perfect match for the folder! The set also coordinates with the Swirly Snowflakes Thinlits Dies, and is available in a wood mount bundle or clear mount bundle at a discounted price! Added a bit of bling with some of the Red tinsel from the Mini Tinsel Trim Combo Pack, which is currently on sale as part of the Year End Sales Event.
When you’re mass producing cards, it’s always good to be able to die cut or punch out your sentiment. Stamp first, then cut/punch. That way, you can “adjust” the angle of the framelit or punch so that your sentiment is perfectly straight every time! That little step saves a LOT of grief – at least for me! Of course, in the future, I’ll be able to use my Stamparatus (as long as it’s a clear mount or photopolymer stamp) to make sure that my sentiment is straight every time – so I may be a little bit more inclined to stamp my sentiment directly onto the card….we shall see. Have you reserved your Stamparatus yet? You have until December 30th to reserve your Stamparatus for delivery in the spring (you won’t get charged until it ships). If you don’t reserve one now, you’ll be able to purchase one when the next Annual Catalogue comes out (June, 2018). You can go to the YamStamps Online Stampin’ Up! Canada store now and reserve your Stamparatus!
In the meantime, the LAST of the Twelve Weeks of Christmas mailings goes out this week to mailing list subscribers! Plus the regular weekly dose of inspiration and information….are you on the list?
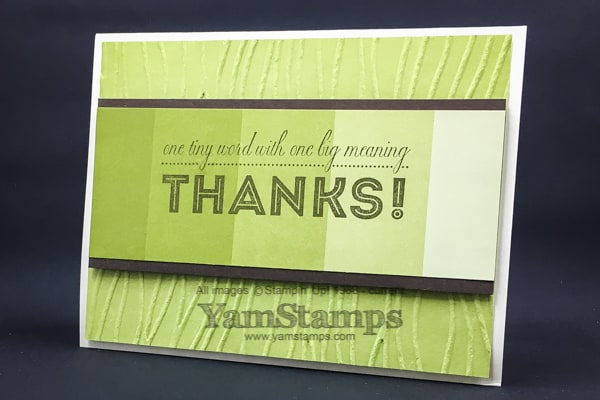
A quick and easy thank you card to share on a Manic Monday. One of the things I have been known to struggle with is sending cards. Not necessarily creating them, or writing them, or even mailing them, but actually keeping the flow going from step one to three! So I have to try to keep it as easy as possible for myself – hence this quick and easy thank you card! The less I have to do to get the card created, the less chance there is for me to get sidetracked along the way…..that’s the theory at least!!
The Colo(u)r Theory Designer Series Paper Stack makes this card stand out – without too much work. There’s a great choice of ombré patterned papers in different colours. You get four sheets of each of the double printed designs – and all the sheets are 6″ x 6″ so good for cardfronts! There are 48 sheets in all, so imagine how many of these quick and easy thank you cards you could make! This background cardstock is Old Olive, same colour as this particular sheet of Designer Series Paper, (no brain work involved in colour picking!), and embossed with the Seaside Embossing Folder. I aligned the ridges vertically so that they echoed the vertical lines of the ombré progression. The sentiment is from the One Big Meaning stamp set, available in wood mount or clear mount. It’s stamped in Early Espresso, which is also the cardstock behind the strip of Designer Series Paper.
A reminder that the Colo(u)r Theory Designer Series Paper is one of the papers included in the current Buy 3 Get 1 Free promotion! Until the end of the month on selected styles of Stampin’ Up! Designer Series Papers, you can buy three packages and get the fourth one for free! If you are entering the order yourself at the YamStamps Online Stampin’ Up! Canada store, you’ll want to enter the 3 most inexpensive papers FIRST (hint: Stacks), and have the most expensive paper (hint: Specialty Designer Series Paper) as the fourth one you enter, because that’s the one that will be free. And YES – you get to pick which one you get for free! So if you’ve had your eye on the Just Add Colo(u)r 12 x 12 Specialty Designer Series Paper, now is the time to grab it…because you could get it for free. Stampin’ Up! has new alcohol based markers coming soon (I’ll write more about them before you are able to purchase them on November 1st, don’t worry), so you can stock up on this colouring paper and be set to play with the new Stampin’ Blends!
If you’re attending the CreativFest / Scrapfest October 26 – 28, be sure to stop by my booth – I’ll have samples of all the selected Designer Series Papers that are part of the sale, so you can see them in person! (oh, and there may be a show special on orders….just saying…). See you soon!
Manic Mondays feature projects that can be done quickly – and Paper Pumpkin kits are a great way to get crafting! During Sale-a-Bration (until March 31st), you can also get a DEAL. The three month prepaid subscription is on sale for $74 CAD and you also qualify for a free Sale-a-Bration item! Each month, you’ll receive a box delivered to your door, full of everything that you need to create that month’s project! Past Paper Pumpkins have been kits to create cards, packaging, memory keeping projects, 3D items such as framed artwork….each month it’s a surprise! The great thing – everything you need is there. It comes with a small ink spot (great for travelling to crops, taking on trips or taking with you while you wait for others to finish practice/work/lesson/you name it), a stamp set, and the consumable product (paper, vellum, whatever!).
Here’s a peek at what the January kit was – just in time to create some fun Valentine’s Day packaging, but you can use the items in the kit to create other variations of the packaging or cards!
Paper Pumpkin subscribers can also purchase past kits and refills to replenish their supplies as available, so if you really like a certain project, you can create even more. Kits usually contain supplies to make multiple cards or smaller items; the larger projects are often limited to single items, but again, refill kits can be purchased to create more.
These kits are great if you want to craft, but don’t always have the “mental mojo” to come up with projects, or, like me, never know what’s going to happen, or what supplies you will need. In the past, I’ve had customers order them for their children or grandchildren – they can get together and make the project together! I did have one set of family members who each had their own subscription, and even though they were long distance from one another, could still craft “together” in their own homes.