The Making Plans Collection is available for free in July & August while supplies last!
I am an admitted planner addict. I love planners and I typically have at least 3 on the go. (Yes, probably too many). I have one for my healthcare job, one for my Stampin’ Up! business and one for almost everything else. So I was happy to be able to preorder the Making Plans Collection last month! Demonstrators were able to buy this before it was available this month as part of the Sale-a-Bration Starter Kit.
It’s an undated 18 month planner that you assemble (check out my video showing it below), plus an exclusive stamp set, stickers and 3 notebooks. I actually have to “use” the stickers and not hoard them. This is what I keep telling myself….LOL.
One more reminder – all Sale-a-Bration items are available while supplies last – and that includes this planner. So if you’d like this bonus on top of the deals in the starter kit (check out more information here), don’t hesitate!
Happy Planning! Please feel free to contact me if you have any questions about the Making Plans Collection, the starter kit, or any advice as to how I can stop the need to purchase more calendars and planners?!
See the painfully slow progress as I am organizing my craft room!
My son has recently returned home after finishing university (what? how fast was that?!) and we have switched out his bedroom and my craft room….so I’m in the process of organizing my craft room. Well, to be truthful, I’m still in the process of unpacking and placing, so I’m trying to organize at the same time – so it’s painfully slow. (Plus I’m still running my Stampers Club, making projects and shooting videos and photos for classes and social media, so you can imagine how efficient I am right now….LOL).
My new craft room is smaller than my old one (don’t judge me, I delusionally thought that he wouldn’t be living at home full time again), so I’m also downsizing. My retired product garage sale a while back did help to free up some space, but there’s still so much stuff!
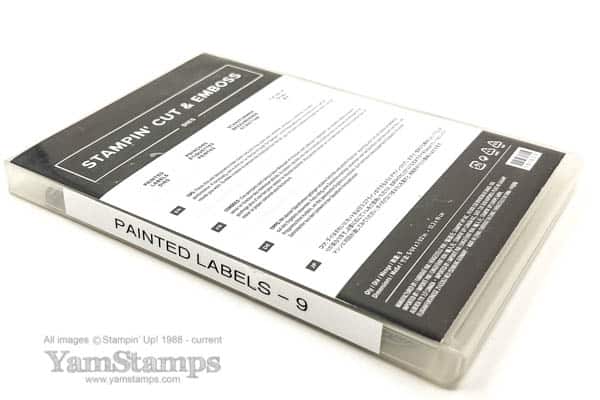
Organizing my craft room – old way of storing dies
I used to store my dies in stamp cases, with magnetic sheets inside, which is fine if you’ve got room. I’m a visual person, so I need to see what is there (and there’s no way I’m relying on my memory these days LOL!)
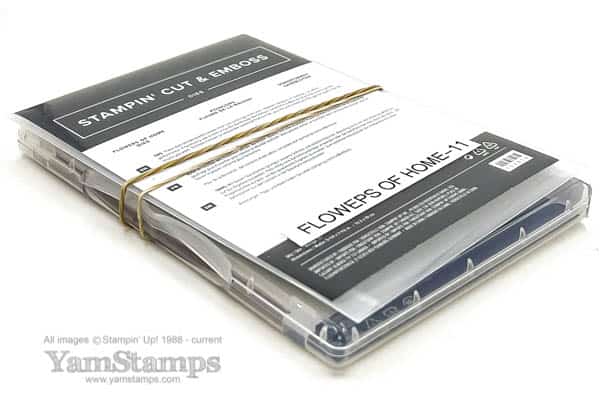
Organizing my craft room – storing dies now – ignore the typo on my label
For now, I’ve gone back to leaving them in their plastic sleeves; I add in a magnetic sheet if I have one, or if there was one in the case in which it used to be stored. I’m also using a rubber band to keep the stamp set and coordinating dies together (which also helps when I’m getting prepped for retired product sales, so I know what was bundled together!). I also use the labels to show the name of the dies in large print (because my eyes are not what they used to be), and how many dies are in the set (because I tend to take them out and leave them around).
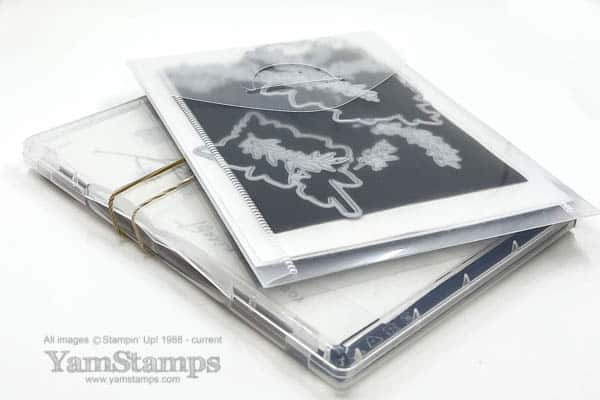
Organizing my craft room – dies with magnetic sheet
This process has just begun, and since it’s a “working craft room”, it means that sometimes organizing my craft room is the last thing on the priority list… I do have some time off from my “other” job so I am hoping to get a bit more organizing done.
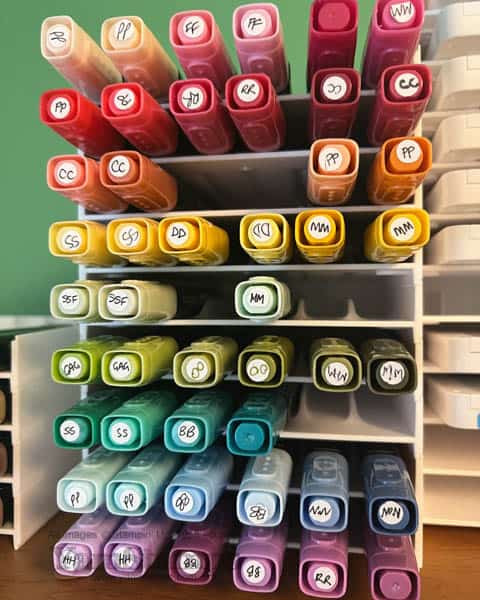
I recently finished the videos and projects for my Stampin’ Blends 101 Online Class so when I was putting my Blends markers away in the Blends Storage trays, I thought I would change how I stored them. I am a “Sort by Stampin’ Up! Colour Family and in Alphabetical Order” kind of girl, because I usually search for things by their name. For example, if I’m trying to coordinate ink/cardstock with a Designer Series Paper, I check which colours are used in the DSP (it’s on the backing sheet) and then I go grab those colours. For the Stampin’ Blends, when I’m colouring an image I often find I choose based on hue vs specific colours – “I need a green” vs “I need Old Olive” for example. So…..
Organizing My Craft Room – Stampin’ Blends
I was so brave and did the ROYGBV thing! OK, OK, you’re probably thinking “what’s brave about that?” but for me, this is stretching the boundaries a bit. You can see my little labels on the caps (because I still need to know what colour it is LOL). I did have them originally sorted by Stampin’ Up! Colour Family and in Alpha Order (because I’m me…), but I actually found that putting them away took longer because I had to read the label, remember what Colour Family they were in, and then put them in the right spot alphabetically. (and then I would often wonder if I was putting them in the right spot and had to move them around). Sometimes being slightly obsessive about these things is not good….LOL. So rainbow order it is for now! I also tried to go paler shades to darker shades….
Have any good organizing tricks? Throw them my way! Perhaps at some point in time I’ll have the craft room organized (and cleaned) enough to do a room tour. Don’t hold your breath, though, that’s going to take a while!!! I think the Blends are the best organized thing in the room so far LOL.
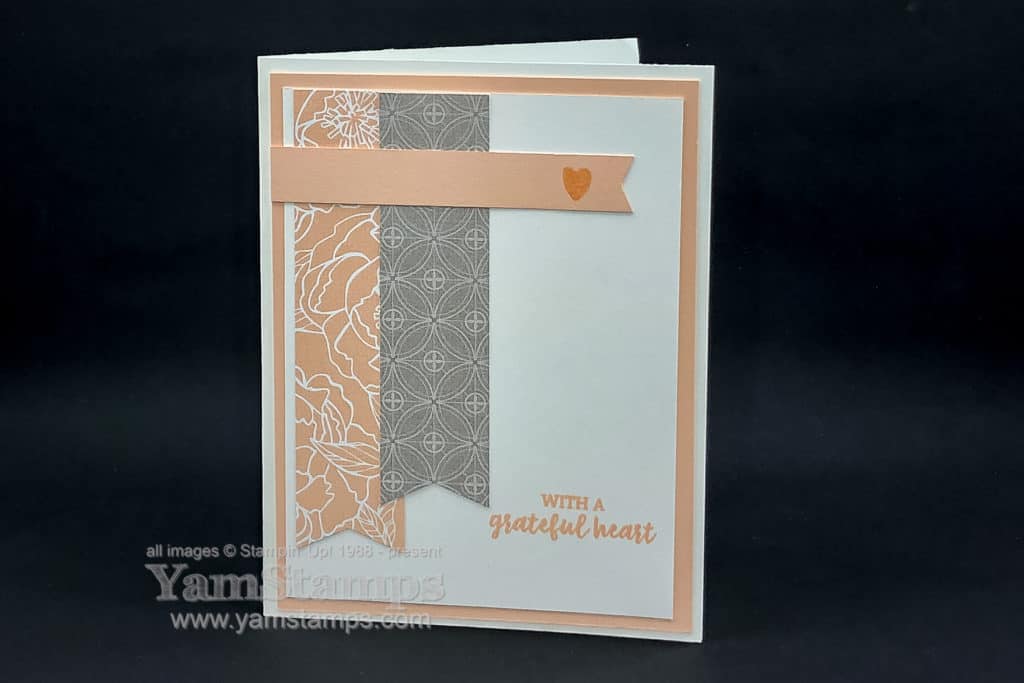
One of the things I love about being a Stampin’ Up! Demonstrator is the chance to get a head start on crafting with new products. Demonstrators were able to preorder from the August-December Mini Catalogue last month, so I’ve been able to create some projects to have ready to go this month. Here’s a pink and grey banners card with some new product – slightly different shade of pink than this pink & grey card that I made a little while back.
Stampin’ Up! has a number of punches that are designed to work with varying widths of cardstock. In all honesty, I can’t count on remembering what those widths are when I’m in the midst of creating something – so I’ve gotten into the habit of labelling those punches like in the photo below.
The Banners Pick a Punch will work on 0.5, 0.75 and 1 inch widths, so I labelled the top of the punch with those measurements. Makes my crafting quicker and easier! (Plus it makes me look organized…which is not always the case in reality haha). For the pink and grey banners card, I used a 0.5″ wide strip of Petal Pink Cardstock and 1″ wide strips of Designer Series Paper.
Have you checked out the new Stampin’ Up! site and store lately? The shortcut to shop online with me in Canada is still yamstamps.com/shop – and exciting – the new store supports online shopping if you’re living in Quebec!! If you’re a returning customer, you’ll have to enter your password the first time you go shopping, since your browser will not recognize the site since it’s been overhauled. If you can’t remember your password, you can always hit the password reset button (and then be sure to check your spam folder just in case – so you don’t miss the email!). If you have any questions or need assistance placing an order, you can always contact me.
I love Washi Tape for use on my paper crafting projects and in my organizer…but I also like to know what “set” it’s from – handy when I’m doing the class supply list! I use an open bin to store my washi and ribbons, but when the retired list came out or I was searching for an accent for a card, it was frustrating to figure out what set the tape came from, or if it was still available! (I told you, the quest to be organized is an ongoing one in my life, and often only small areas achieve it at any given time!!). So for Manic Monday, here’s my quick organizing tip for Washi Tape.
My solution (for now) – I used a piece of ribbon (retired) to keep all the washi together from one set, and stuck the label from the end of the tape roll to one end of the ribbon (it still had sticky left on it). This way, I can tell at a glance what tapes came together, and what set they’re from. I can go to the catalogue and easily look up what colours are in the tapes if I need/want. I can still store them in the open bin, too!
Hope this helps you, as well. If you have any organizing tips or problems, please share via the comments or email! I’m always looking for ideas…
For Manic Monday, I thought I could share an organization tip – because it might help the day be a little less crazy, AND it’s something you can do in a minute or less!
I have a love/hate affair going on with my stamp room. I do love it, lots of room and light, though it’s in sheer chaos most of the time – which is where the hate portion steps in. Nothing more frustrating than having to search for that item you need! Many of my friends have undertaken the “empty out the entire room, sort through everything and then put only what you love/need back into the room” approach. (You can read more about that in the Marie Kondo book, The Life-Changing Magic of Tidying Up: The Japanese Art of Decluttering and Organizing ) (and from this title, it’s SO obvious to me that I am far removed from my Japanese roots ROFLOL). I haven’t been able to muster up the courage to do that YET. In the meantime, I’m going to start using my Organizing Pinterest Board a bit more often! (Procrastinate much, me?!)
If you’re like me, when you get your new Stampin’ Up! products, you are so excited you tend to whip open the packaging to get to the fun new item inside…and then can’t find that little piece of folded paper in the chaos that gives you more information or instructions for your new item. In my case, it’s the Banner Triple Punch. Well, I did actually know where the piece of paper was, yay me, but I can see it easily getting waylaid or thrown into the recycling when I hit the “I can’t TAKE this mess anymore” level in my stamp room. Here’s my solution:
I recently got more tape (and batteries!) for my labeller (similar but different to this one in case you’re wondering: Brother PTD200 Home and Office Labeler) so have been able to use it a bit more in my office and stamp room area. I decided that the best place for information about a tool would be with the tool – so in this case, I printed a label with the size of the channels in the Banner Triple Punch, and adhered it in plain sight (though not on the top edge of the punch where I tend to grab it). Yay! No searching for the paper or trying to hold the punch by my Grid Paper to guesstimate the size – which means I’ll be faster and happier when creating something! Don’t forget though, you probably want to cut your cardstock a “smidge” narrower than the listed widths to be sure it fits snugly in the channels.
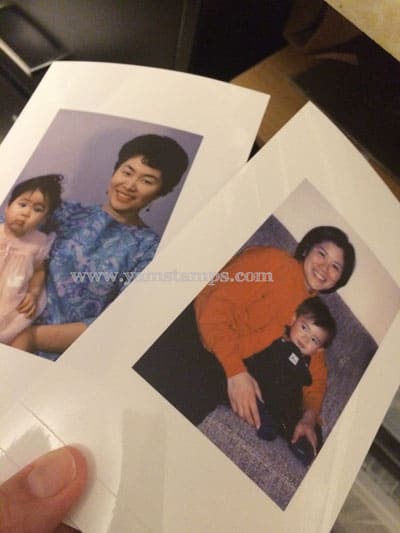
I was recently asked to prepare and submit some projects, for which I was inspired to do a scrapbook page featuring mothers. I went through my hard drive and photos, and found a photo of my mother and I (oh my goodness, look at my cheeks?!), and also a photo of my son and I (also the cute cheeks. and the diverted gaze because he’s watching something on TV, I’m pretty sure). I loved the symmetry in these shots and decided to use them on a page, which you’ll get to see in May (sorry, conditions of the project!!). It did strike me, though, that if I am surprised by the photos I find on my computer (and how hard I have to look to find what I want), that means there are many of my loved ones who have no idea that these images even exist. I read that due to digital photos, the current generation is the most photographed generation but likely to have no actual photographs in 10 years. This is fairly true for my son. I used to shoot on film, so had photos to share and frame, but these days, not so much… SO. This needs to change! GOAL: Photos printed, stories and names written down, and memories shared! I am going to be using the Project Life by Stampin’ Up! pocket pages and dedicating one hour a week to getting the photos out and the stories down. I figure that one hour is a do-able thing, and it is important. Will you join in my crusade? Who will be strong and stand with me…? (first one in gets to wave the big red flag…sorry, too many Les Mis references?)
If you want to give it a go, I can use the support!! LOL. I’m having a Photo Organizing and Memory Keeping Class one week today, on Thursday, April 16th. There’s no charge for this brief event, but you do need to register via RSVP. I’ll share my results to date at that class, and you can see how easy this system can be.