If you follow YamStamps on Facebook, you’ll know that I love sharing “Days” on the page – like today, which is Mario Day! MAR-1-0 – get it? Someone very clever (presuming someone at Nintendo) came up with that one! It inspired me to create a quick and easy Mario themed card!
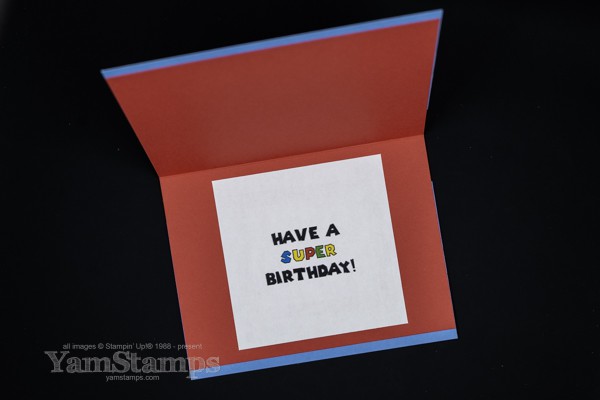
I cut the Azure Afternoon Cardstock to resemble overalls, added a Poppy Parade inner card and used the cut outs from a number 8 from the Alphabet A La Mode Dies for the overall buttons. I found a free font on the web that resembled the Mario lettering and used that to create a sentiment that I stuck on the inside of the card – and it’s a SUPER card for a Nintendo lover!
I thought the overalls theme would be the easiest to use for a card – and going with this, you could also easily make a matching Luigi card by using a green inner card rather than a red one!
Did you play a lot of Mario games in the past – or are you still playing them? I played more when my son was younger since we would play together….and I do remember playing Super Mario Universe on my own after he’d gone to bed because I really wanted to beat certain levels. (I can be a little goal oriented that way I guess!!). We also played Mario Kart and Mario Party with a group, which was fun (though our family can get a little competitive at times!!). Must be a genetic thing.
Check out the quick Mario Day card video I did of the card making process – I shared it pretty much everywhere….YouTube, Tik Tok, Instagram and Facebook….and now here on YamStamps.com as well! I like being able to create quick videos and then find some appropriate and fun music to use with them….though a bunch of my TikToks are now quiet (they even removed MY voice in some of the voice overs) because they’ve stopped allowing Universal Music for Tik Toks (and apparently I used a bunch of their songs). I might get around to picking new music for them at some point (or maybe the music will be allowed again at some point in the future??). Anyway, for now, at least, the Mario Day video has sound!!
Save this so you can remember to make a Mario themed card for the game lover in your life!
Check out this video on prepping & storing your stamps (CC should be available as an option if that helps you). If you would rather, you can watch it on the YamStamps YouTube channel. I’ll also be posting a quick short version on labelling your stamps if you like bite sized information!
Hope the video helps you with some options for prepping & storing your stamps – because it’s always easier to create when your materials are easily identified and located!
The featured stamp set is Everyday Thanks (seen in the video) – it’s a cute line art stamp that you can use for simple black and white or colour with your choice of colouring media. If you purchase this stamp set before 10 August 2023 using the host code EJKBHBFX, I’ll send you a tutorial for a project featuring this stamp set. (Hint: Click on the link and it should apply everything for you).
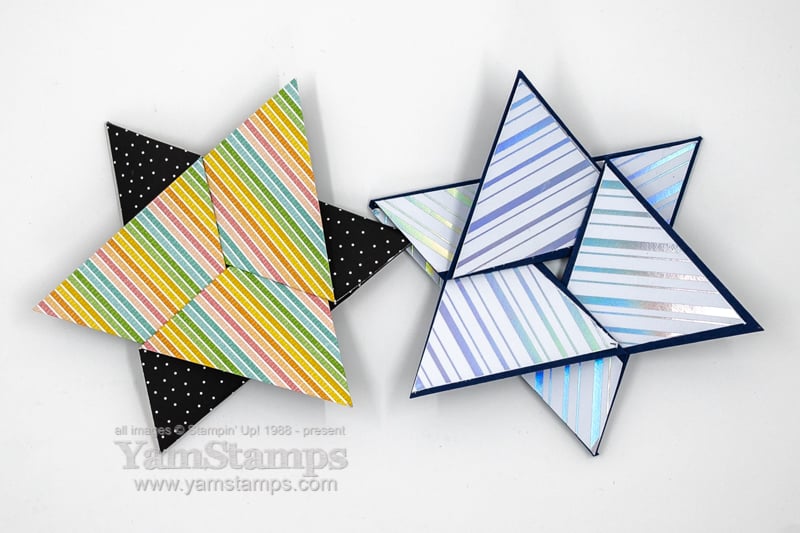
Check out this fun fold card tutorial video – easy and impressive – great for Hanukkah or any special occasion!
If you are on my mailing list – first of all, THANK YOU, and second of all, you may remember that you get access to a free exclusive tutorial when you signed up. Every once in a while I change out the freebie, so I figured I could share previous tutorials with everyone. I love this particular project, and a friend recently pointed out that it could be a Hanukkah card! So it seemed appropriate to make a previous project public and share this fun fold card tutorial video at this time of year.
Hope you enjoy it! If you have any questions, please feel free to contact me. If you’d like to check out the latest new subscriber tutorial,sign up for my emails! You can use the box at the top of the YamStamps site, or click here. (If you’re already a subscriber – thanks and watch for the link to the current project in an upcoming email). If you’re interested in other fun fold card tutorial videos, you may want to consider grabbing one of my Online Classes – there’s a few fancy/fun fold card classes – you can see the list at YamStampsMore.com.
I know this is a busy time of year, so thank you for stopping by my corner of the cyberworld. I hope that you are able to spend some time with family and friends, and have a few days to catch your breath before we head into 2023!!
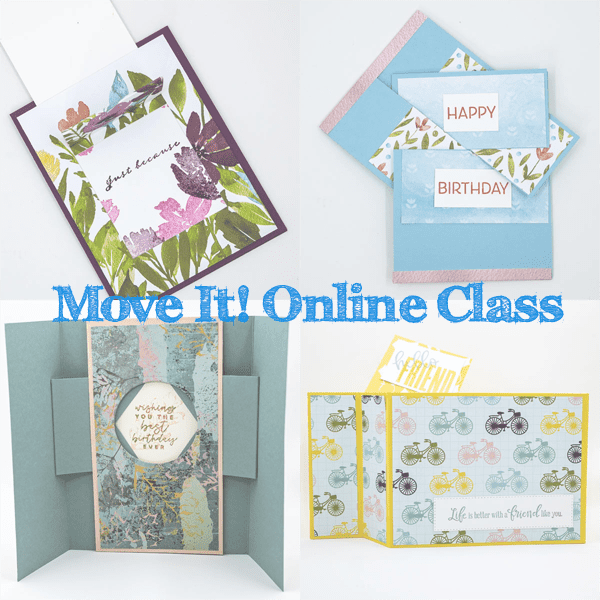
Early Bird Pricing is now on for my next Online Class – MOVE IT! Featuring four different kinetic creations – all these cards have movement and are interactive. Lots of fun for the person creating it – and the person receiving the finished work of art!!
MOVE IT! Online Class
The class officially launched Thursday 8 September, but if you register before then, you’ll pay just $20 for lifetime access! Once class launches, the price will be $30 – but you’ll save $10 during prelaunch pricing!
All these cards are created using basic paper crafting tools. You can use punches or die cuts to customize your card if you like! If I do use a die during the creation of a card, I’ll always mention other ways to get a similar effect using a punch or paper trimmer, because it’s not mandatory to have fancy equipment to make these fancy cards!
Since it’s an online class, you can use your stash of paper crafting products, though I always indicate what I’ve used for the class samples. You can watch and re-watch the videos and the accompanying materials as you need – whenever you have the chance and as long as you have an internet connection!
You can check out more information about the class and register here – https://go.yamstampsmore.com/moveit . If you still have any questions after checking out the page, you can always contact me. Hope to “see you” in class!
Here’s a Paper Trimmer Tip to help you get cleaner cuts!
If you notice that your cuts are not clean – here’s a Paper Trimmer Tip (or two) to help you clean up your act! It’s Tool Tip Tuesday!
I’ve had my Stampin’ Up! Paper Trimmer since it came out – I guess you could say I was an “early adopter”. Or perhaps you would just call me a Stampin’ Up! Demonstrator! LOL. Anyway – as I was prepping for a class, I noticed that the edges of my cardstock and Designer Series Paper were looking a little raged when I cut them with the Trimmer. In all honesty, I don’t think I had ever replaced the cutting blade…..
So I did a little work and found that my Trimmer could regain it’s former glory….at least until my Replacement Cutting Blades arrive!
In brief – order new blades; clean out the blade guide channel; turn the blade 180 degrees! Hope that this Paper Trimmer Tip helps you! Remember that if you need to order those replacement blades (or would like to get a Paper Trimmer) – shortcut to shopping is https://yamstamps.com/shop – or message me for assistance placing an order, if you’d like to pay by etransfer, or if you have any questions about paper crafting tools!!
Make an easy and elegant decorative beaded element to dress up your next card or project!
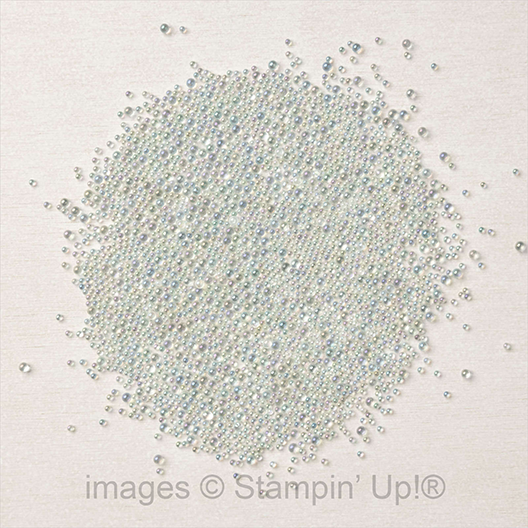
Have you seen the Effervescent Elements in Stampin’ Up! Canada’s 2022-2023 Annual Catalogue? They’re one of my favourite new products! I used them to create a beautiful decorative beaded element for a recent card design.
Effervescent Elements
Word of warning, though. If you’re going to use these, you’ll want to work with them inside a box lid or something that will contain them – because they TRAVEL. I used the tray from the new Embossing Kit (available starting tomorrow in the Stampin’ Up! July-December 2022 Mini Catalogue).
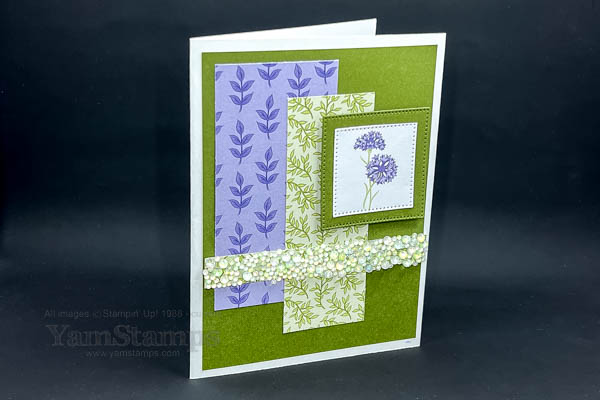
I used them to create a beautiful decorative beaded element on a card that I designed featuring new product from the July-August Sale-a-Bration catalogue (starting tomorrow too!).
The card was for a recent Demonstrator-only card swap. I feature some of the cards I receive in these swaps on the Sunday Swap Feature on the YamStamps Facebook Page and on the Sunday Swap Page here on the YamStamps site. Here’s the card I made – featuring the Wonderful World Designer Series Paper that is part of the bundle that you can select for free with a $120 product purchase during July and August Sale-a-Bration.
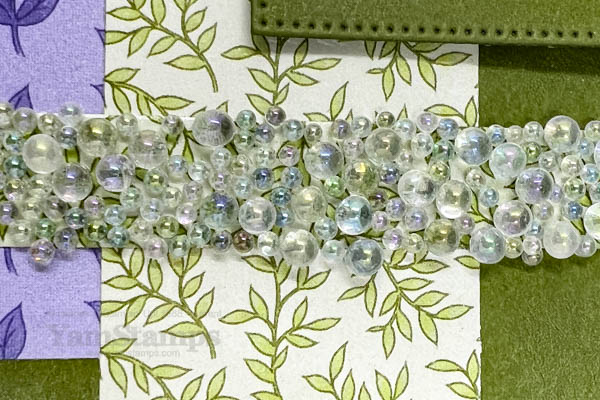
I used an adhesive sheet to cover the Designer Series Paper, and then after cutting to the size I wanted, I removed the liner and added the beads onto the sticky surface. I liked using the patterned paper underneath because I think it adds extra dimension to the beaded piece – plus if I happen to lose any beads, it still looks pretty and the gap isn’t overly obvious because of the underlying pattern.
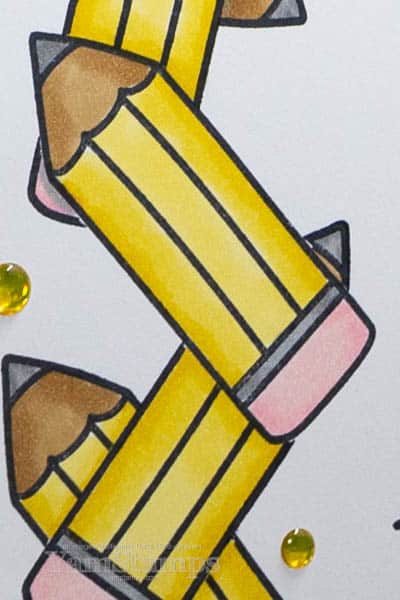
decorative beaded element close up
I tend to like shiny things but I also dislike any crafting that’s too messy (glitter being the prime suspect here) – so the Effervescent Elements beads are okay in my books – as long as I use them in my powder tray or a box lid. Even if they run away a bit, I can pick them up and put them back into the container without too much of a fight.