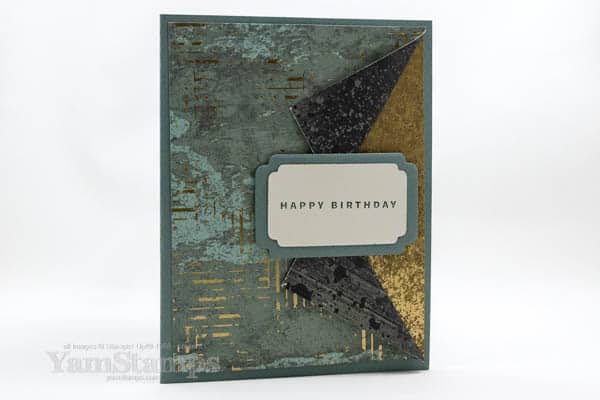
This double sided paper card shows off both sides of the paper and makes for a quick and easy card!
This card layout is perfect with Stampin’ Up!’s two sided papers – this double sided paper card design is easy and impressive!
double sided paper card design
Most of Stampin’ Up!’s patterned papers are double sided – and this card design is perfect for them! I often have a hard time deciding which side of the paper to showcase, so this lets me feature both of them (OK one more so than the other, but at least I don’t have to bury one side totally). For this particular card, I used the Texture Chic Specialty Designer Series Paper and then added a small strip of the Distressed Gold Specialty Paper in behind to pull out the gold features in the paper and to make everything a little more special! I gave detailed instructions on this card design in a previous YamStamps Newsletter (subscribe so you don’t miss out on future tutorials), but the quick version – make a slit in your DSP and then fold back on a diagonal, and adhere the flaps in place.
For this double sided paper card design, I added the sentiment and dies from the Something Fancy Discounted Bundle (which includes the Something Fancy stamp set and coordinating Something Fancy dies). I like that the bundle is “gender neutral” which means I can get more bang for my crafting buck – it can be used for anyone on my card list, and there’s a number of different card-giving occasions covered, too!
If you purchase the Something Fancy Discounted Bundle by 28 February, you’ll also qualify to pick a free Sale-a-Bration item! That’s definitely a way to get more bang for your crafting buck! A reminder that Sale-a-Bration items are available until the end of the month OR until supply is exhausted. The Dainty Flowers Designer Series Paper was definitely the most popular pick amongst my customers, and obviously others liked it too, because it’s no longer available. So if there’s something remaining on your Sale-a-Bration wish list, you’ll want to grab it sooner rather than later! You can shop online 24/7 and have your item delivered directly to your (Canadian) door from the YamStamps Online Stampin’ Up! Canada store – shortcut is yamstamps.com/shop. Grab the supplies to make your own version of this double sided paper card design! If you need assistance placing your order, or would like to pay by etransfer, you can email me and I’m happy to help (though I may not be as 24/7 as the online store links LOL!!!).
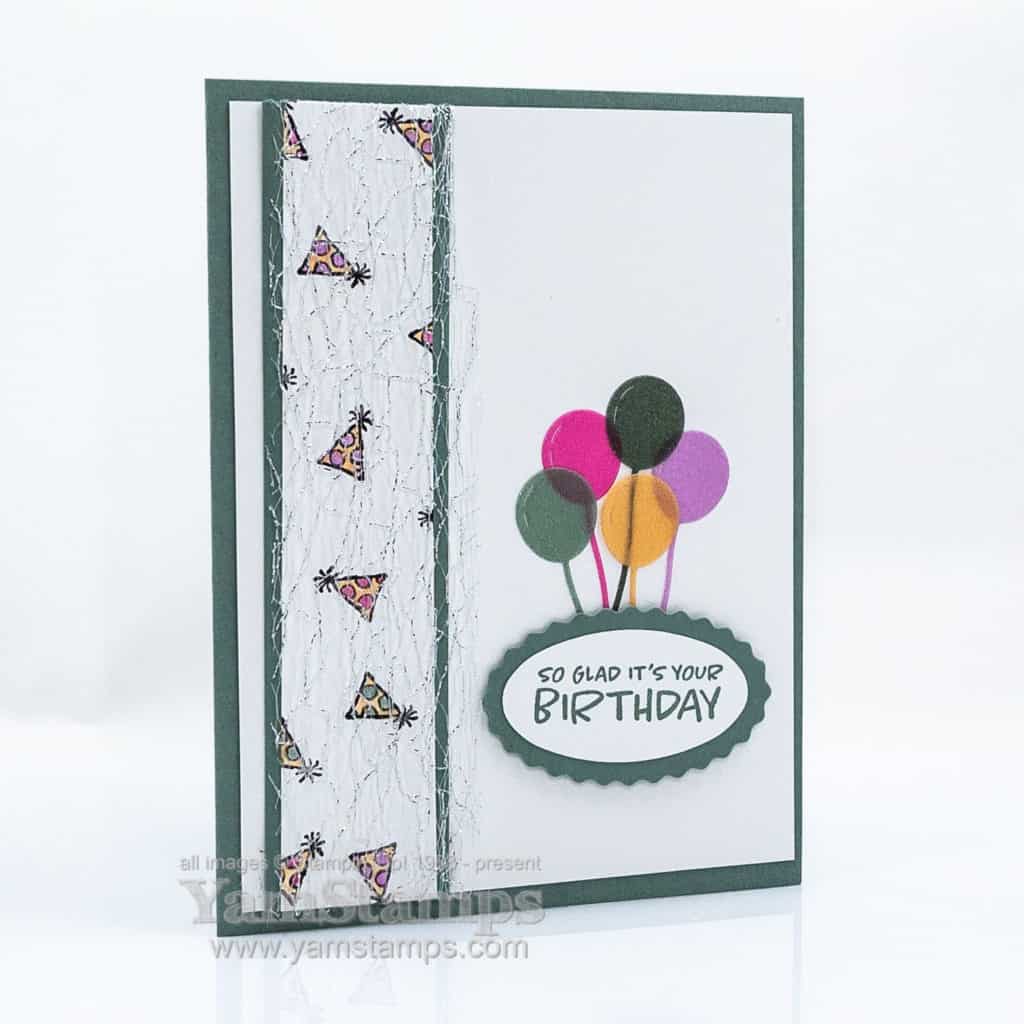
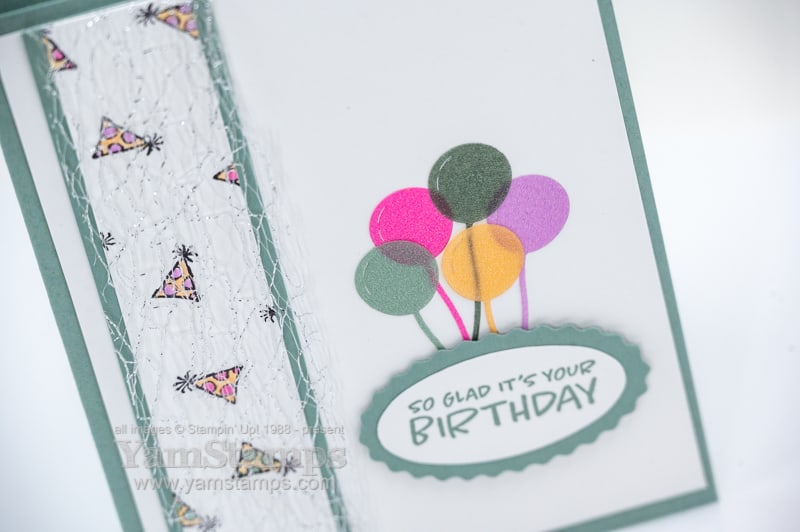
I used Stampin’ Up!’s Counting Sheep stamp set and coordinating Sheep Dies to make this fun balloon birthdaycard – a non-sheep based project!
Balloon Birthday Card
The Counting Sheep stamp set and the Sheep Dies are both Level One Sale-a-Bration items – so you can pick one of them with a $60CAD product order (before shipping/taxes) – so if you wanted both of these items and didn’t want to wait, a $120CAD product order would entitle you to two Level one items – so you could get both (plus enough supplies to make a whole bunch of these cards!).
My favourite feature on this balloon birthday card is the balloons (hence the title of this post!). I die cut them (the Sheep Dies include a balloon die) from the 2021-2023 In Color Shimmer Vellum. I think that the translucent shimmer makes for some realistic type balloons – and I made sure to overlap the balloons to show off the their translucency. I used the Adhesive Sheets on the back of the Vellum (and there is definitely a back and front to this vellum) so that when the balloons are adhered in place, you really can’t see any evidence of the adhesive at all. Love it!
Sale-a-Bration runs until September 30, 2021, but Stampin’ Up! have advised us that certain items will not be guaranteed until the end of the period – the Sheep Dies are one of them – so if you have your eye set on them, or want to create your own Balloon Birthday Card, you’ll want to be sure that they are one of your first Sale-a-Bration picks…and save some of your others for your later orders. Online shopping shortcut is https://yamstamps.com/shop for 24/7 shopping in Canada (Canadian addresses only, due to Stampin’ Up! regulations). If you would like assistance placing your order or want to pay by etransfer, you can always message me. Happy Sale-a-Bration!
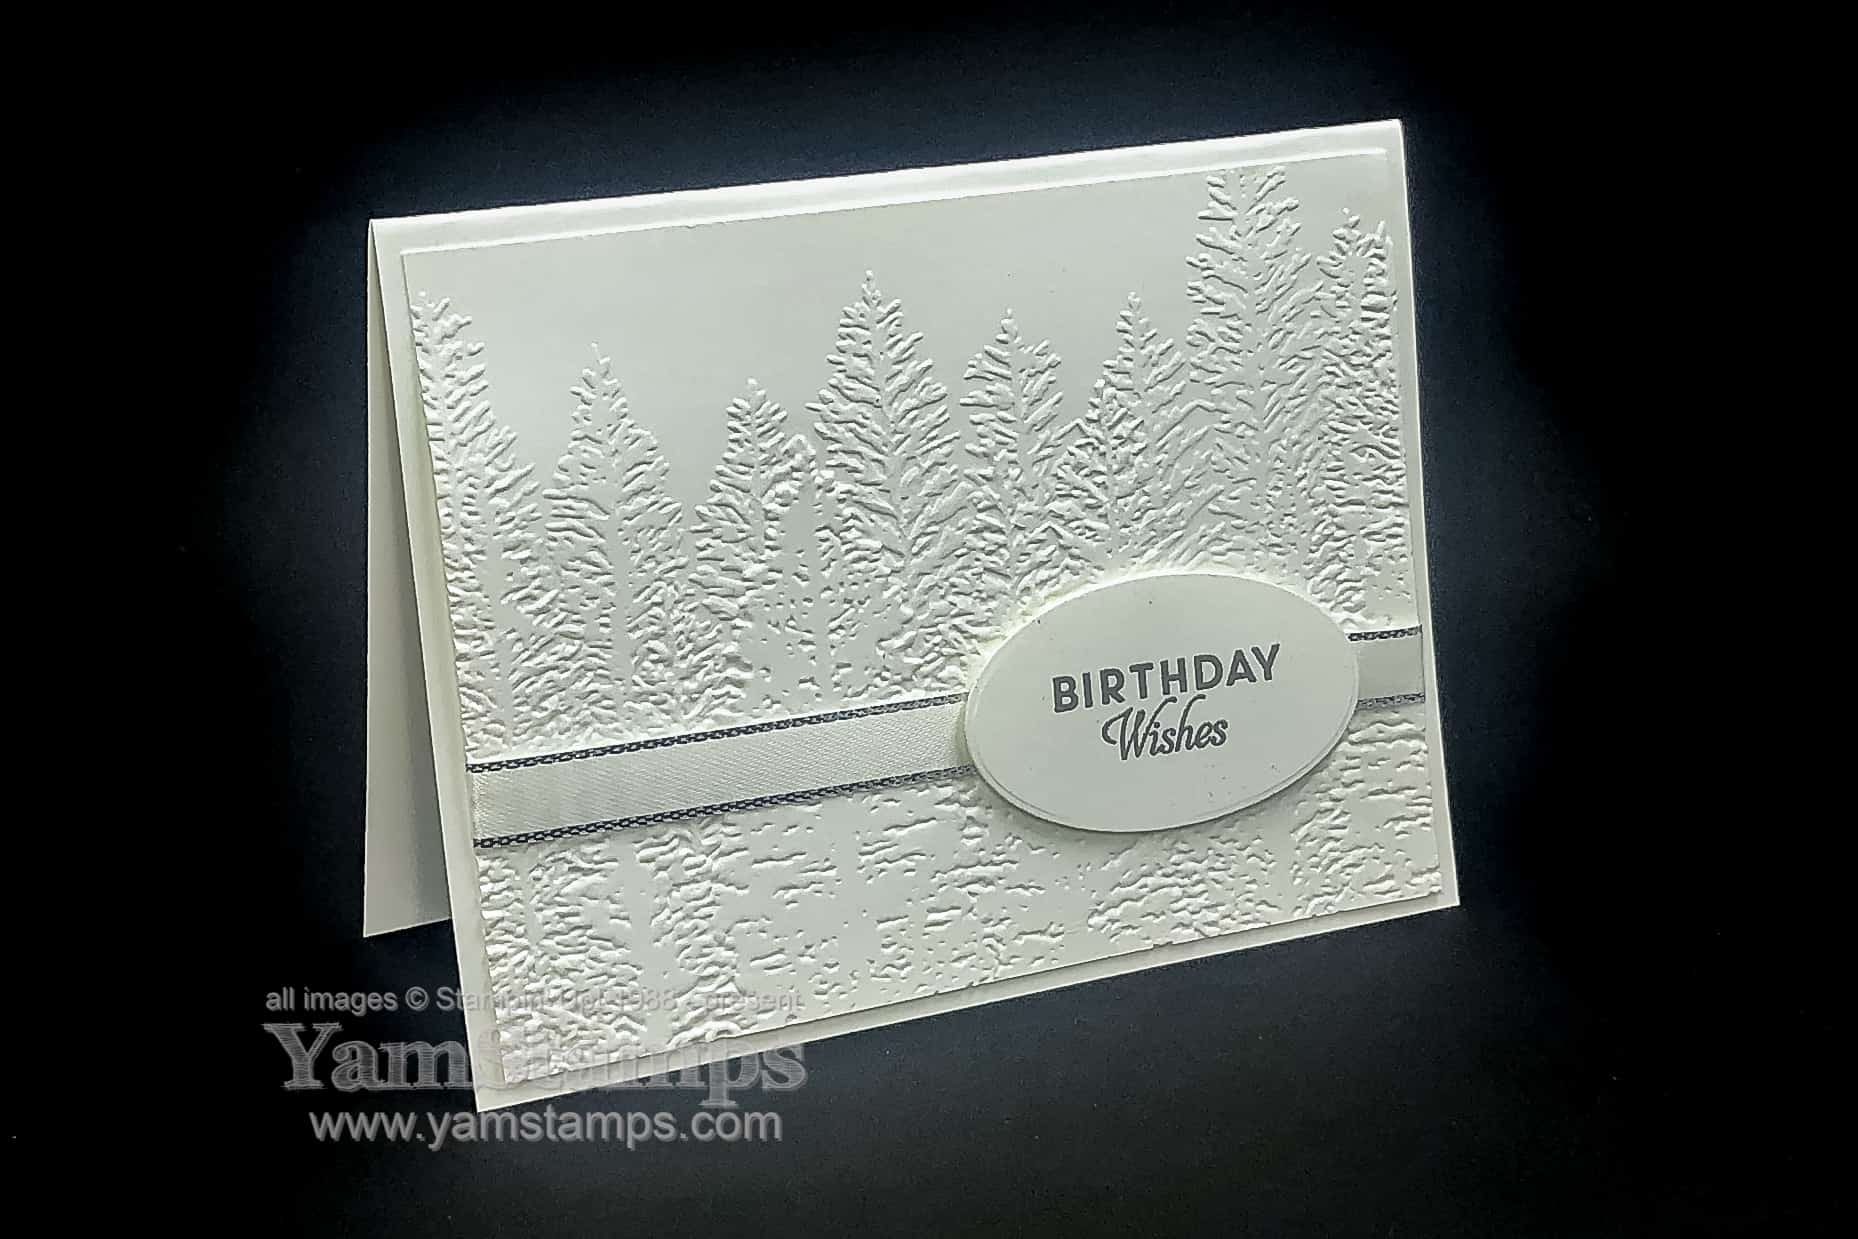
I created this card before hearing the news that Whisper White cardstock/products are discontinued due to the closing of the factory producing it….but I am sharing this all white card in celebration of the product. (Plus at time of writing, Whisper White cardstock is still showing in the YamStamps Online Stampin’ Up! Canada store…)
All White Card
I love the elegance of monochromatic themes – and an all white card is definitely elegant. When making a one colour card, though, I do find it important to use texture or something to help it stand out a bit more. The Evergreen Forest 3D Embossing Folder gives a lot of detail to the cardstock, so I thought it was great to use as a backdrop. To keep things super simple, I added the Silver 3/8″ Metallic Edge Ribbon and the sentiment from Butterfly Wishes in Smoky Slate Ink on a Layering Ovals Die Cut. I think maybe next time I might add either a heat embossed silver edge or a Silver Foil Oval behind the sentiment to give it more definition.
You could use this card design with any single colour you like – though if you’re using a darker cardstock you may want to heat emboss your sentiment so it stands out, and add a lighter coloured cardstock insert inside the card so your message will be readable.
This is one of December’s Stampers Club cards – though really I should maybe start calling it “Card Club” because in the day and age right now of virtual gatherings, we tend to focus more on card making techniques and die cuts, which I can send out to everyone in their class packets (Stampin’ Up! regulations prohibit us from sending out pre-stamped images). It’s fun to see each other on our Zoom get togethers as we make the cards together (or watch everyone else make them and make them in our own time later on LOL). I record our Zooms and then upload them to our club website so that members can access them after the fact. If you’re interested in joining us, you can start at any time for a six month period. Since our meetings are online, you can join from anywhere in Canada. You can contact me for more information on how to join us.
In the meantime, maybe I’ll create another all white card with Whisper White Cardstock until Stampin’ Up!’s replacement is available – it will be called Basic White. Looking forward to seeing what it’s like!
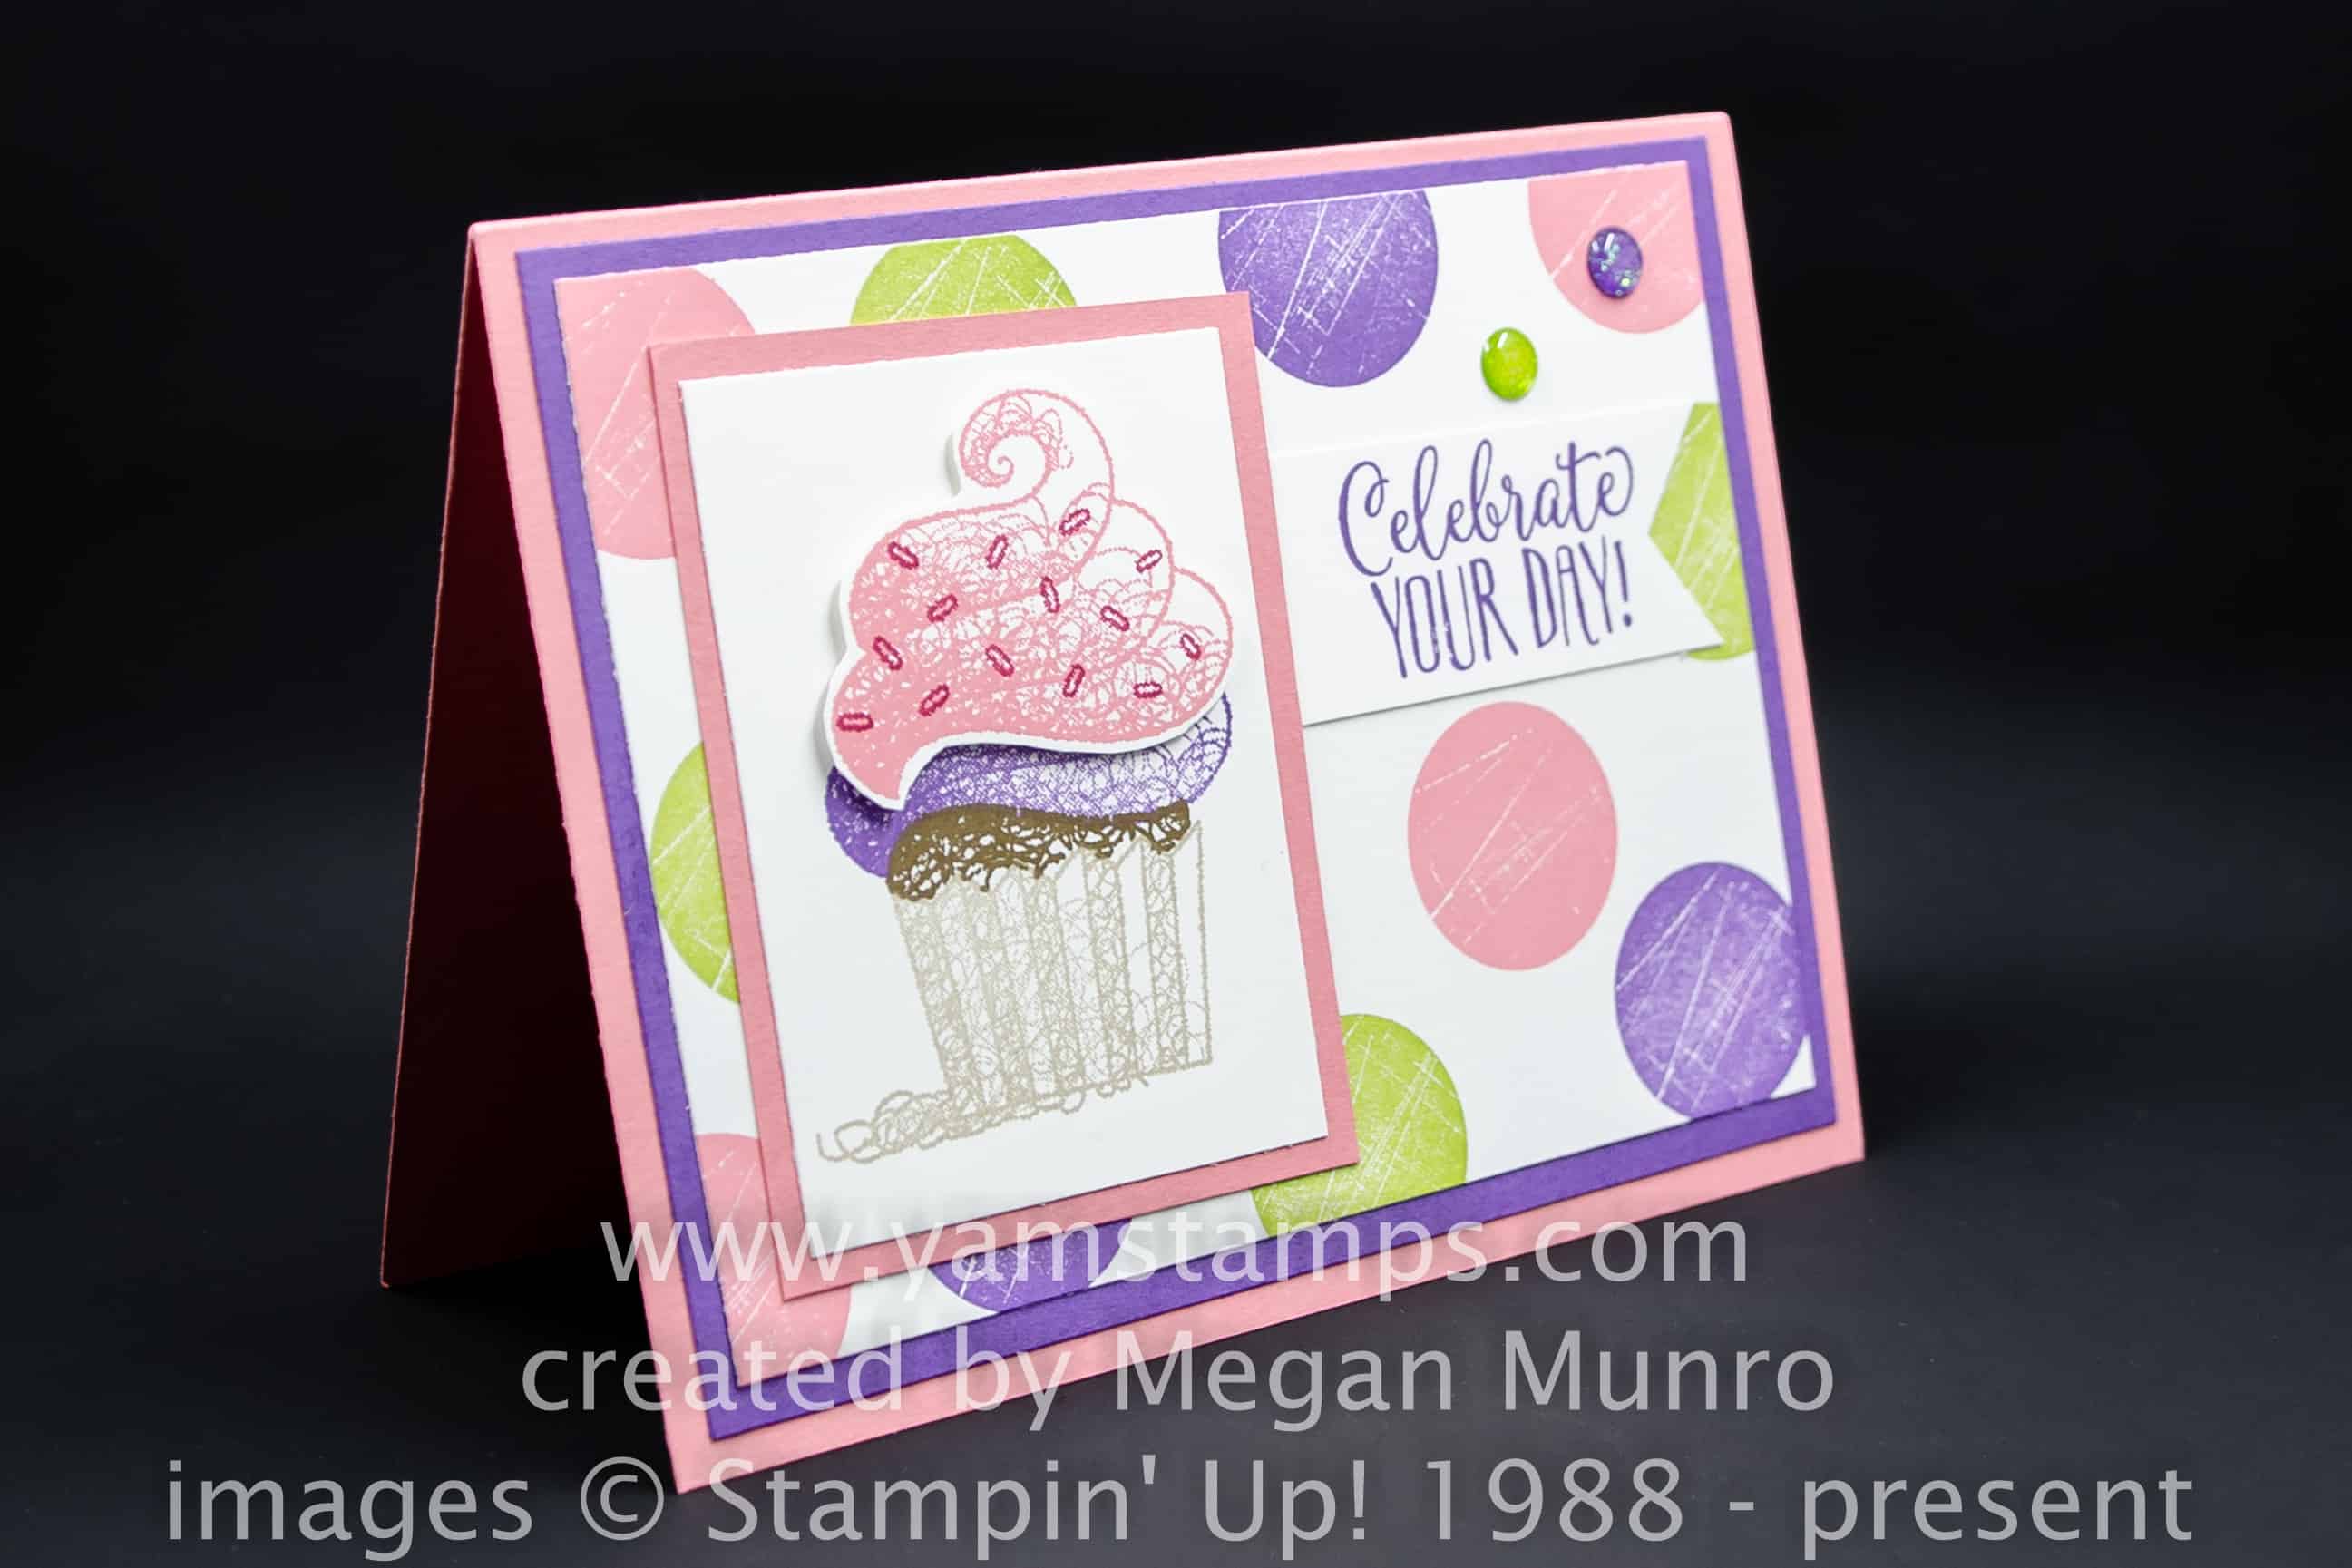
Hey cupcake!Send a sweet greeting to a friend using Stampin’ Up!’s Hello Cupcake photopolymer stamp set. This is a Level 1 Sale-a-Bration reward that you can select for free with a product purchase of $60 CAD.
It’s Sunday, so that means a Sunday Swap Share – like this card created by Megan Munro. (Check out the YamStamps Facebook Page, where I’ll be posting a different cupcake card idea!). Apparently there’s also some sort of a sporting event happening today, but since it’s not the Olympics, I’m not really keeping track…
It’s such a fun card! Love the Glitter Enamel Dots accents. Also – true confessions – I can’t figure out what paper or set she used as the background paper, so if you can, let me know…LOL. **EDITED TO ADD: Thanks Linda Snyder! She was diligent and actually contacted Megan (haha why didn’t I think of that?!) and Megan kindly responded and let us know that she used the stamp “Wood Words” (available in red rubber clear mount or red rubber wood mount) to create the background!!**
One thing to notice on this card and the one I’m sharing on Facebook – both creators took the time to “fussy cut” the icing image. If you know me, that will often knock a card out of “I’m going to copy this card” contention. HOWEVER – starting in March, Stampin’ Up! will be featuring some limited time items that coordinate with Sale-a-Bration products – including FRAMELITS for the Hello Cupcake set!! So hey cupcake, guess what card is now back in the “copy” category for me?! These items will be available for purchase as of March 1 – and I will definitely post more information closer to that time.
In the meantime, I’ll try to stay focused while I’m waiting for my product preorder to arrive! One of the fun aspects of being a demonstrator is that we can preorder upcoming products ahead of their general release. This is in order to give us a chance to come up with some fun samples and prep to use them in clubs and classes (or just to have fun playing with the product ourselves….LOL).
If you’re interested in hearing more about becoming a Stampin’ Up! demonstrator with my group, you can RSVP for my free Information Evening! The next one will be held Thursday, February 7 at 7pm. You’ll find out more about what’s involved and how I can help you run your business in a way that works for you. If you can’t make that time, contact me to set up a different time to meet up, or check out my FAQ page here.
Oh – and hey cupcake, don’t forget to visit the YamStamps Facebook page to see another cupcake card sample! Happy Superbowl Sunday 🙂
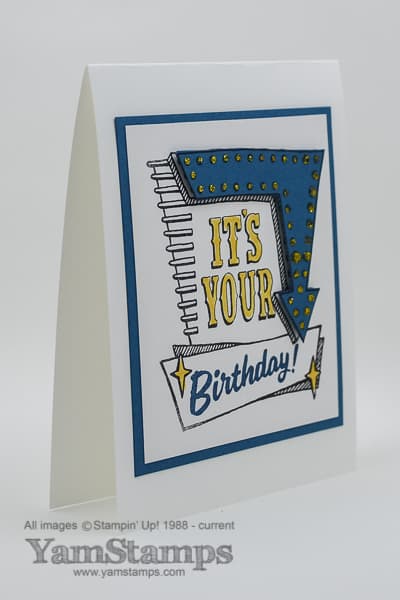
I love the fun retro feel of Stampin’ Up!’s Marquee Messages set. Paired here with one of the 2016-2018 In Colours, Dapper Denim, it makes for a great card – I like this especially for a teenager because it’s not too cutesy and not too serious. There’s a bit of colouring (love the brush tip end of the Stampin’ Write markers for that) and a bit of *gasp* fussy cutting – but it’s straight lines so it’s not too complicated, really! A bit of bling with the Gold Glitz Dazzling Details and it’s done. Just be sure to allow for drying time for the Dazzling Details, especially if you get a bit heavy handed at times…like me…LOL.
OK I’m totally getting back on track with my blogging….this month so far I’ve taken some time to be with friends and family, and I spent the past two weeks with the TV on a LOT, watching the Olympics, so now it’s back to the “real world”, and getting my son ready to go back to the “real world” as well (aka BACK TO SCHOOL!). I’m going to have a give away in the next while as well, so I’m getting myself all organized for that as well! In the meantime, later today is the August Christmas Card Class! I should dig out my Christmas music and play it while we create our cards with the “This Christmas” Designer Series Paper, don’t you think?! Ho ho ho four months until Christmas Eve!!