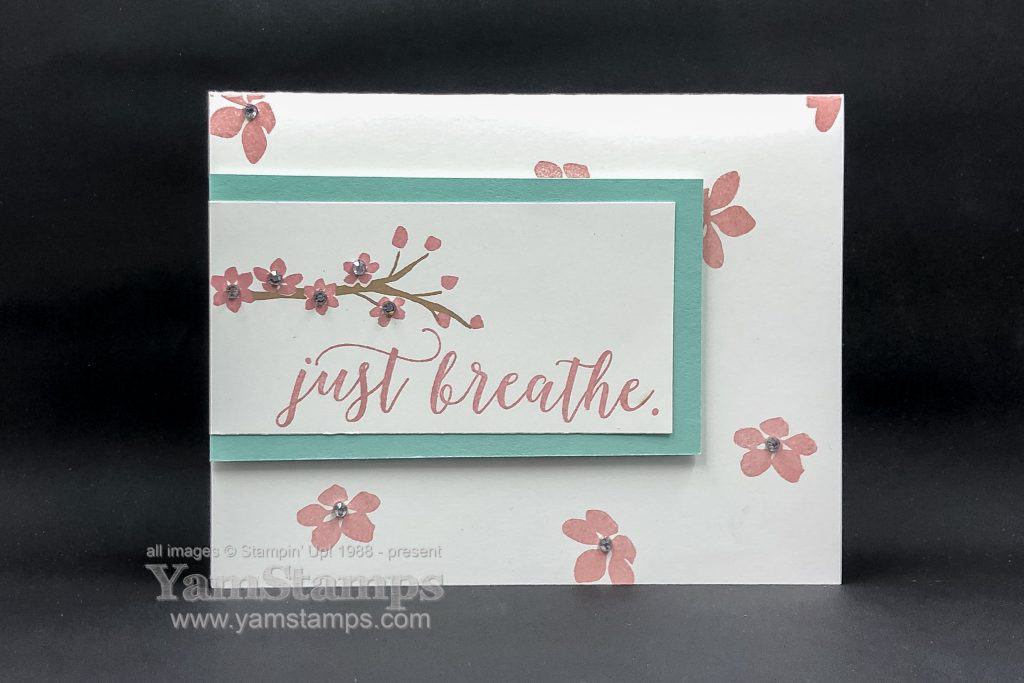
Happy Easter! Happy Passover! Happy Spring! I hope that you are able to enjoy this long weekend however you are celebrating. Today I’m sharing this cherry blossom card, created with the Colo(u)rful Seasons stamp set. If you stopped by my booth at the Kitchener Scrapfest, you may have made this tag as your make and take – and I’ve turned it into a card!
First of all, I did offset the tag on the Pool Party Cardstock background, so it’s a little different than the sample we shared at the YamStamps Scrapfest Booth. Other than that, I still used the Stamparatus to stamp the branch, blossoms and sentiment in place on the tag. I stamped the other flowers randomly across the cardfront, and then wanted to step it up a bit, so I added Rhinestone Basic Jewels to most of the visible full flowers. I think that the white space helps give that “breathe” type feeling to the design.
Happily, this stamp set is NOT retiring – so it will still be available when the new catalogue is in effect on June 4th. You’ll be able to create another version of a cherry blossom card, or a falling leaves card, snowflake card, or a beach card…because this set has all the seasons covered!
Do you want a copy of the new Stampin’ Up! Annual Catalogue? If you’ve placed an order with me in the past year, I will automatically put you on my list to receive a new catalogue. Otherwise, if you don’t already have a Stampin’ Up! Canada demonstrator, please fill out this questionnaire or go to yamstamps.com/2019catalogue and I’ll get in touch with you!
OK I am off to make a lemon meringue pie for Easter Dinner dessert – wish me luck, it’s been a while since I did meringue pie, and I don’t have one of those fancy, cheffy-type mini blow torch thingies. In the tradition of the Great British Bake Off, though, I will definitely aim for “no soggy bottom” on my pie.
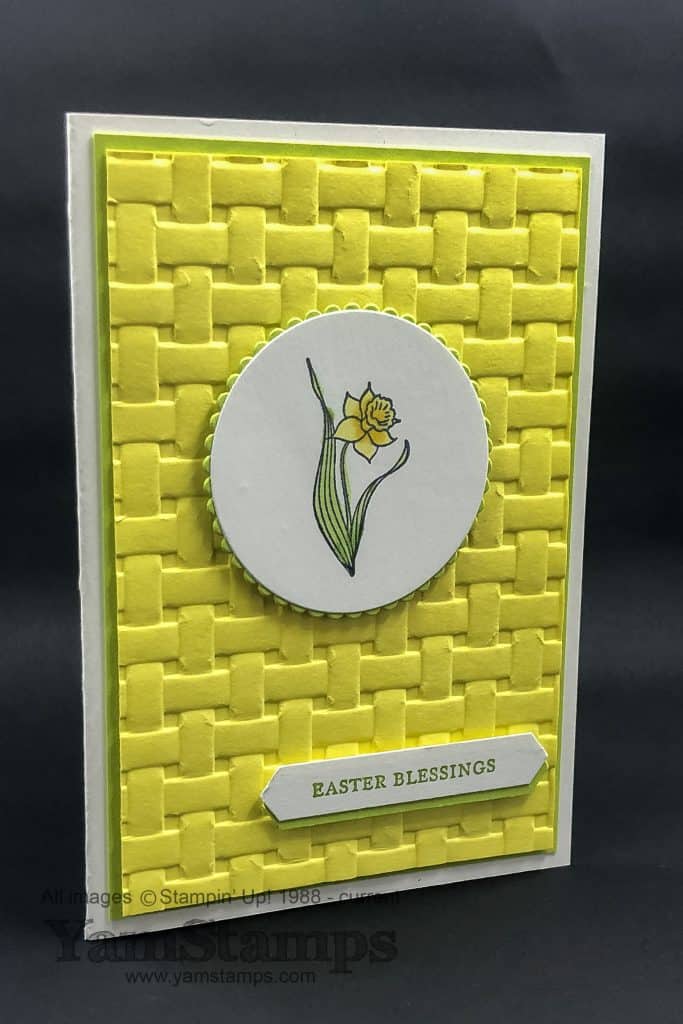
Thought I’d share thiseasy springtime card or Easter card – depending on whether or not you use the Easter sentiment!
If you stopped by the YamStamps booth at Kitchener Scrapfest this past weekend, you may have seen a version of this card on my display board! It’s one of April’s class cards.
One of the things I love about making cards is that I have the fun of making the card, and the recipient has the fun of receiving a handmade card. Anne, of the demonstrators in my group, told a story about how a family member still has a handmade Christmas card displayed on her fridge because it reminds her how much Anne loves her! I think that’s a fantastic sentiment.
This card was particularly fun because the flower is coloured with Stampin’ Blends – I do enjoy a bit of colouring, and this was fast and easy because the image is not too big! Just remember to use Memento Ink if you’re reproducing this card – so that your image won’t smear when you use the Blends. The daffodil and the combination of Lemon Lime Twist Cardstock (grab it before it’s all gone…) and Daffodil Delight Cardstock help make this a truespringtime card!
I also wanted to say THANK YOU to everyone who stopped by my booth at the Kitchener Scrapfest! Huge thanks to Anne and Mary who helped me out at my booth….and to my mother who did a quick round trip to drop off some items I accidentally left at home – true story!! I hope all the croppers, shoppers and vendors had a relaxing day today recovering!
If you filled out one of the door prize draw entries, I’ll be making the draw for the winner of the shopping spree tomorrow – I’ll do a Facebook Live on the YamStamps Page if all goes according to plan (and there’s not some weird outage like there was early today!). Maybe I’ll get someone at Stampers Club to help me out… I’ll also post links to the official Stampin’ Up! retiring list as soon as I’m able – so stay tuned!
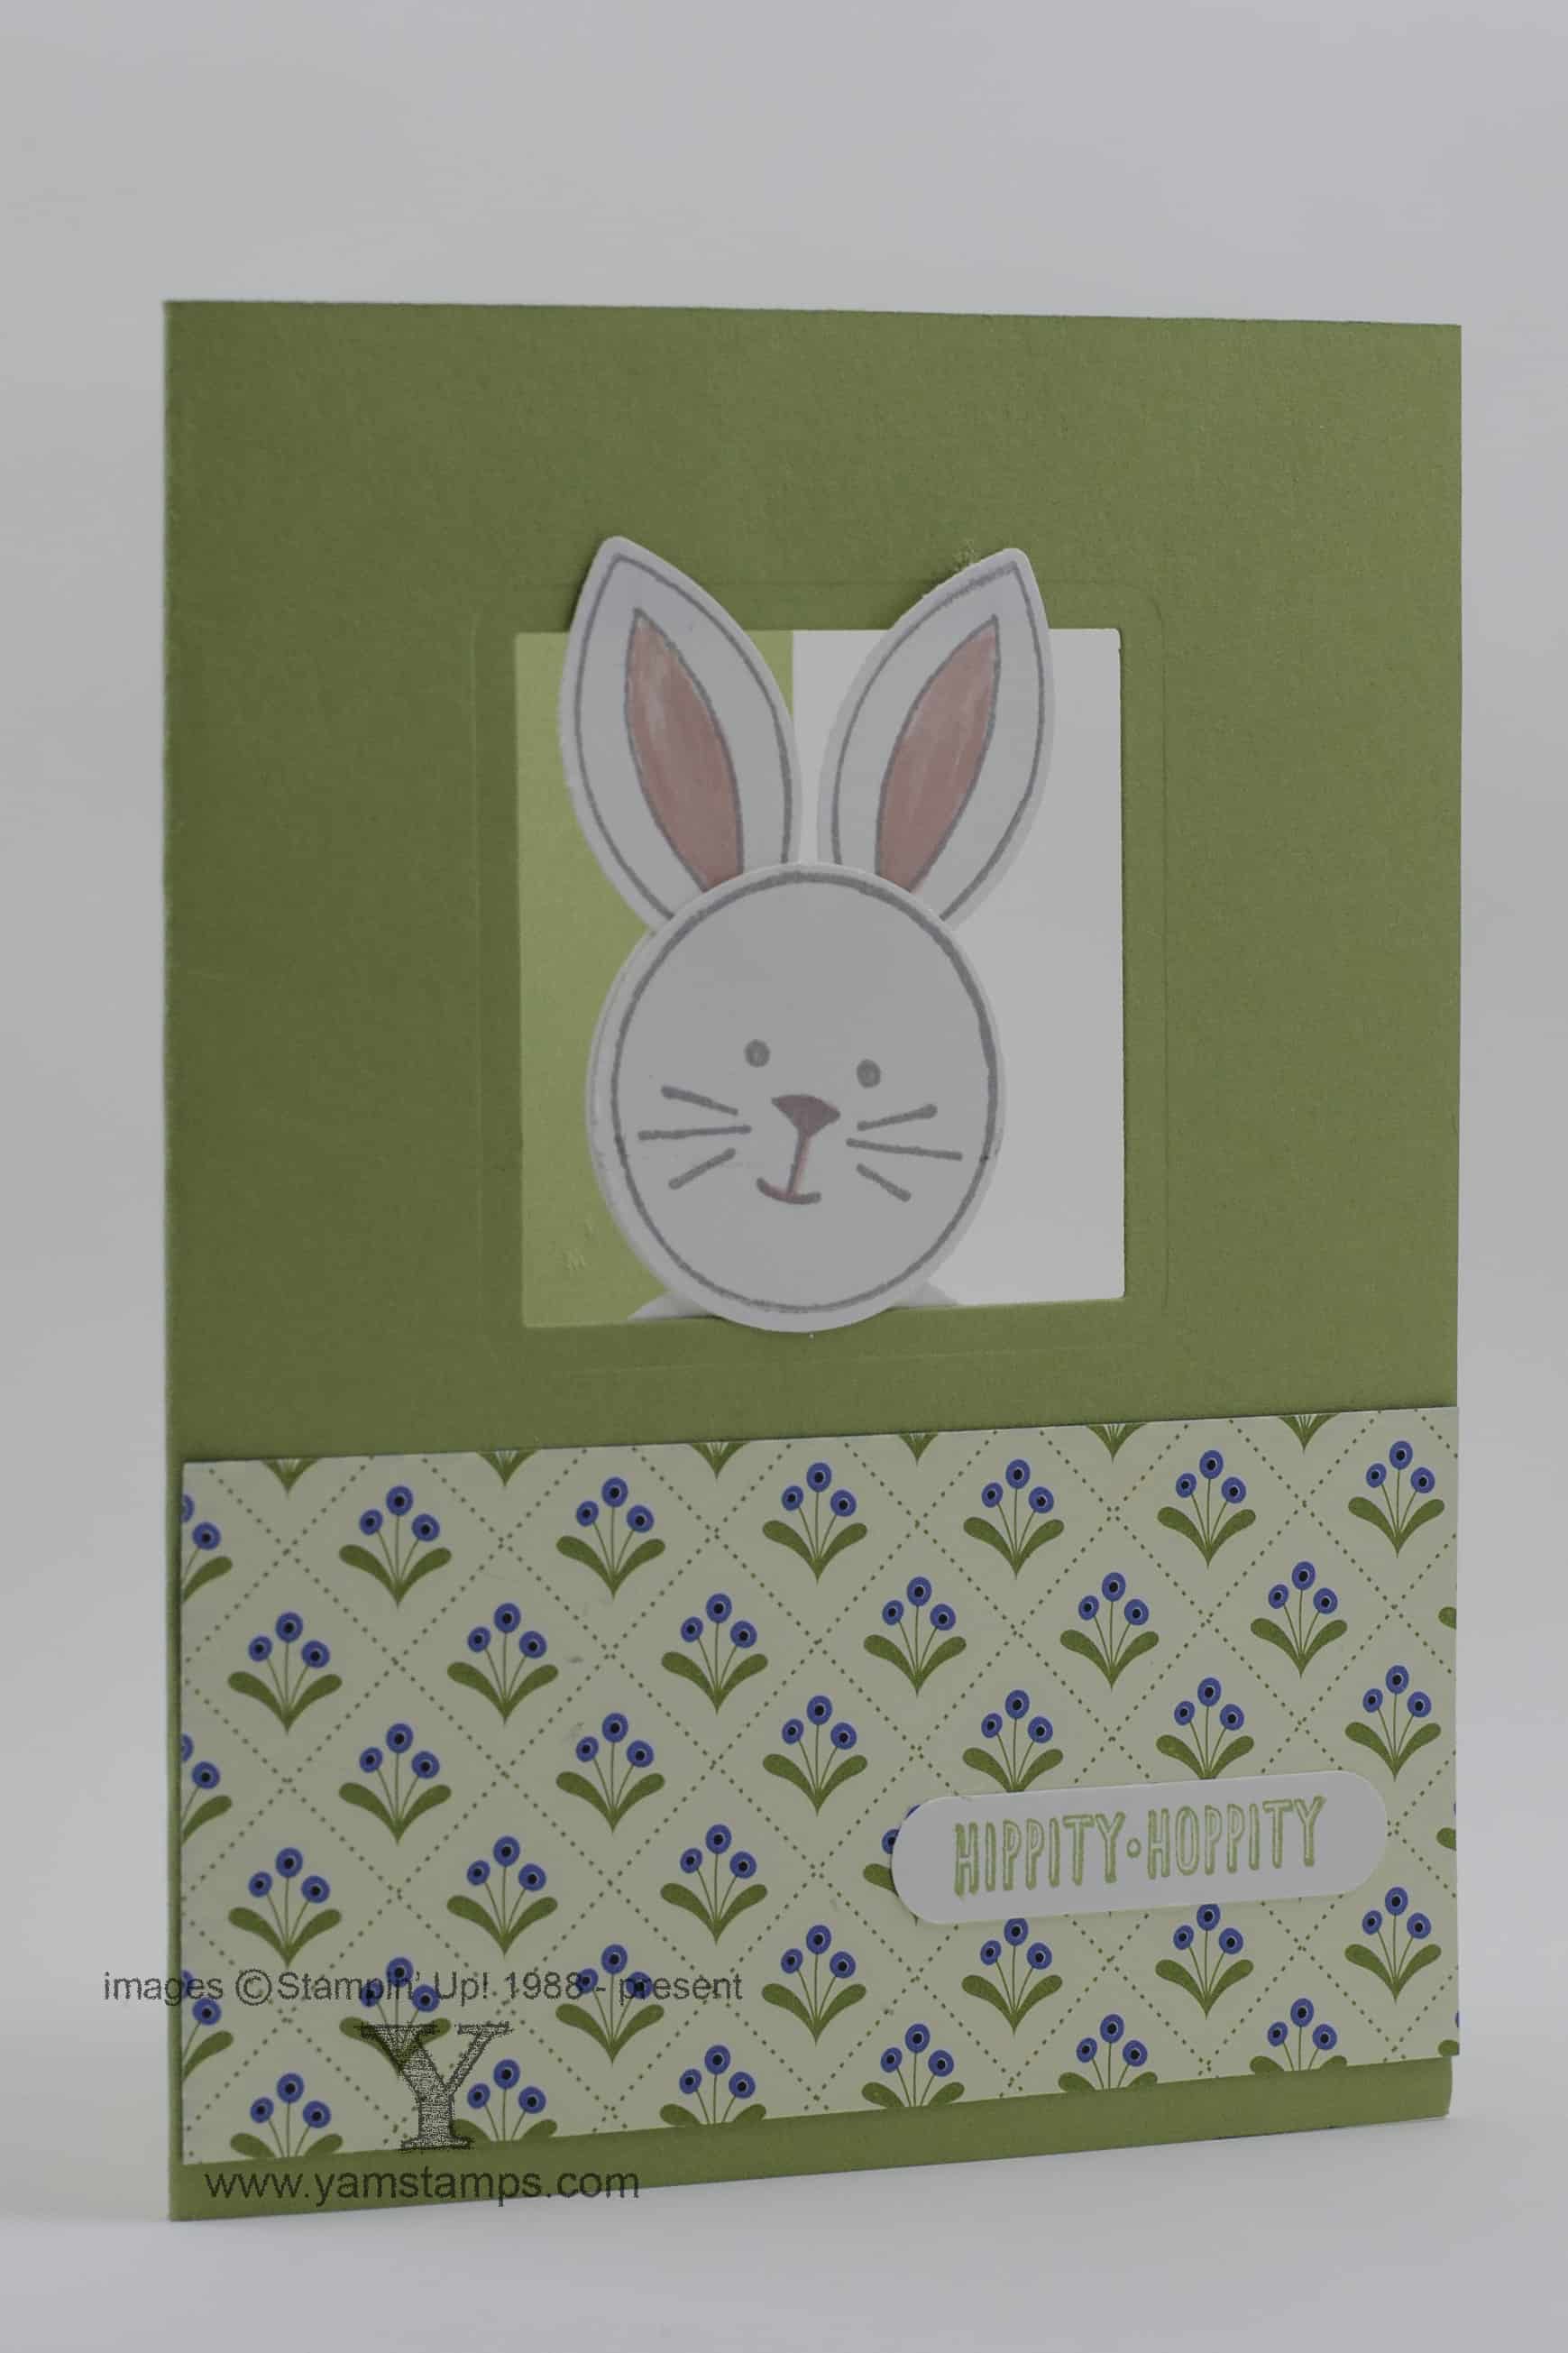
Apparently it’s spring, and Easter is this weekend, though it’s snow/freezing rain around here and schools have been cancelled! So – if you need something to keep the kids occupied….consider some punch art! This fun card was created using the Friends and Flowers set (available in clear mount or wood mount), the Festive Flower Builder Punch and some circle punches! We used a couple of different sentiment sets – Hippity Hoppity is from And Many More (clear mount or wood mount) and the inside Happy Easter sentiment is from Teeny Tiny Wishes (clear mount or wood mount) – one of my most used sentiment sets for sure. The Designer Series Paper is from the Pretty Petals stack. The bunny is peeking through a window cut with one of the square framelits from the Pear Pizzazz card.
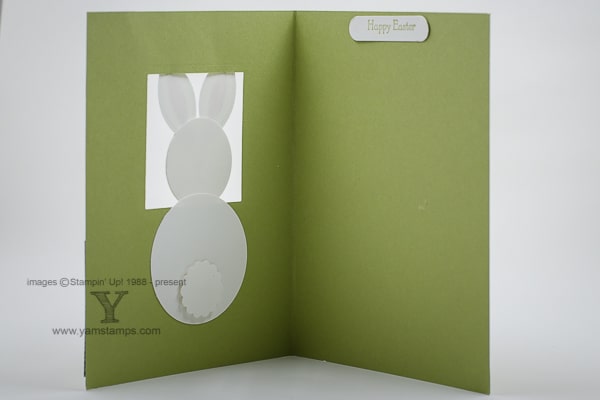
My favourite part about this card is the inside…
heehee!
Enjoy your “Snow Day” if you’re in the affected areas. Otherwise…happy Thursday! If you are looking for some more fun – try one of my online classes – if you like punch art, there’s a holiday punch art class that you could use to get a jump on your Christmas cards?!
I hope that you stay warm today, and if you’re going out, have a safe journey, and a wonderful Easter weekend with your family & friends.
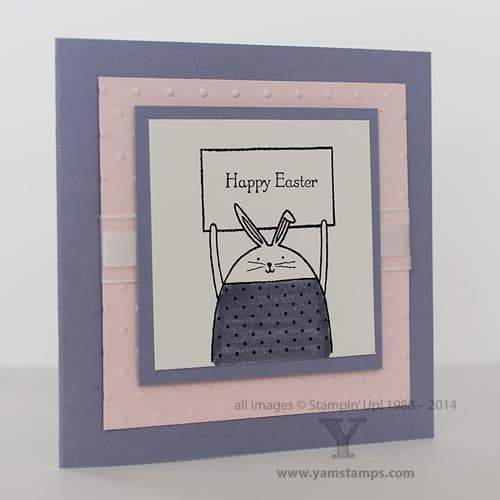
This is a fun card to whip up for Easter. Using Stampin’ Up!’s Cheerful Critters set and Teeny Tiny Wishes, which is the most useful stamp set on the face of the planet… The Cheerful Critters is a photopolymer set, which means it’s see through (well, more or less, mine has been used and loved and is slightly stained LOL). I found it easiest to eyeball where the critter’s sign would land, and then stamp the greeting first. I was then able to position the critter accurately since I could see through to where my greeting was. This was a quick colouring job with my Stampin’ Write markers on Shimmery White cardstock. (See? There is life after Blendabilities!!). I also used the Perfect Polka Dots Embossing Folder to coordinate with the bunny’s shirt and added a touch of ribbon to complete it. This square card is 4.25″ x 4.25″ completed so still fits in Stampin’ Up!’s medium envelopes.
One of my commitments this year is to send more “Happy Mail” – cards in the mail. If you’d like to add to your stash of cards to give and send, don’t forget the Monthly Card Classes – there’s one on April 1st (no fooling!) but you must register at least 2 days in advance (that would be TODAY, Monday, for April’s class) Hope to see you soon!!