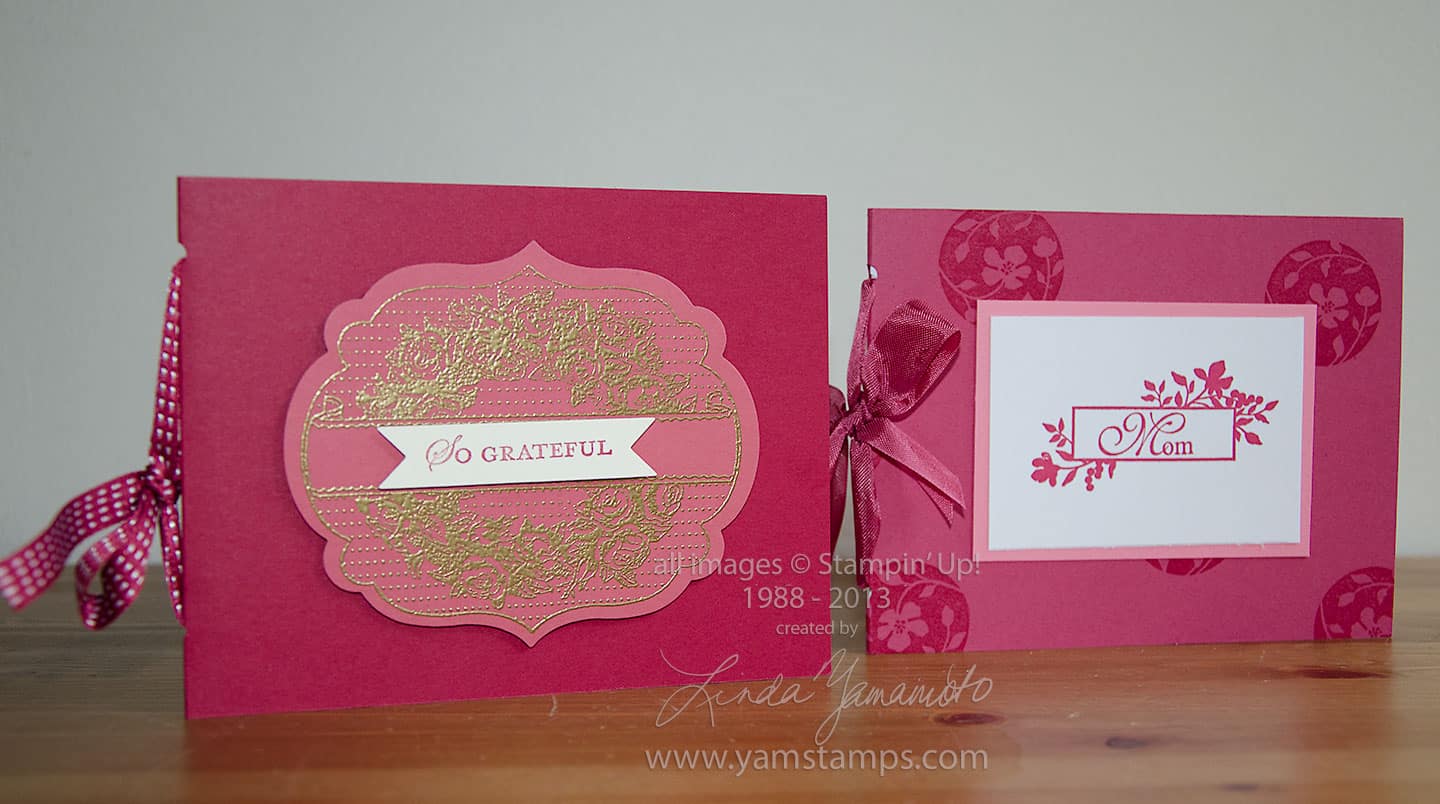
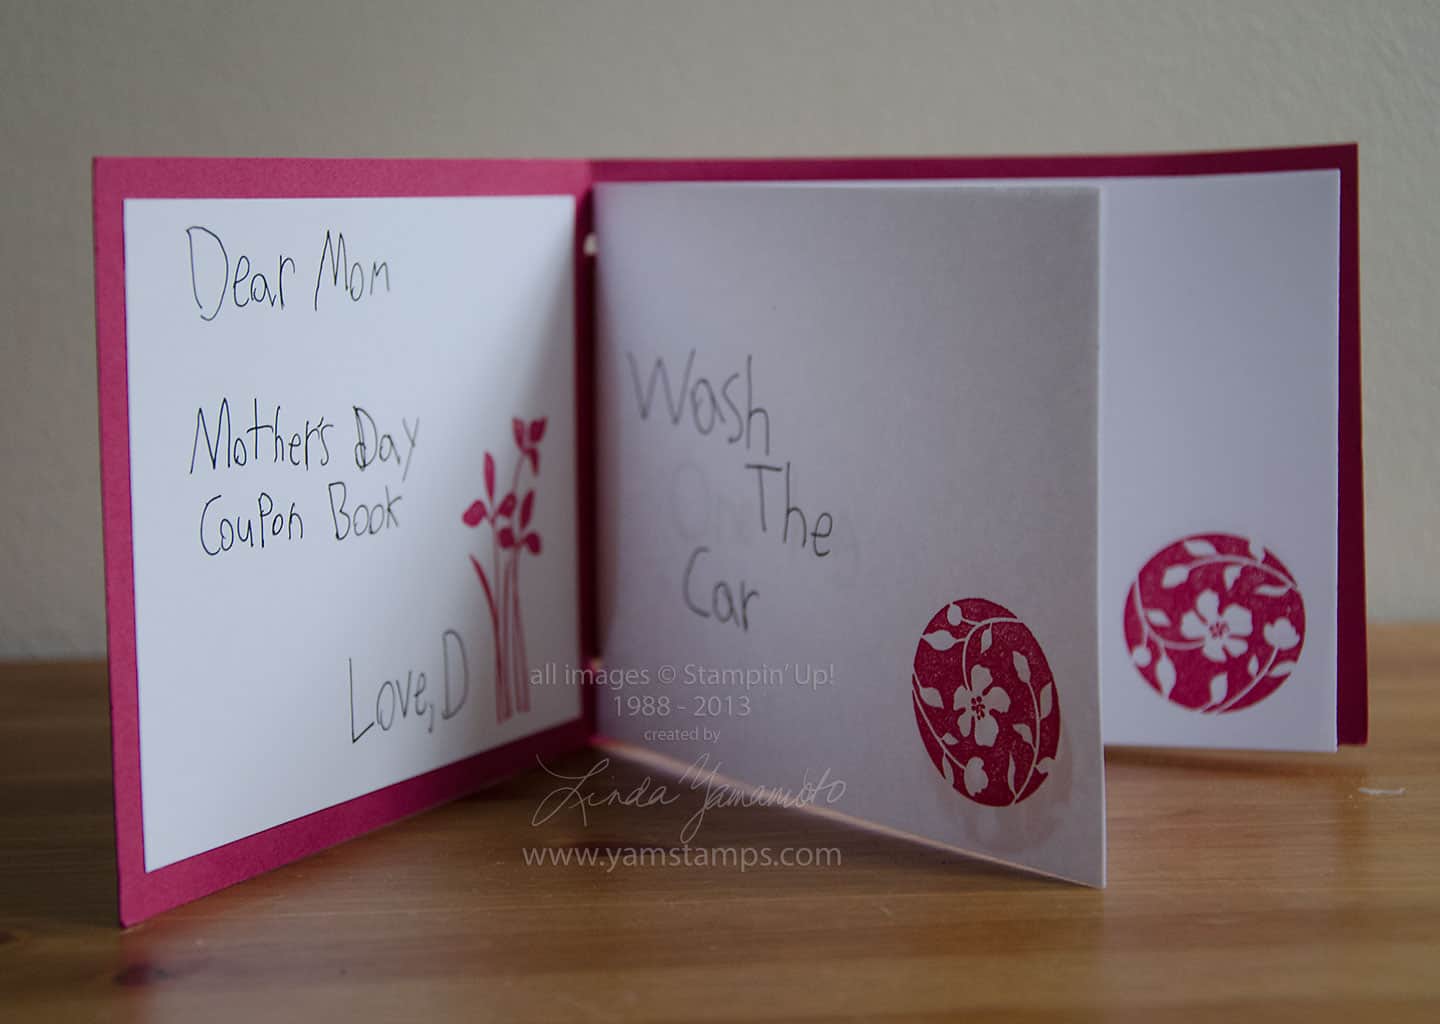
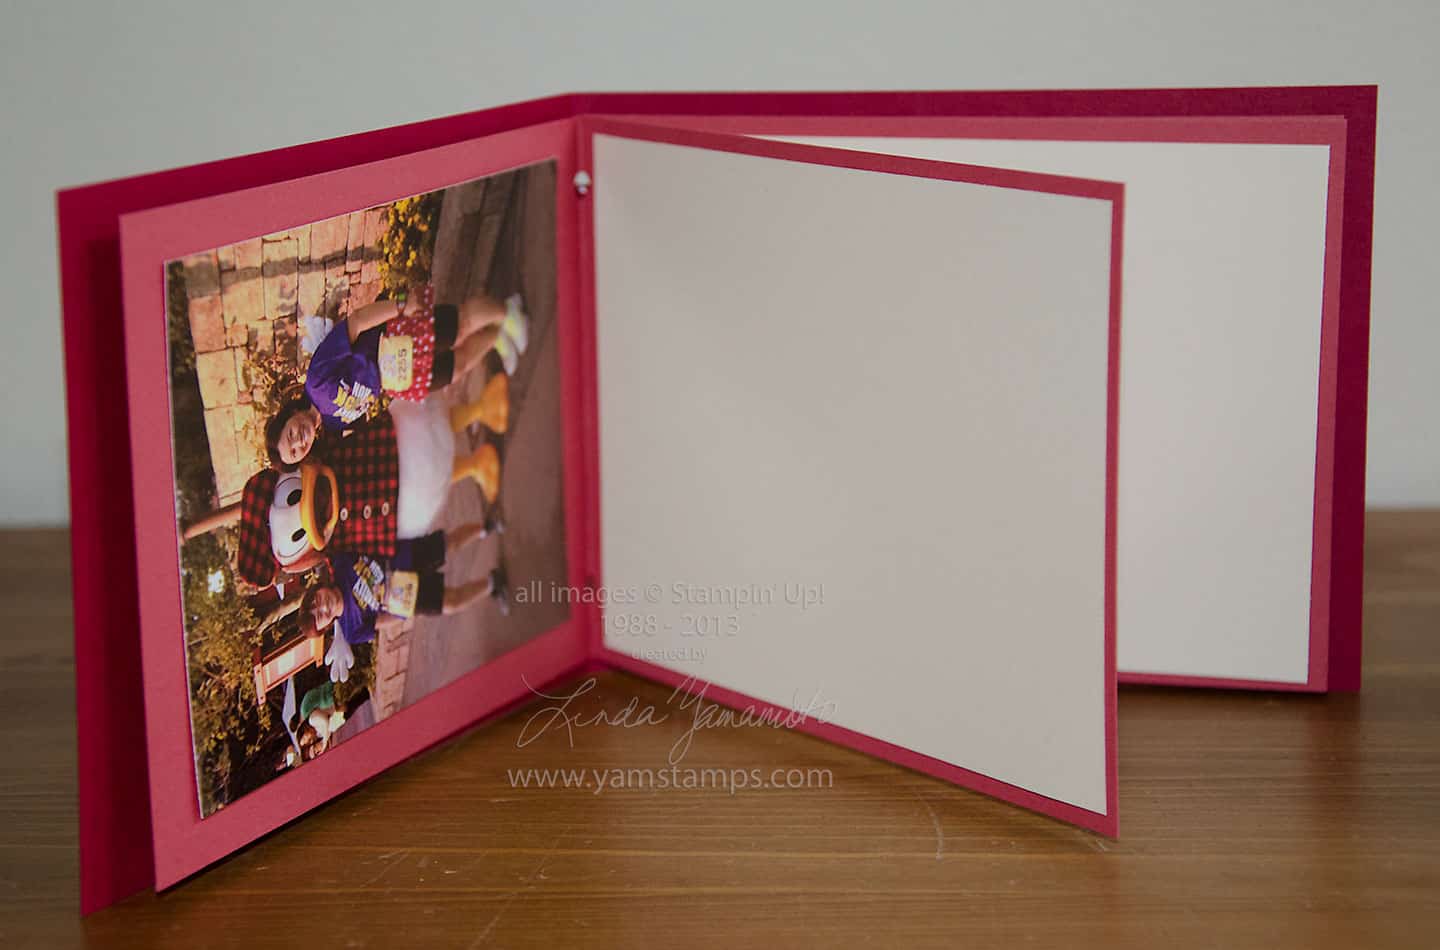
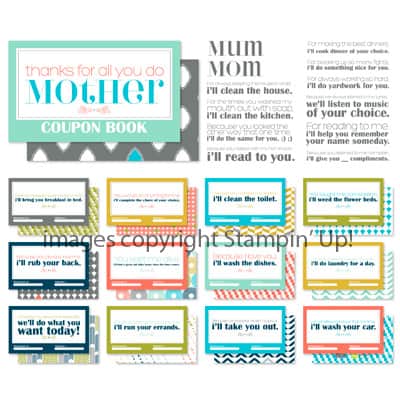
Here’s the coupon book / photo book that I shared on my TV shots this past week or so. Both are made in the same way…. the outside cardstock is cut to 4.25″ x 11″, and the inner cardstock/paper is cut to 4″ x 10.5″. All are folded in half, and then I punched 2 holes along the fold line and threaded ribbon through it to hold it together. Easy peasy. Coupon books are a quick and easy gift, and when you make it yourself it’s even better! These samples used the Apothecary Arts set (photo book) Serene Silhouettes set (coupon book)
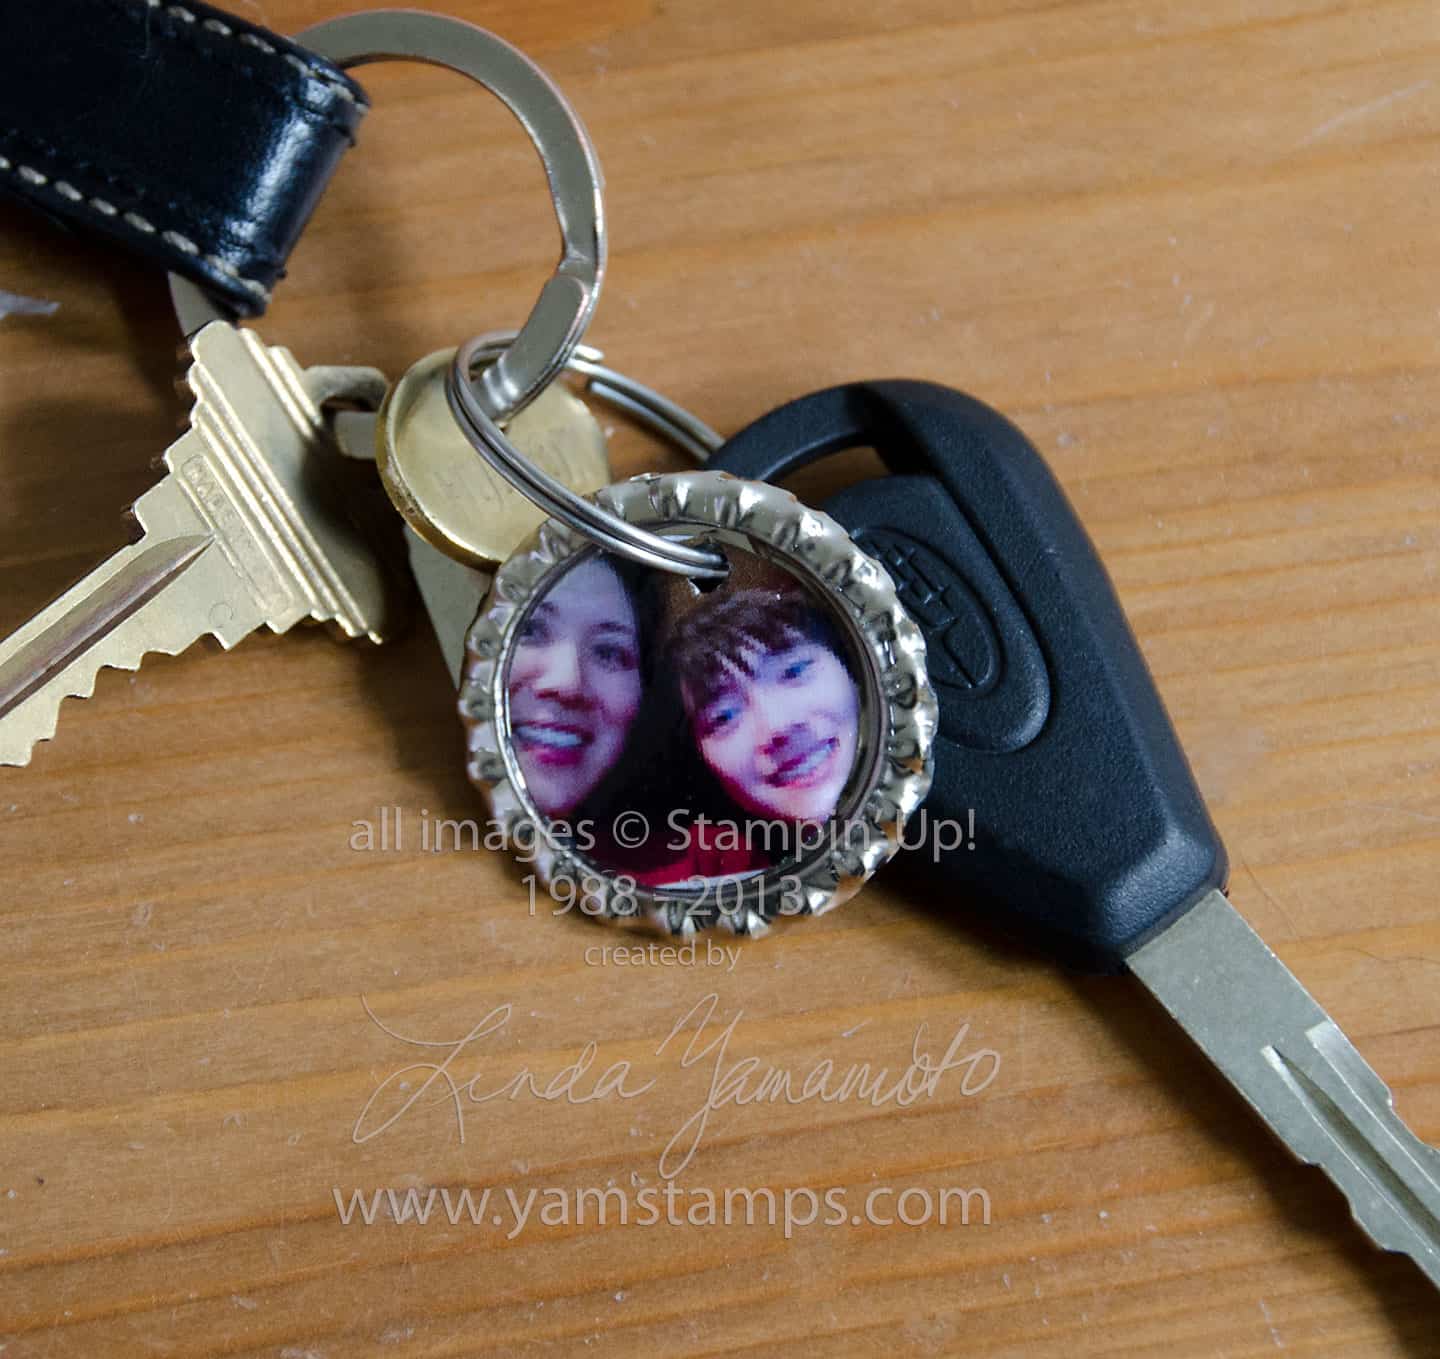
Another option – I used the soda pop tops from the Spring Catalogue, flattened in my Big Shot. I printed out a photo onto paper (I have a laser printer so not sure how well this will work with an inkjet image…), punched it out with my 1″ circle punch, then adhered it into the centre. I punched another hole in the top of the pop top (I used my Crop a Dile which goes through metal like butter!) I coated it with Crystal Effects and let it dry. Another fun and easy quick gift!
You still have time to make these yourself…or another option is to download the “Because I Love You” Digital Swatchbook Template. You can edit it in MDS or photo editing software, print it out and assemble it in time for tomorrow!
I hope that all the Moms out there have a wonderful Mother’s Day!!
Hello! Hoping this works – I’m posting from the new www.yamstamps.com site. New look, same address! I’ll ask in advance for your patience while I figure out the “behind the scenes” things, and welcome your feedback in the meantime!
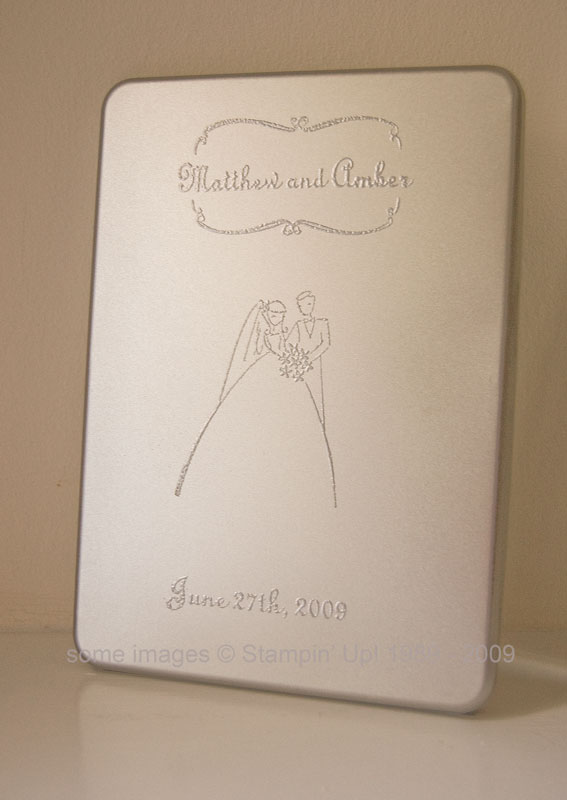
I love how Stampin’ Up! sets the themes according to the month of release. My friend used the bride and groom image on their wedding invitations so I love seeing it again here. We embossed the image in silver embossing powder onto metal DVD cases that housed the invites (and a special DVD too!). Here’s the image of the invite…a few years ago now… Click on the image to get a better view. In the meantime, I’m off to finalize details for Stampers Club on Monday – if you’re interested in joining us, contact me for more information or check out the details on the Events page!
Thank you once again to the great group at CHCH's Morning Live Show. I'm always grateful for the opportunity to share some ideas, and it's always a fun time! Sorry for the slight delay in getting this up here…but it's here now, and there's still time to make the project for Mother's Day
Make a quarter turn with your paper and score at 2-3/4" both sides from the corner (perpendicular to your other score lines).
Fold inward along the 2-3/4" scores, then fold inwards in half along your centered score line, then back along the 3/4" score lines so that you have two pockets and a little indent in the centre.
Just a quick note to say "Thank You!" to the people at CH Morning Live once again for having me on air! I always have fun sharing crafting ideas. I will try to post photos of some of the projects and more information later on today/tomorrow so please come back here to www.yamstamps.com to check it out!