Jun 26, 2007 | Announcements
Yes, my demo copy of the fall-winter collection ’07 has arrived!! In true "typical me" fashion, however…there was drama associated with its arrival. News was flitting about that other demos were starting to get their copies, so I was anxiously stalking my super mailbox (you know, that red thing on legs, the mailbox condo). Anyway…. checked it twice yesterday, absolutely nothing in it. Not even junk mail. Hmmm Has the postie gone on vacation?? Checked it today….three times….(just wanted to be sure I hadn’t just missed the drop)….nothing. Trust me, it’s not that big a box, and I stuck my entire arm in there just to be sure. (I’m sure the neighbours were starting to talk). *sigh* Very disappointing. Hearing that demos in Toronto & Hamilton had their copies, I started to sulk. (and I wonder where my son gets it from, right?).
Anyway. After the school pickup and music lesson run, we return home. On a whim, I peek into the mailbox at my front door (the one that only collects flyers and the Burlington Post newspaper). WHAT??!!! IT’S CRAMMED FULL OF MAIL!!! And…..guess what’s on top?! MY CATALOGUE!!!! Happy Happy Happy day 🙂 I must have heard it calling me, don’t know what caused me to look. (OK, I do know. Desperation).
Finished D’s bug costume for the Grade I bug jamboree (I kid you not), and grab the catty to sit at soccer and look through it. Oh, and I did occasionally look up & cheer the team on 😉
Still waiting for my boxes (that’s right, plural) of customer catalogues to arrive….should be here in time for my open house & rubber garage sale Saturday July 7th. 10 am start. See you then!!!
Jun 20, 2007 | Announcements
Here’s the list of retiring accessories. Please note that quantities are limited, and are available only while supplies last. The list is colour coded – green=good availability, yellow=going quickly & red=no longer available. If you need anything, let me know now!
Also to let you know that the following items will be in the fall/winter collection, HOWEVER, will be in a different format – either in terms of quantity or colours. These are: select single colour selections of 12 x 12 cardstock; confetti white & kraft teeny tiny take out boxes & tags; select embossing powder colours; select 1/4" grosgrain ribbon colours, and the corner rounder punch. Unfortunately I can’t give you specifics (since I don’t know them!)….but keep this in mind when going over the list.
The other exciting news is that my order of new catalogues has been shipped & is starting to make its way here to Burlington!! Can’t wait!
Jun 16, 2007 | rubber stamping

I needed a quick birthday card! This uses the birthday wheel from one of the new hostess sets – All About Occasions bundle, which includes a 4 piece stamp set (great for tags & small cards), a birthday jumbo wheel & a thank you jumbo wheel. Demonstrators were allowed to preorder certain hostess sets that will be featured in the new fall/winter collections catalogue. These will be available for hostesses to earn starting July 1st. The jumbo birthday wheel is in pretty in pink ink and mounted onto cool caribbean cardstock (disappearing at the end of the month). Wrapped some pink grosgrain (it’s for a girl, can you tell?!)around the image & mounted with stampin’ dimensionals onto my card base. I added the butterfly from A Greeting for All Reasons (retiring at the end of June) and added dazzling diamonds glitter with my 2 way glue pen. Unfortunately I had a bit of a gluing mishap, thus the "splats" of glitter….but I think it still works….
I’m marching with the Burlington Teen Tour Band alumni in the Sound of Music parade this morning. WIsh me luck – it’s been quite a while since we were teens & marched parade routes on a regular basis!!
Jun 4, 2007 | Announcements
 I’m donating this basket of Stampin’ Up! goodies to the Sam’s Day silent auction, happening this Saturday at the Brant Hills Community Centre. This fun day raises money for the James fund, in support of neuroblastoma research, and is organized by friends of our family. Read more about Sam’s Day here. The basket includes the complete whimsical alphabet (upper & lower case & numbers), the Love Ya Bunches set; a set of rich regal stampin’ spots plus rich regals cardstock, a basic black ink pad, handstamped cards, a 2006-2007 Idea Book & Catalogue, plus gift certificates for a stamping class for 6, a fall/winter collection catalogue and $25 of merchandise. There’s a lot crammed in that basket!
If you are on my mailing list, watch for the Linda’s Link email newsletter in the next few days. Also – a reminder that this week is class week, so if you haven’t rsvp’d please do so asap! (See my calendar for details)
May 21, 2007 | rubber stamping, Tutorial
We did a diorama card at the punch class (Punch your art out!) and I had promised to post the instructions for the attendees so they could remember everything!!
This was taught to me by my friend & fellow SU demonstrator, Karen Motz, at another demo’s (Mo Dickie) demo meeting.
I used the In Full Bloom simply scrappin’ kit (as did Karen) because it makes life a little easier (and who couldn’t use that?!). I have a sneaking suspicion that we may lose this simply scrappin’ kit because the coordinating stamp set In Full Bloom is retiring at the end of June (*sob*). (No insider information here, but just hazarding a guess…..really).
Anyway…..
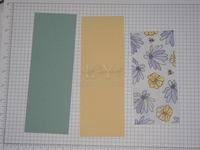
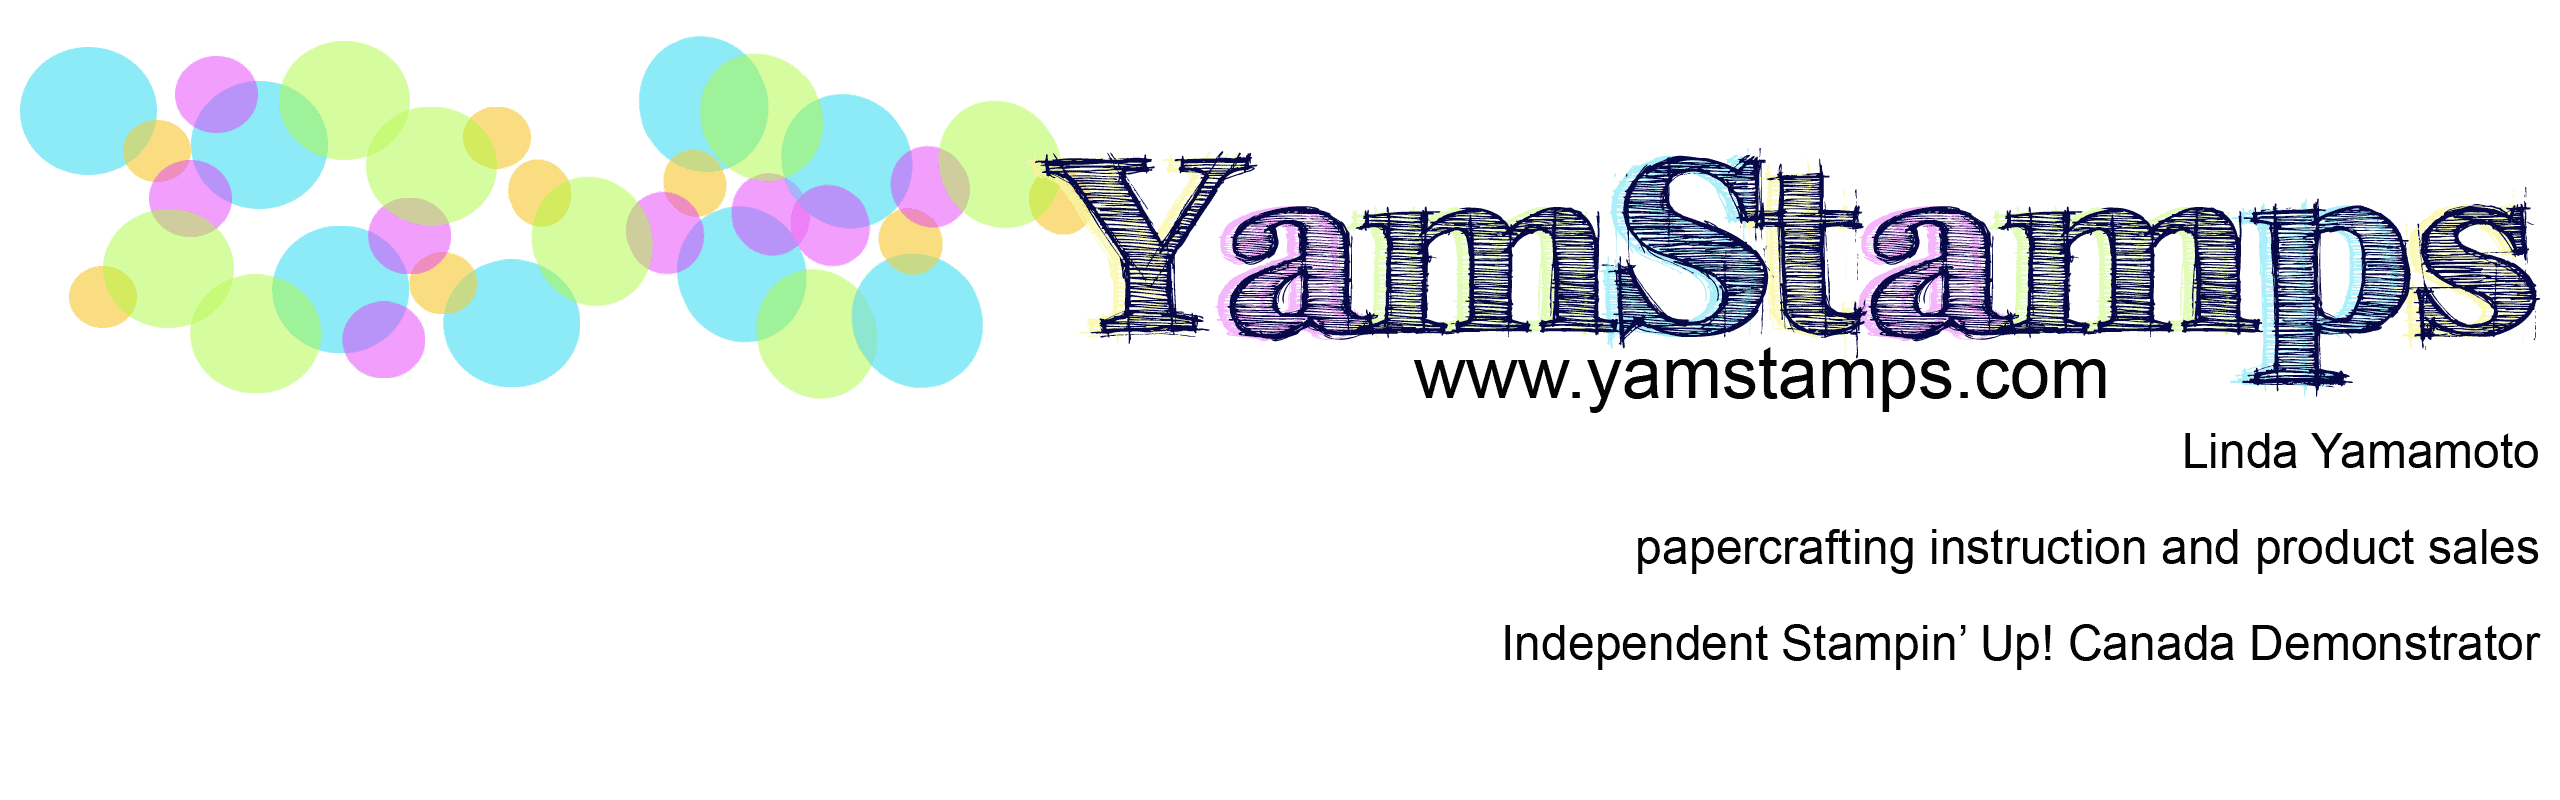
2 pieces of coordinating solid cardstock, 3" x 8.5"
1 piece coordinating patterned cardstock 3" x 6.5"
(or randomly stamped cardstock).
1-3/8" circle punch (for the holes on the front of the card)
1-1/4" circle punch (for the holes on the middle section of the card)
paper trimmer with scoring blade
adhesive
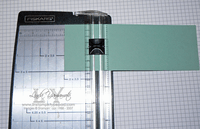
Score both solid cardstocks widthwise 2" from both ends.
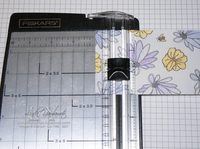
Score patterned cardstock widthwise 1" from both ends.
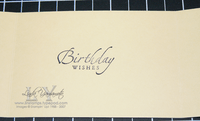
Choose cardstock to be the back of the card.
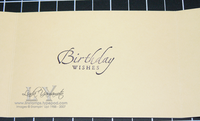
Stamp sentiment of choice on centre of this cardstock & set aside.
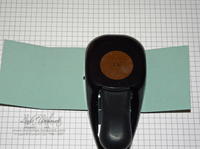 The front of the card
You may wish to stamp on the cardstock to decorate – you can do this either before or after punching holes.
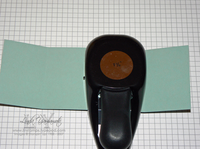
Punch first hole:
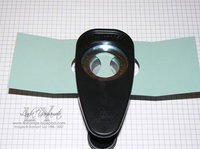
Line up the right edge of the 1-3/8" circle punch with the right score line, and insert the cardstock all the way into the punch.
(the physical edge of the punch lines up with the score line, not the shape to be punched
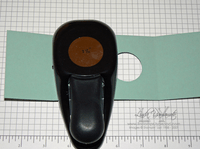
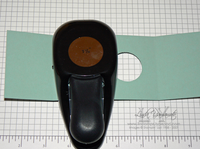
Punch 2nd hole lining up left edge of punch with left score line, again, inserting cardstock all the way into punch.
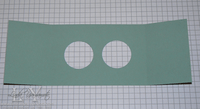
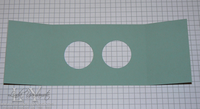
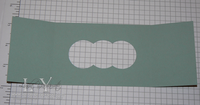
This is what you have so far. Use as a mask for Hallowe’en….or continue on to make the diorama card.
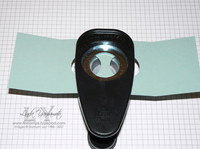
Using the punch upside down so you can see what you’re doing, punch a third circle in the middle of the two circles already punched out.
(truth be told, I usually punch upside down, perhaps I spent too much time "down under" in the South Pacific on my travels).
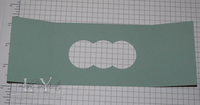
The end result
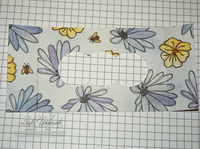
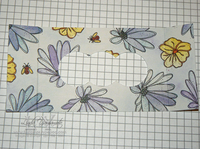
Repeat above process using the 1-1/4" circle punch on the decorative cardstock which will be the middle portion of the card.
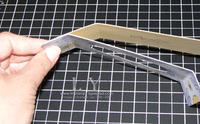
Start construction:
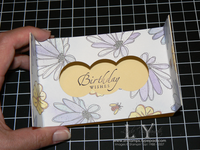
Adhere middle & back section of card first:
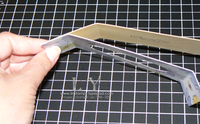
Apply adhesive to the outside edge of the decorative cardstock. Align ends of cardstock & adhere.
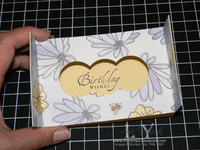
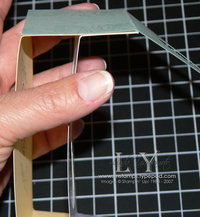
Repeat with other side so you end up with something like this:
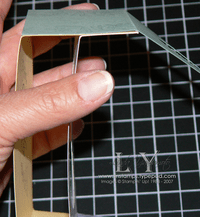
Apply adhesive to front section edges & align & adhere to card body.
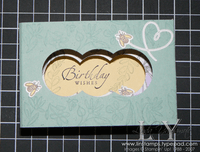
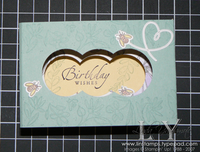
The finished project. I stamped images from the In Full Bloom stamp set & applied some adhesive die cuts from the Simply Scrappin’ kit.
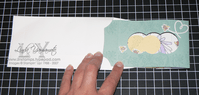
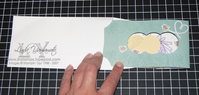
One of the best things? This card folds flat and fits into the small open end Stampin’ Up! envelope!!