No need to panic (yet)…there’s still time to grab a gift for the crafter in your life!
(and it still counts if the crafter is you, by the way!!)
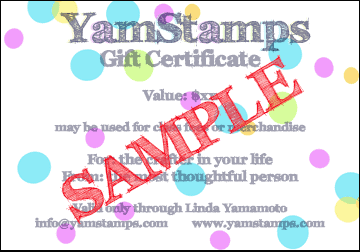
Did you know that I offer gift certificates? I can customize the gift certificate and email it to you for easy printing/forwarding to the recipient. Give a creative gift!
Gift certificates are available in any amount, and are good for class fees (internationally) or Stampin’ Up! Canada merchandise purchased through me (must be delivered to a Canadian address). Contact me to get a gift certificate today! I accept etransfers or can do a credit card payment if you prefer.
The next online class is a Star Book Class – just in time to make some gifts for special people!
The Star Book Online Class will launch Thursday 7 December at 7 pm Eastern, and it’s been fun working on the projects so far. There’s a basic design, and then there’s variations that you can make to suit the occasion, your supplies on hand, and the person who’s going to receive the book! During the class I’ll also share my tips for easy assembly (aka “learn from my mistakes” LOL). Prelaunch sale price in effect until 7 December – save $10CAD on lifetime access!
Check out the class prototype in action!
For those that like written instructions as well as visuals, you can purchase the add-on printable PDF. Basic measurements and instructions are provided on the site in writing, but I know that some like to have something in hand when crafting, so that’s why I have the optional PDF.
The YamStamps Sketch System has been running for almost a year now, and subscribers rave about how easy it makes their cardmaking. No more crafting brain strain, as you stare at the cardstock and supplies and wonder how to put it together this time to impress your family and friends….all you have to do is use the blueprint and cut your own supplies to the given measurements and assemble!
Please contact me if you have any questions! Remember – if you subscribe now, you will lock in the legacy price rate for your ongoing subscription until you cancel. Come Tuesday, price is going up!
My Black Friday/Cyber Monday Special will be available Friday 24 November – Monday 27 November!
I know, I’m in Canada. I don’t truly get why Black Friday/Cyber Monday happens here, but I’m all for getting a good deal, so why not?! Plus we still get Boxing Day too!
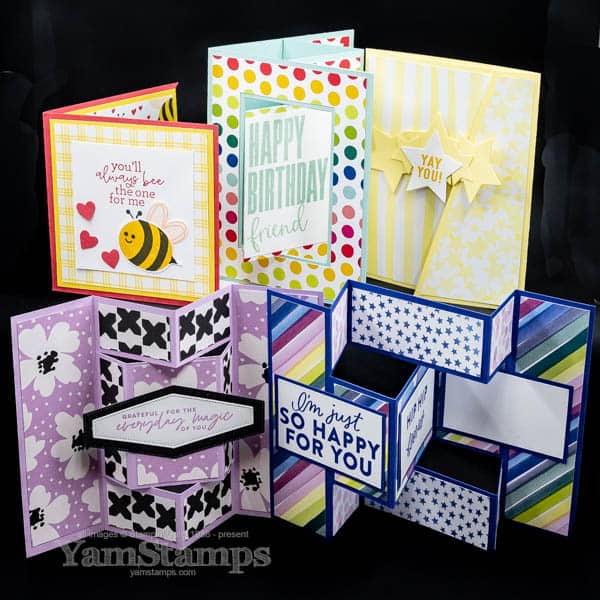
My Black Friday/Cyber Monday 2023 Special is on my Sketch Subscription Program. The YamStamps Sketch Subscription brings you a card blueprint or sketch, along with a weekly sample using that sketch and little “tweaks” the to sketch that you can use. You get a total of four different samples using that sketch, including a more holiday themed one. After week four, we start again with a whole new sketch. The program has been running for almost a year now, and subscribers are loving how easy it makes their crafting.
Paper Crafting Doesn’t Have to be Difficult to be Impressive!
No more staring at your supplies, wondering about how to put everything together. The YamStamps Sketch System will provide you with a blueprint – take the measurements and the ideas and RUN with it!
When I launched the program the price was set at $9.99, billed ‘monthly’ – technically every four weeks (after each sketch completes). Starting on Tuesday 28 November, the price is going up to $14.99 CAD. You can lock in the legacy price of $9.99/sketch if you subscribe now, but from Friday – Monday, you’ll also have the option to lock in for longer periods and SAVE.
Sketch By Sketch Subscription: $9.99 billed every 4 weeks
Six Sketch Subscription: $49.95 billed every 24 weeks = ONE sketch FREE
Twelve Sketch Subscription: $89.90 billed every 48 weeks = THREE sketches FREE (best deal)
You are guaranteed the Legacy price for as long as you are subscribed. You can unsubscribe at any time (you’ll finish out that sketch’s cycle), however, once you’ve unsubscribed, your guaranteed legacy pricing is also gone.
The Black Friday/Cyber Monday sale page will go live Friday 24 November! I’ll post a link to the special sales page Friday!!
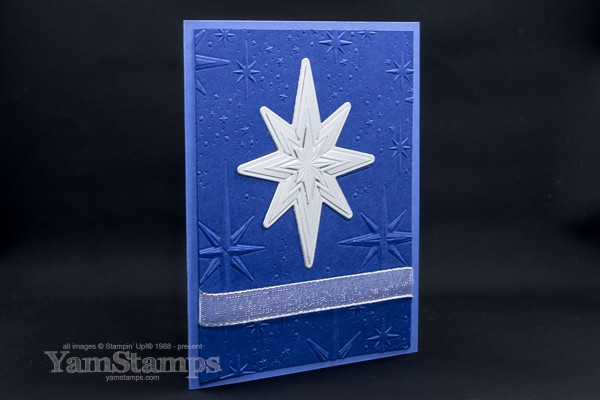
Using the Stars at Night Hybrid Embossing Folder to make a quick card!
Have you tried any of Stampin’ Up!’s Hybrid Embossing Folders? We used theStars at Night Hybrid Embossing Folder (includes the Embossing Folder and coordinating Dies) to create a quick and easy holiday-ish card during Stampers Club this month.
I love that with a Hybrid Embossing Folder you can die cut and emboss at the same time! The die that cuts out the large star actually also cuts out the two smaller stars on either side. Since we were using this on a cardfront, I chose to add a layer with one of the sheets from the Silver Foil Specialty Pack, and only emboss/die cut the large star. I embossed the Starry Sky Cardstock like regular, and then used a smaller piece of Silver Foil and positioned it over the largest star, along with the die. Ran it through my Stampin’ Cut & Emboss Machine and ended up with a silver embossed star that I just adhered in place on the cardfront. A bit of Silver & White Sheer Ribbon and called it done!
I am partial to blues, so I pulled them out for this card – Starry Sky Cardstock for the embossed layer, and Orchid Oasis Cardstock (a bluey-purple) for the card itself. Must make use of these 2022-2024 In Colors before they retire at the end of May 2024! (Plus it seemed appropriate to use Starry Sky for a Stars at Night project).
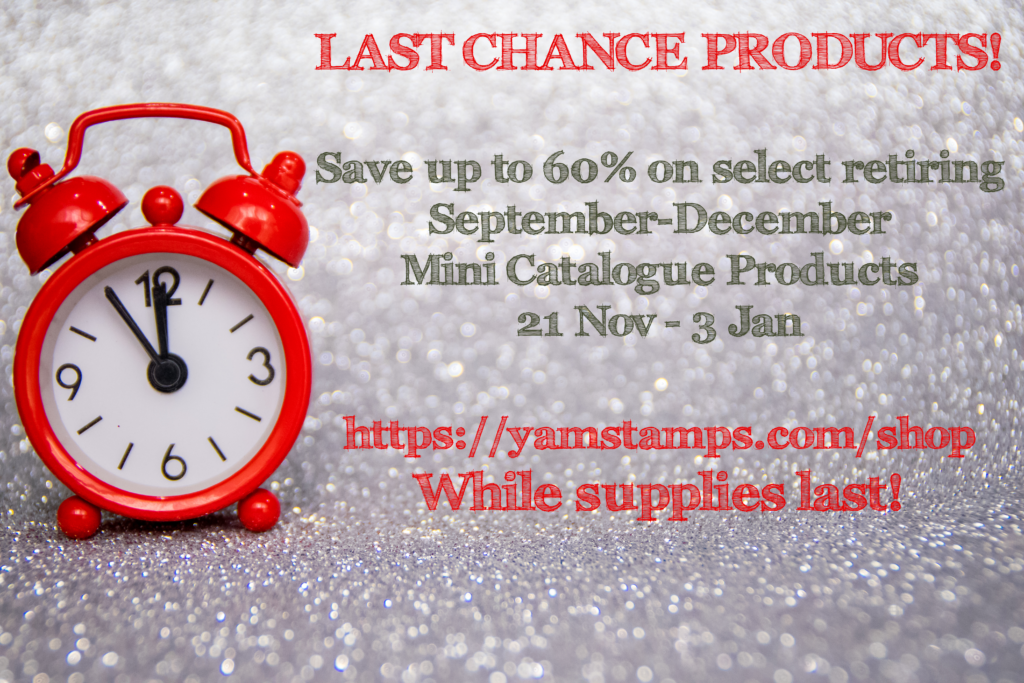
The Stars at Night Hybrid Embossing Folder will be retiring at the end of the September-December Mini Catalogue (or whenever supplies are exhausted) so if you’ve had your eye on this one, you won’t want to miss out! The Last Chance Sale is on now until 3 January 2024, with selected retiring Mini Catalogue product discounted up to 60% off! Shortcut to shop is YamStamps.com/shop or you can message me if you’d like to pay by etransfer or need assistance placing an order.
Selected retiring product from the September-December Mini Catalogue will be on sale!
As suggested by the name, the September-December Mini Catalogue will be ending soon….and Stampin’ Up! has released the list of retiring products, plus a sale on selected retiring products starting at 12am Mountain Time, Tuesday 21 November!
There is also a list of products that will be carried over and still available for purchase. Some of the items will be available as an online product (so not appearing in a printed publication) while others may return in a future Annual Catalogue or Mini Catalogue.
Once Tuesday comes, you can shop in the YamStamps Online Stampin’ Up! Canada store – shortcut is YamStamps.com/shop or you can message me if you’d like to pay by etransfer or need assistance placing your order. If you’re messaging me, you don’t have to wait until Tuesday – message me as soon as possible so that I can get your order ready and submitted as soon as I’m able! The sale starts at 12am Mountain Time (2am Eastern), and I’ll do my best to submit as soon as possible. As always with “while supplies last” items, there’s the chance that things may sell out – so don’t hesitate!
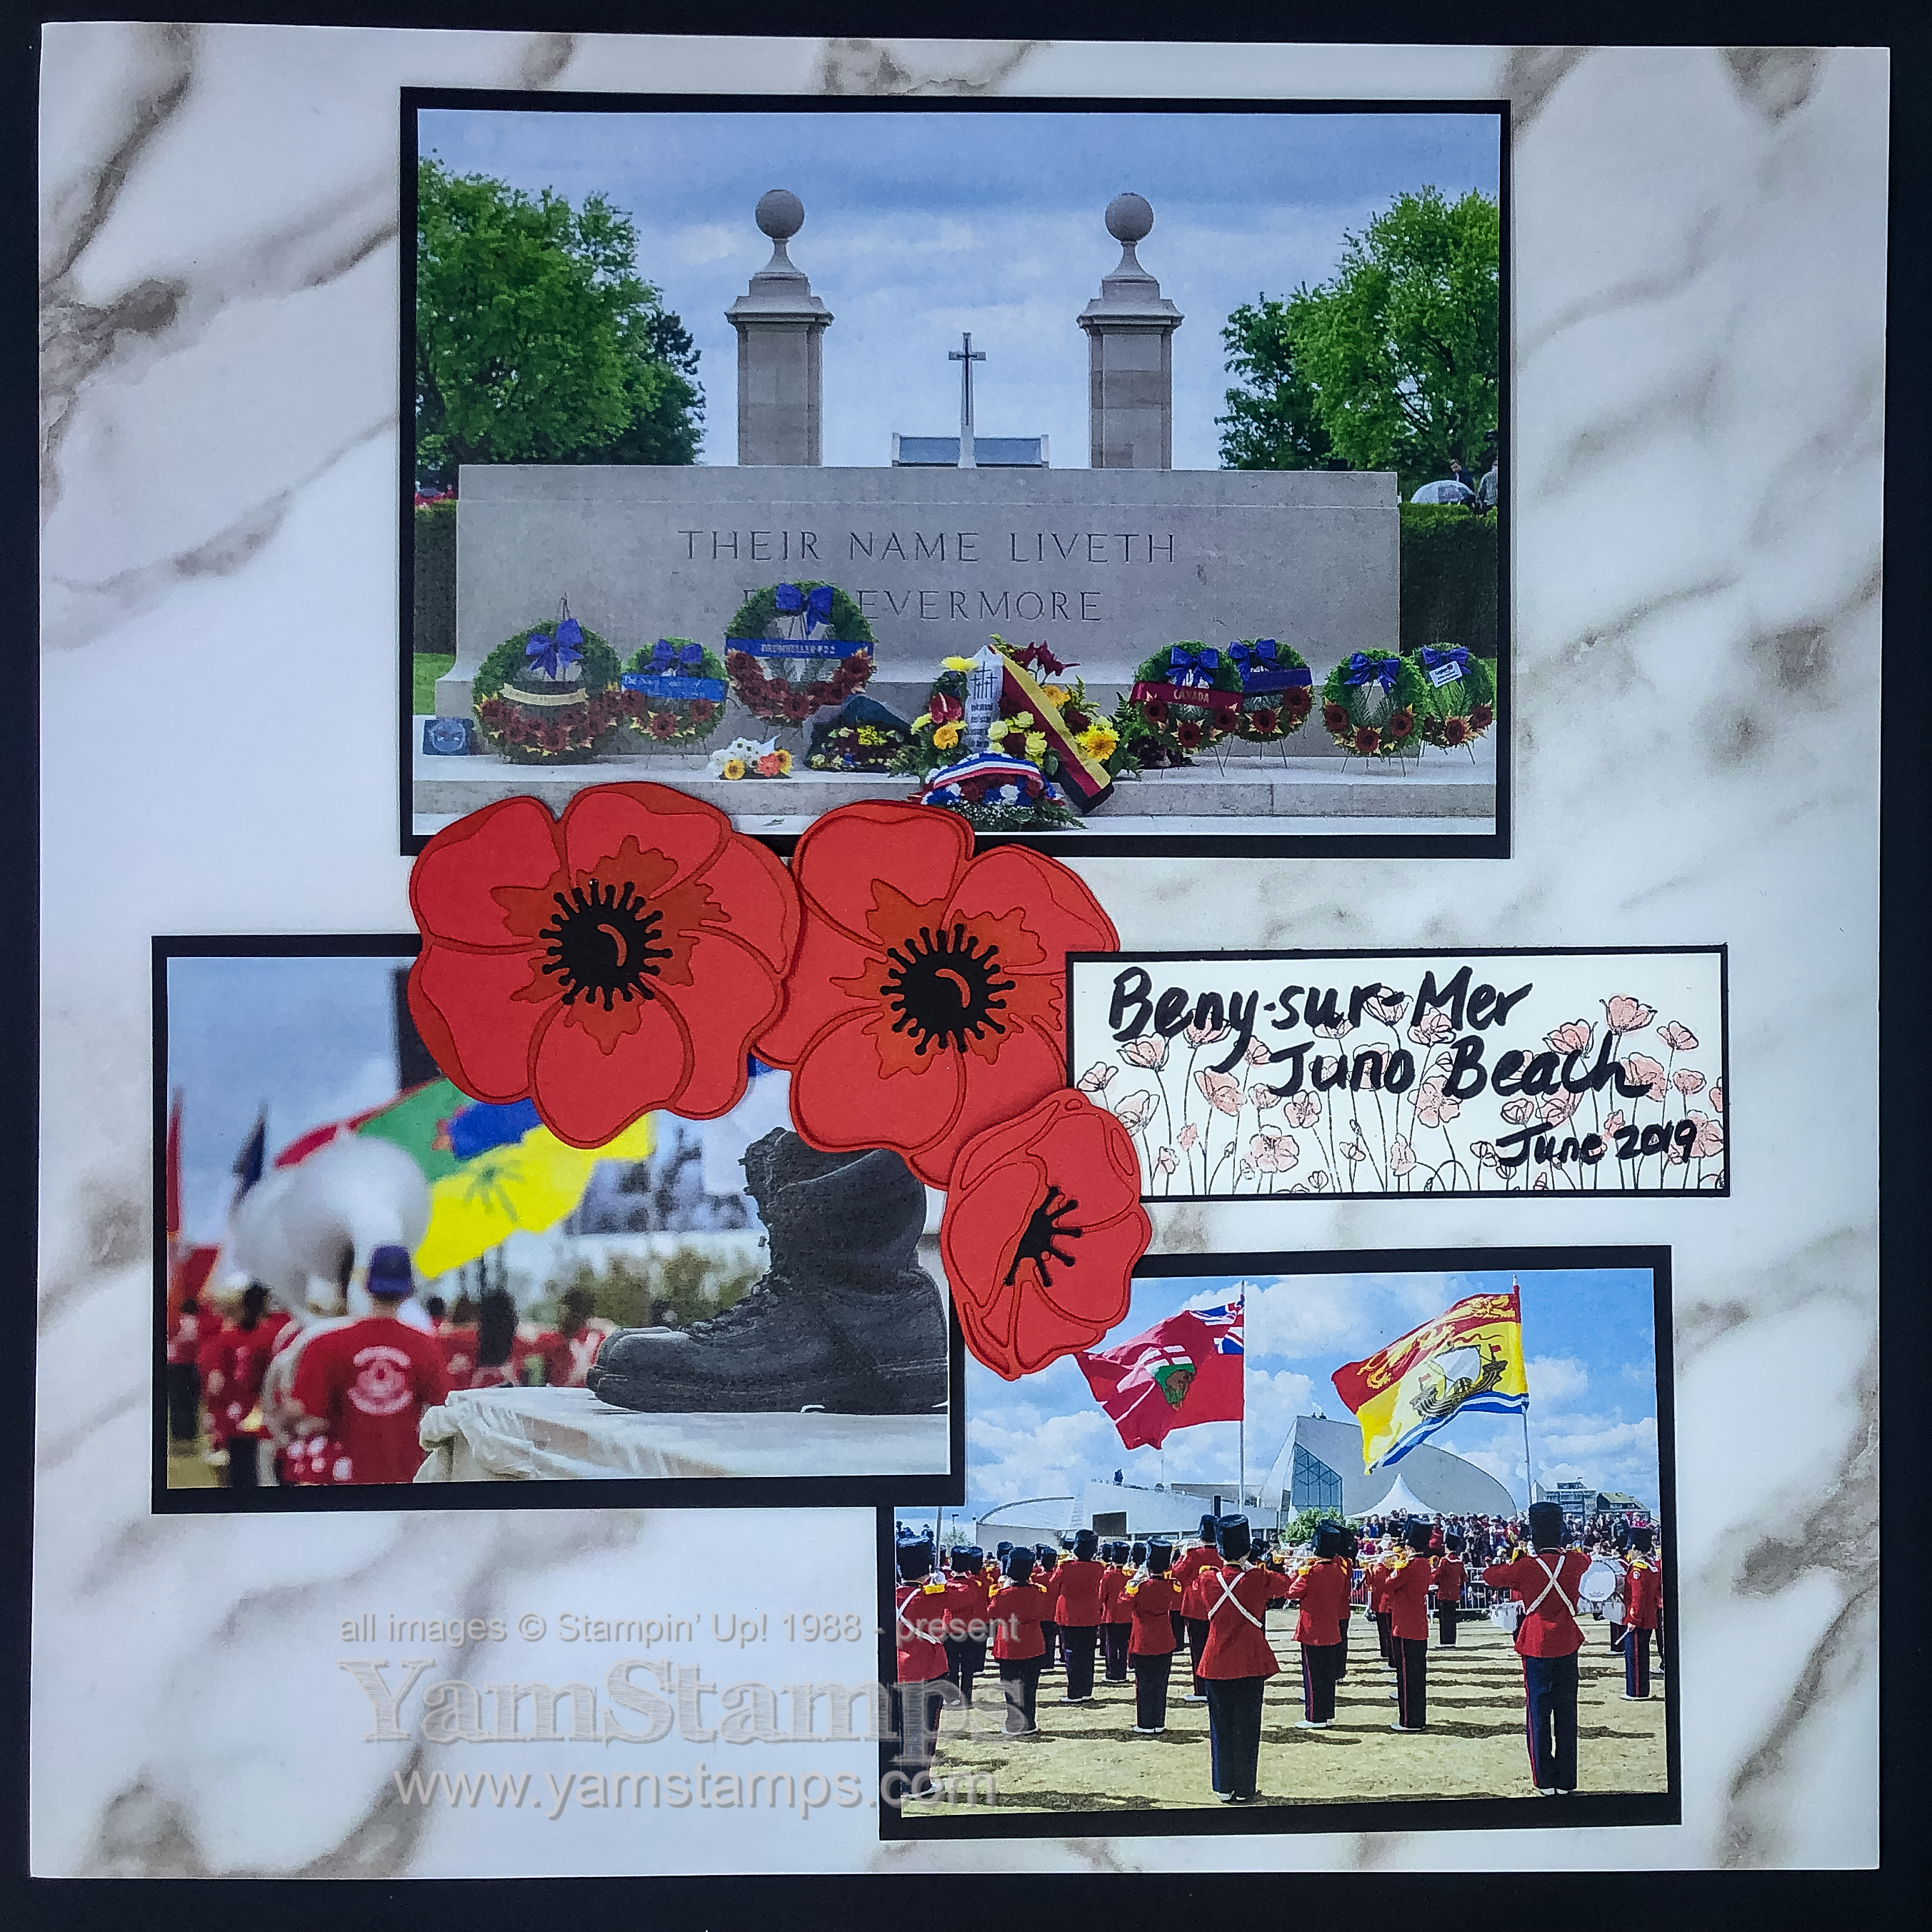
Sharing a scrapbook page that I created after a visit to Juno Beach with the Burlington Teen Tour Band for the 75th Anniversary of DDay. They’ve been invited back for the 80th Anniversary in 2024 and I hope to go along with them once more to photograph their experiences. It was such a meaningful experience for all involved!
Remember – this is ANNUAL Catalogue product (not September-December Mini Catalogue). When you go to the YamStamps Online Stampin’ Up! Canada store during the sales period, the discount will automatically be applied when you add any sales product to your order – this includes a Demonstrator Starter Kit Order!
It’s a fantastic opportunity to replenish your stash with these core consumables. You can shop online during the sale, or if you’d like assistance placing your order, you can email me and I’ll place the order for you.
I will have a group order going in, so if you are able to do porch pickup in Burlington ON and have a smaller order, email me and I’ll add it so that everyone gets 11% shipping.
Introducing A Cut Above Online Class – launching 9 November 2023!
My next online class is a great one for learning how to make cards that stand up and stand out – using only a Paper Trimmer! A Cut Above Online Class will help you create some super impressive cards without having to invest in a lot of extra tools (though, as always, I won’t stop you if you want to pull those out to customize the designs even more).
Check out this fun video showcasing the class samples!
The prelaunch sale is on right now – save $10CAD if you register for class before it launches on Thursday, 9 November at 7pm Eastern. Just $20CAD for lifetime access! You can get more information and purchase access here.
(Can you spot the preorder product I used for one of the class samples? I couldn’t wait to use it!).
The class projects were fun to make, and I walk you through the construction – plus show you how I chose to decorate the cards – but you are able to customize them however you’d like!!
Please feel free to contact me if you have any questions. I’m finishing up video editing and can’t wait for you to see the finished product when the class launches next week!
Wishing you a Happy Halloween tomorrow! I know that some people really go all in for Halloween, while others are only there for the candy….LOL. I thought I’d post this card today, just in case you need a last minute card but don’t have a Halloween set on hand.
I typically don’t buy a lot of exclusively Halloween focused products. Stampin’ Up! does have some specific Halloween sets, but often, they’ll mix in a harvest/autumn theme with Halloween, so you can have the best of both worlds, especially if you don’t send out a lot of Halloween cards or treats.
This card is a way to celebrate when you don’t have a lot of specific holiday products. You can take basic colours that are associated with a holiday and mix in some easily customizable products to create something appropriate for the season!
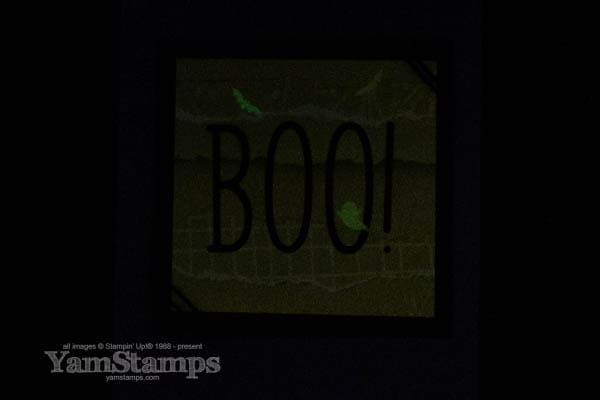
While orange and black are typical Halloween colours, I’ve also seen a lot of purple/green combinations as well – and those are the shades I chose for this card. I picked a green shade patterned paper from the Masterfully Made Designer Series Paper, and combined that with Basic Black and Gorgeous Grape Cardstocks. I placed an Adhesive Sheet on the back of the Basic Black Cardstock before die cutting with the Alphabet A La Mode dies – warning, that dot on the exclamation mark can disappear very easily if you don’t keep your eye on it!! Added a bit of black Baker’s Twine from the Baker’s Twine Essentials Pack in the corners. Then you turn out the lights…
Can you see them? (this was kind of hard to photograph well!) I managed to grab some of the glow in the dark bats and ghosts before they sold out. These were super popular, so I was happy to have some to share with my Card Club Members so that they could use them for these Halloween cards. If you missed out on them, at time of writing, the Glow in the Dark Specialty Paper is still available – and could be used for some fun holiday lights or stars effects – not just for Halloween!
So BOO! Happy Halloween! Only treats here! Just a reminder, though, that tomorrow is the LAST DAY to get in on the Starter Kit Special! 35% off or 35% more product in your Demonstrator starter kit. You know what’s really scary? How many people wait until the last day to get in on a special price (and how much stress the site gets put under when everyone is trying to complete their sign ups at the same time)! Don’t wait any longer! https://yamstamps.com/join for more information and to grab your special Demonstrator starter kit today! (If you don’t want to read through the FAQs, go here to start the process right away).