In all honesty, the end of August and almost all of September feel like a bit of a blur to me. There was a LOT going on, but I feel like things are getting back into a routine.
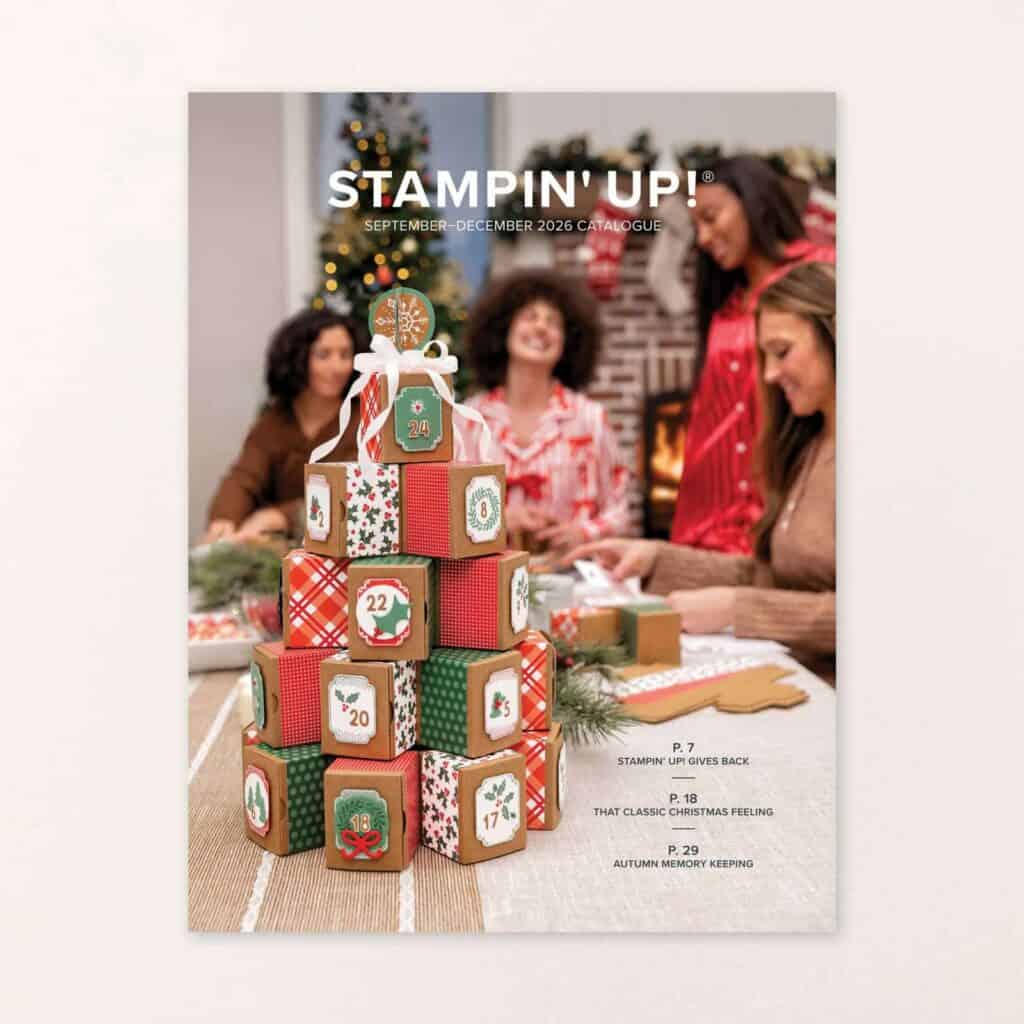
I did take part in another Stampin’ Up! Canada Demonstrator only card swap featuring products from the September-December 2026 Catalogue. I always love these swaps for new ideas and inspiration. I’ve shared one of my swap cards here on YamStamps.com on the Sunday Swaps Page – and here’s the other design I created since I took part in two groups.
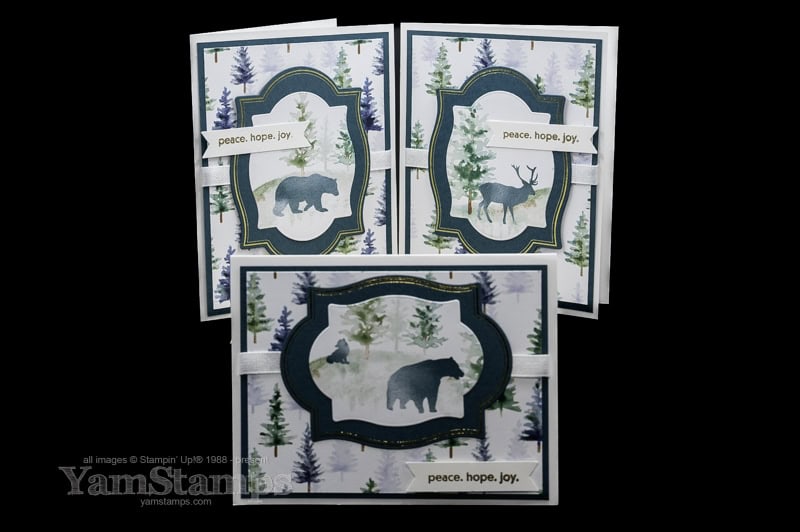
I used the Flourish & Frames Hot Foil Dies to create the frames and focal images, and gold embossing for the sentiment from Soiree Salutations with the Three Banner Punch. The Whispering Woods Designer Series Paper did the rest of the work! I love the colours in this DSP, and I also feel a little more virtuous using it because Stampin’ Up! donates $4CAD from each purchase to various charities world wide that are dedicated to empowering women.
TIME LIMITED NEW DEMONSTRATOR SPECIAL
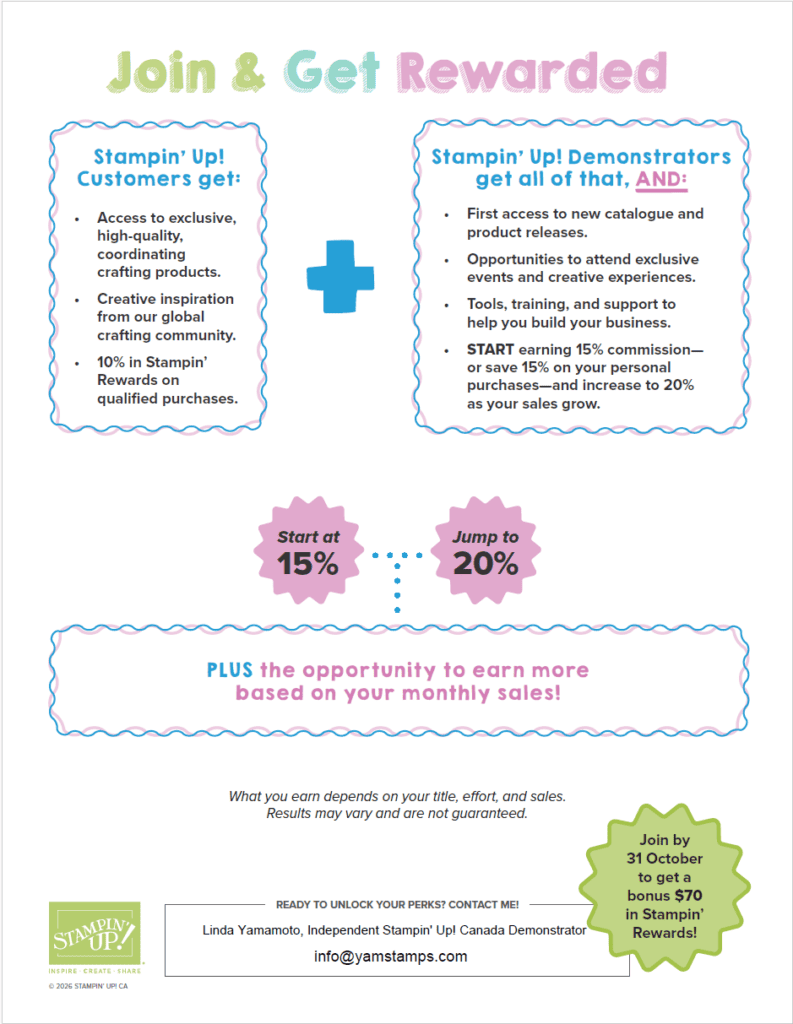
When you sign up and pay the $135 CAD fee to join as a Stampin’ Up! Canada Demonstrator, you receive a $170 CAD coupon code to use toward Stampin’ Up! products of your choice in your own online store.
During October, there’s also a BONUS when you join as a Demonstrator! You’ll receive $70 CAD in Stampin’ Rewards that you can apply toward any purchase during your first three months as a Demonstrator. Stampin’ Rewards is the customer rewards program, where you typically earn 10% of your product total to use toward a future purchase. One of the things I appreciate about Stampin’ Up! is that Demonstrators can participate in the customer rewards program while also receiving a discount on their own purchases or earning income on sales.
I know a lot of new Demonstrators use that first purchase to pick up some of the products they’ve had their eyes on for a while. Previously, you selected your Starter Kit products during the join process, and had to stay at or below the allowed value—kind of like competing on The Price Is Right! I love the new coupon-code system because you can choose exactly what you want for that first order, without having to worry about staying under a set product total. If your wish list is a little longer, you can simply pay the difference (and use your Stampin’ Rewards to reduce how much you’ll actually pay!).
Whether you’re thinking about joining Stampin’ Up! or simply looking for a little creative inspiration, I hope today’s project has given you an idea or two to try in your own craft room.
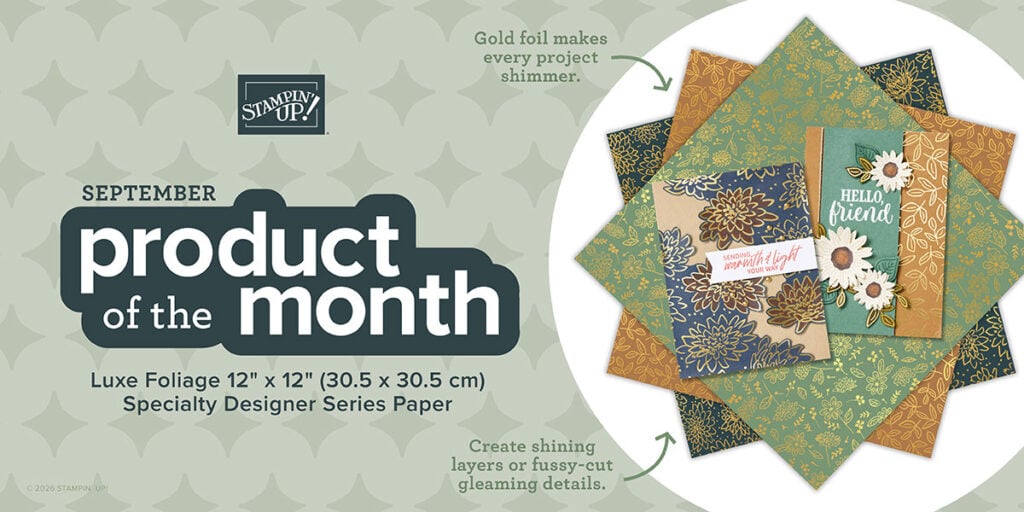
There’s a new Product of the Month! Available for purchase for just $7CAD with a qualifying product order of $100CAD (single order, before shipping/taxes, after any discounts/rewards/coupons applied). While supplies last.
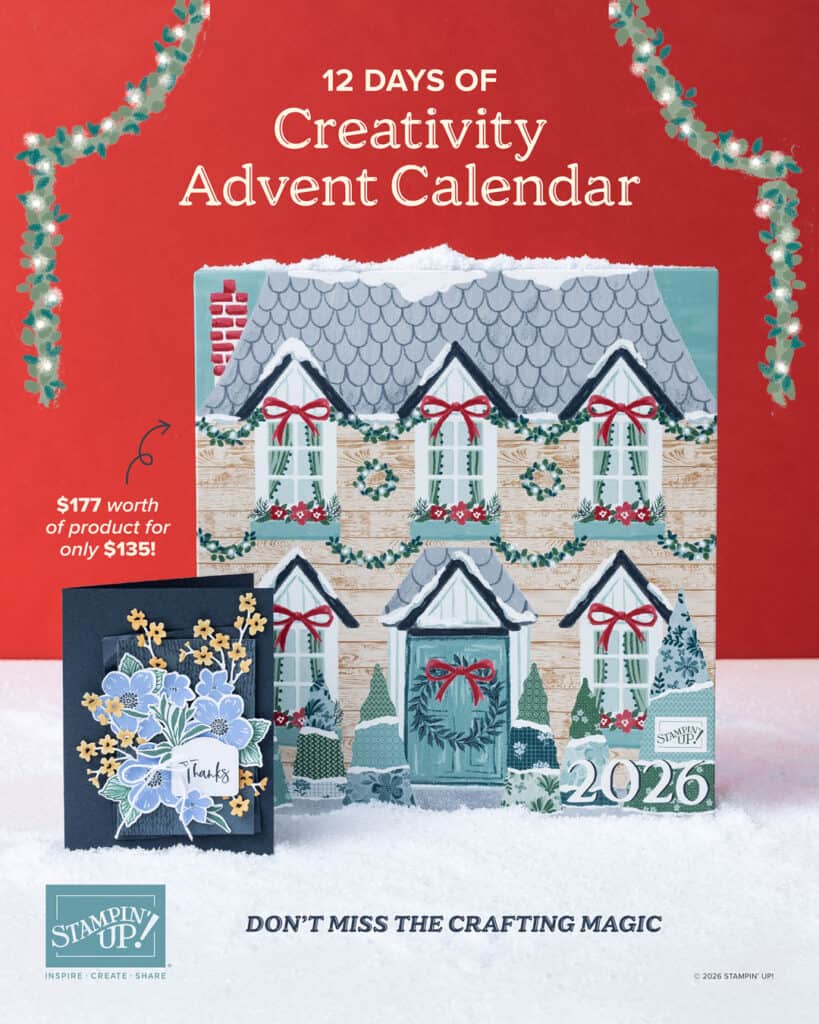
And finally….there’s a limited supply available of the Creativity Advent Calendar! Twelve days of exclusive crafting products valued at $177CAD for just $135CAD – while supplies last!
That should keep us all busy for now….you can shop online 24/7 within Canada at YamStamps.com/su. Please reach out to me if you have any questions or need assistance placing an order!
I’ve created a new way to say thank you for shopping with me!
When you place a qualifying $75 CAD product order through the YamStamps Online Stampin’ Up! Canada store, you’ll receive the current YamStamps Creative Bonus tutorial at no additional cost.
It’s a little extra creative inspiration to help you enjoy your crafting supplies even more.
How to Qualify
Place a single product order of $75 CAD or more through the YamStamps Online Store to receive the current Creative Bonus tutorial.
The $75 qualifying total is calculated:
after any discounts or Stampin’ Rewards have been applied
before shipping and taxes
No need to request your Creative Bonus—I’ll automatically send the tutorial to the email address associated with your qualifying order, usually within 24 hours. If you don’t see it, please check your spam or junk folder, and reach out to me if it still hasn’t arrived.
What’s in the YamStamps Creative Bonus One?
Creative Bonus One features a card project and three different ways to use hot foil supplies, giving you even more ideas for getting creative with your supplies. You’ll receive a PDF tutorial with a full-colour image, linked supply list, and step-by-step instructions.
A Little Creative Thank You
If you’ve been following me for a while, you know I’m a big believer in actually using our crafting supplies. I hope the Creative Bonus gives you a little extra inspiration to do just that. Most importantly, it’s my way of saying thank you for choosing to shop with me and support YamStamps.
Every now and then, it’s nice to slow down and enjoy a project that’s all about the creative process. Take the time to craft the flowers!
Today’s card isn’t one of my quickest designs. With all those tiny die-cut flowers and leaves, it does take a little more time than some of the projects I share, but that’s exactly what makes it so satisfying to create. Settle in with your favourite beverage (in a cup with a lid on it…), put on some background entertainment (my choice is music or a show that doesn’t require my full attention), and enjoy creating a card that’s sure to wow the recipient.
A Simple Layout with Beautiful Details
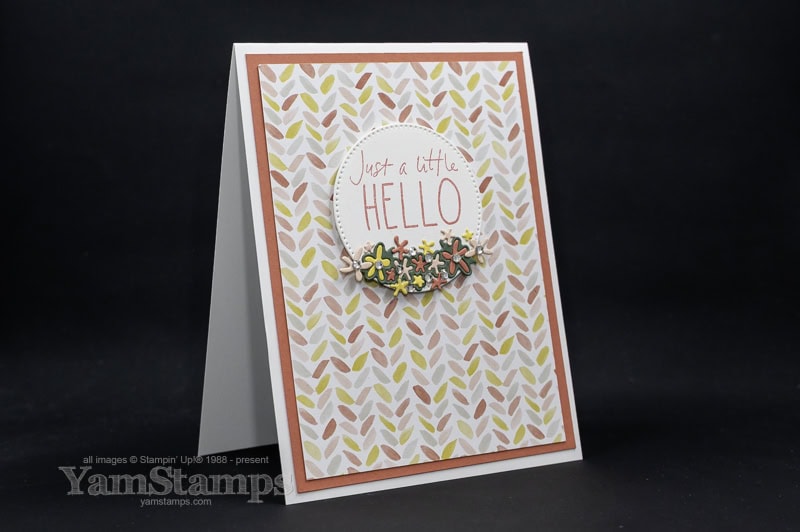
Although there are quite a few small die-cut pieces, the overall design is very straightforward. The patterned paper does most of the work, creating a soft background that lets the greeting and floral embellishments take centre stage.
One of my favourite things about this layout is how versatile it is. Swap the greeting for a birthday, thank you, thinking of you, or sympathy card, and simply choose your floral colours from the patterned paper for easy coordination and a polished finish.
A Great Way to Use Your Favourite Supplies
This card is also a reminder to take another look at the dies you already own. The flowers and foliage used on this project come from the Cutest Crew Dies—a set most people probably think of for its adorable cats, dogs, and birds. It’s easy to overlook all the little accent pieces tucked into larger die sets, but they’re often some of the most useful dies you’ll own.
Download the Free PDF Tutorial
I’ve created a free downloadable PDF tutorial so you can recreate this card in your own craft room.
The tutorial includes:
Complete cutting measurements
A full supply list
Step-by-step instructions
Whether you choose to copy the design exactly or use it as inspiration for your own version, I hope you’ll have as much fun making it as I did.
Paper Crafting Doesn’t Have to Be Difficult to Be Impressive
One of the messages I hope comes across in my posts and tutorials is that beautiful handmade cards don’t have to be complicated. This project may have more pieces than some of my usual designs, but the techniques themselves are quite simple. It’s simply a card that invites you to slow down, enjoy the process, and let all those little details come together.
Before you put your supplies away, take another look through some of your favourite die sets. Those little accent dies that often get overlooked just might become the star of your next project. Sometimes it’s the smallest details that make the biggest impact.
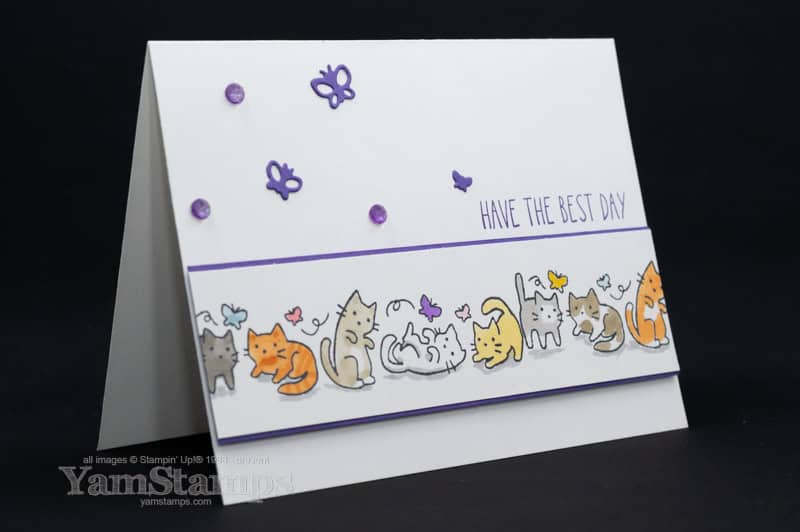
Today is National Kitten Day, so it seemed like the perfect time to share this playful card featuring the Cutest Crew stamp set – and to give you a free downloadable tutorial!
Fun Cat Card with the Cutest Crew Stamp Set
Whether you’re making a birthday card, sending a cheerful hello, or creating something special for a cat lover, this design is easy to personalize and fun to make.
One of my favourite things about this project is how easy it is to make it your own. Change the colours of the cats, swap the colour palette, or shift the position of the image strip for a new look.
For this version, I created a longer line of cats by stamping the image side by side. The Stampin’ Positioner makes this even easier. One of my favourite colouring tips is to add a little shadow beneath your images to help “ground” them. No space kitties here!
I’ve included a free downloadable tutorial so you can recreate this card at home. I hope you have as much fun making it as I had designing it!
If you’d like even more free tutorials, paper crafting inspiration, and practical cardmaking tips delivered each week, be sure to subscribe to my newsletter and come back to visit YamStamps.com.
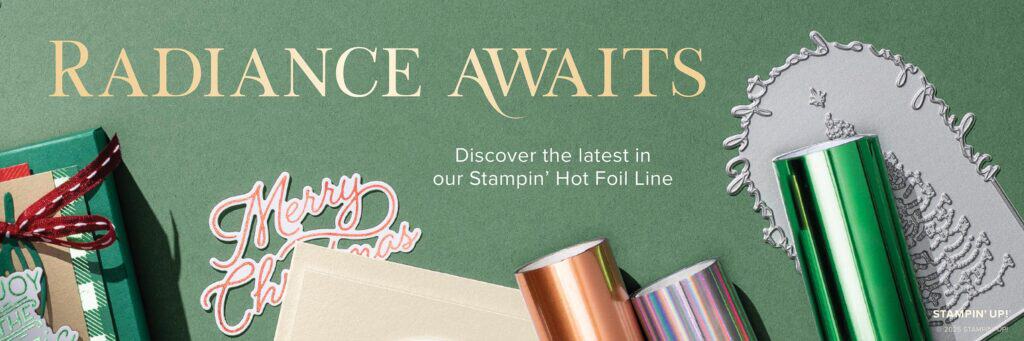
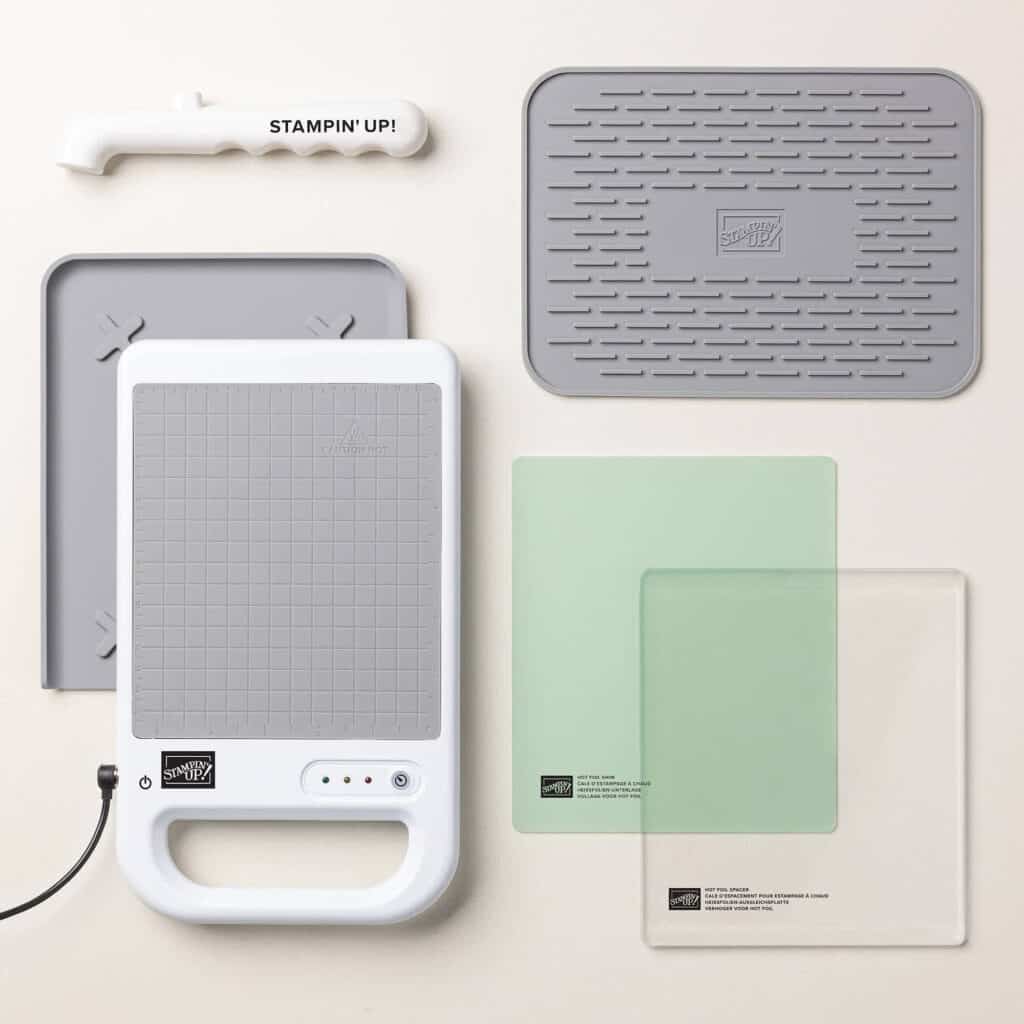
If you’ve ever admired elegant foiled cards with beautiful metallic details and wondered how they were made, your wait is almost over! Beginning Friday July 10, customers can purchase Stampin’ Up!’s brand-new Hot Foil System (item 170009).
If you’ve been crafting with me for a while, you know I love techniques that look impressive but don’t require a post doctorate degree. From everything I’ve seen so far, hot foiling fits into that category!
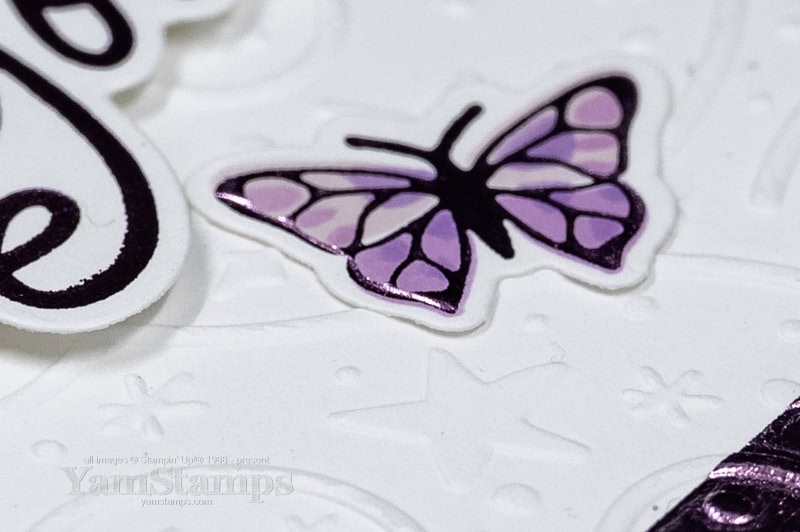
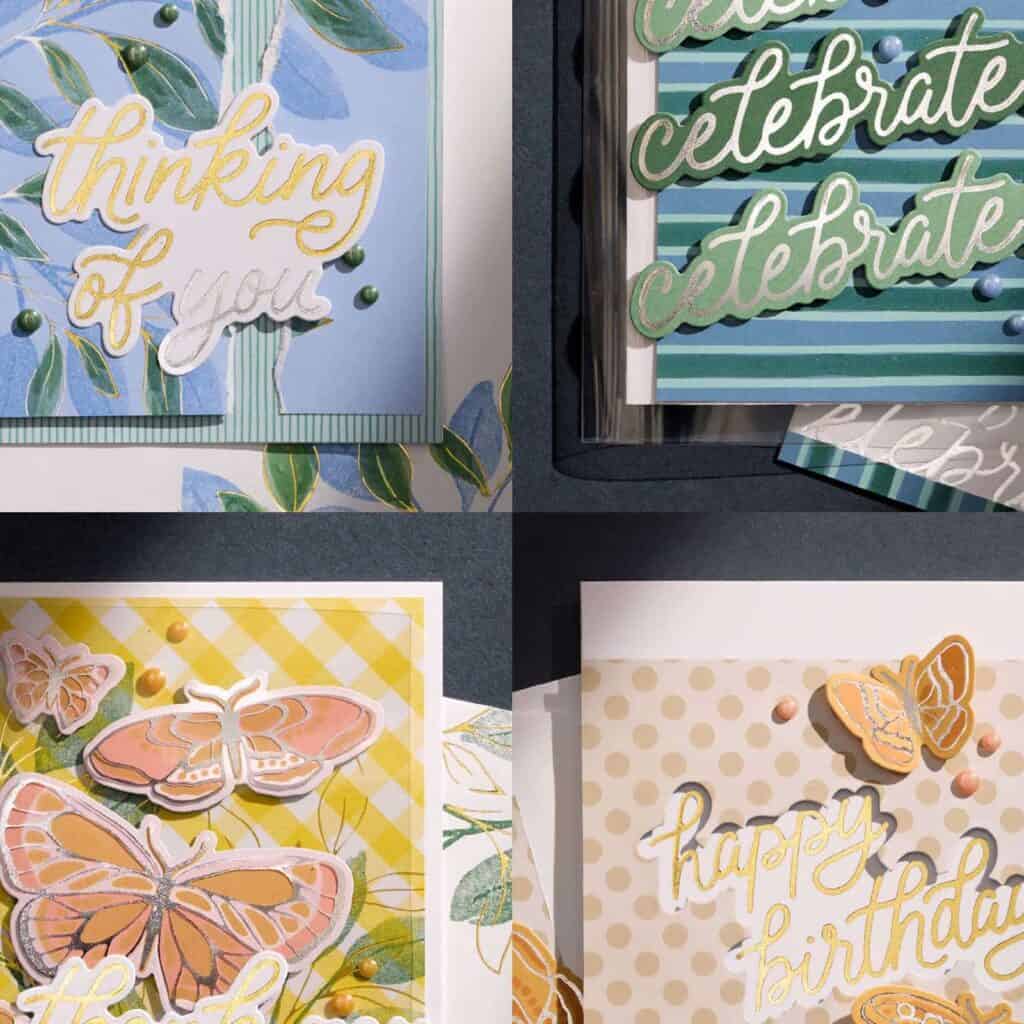
Hot foiling uses heat and pressure to transfer metallic foil onto paper, creating crisp, professional-looking designs with stunning shine. If you love the look of metallic heat embossing, this is the next level! Perfect for greetings, borders, backgrounds and accents that will elevate your handmade projects.
Stampin’ Up!’s Hot Foil system is designed to work with your Stampin’ Cut & Emboss Machine. Using it with other systems will void the warranty.
Why You’ll Love It
Whether you love clean and simple cards or more elaborately detailed, layered designs, the Hot Foil System gives you another way to add elegant shine without making your projects more complicated. It’s one more creative technique to add to your crafting toolbox.
A Bonus Online Class Included
The Hot Foil system was just recently made available to Stampin’ Up! Demonstrators, and in all honesty, I haven’t yet had the chance to play with it! I’m looking forward to experimenting with it and sharing what I learn along the way. Even better- Stampin’ Up! is making it easy for me (and you too!).
If you purchase the Hot Foil System before January 4, 2027, you’ll also receive access to Stampin’ Up!’s online Metallic Magic Craft Class for FREE! That’s a $41CAD value! You will see the class available in the online store, but when you purchase the Hot Foil System, DON’T ADD THE CLASS TO YOUR CART AS WELL! It’s already included in the Hot Foil System right now.
We’ll get guided instruction to help us make the most of our investment. The class will walk us through the basics, share tips and techniques, and help us get the most from our new tool right from the beginning.
Not sure which accessories, foils, or plates you want to start with? You could check out the supplies list for the Metallic Magic Class or take a look through the brochure to see the full product line and project inspiration.
Is the Hot Foil System Right for You? (Spoiler Alert – I think the answer is yes)
If you enjoy:
Learning new cardmaking techniques
Adding elegant metallic accents
Creating professional-looking handmade cards
Being one of the first to get the new products
…then the Hot Foil System may be your next favourite tool.
From everything I’ve seen so far, I have a feeling this is going to become one of those tools I reach for when I want to add a little extra shine to a card. I can’t wait to experiment with it and see where it takes my creativity. I think it’s one of those tools that can easily take a good card and make it even better.
One last tip: Initial inventory is expected to move quickly. If the first shipment sells through, it may take some time before additional stock arrives. If you’ve already decided you’d like to add the Hot Foil System to your craft room, I’d recommend ordering early so you can take advantage of both the first release and the free Metallic Magic Craft Class.
Ready to add a little shine to your craft room? Shop the Hot Foil System here (link will be active July 10), browse the brochure, and let me know in the comments what you’re most excited to foil first!”\