Are you on the YamStamps list? Be sure to be registered to receive monthly paper crafting project ideas, information on events and Stampin’ Up! specials, plus more on a regular basis. We’ve had to discontinue the YamStamps App, so if you used that, you will want to be sure to check the mobile friendly YamStamps website, www.yamstamps.com and be on the YamStamps mailing list so you won’t miss anything!
No Fooling! April 1st will be the next edition of the monthly YamStamps Paper Crafting Newsletter – so be sure to be on my mailing list to get your copy! More information HERE.
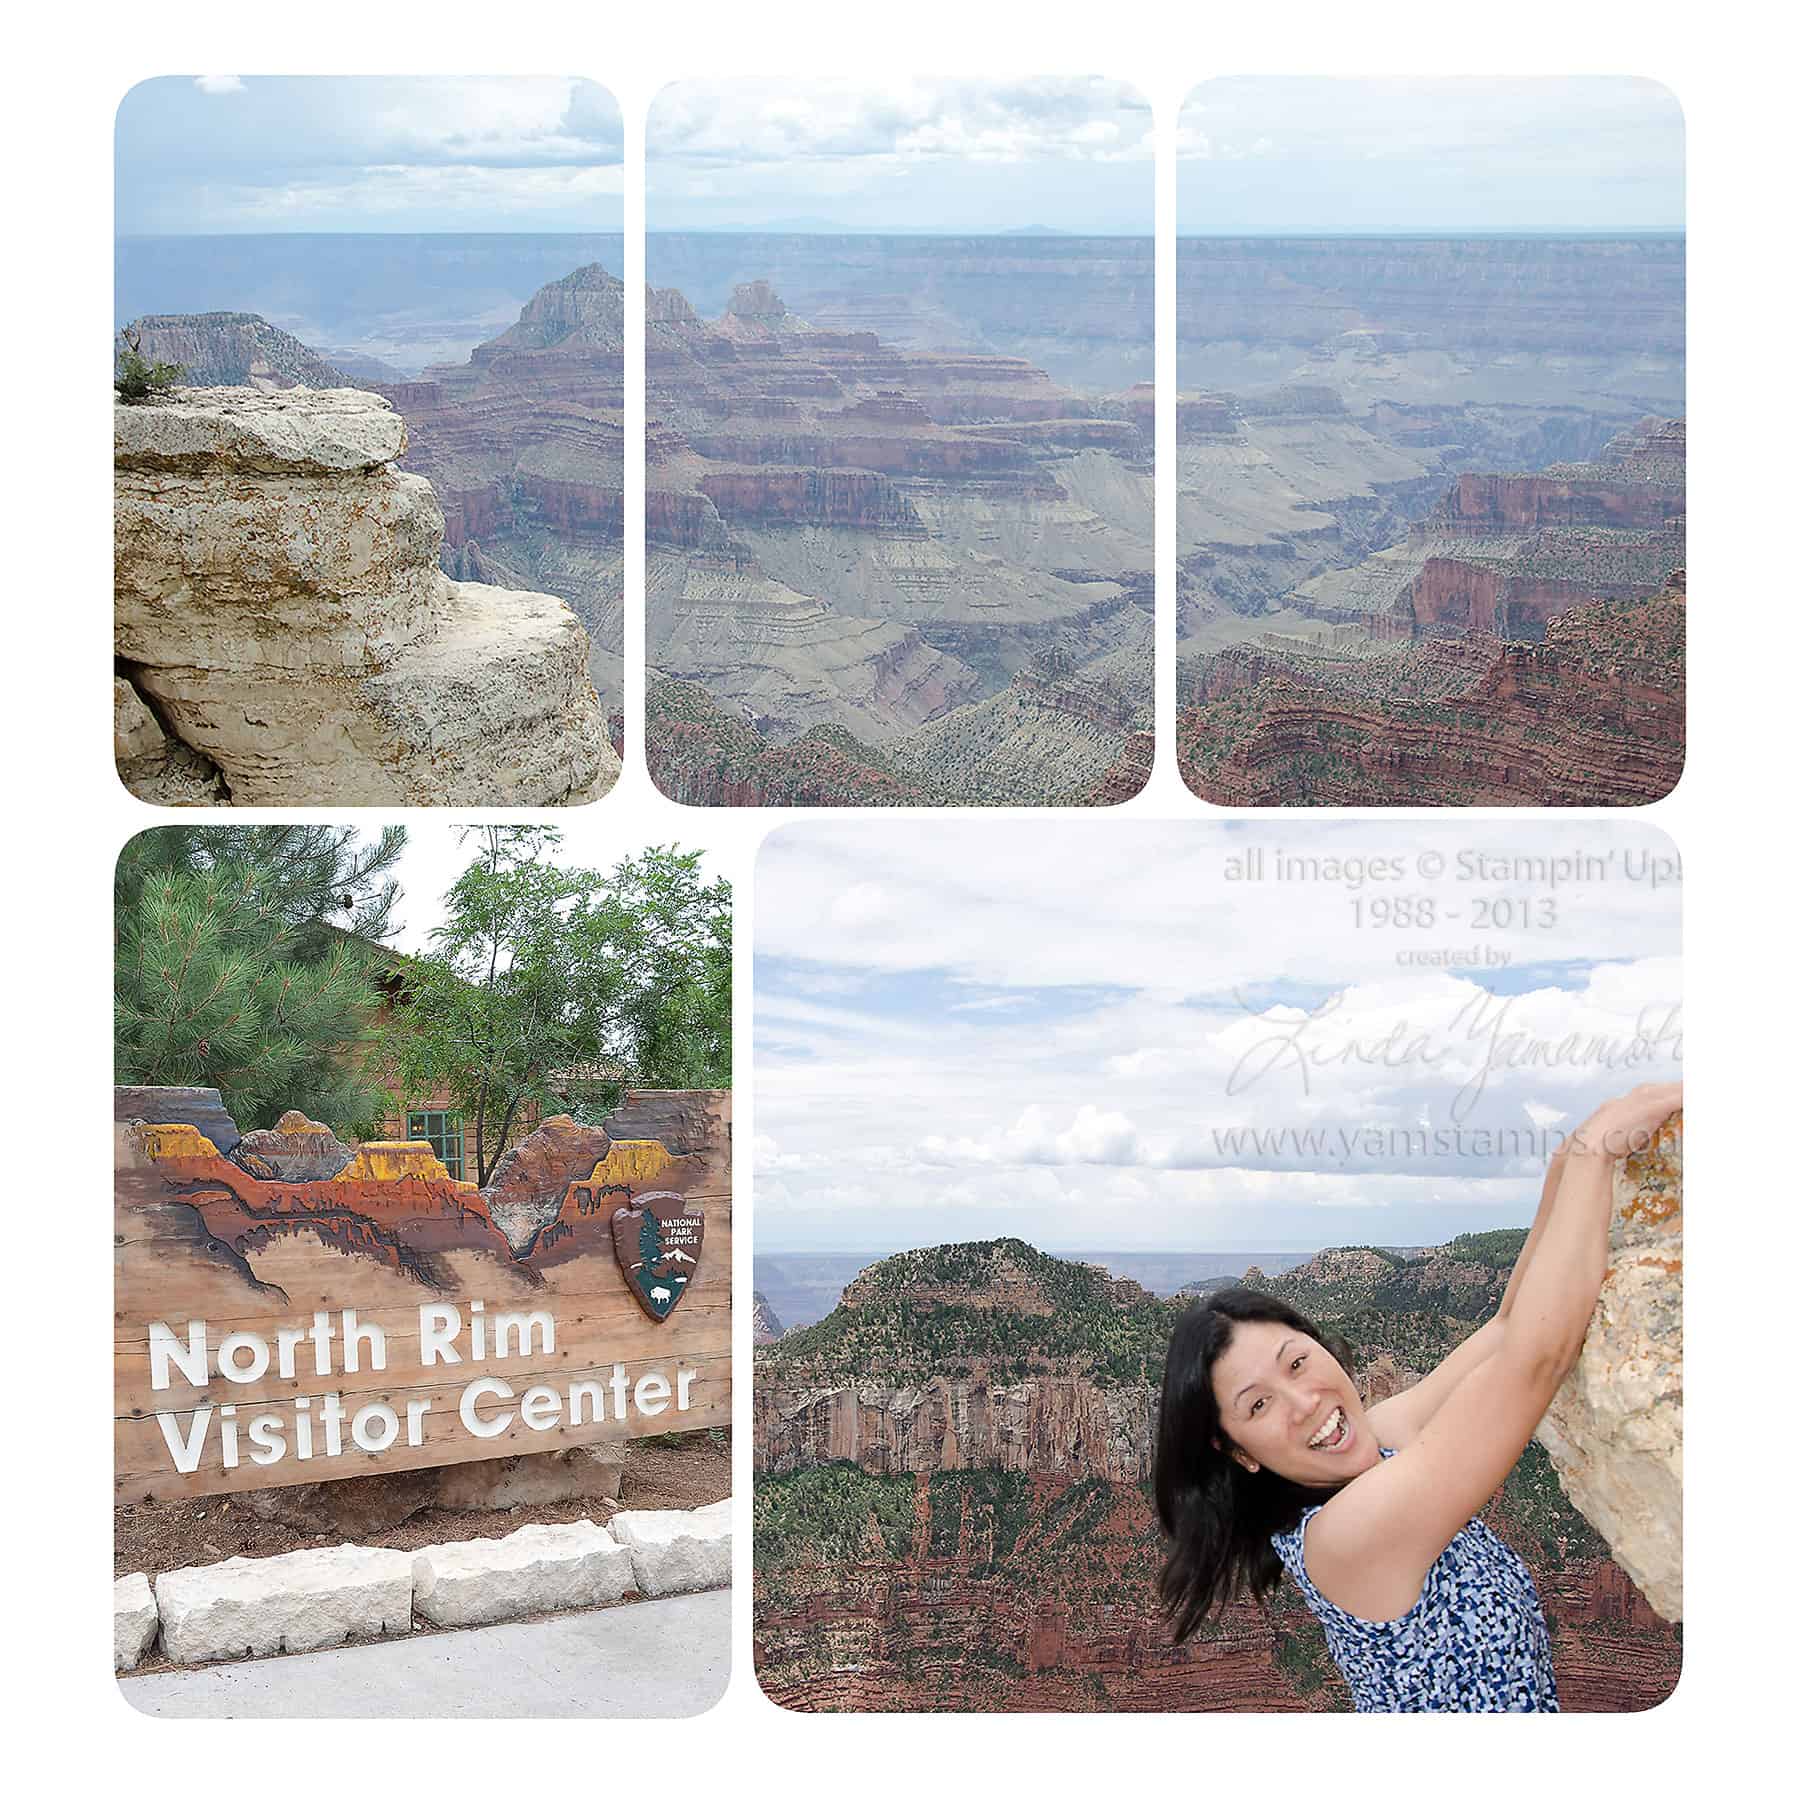
OK here’s the second page that I created in MDS from my recent girls trip to Utah/Arizona and Stampin’ Up!’s 25th Anniversary Convention. Melanie organized a stay in Kanab, where we stayed in a gorgeous huge house that actually belongs to Shelli Gardner (the co-founder & CEO of Stampin’ Up!)’s family. We toured the factory there and saw the sights, including a day trip to the North Rim of the Grand Canyon. This was my first trip to the Grand Canyon and it was fantastic – and my photos don’t do it justice.
So once again, I used a 12 x 12 photo page template in MDS and added my photos into it. I’ll do a quick video tutorial on how to create the image at the top (so stay tuned!). It’s actually three photo blocks that you “group” together, and then drag & drop your photo into place. It’s a great way to incorporate a larger photo to a pre-set layout. The bottom right photo is a fun set up that I have taken to doing whenever there’s an opportunity… A friend introduced me to this concept a few years back (OK a LOT of years back) when we were at Ayer’s Rock or Uluru in Australia. You find a spot where there’s an outcropping or a downhill slope area, then set yourself up so it looks like you’re hanging off the edge! Again, note that I say it LOOKS like you’re hanging off the edge. You are TOTALLY safe. This being said, we did see some crazy people climbing out to the edge for photo ops, and I couldn’t even look at them – too stressful for me. I have enough stress in my life without adding to it.
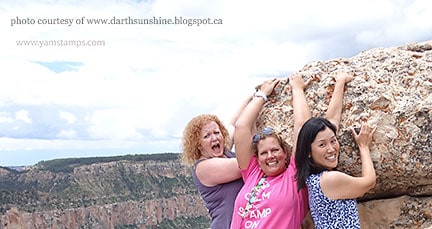
Here’s me, Dana and Sue (Sue being the only one who looks convincing in this shot…..) cropped photo ready to go…
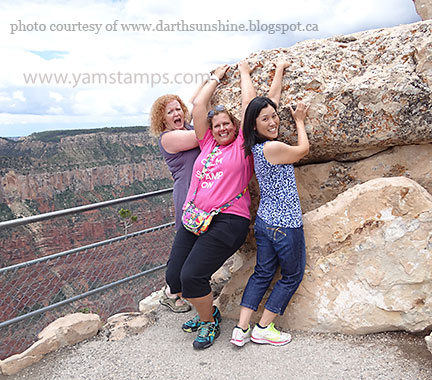
and here’s the uncropped photo showing how we did it (not that you couldn’t figure it out yourself, I’m sure…LOL). This was taken by an innocent passerby that we convinced to take the shot for us (and who didn’t get the instruction to take us from waist up). I’m sure she wondered what the heck we were doing….
We had so many laughs during our time together – I’m so fortunate to have found such good friends through crafting!
It's a two-fer today – a card sample and a Frugal Fridays tip in one! This card uses the Spring Surprise Bundle which is only available until April 30th. You get the stamp set and punch at a great price (15% off)! We used Wild Wasabi for this card, and I love Monochromatic cards (it's the theme of my first online class) because I don't have to think too hard about what colours to use…plus they're effective!
So that's one Frugal Friday tip – use one colour and still have a great card…but it's not the tip I am featuring today. I used the coordinating sized scallop circle punches on this card – and the scallop circle behind the "Thank U" image is the same Wild Wasabi cardstock as the backing for the main image area. THAT'S the Frugal Fridays tip!! See the picture below…
Punch the backing circle from your backing cardstock in an unobtrusive area (i.e. not right at the edge where it might show…). Noone will be the wiser…unless they deconstruct your card like I did to this one (because I forgot to take the photo first LOL), or unless they see this post 😉
Frugal Fridays Tips are a semi regular feature on www.yamstamps.com – designed to help you save some crafting time and money! If you want to "save" some more money…be sure to check out the retiring Stampin' Up! products in my online store – some of which are on sale up to 60% off!!
Frugal Friday is a semi-regular occurrence here on www.yamstamps.com – showing you how to stretch your crafting dollars! I have a video today to share, showing how to create an Easter card even if you don't have any specific Easter stamps. This card could also work for Baptisms, Christenings, First Communions…you get the idea…
I didn't do a commentary for this video, it's pretty self-explanatory, though I did add some captions.
Tuesday Tips are a semi-regular occurrence here at YamStamps….designed to be quick ideas to make your crafting life easier.
Thought I'd share this quick and easy way to make clear mount stamp storage very visual. When you get your Stampin' Up! clear mount stamps, you pop them out of the rubber and adhere them to the labels (if you so desire..). Here's the blog post with a video I made a few years ago when Stampin' Up! first came out with clear mount stamps. Soooooo – after you've assembled your stamps, don't throw out the rest of the rubber!! If you remove the backing from the remainder of the rubber sheet, you can then stick the "outline" to the inside of the case, and the stamps fit into the open areas just like a jigsaw puzzle. Very easy to see if you're missing a stamp from a set! (and if you craft like me, this may happen….often….LOL).