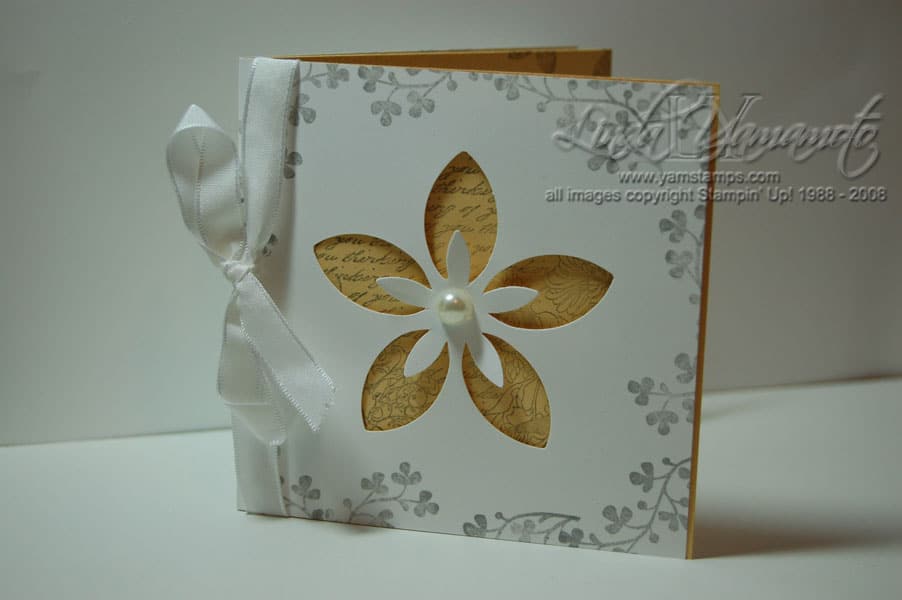
Don't forget that Stampin' Up! is offering this sneak peek stamp set and laser cut card for this month! You still have a few more days to get this special offer…
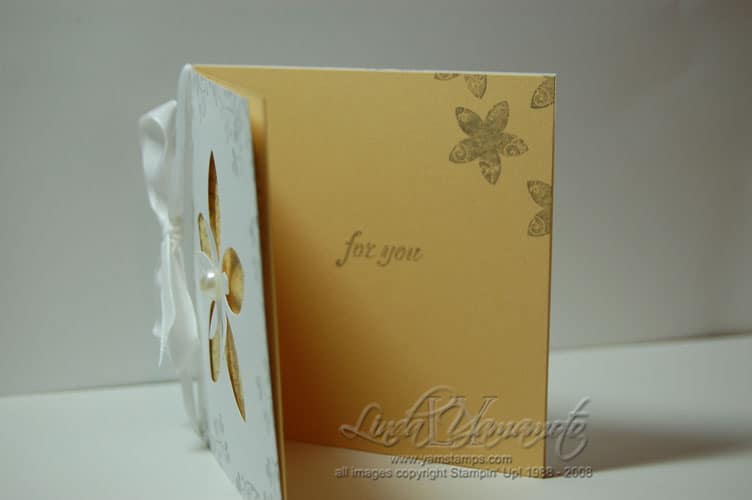
I detached the petals on the card, then stamped in going grey randomly on the front edges. I stamped the larger image onto a piece of so saffron, folded to go inside the laser cut card. I held the insert in place with some white taffeta ribbon. A half pearl from the pretties kit in the centre of the flower adds some more elegance. I also slightly bent the petals of the inner flower out a bit to give more dimension.
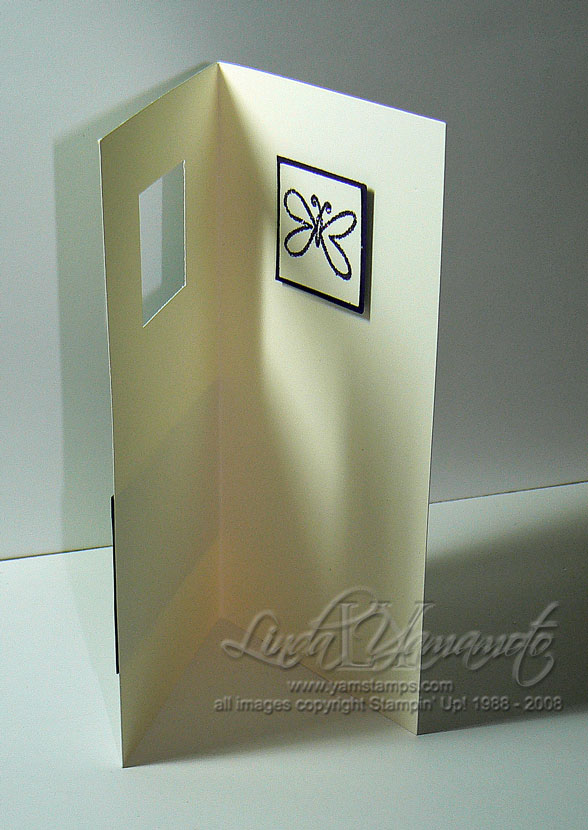
This one shows the interior of the card…I apologize as I think it's slightly out of focus, but you get the idea!
Buy the Fresh Cuts stamp set & be eligible to purchase the fresh cut laser cut notes for a reduced rate – until the end of June! Contact me to place your order before it's too late.
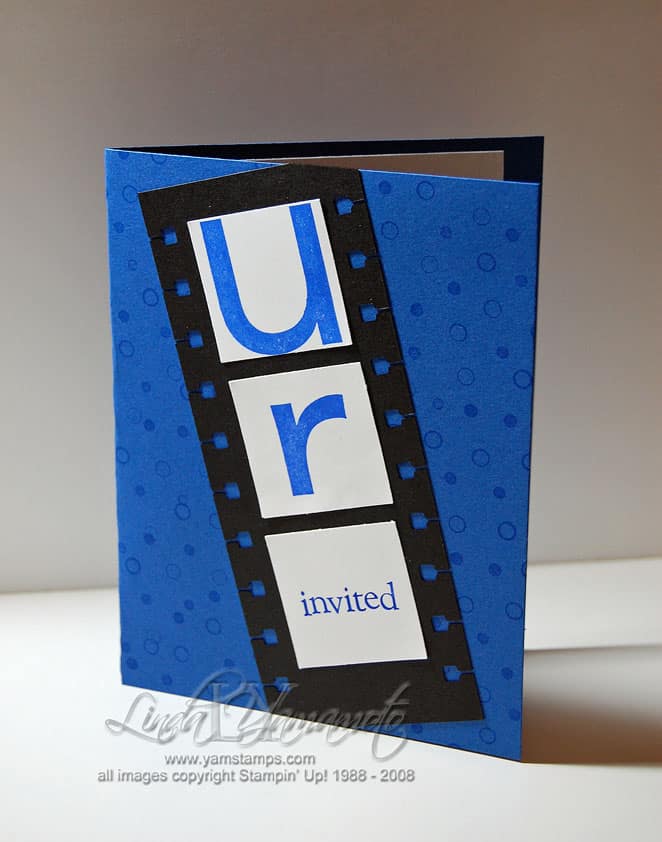
Guess what kind of a party we're having this year?! I made these for D's bday party – we're going to see a movie! I used the film strip technique – I've done that before for a previous Hallowe'en card (see this post here). I used the hot to dot wheel for the background (brilliant blue ink on the brilliant blue card), and the letters are from the big deal alphabet. The word "invited" was from the retired set All Year Cheer II. I used the 1-3/8" square punch to punch out the words and mounted them onto a basic black strip of cardstock. The spiral punch is used repeatedly on either side to give the idea of a strip of film.
I printed out all the details on regular paper & adhered it to the inside of the card. Easy peasy!
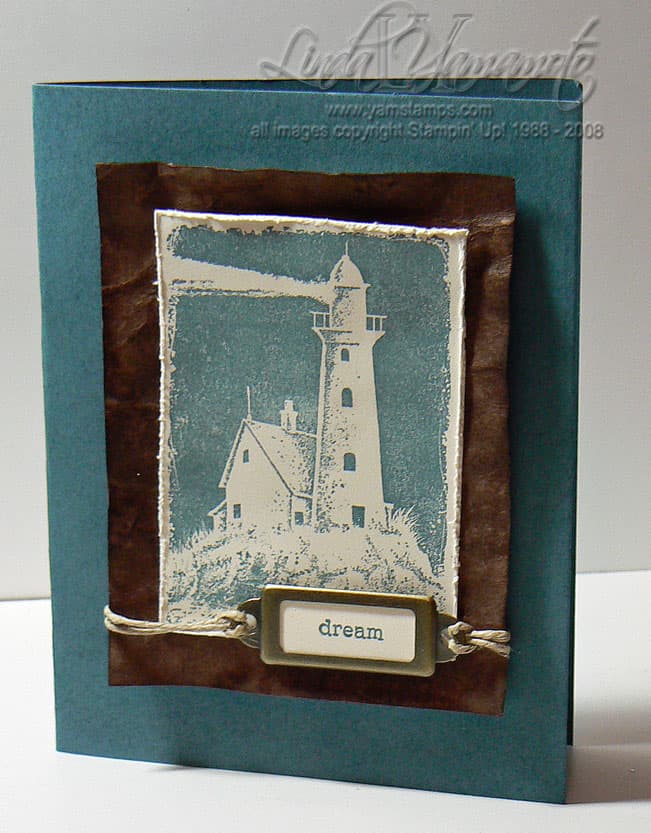
The image is from the Stampin' Up! set A Light Unto My Path (p 103 Spring Summer Collection). It's inked in blue bayou and the edges of the vanilla cardstock are distressed with the distressing tool from the cutter kit (p 184) (it's the piece that looks like a flower). Run the edge of the cardstock in one of the notches & the blade with rough it up without roughing up your fingers! (it also makes a great thread cutter). The word dream is from Everyday Flexible Phrases - but of course, you would want to use the word father for a Father's Day Card! The label frame from Hodgepodge Hardware is held in place with some hemp (and a dimensional!). The image is mounted onto a piece of faux leather-ed Kraft cardstock. Ink the cardstock (direct to paper) with basic brown, sand with a sanding block, spritz with water & then crumple. You can get even more dimension to your piece by doing another direct to paper application of basic brown on top again. (I think this may be June's video tutorial….) I was shown this technique a while back and love it for a masculine card. You can't see it in the image, but the card was also sponged with blue bayou to give subtle dimension (perhaps a little TOO subtle – will have to have a heavier hand with that next time).
My newsletter subscribers will recognize this card from earlier this month…but I liked it so much I thought I'd share it here as well. Don't forget that Stampin' Up is releasing the retired list June 15th – check back here for the news, or sign up for my mailing list to get a copy in your email inbox!
This was one of the cards that I included in my Sam's Day Silent Auction basket….and I just realized that I hadn't yet shared it here! Thankfully I did have a picutre of the card on my computer.
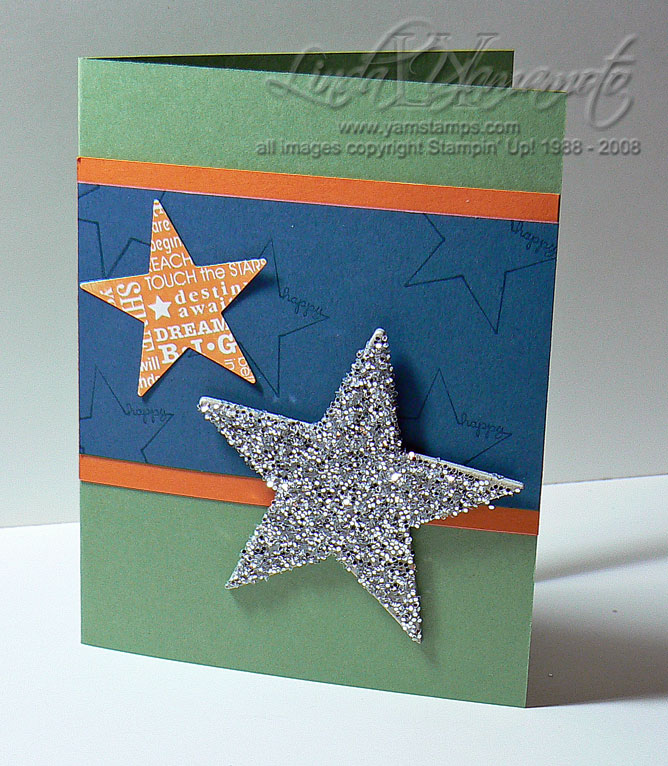
This is a great birthday or grad card – especially for a guy. The stamp set is In the Stars from Stampin' Up!'s Occasions Mini – which is extended until the end of June. The card itself is wild wasabi, with only orange and not quite navy. The star with the words on it was punched out using the large star punch. We coated the chipboard star with Tombow Multipurpose adhesive and then with silver chunky glitter. You do have to allow time for the adhesive to dry completely, so if you're in a rush….I would use heat & stick powder with the glitter!
If you're on my mailing list, you should have received my e-newsletter earlier in the week – if you didn't, please contact me & I will resend it to you! (and if you did get it – have you sent in your entry for my retired list contest yet??)
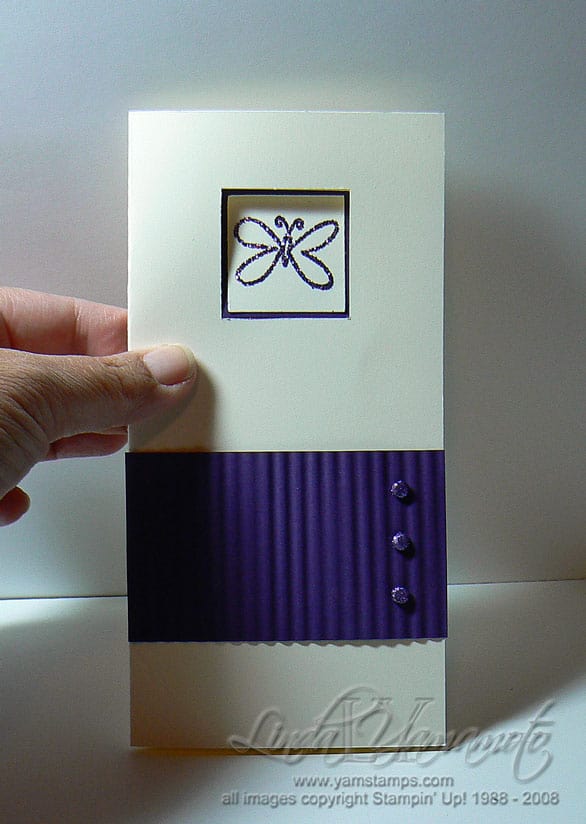
This is a card using Stampin' Up!'s heat & stick powder and cosmo fine glitter. Heat & Stick powder is an adhesive embossing powder that's great for adding glitter or beads to a project with precision.
We stamped the butterfly from Sweet Shapes (p. 117 Spring-Summer Collection) with versamark, then coated the image with heat & stick powder. Remove the excess, heat until the powder melts, then coat with cosmo glitter. Shake off the excess, then one more shot of heat to the image to help it "set". THEN use the 1-1/4" square punch – that's the secret to a centred image!
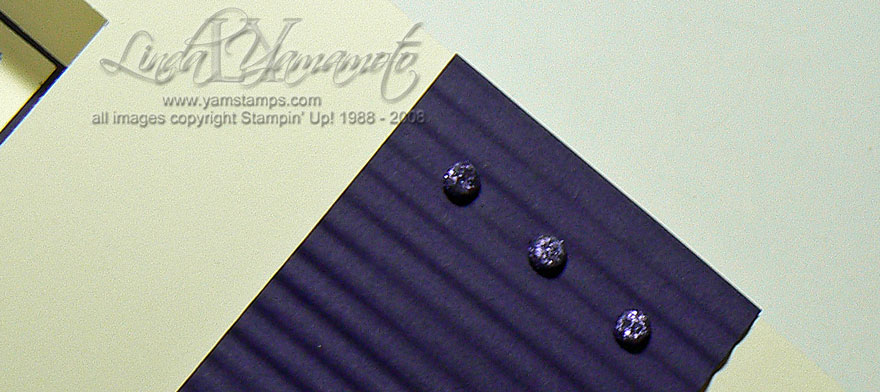
I liked the effect so much, but the card needed more "bling" so we did the same to some antique brads! Using the tweezers from the tool kit (very important to prevent burns!) – we tapped the brad heads into the versamark pad, then coated with heat & stick powder, heated & coated with glitter! I think they make a great accent to the strip of elegant eggplant that we ran through the crimper. This is a long card that fits into Stampin' Up!'s small open end envelopes. I really like this card shape!
And hey – welcome to those visiting via the Canadian Scrapbookers Blog Carnival!
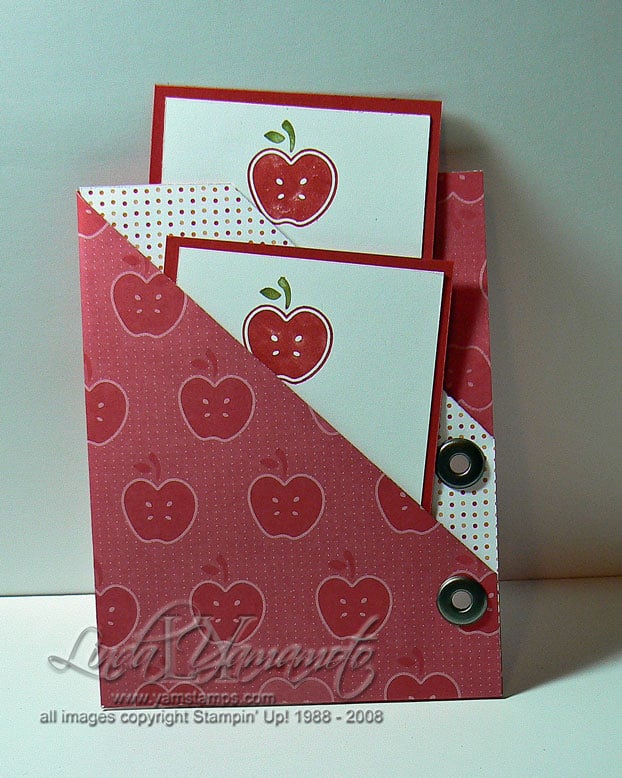
The May video tutorial is here (just under the wire!). This one features my version of a double pocket card. I had promised the video so that club members (OK and anyone who watches!) could get a handle on how we did this. I think that the sound and lighting are better on this month, and I've learned how to do the "speed up" effect… feel free to leave feedback or ask questions! Photo is of the version that I think will become the "Thank you teacher" gift at the end of the school year! One tag can easily be converted to a gift card holder by using the slot punch, and the thank you note can be written on the other tag!
Even with my editing, the video is almost 5 minutes long, so grab a cuppa while you watch (or better yet, grab some designer series paper, jumbo eyelets and your crop-a-dile and play along!!) Enjoy 🙂

 Don't forget that Stampin' Up! is offering this sneak peek stamp set and laser cut card for this month! You still have a few more days to get this special offer…