Stampin’ Up! has just released the last chance lists – here’s the list of products that will be retiring from the Annual Catalogue. Please note that in some cases, bundles of products will be discontinued, but the components will still be available individually in the next catalogue.
Could I pick a longer title? Blended Ink Stamped Background Technique is an accurate, if a little wordy description of my latest video upload on YouTube.
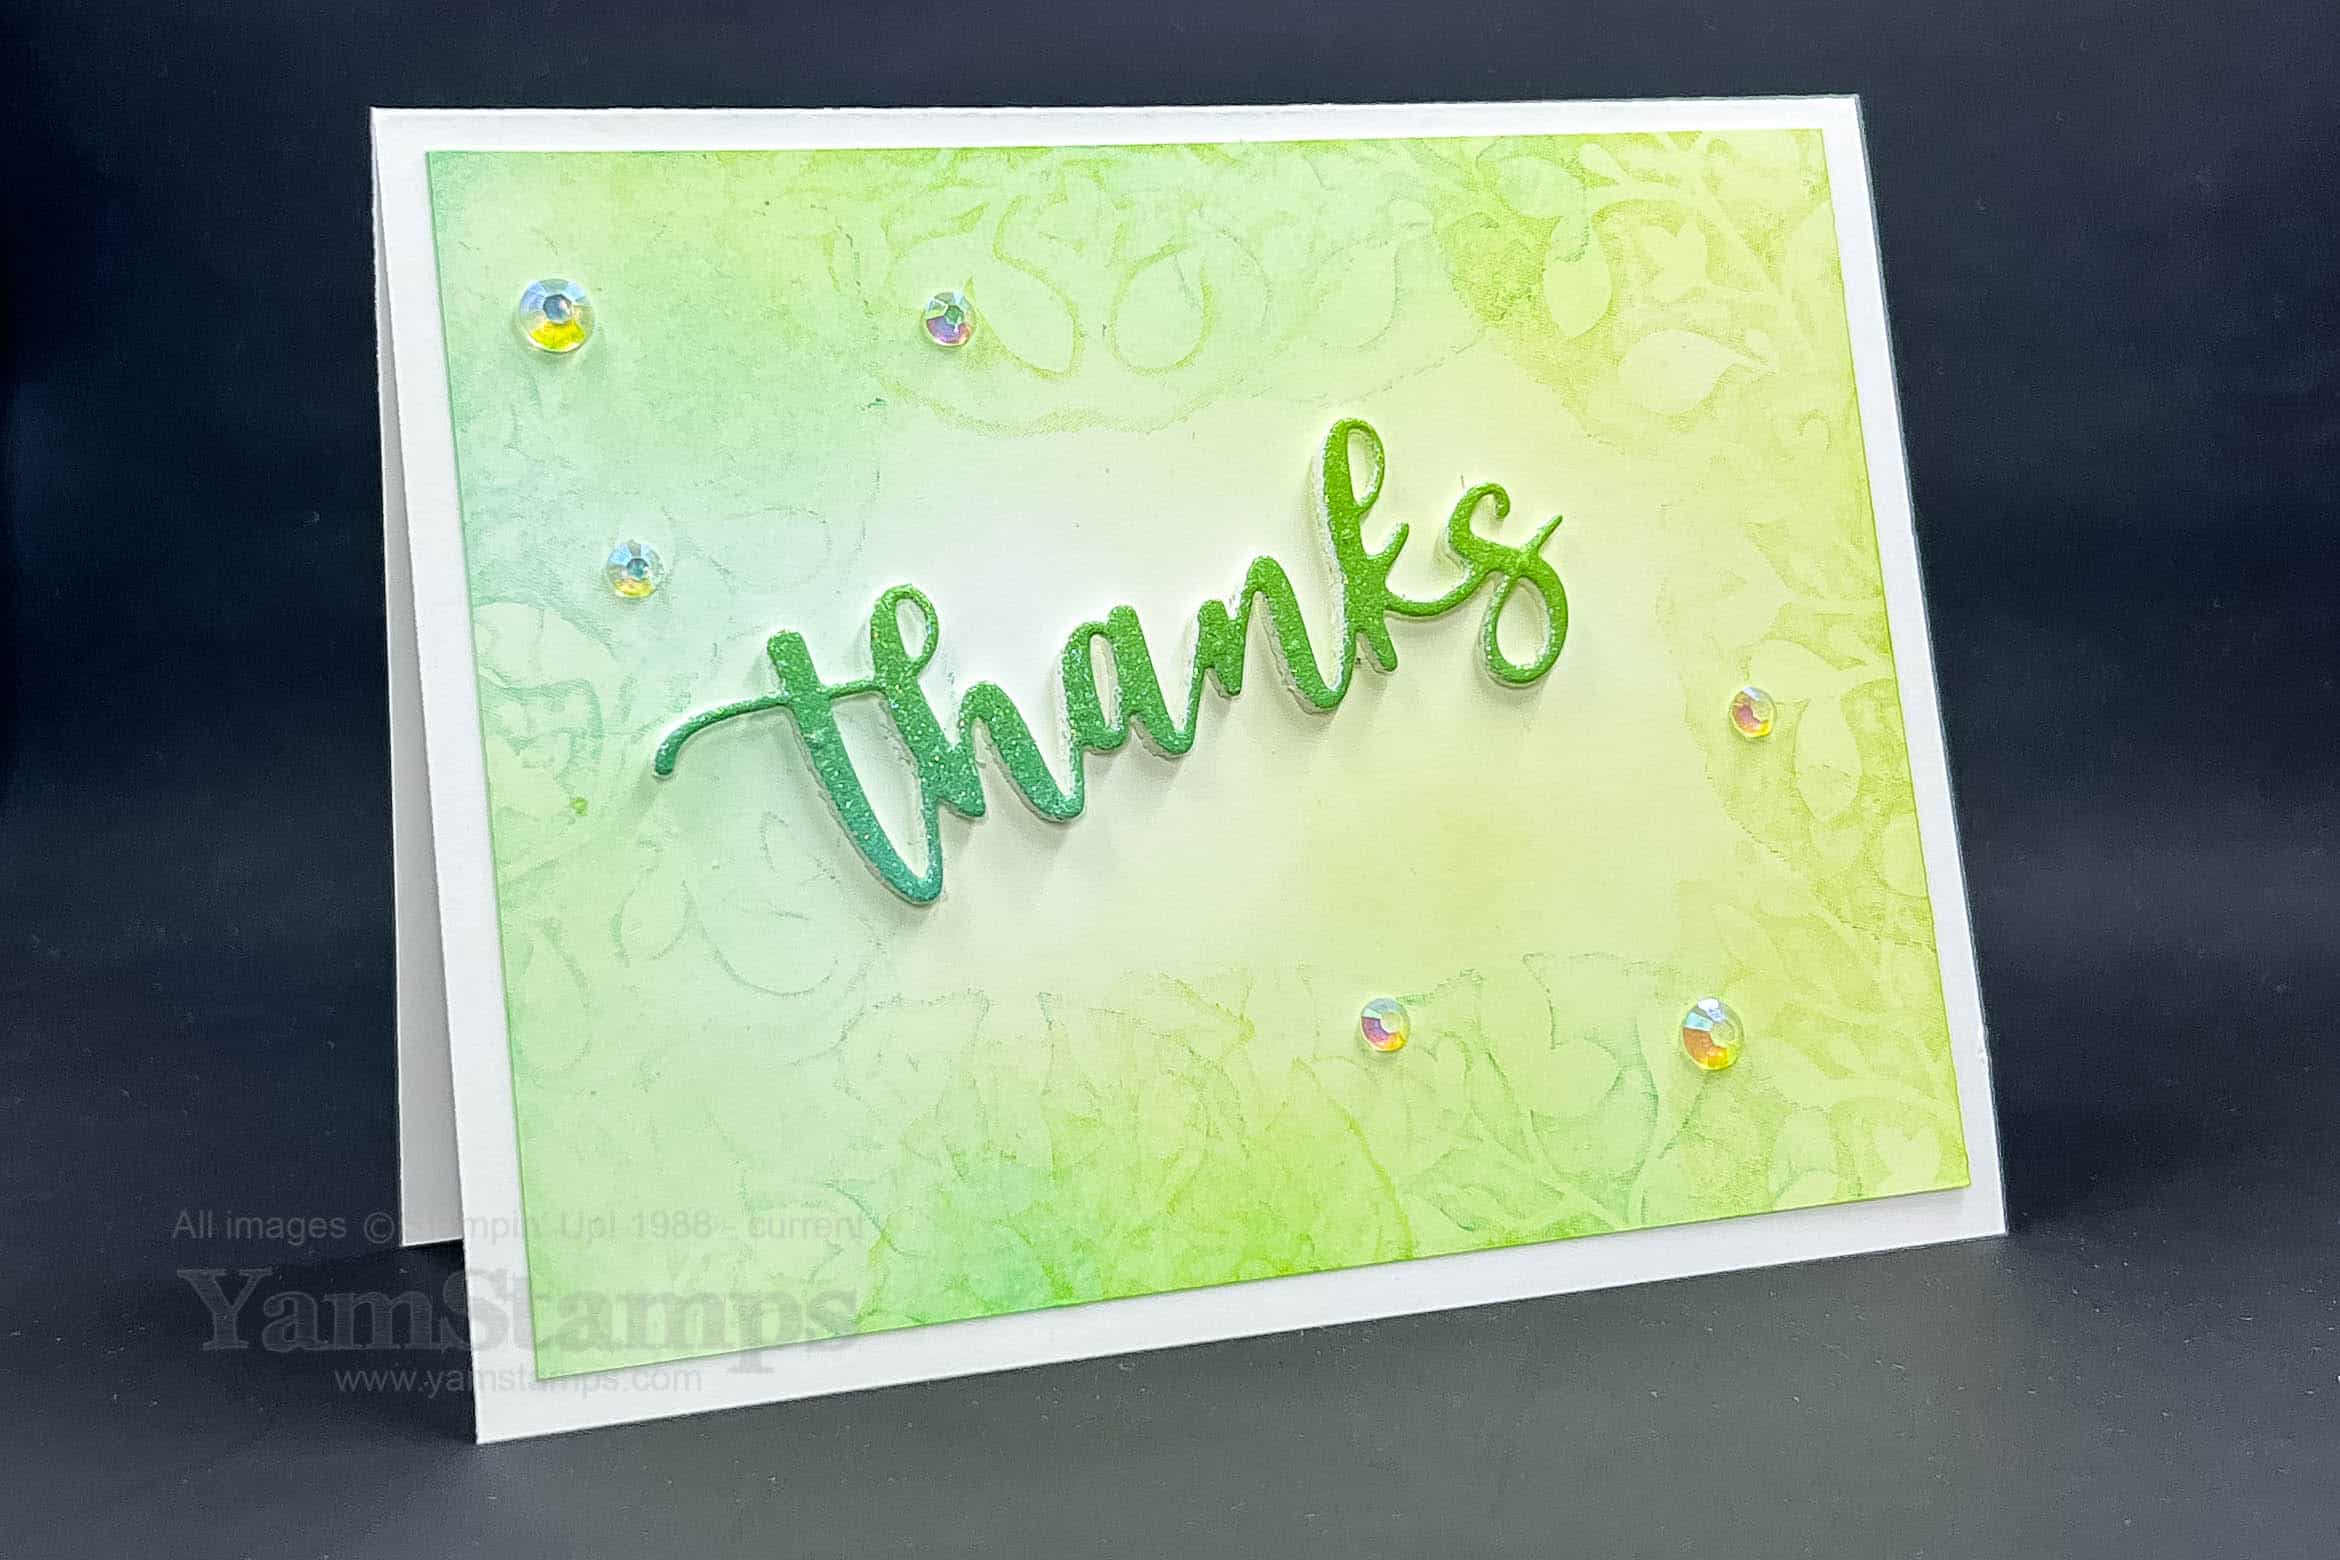
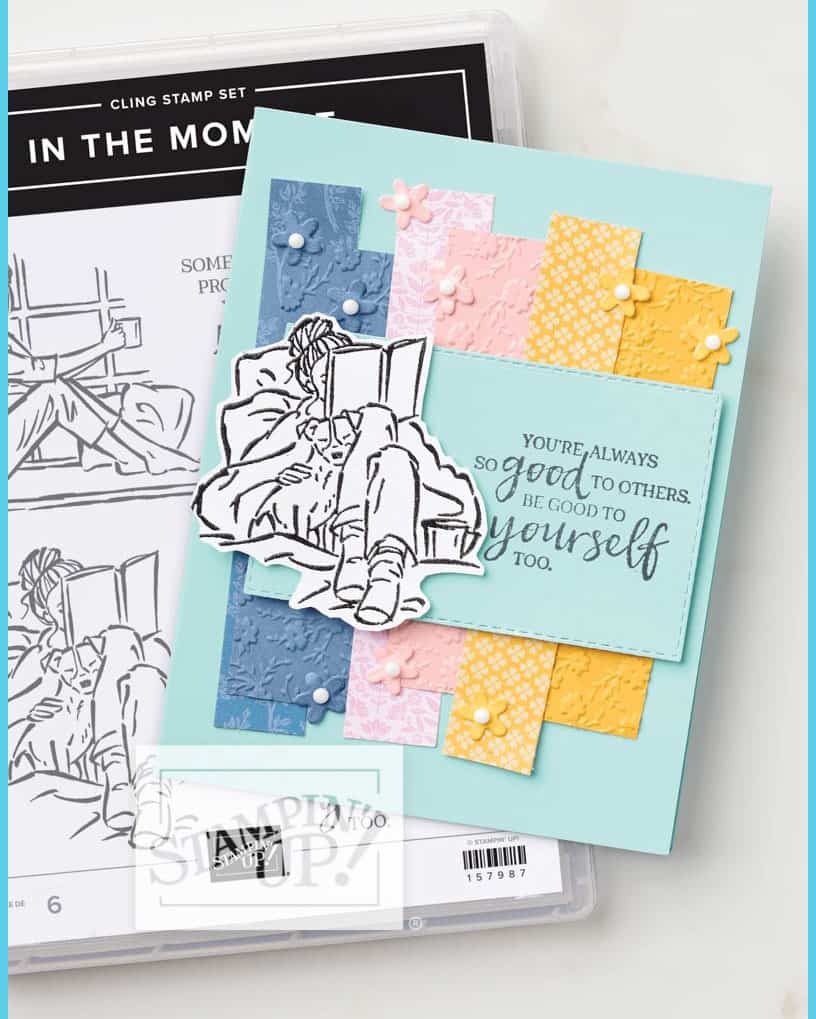
Blended Ink Stamped Background Technique Card
If you come up with a better description, please let me know….in the meantime, I showed how I created this card in the video. I used my Blending Brushes (hence the “blended ink”), and then I stamped with one of the stamps from the Amazing Silhouettes stamp set (hence the “stamped”). The picture is a little more vibrant than the card is in real life, but I still love the subtle effect of the “ghostly” leafy plant on the inked background. Since I used some of the Rainbow Glimmer Paper, I tried to add the same tones into the background that I created – so I used Coastal Cabana and Granny Apple Green. I love that I could come up with thousands of variations for this technique by varying the colours used. Easy and impressive – always my motto for crafting!
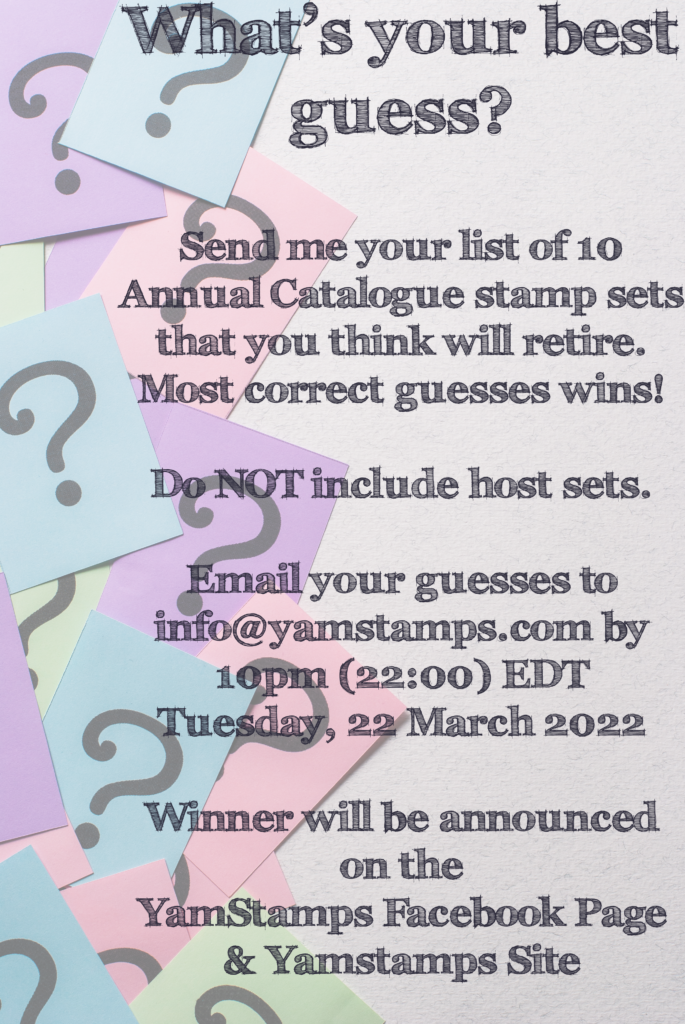
Stampin’ Up! will be releasing the Retiring List on Wednesday 23 March 2022. What do YOU think will be included on the list this year? Take your best guess and WIN!
Email me with your list of TEN stamp sets from the 2021-2022 Annual Catalogue that you believe will be on the retiring list (excluding Host stamp sets). Emails must be received by 10pm Eastern on Tuesday 22 March 2022 (that would be 22:00 because I liked the symmetry of it all!). Open to Canadian residents only.
The person with the most correct guesses will receive a $25 gift certificate for products or classes through YamStamps.com. In the case of a tie, the earlier submission will be declared the winning entry. (I’m pretty sure non-winning entries will receive some sort of compensation as well, though….just saying).
I’m partial to blue tones, and Misty Moonlight is one of my current favourites. It is also one of the 2020-2022 In Colours, so it will be retiring at the end of April – and I am really going to miss it! If you like it too, you’ll want to be sure to stock up on your supplies of it sooner rather than later. As with all retiring product, it will be “while supplies last” or until 2 May 2022 (the end of the sales period for the current Annual Catalogue) – whichever comes FIRST. In Colours usually sell out before the end of the catalogue period, so please don’t hesitate!
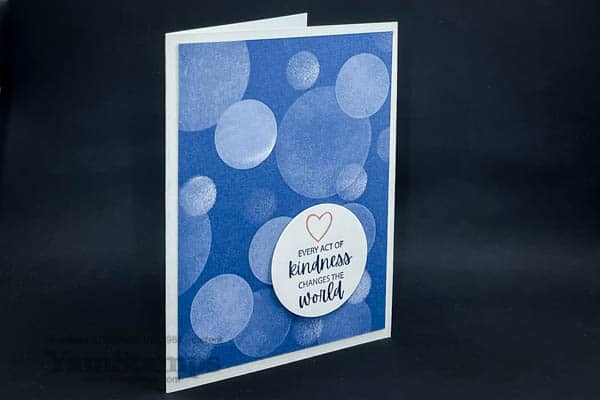
I am working on getting more videos onto my various social media channels, so I did a video celebrating circles and Pi Day by showing the Bokeh Technique used on this card. I posted the full video on the YamStamps YouTube channel.
Celebrating Circles – Bokeh Effect Tutorial Video for Pi Day 2022
You may have seen that I also did an Instagram Reel on this card. I could get addicted to doing reels – short videos with music, what’s not to like? Take a look at my Celebrating Circles Reel and let me know what you think – do you prefer the full length video or a mini length sped up version – or both?
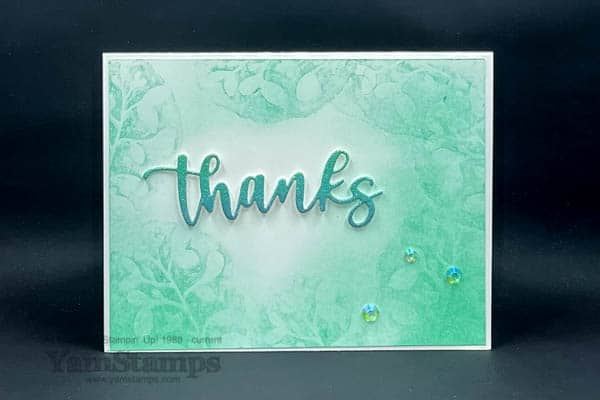
I’m calling this the blended ink thank you card – because I can’t think of another way to describe it! It’s a super easy technique that gave this wonderful look. I have always loved monochromatic projects – I think there’s something elegant about focusing on one tone. Plus it’s easy….haha! This card features Stampin’ Up!’s Amazing Silhouettes Bundle.
I might make more of these – since I need to send thank you cards to those who have supported my Celebrating Sunflowers Fundraiser for the Canadian Red Cross Ukraine Humanitarian Crisis Appeal so far! Just a reminder that if you purchase the Celebrate Sunflowers Stamp Set, Sunflowers Dies or Discounted Bundle (which is only available this month), I’ll donate my income to the Red Cross fund noted. I chose the stamp set and dies because the sunflower is the national flower for Ukraine, and I chose the Canadian Red Cross’s Appeal because the Canadian government pledged to match all donations before 18 March up to $10 million (already met!). My personal fundraiser is going until 2 May 2022, which is the end of the sales period for the 2021-2022 Annual Catalogue.
Who do you want to thank? This blended ink thank you card is a quick and easy way to send a note of appreciation to someone. If you need supplies, you can go to the shortcut yamstamps.com/shop to shop in the YamStamps Online Stampin’ Up! Canada store, or message me for assistance placing an order.
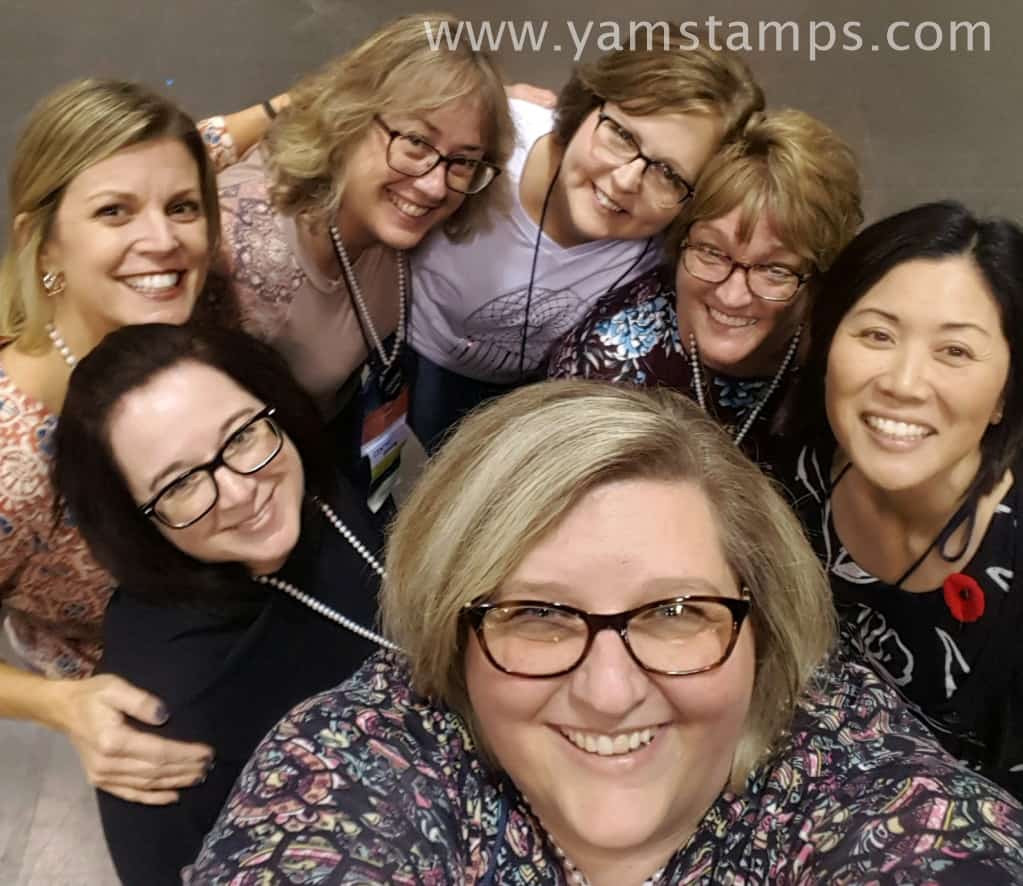
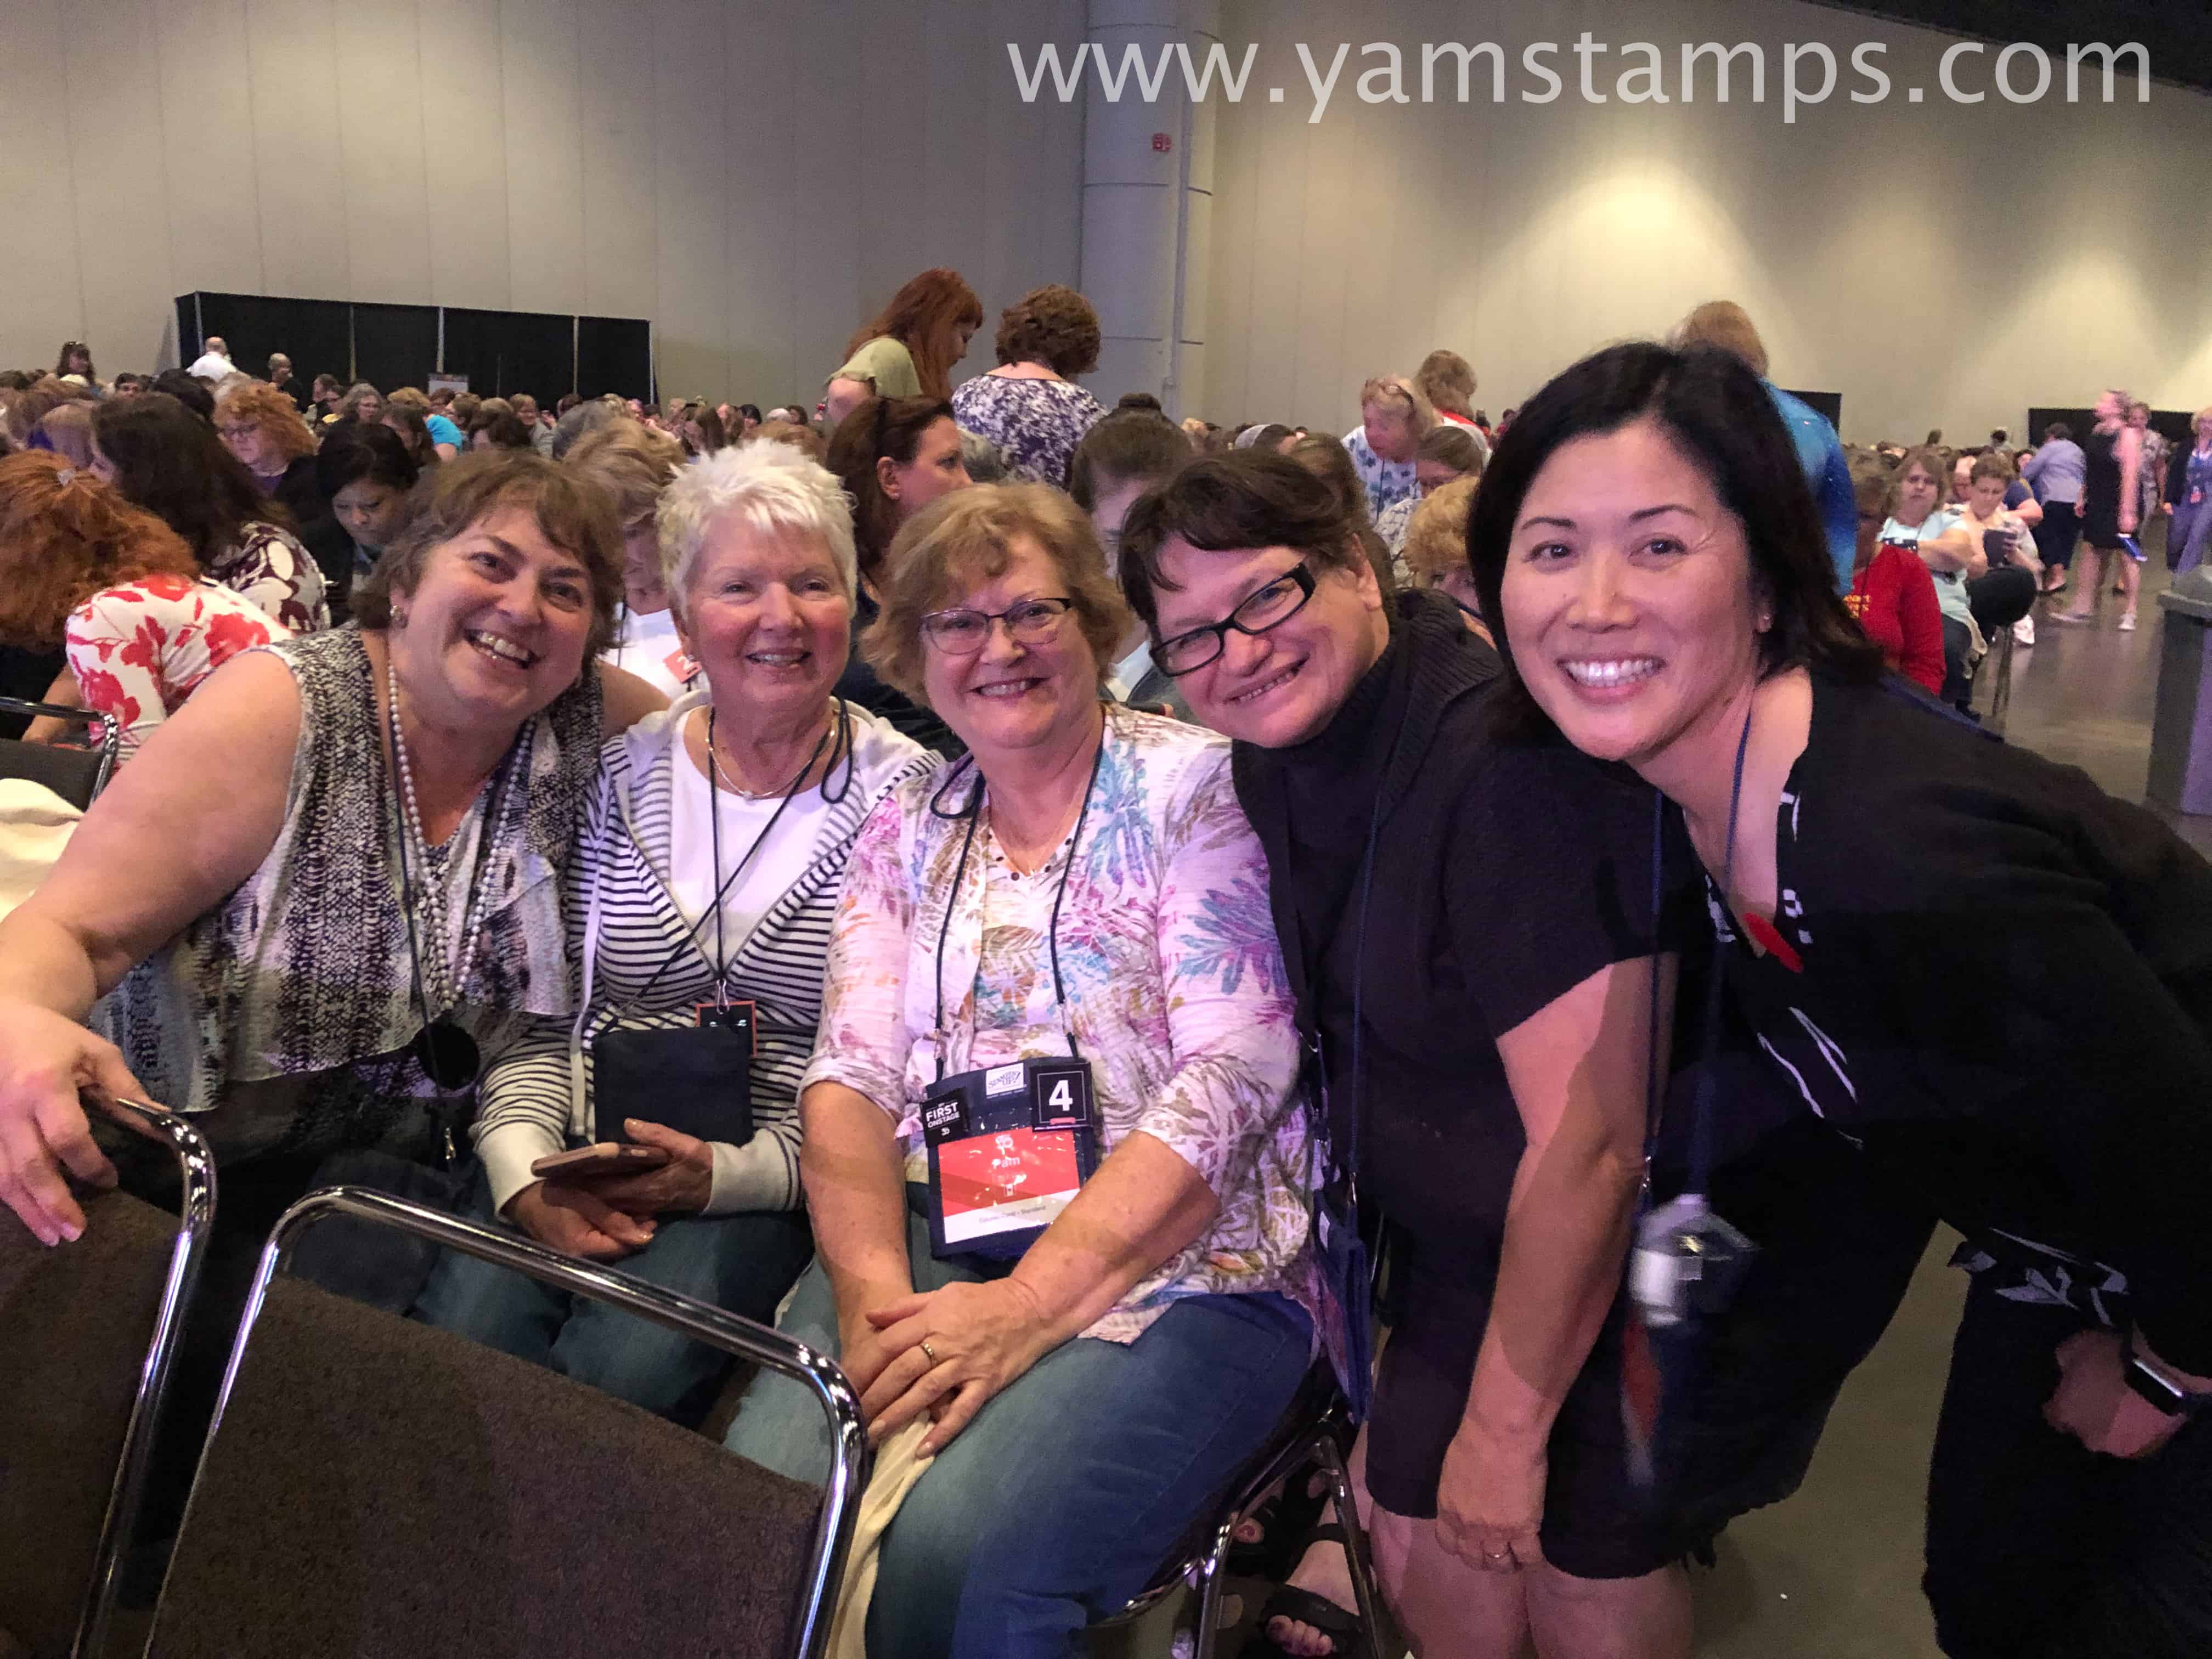
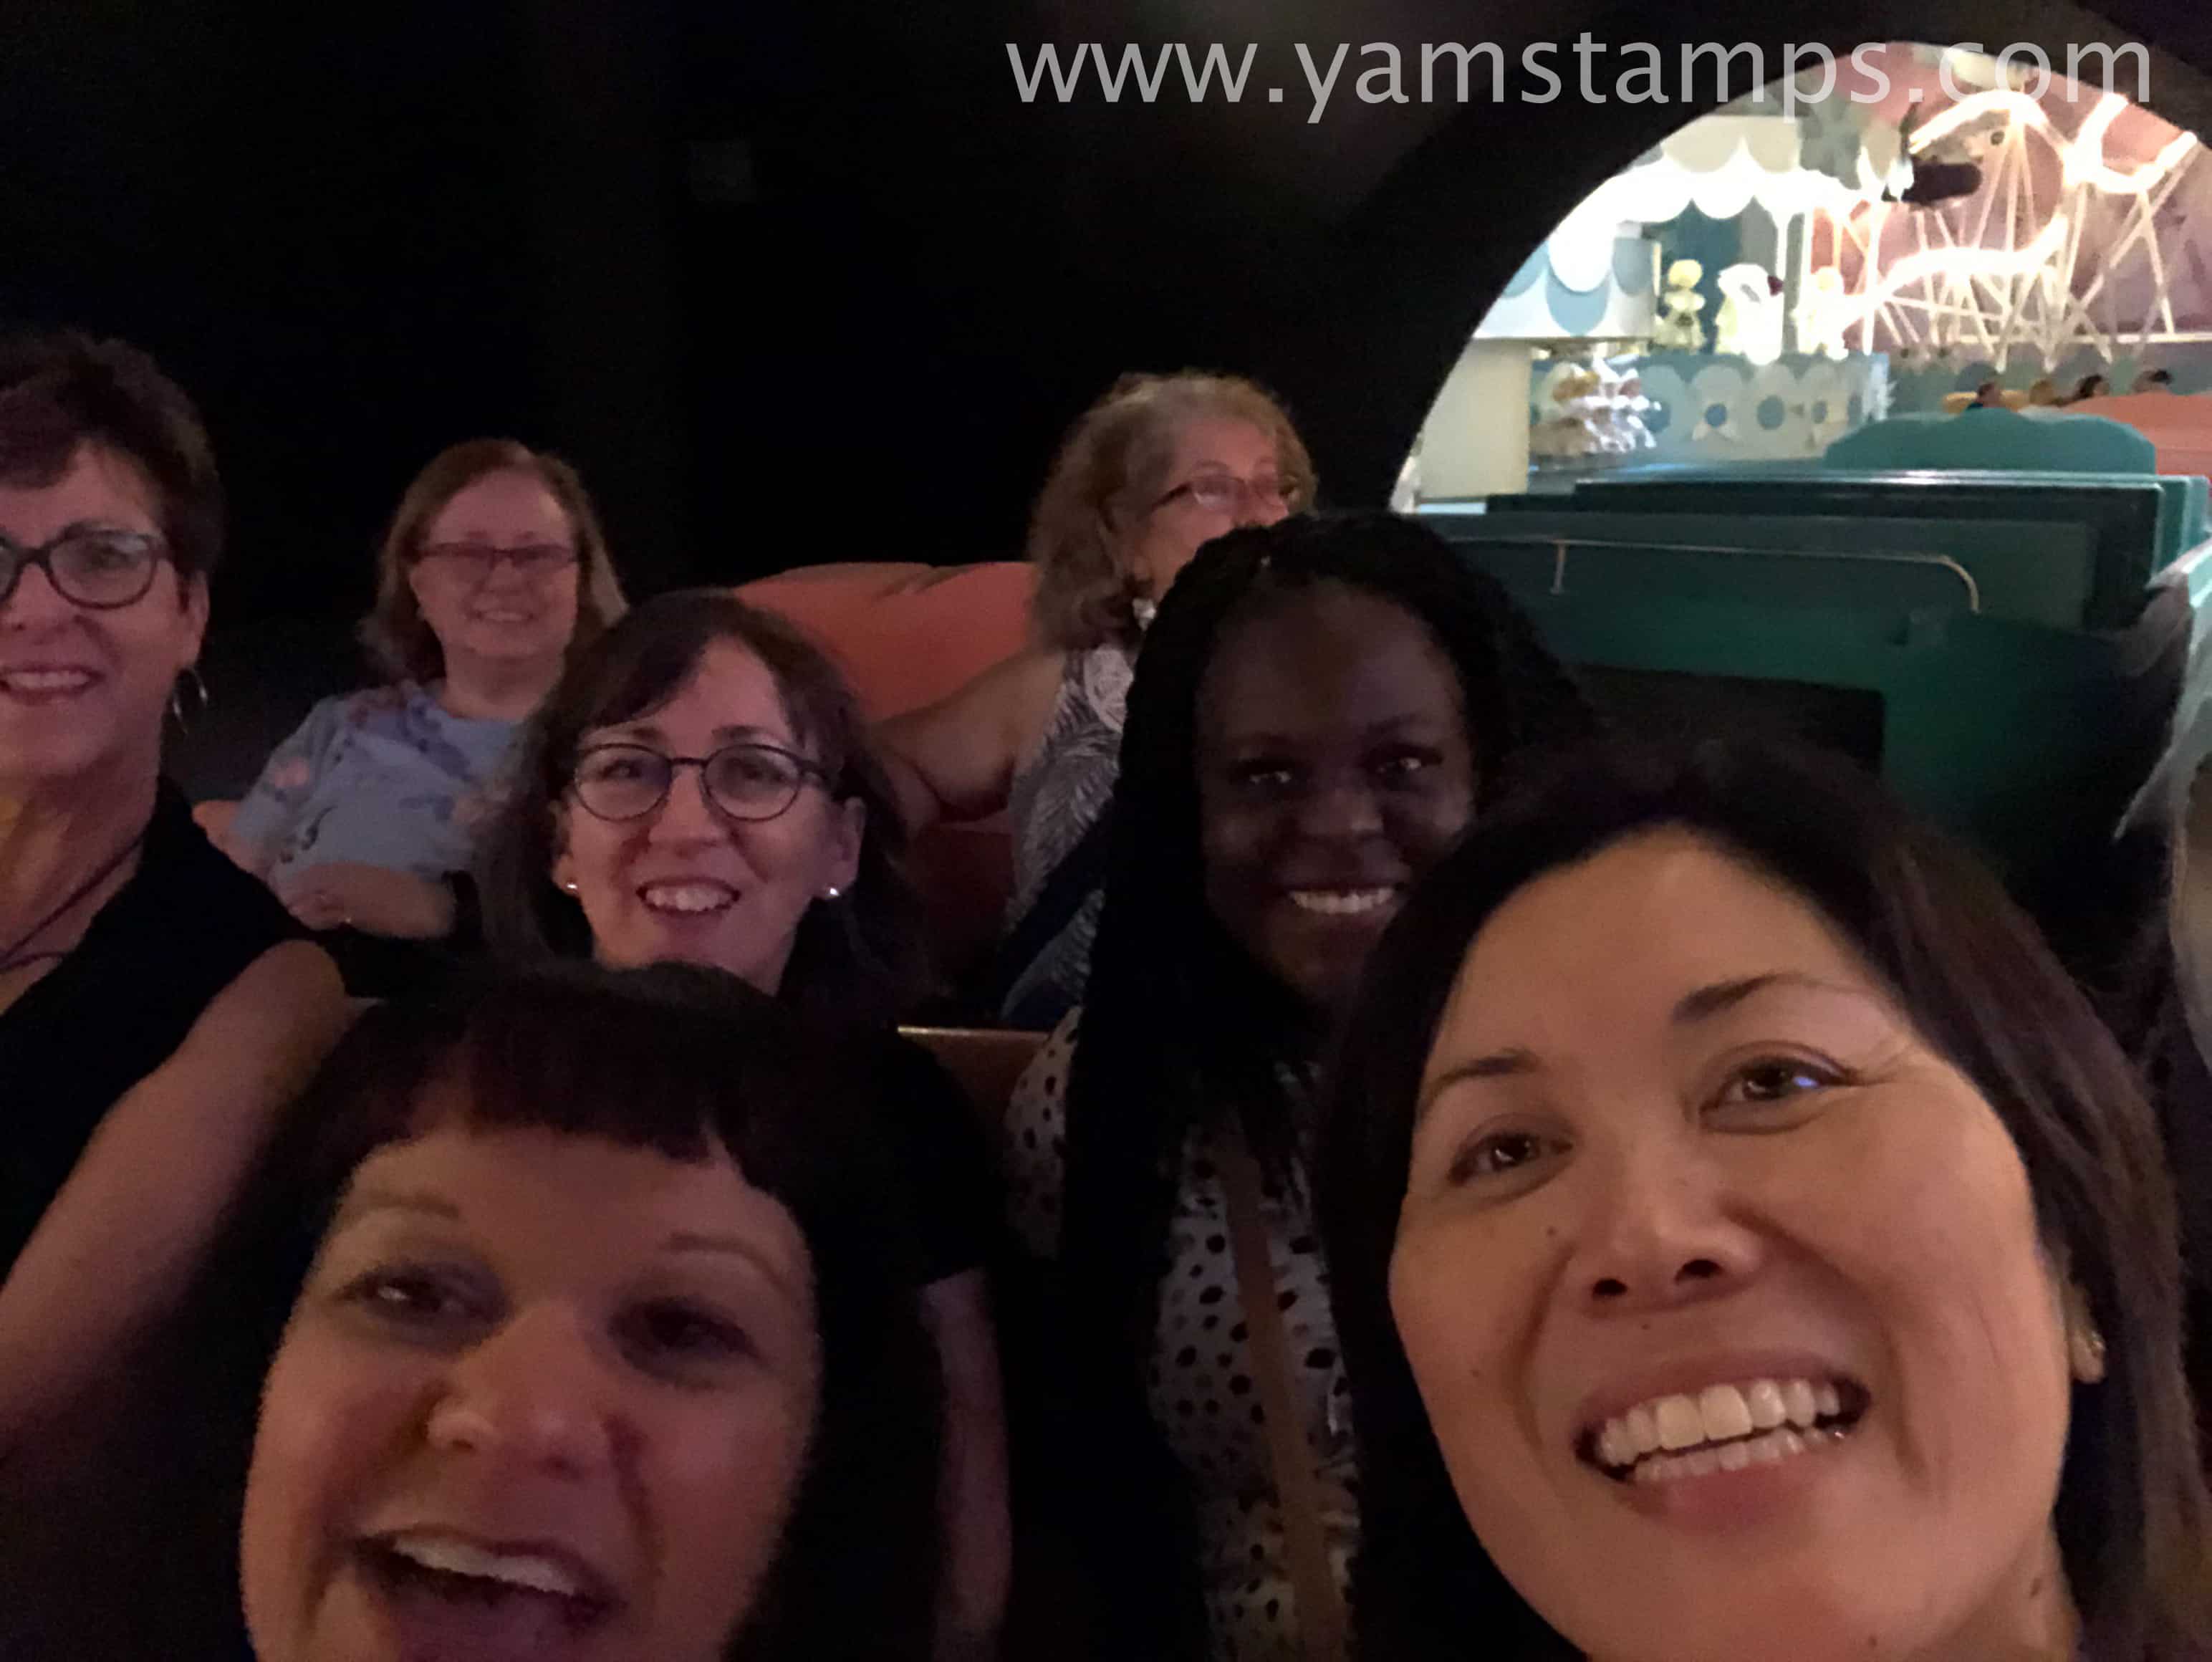
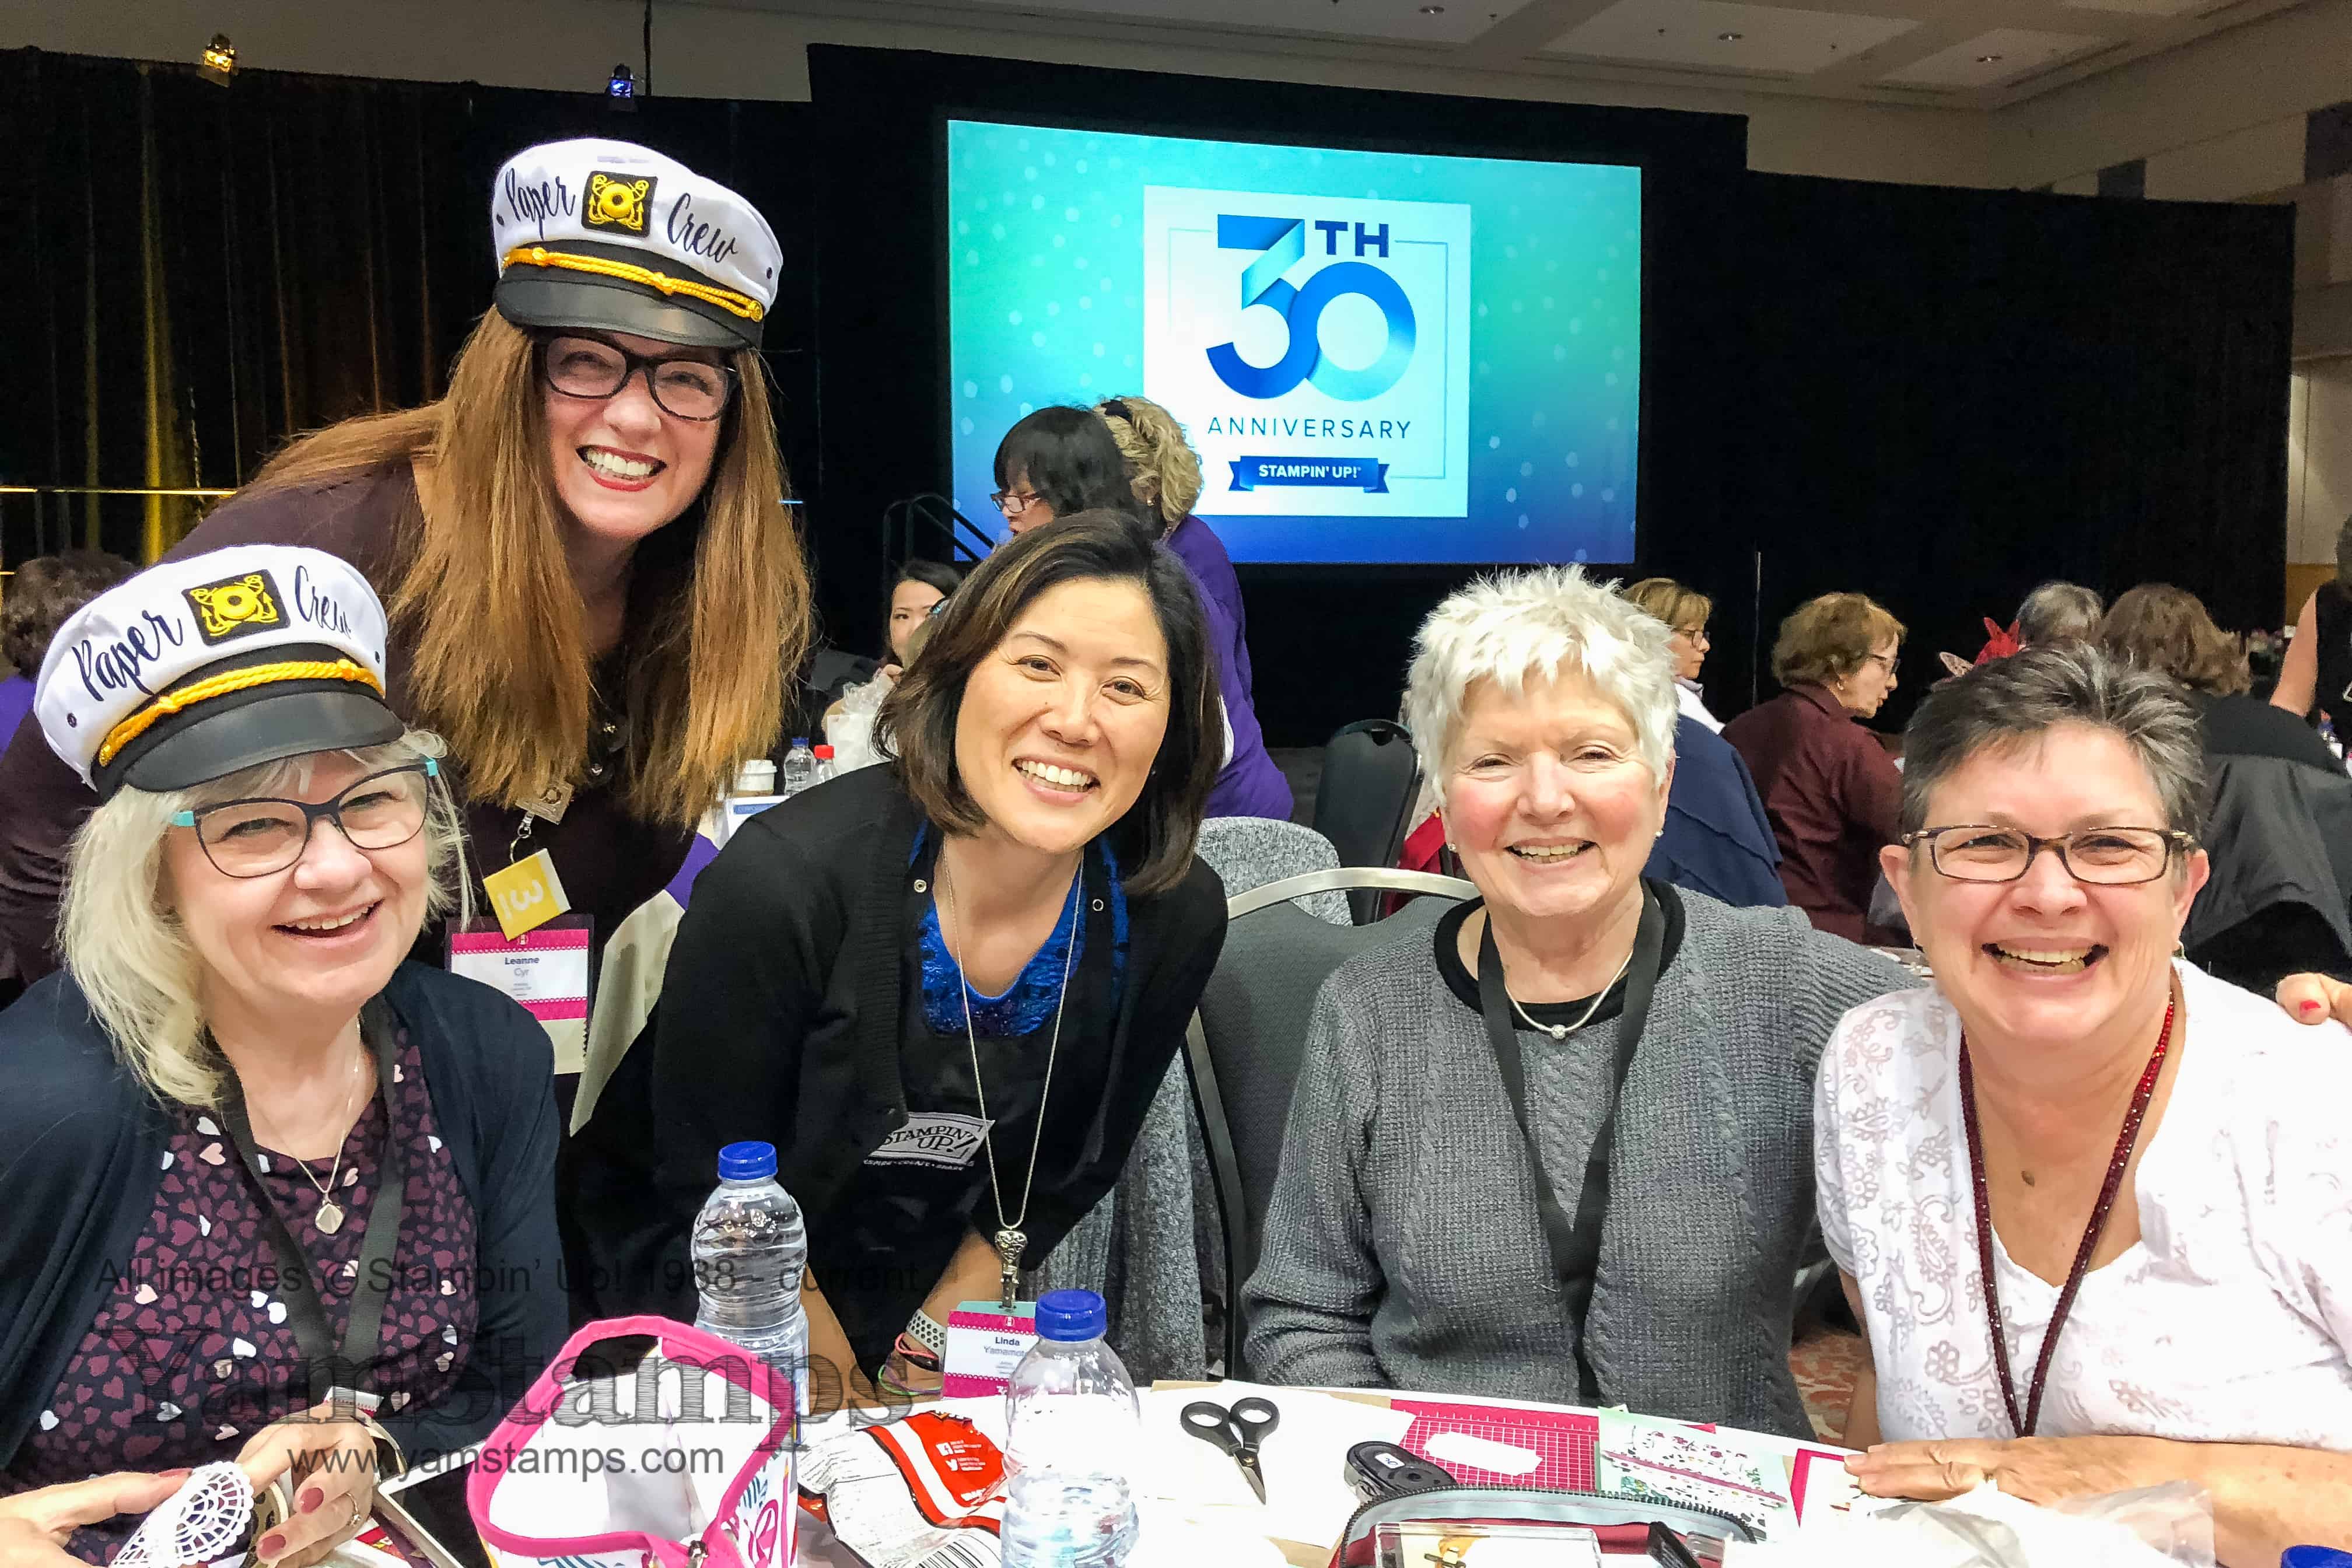
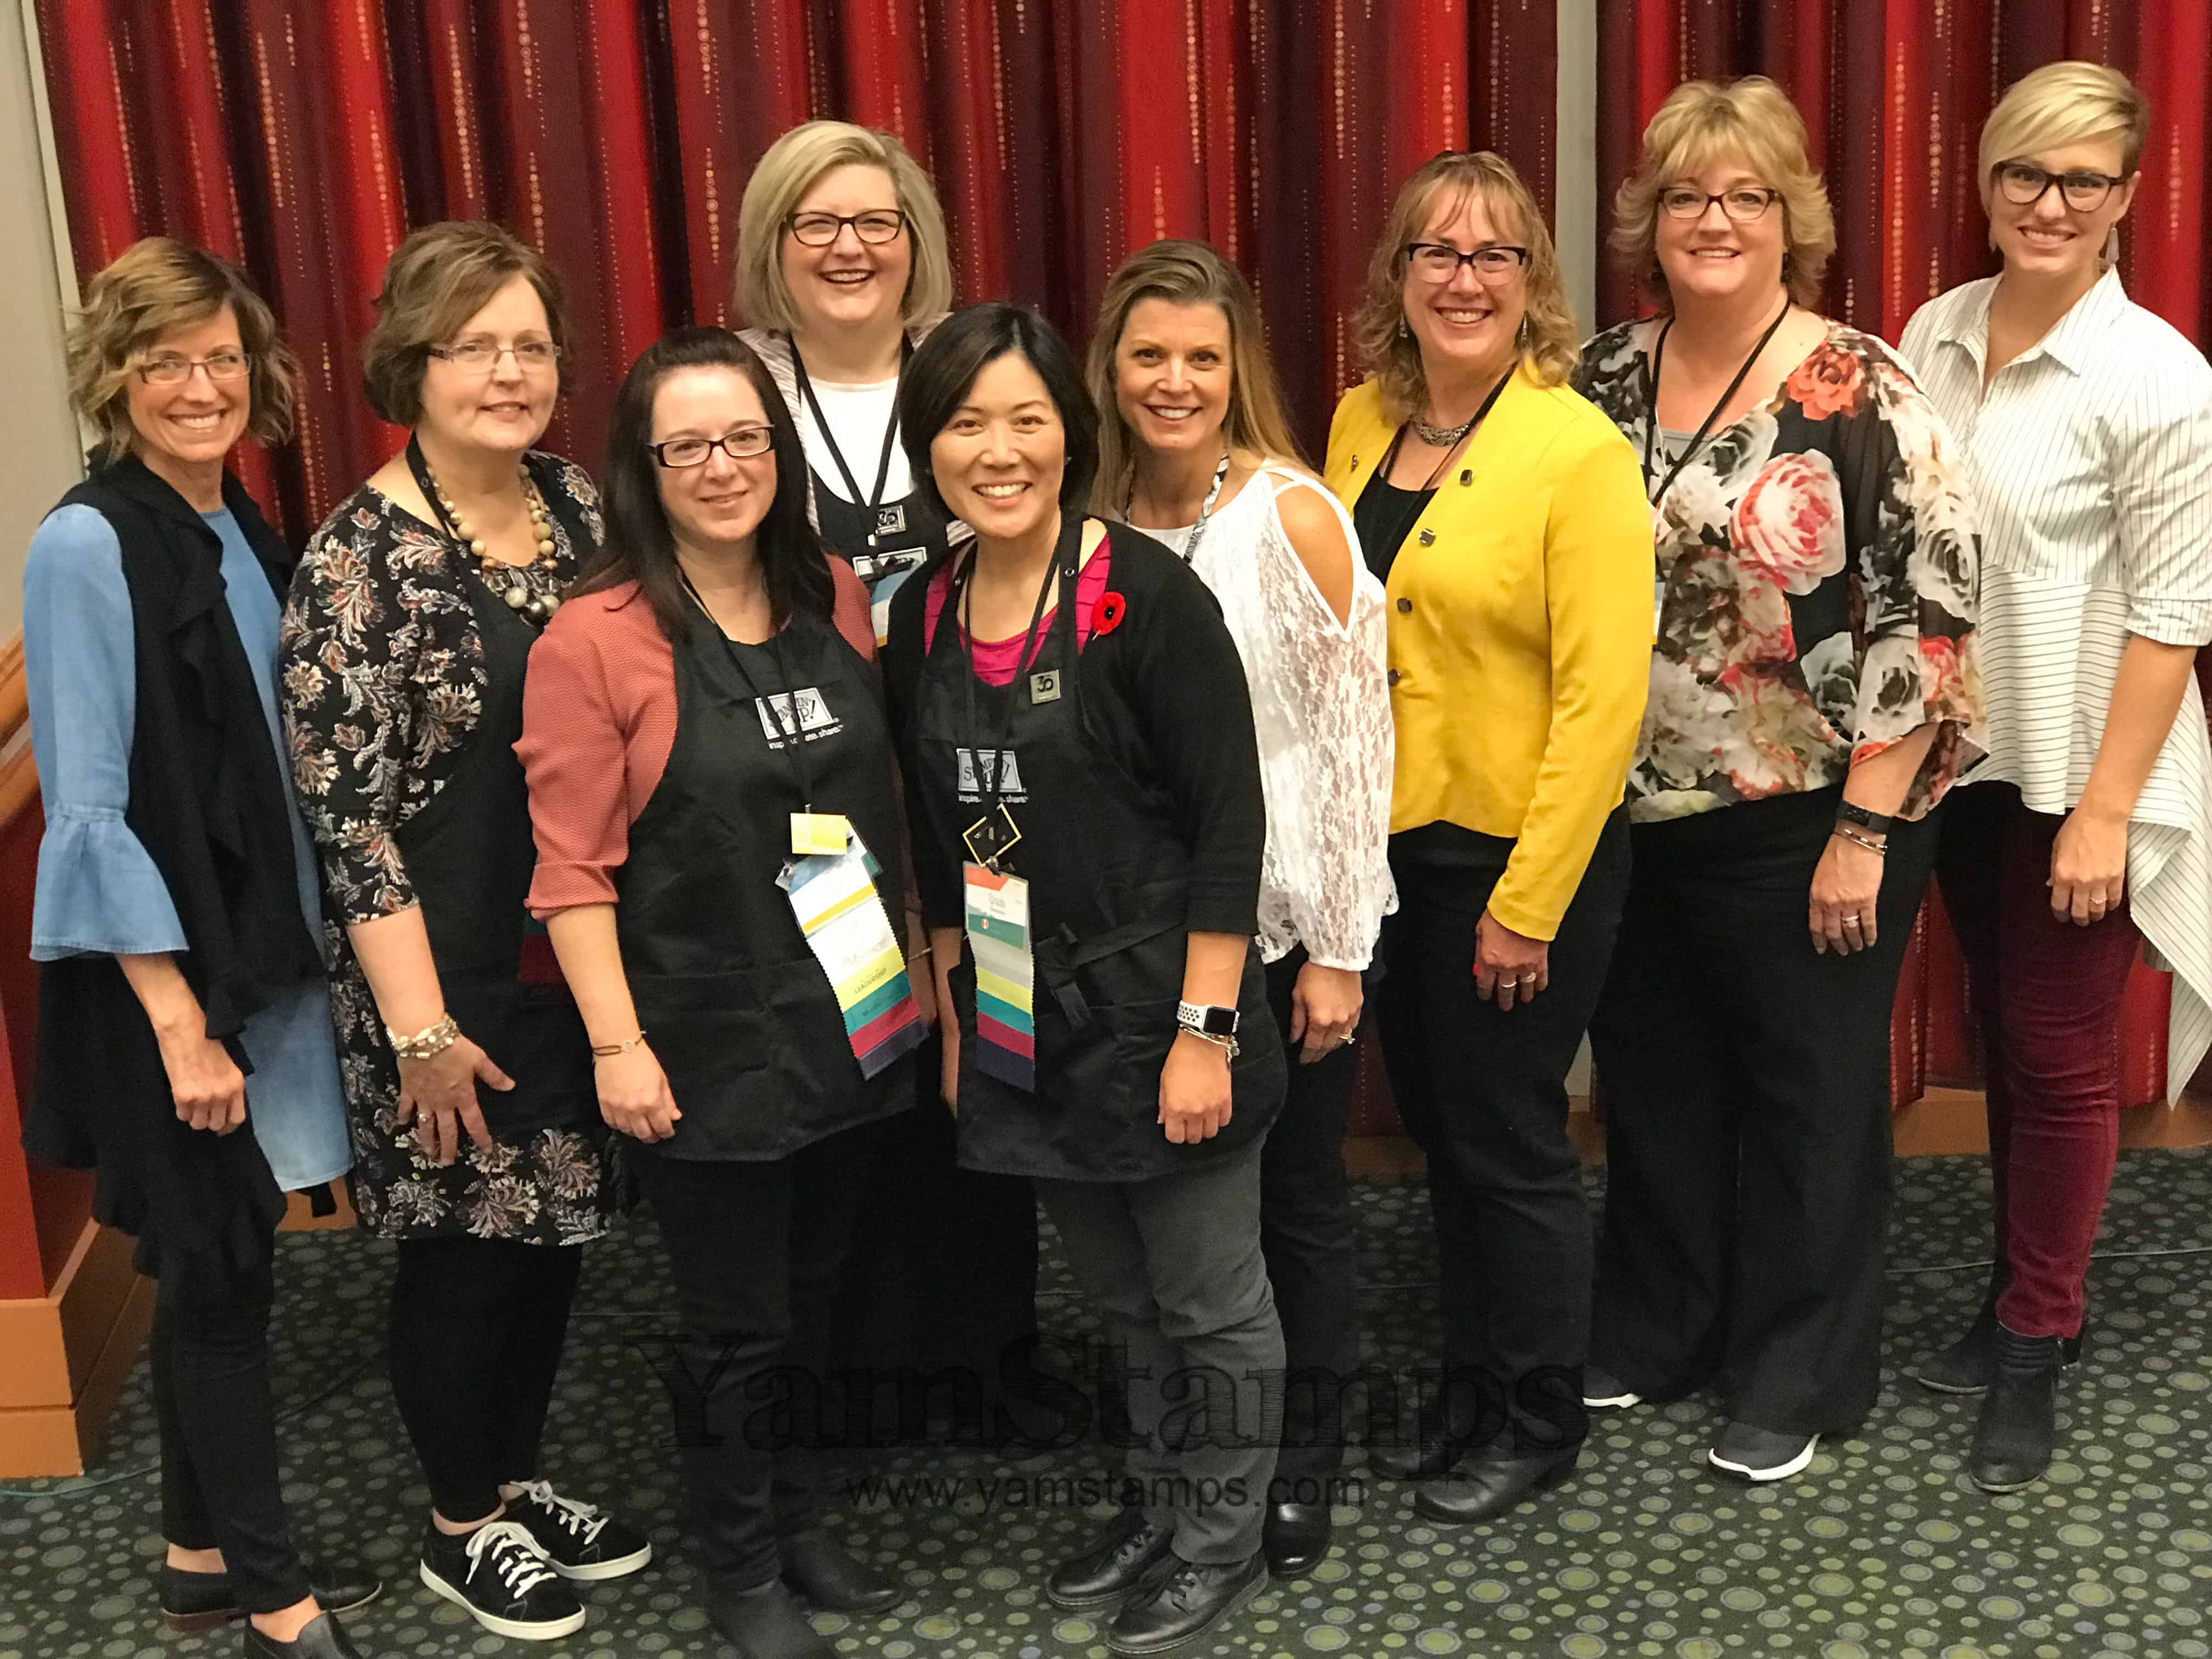
I have been so fortunate to have met so many wonderful women as part of my Stampin’ Up! journey! From customers, to team members (current and past), fellow demonstrators from all over the world, to the Event Council members, and Stampin’ Up! staff – seriously some pretty awesome ladies. Stampin’ Up! was founded by sisters, and continues to have females in key roles within the company itself.
Just a few of the wonderful women I’ve met through Stampin’ Up!
I’m happy that we’ve been able to continue to meet up virtually, and look forward to when we can comfortably and safely meet up in person again!!