
A slight change in a card fold – and what a difference!
My cards are not usually over complicated, and I do always like a nice, clean layout. For Stampers Club in May, I designed a card that showcased some of the new Stampin’ Up! Colours, and used some Rose Gold Foil for a die cut because shiny is always good in my books!! I liked the first version I came up with, but a little tweak and what a difference!
So this was the first version…
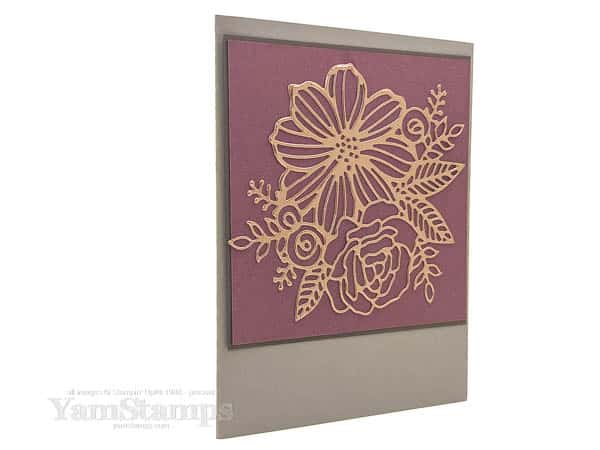
Showing off the Artistic Dies and Rose Gold Specialty Paper, on a background of Moody Mauve and Pebbled Path, on a Crumb Cake cardbase. I do love the effect, and putting an Adhesive Sheet on the back of the Rose Gold Specialty Paper before diecutting makes adding the intricate die cut to the cardfront so much easier. I didn’t add a sentiment to this, but was thinking I could add something in Pebbled Path ink at the right corner below the focal piece.
I did think it was a bit “ordinary” though, so using the exact same cardstock pieces, I just created a gatefold card rather than a side fold card, and added two strips of Rose Gold Specialty Paper to the edge of the cardstock and LOOK – what a difference! I think it makes it look so much more special and interesting!
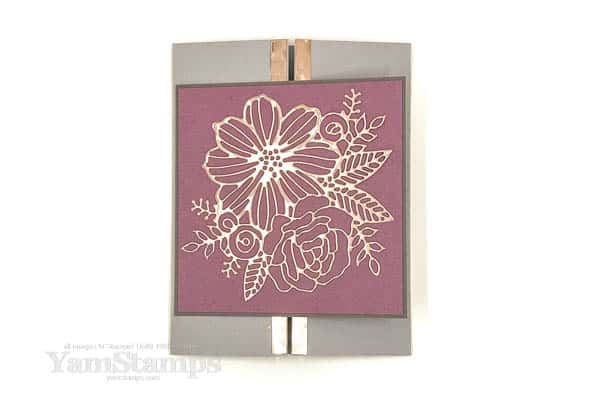
Also an unfair advantage perhaps – what a difference lighting makes! The angle that I had to photograph the card really emphasized the shininess of the foil which you can’t see as much in the other card photo. HOWEVER, I do think that the gatefold card for this kind of a layout makes a much more striking impression, don’t you?
So there’s an idea for you for if you think your card design is “okay” but you want to give it a bit of a lift – try changing up the fold! Instead of scoring your 8.5″ x 5.5″ cardstock at 4.25″ for a side or top fold card, score 2.125″ (2-1/8″) in from each edge of the card, and make a gatefold card instead! (Just make sure you only adhere the focal piece only on one side of the card….otherwise you stick your card shut).
My Stampers Club is meeting online via Zoom, and members have access to the recording so they can make their cards at their own leisure. The advantage of “virtual” club is that club members don’t have to be local to Burlington! Club members join for a 6 month period. Club requirements are a minimum product order each month using either the club host code or by emailing me with their order. We meet online once a month to assemble that month’s club cards (project kits are either picked up or mailed via Canada Post); once during each membership period, club members will earn the host benefits from that month’s club orders (aka FREE product! Guaranteed minimum $20). Check out the YamStamps Events Page for dates and more information, and message me if you’re interested in joining us or want more information!


