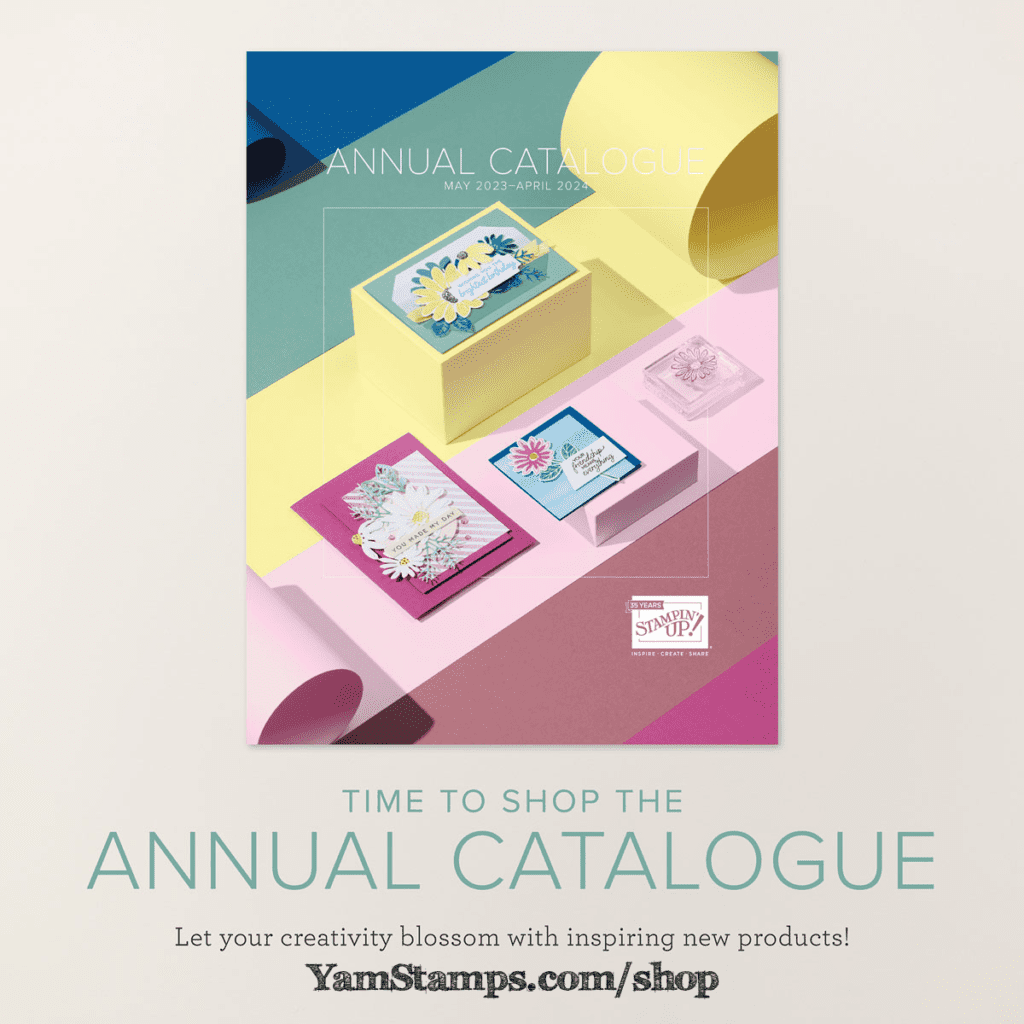
It’s time to shop from the new catalogue! You can shop 24/7 in the YamStamps Stampin’ Up! Canada store at yamstamps.com/shop or message me if you need assistance placing an order or would like to pay by etransfer.
Stampin’ Up! had a fantastic April – between the Last Chance Sale, Free Shipping Day and Demonstrator Pre-Orders for selected new catalogue products….so they are still playing a bit of catch up in the shipping department!! You may find that your order takes a little longer to be shipped to you, so try to exercise some patience – I promise it will be worth it! (I am also talking to myself, here, in case you were wondering).
I will leave you now to check out all the products…
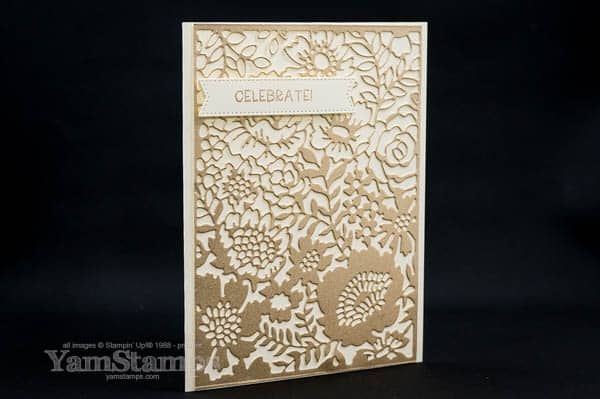
Stampin’ Up! has a number of larger dies that can be used to create backgrounds or main elements for your paper crafting projects. I used the large die from the Two Tone Flora Dies to create this shimmery die cut card. The dies include the large die, as well as smaller dies that coordinate with the large die and with the Two Tone Flora stamp set. Right now, they’re available in a discounted bundle, but that option will disappear after 1 May 2023. The individual products will still be available for purchase, though!
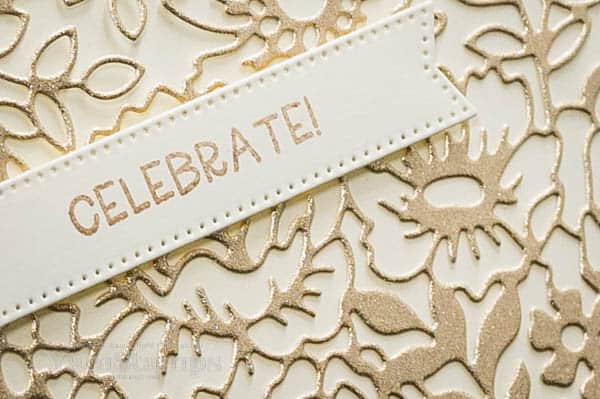
For this quick and elegant shimmery die cut card, I used the large die with the Fine Shimmer Paper Pack (also retiring – available until 1 May 2023/while supplies last). I love the shimmer paper for adding some bling but not being over the top (and also not leaving glitter/shimmer everywhere). To make this even easier, I applied strips of the adhesive sheet to the back of the Fine Shimmer Paper before die cutting.
Tips for die cutting thicker layers/detailed dies: I make the “sandwich” according to the instructions on the cutting plate, and run it through the Stampin’ Cut & Emboss Machine a couple of times. I also have found that if I have the die/paper on a slight angle (rather than lining it up straight on the cutting plates), it tends to cut more efficiently (plus it’s easier to feed through the machine). I definitely use both of these approaches if I have adhesive sheet on the back. I usually find that it may not cut all the way through the liner, but when I pull the adhesive liner off my die cuts, the little bits also tend to pull away at the same time.
I added a Stylish Shape die cut label and stamped “Celebrate” in Crumb Cake ink, which I thought complemented the tone of the Shimmer Paper. The sentiment is from the retiring Framed Florets stamp set (see previous disclaimer about retiring product…).
You could make a whole bunch of these shimmery die cut cards ahead of time, but just add whatever label was appropriate for the occasion!!
If you’re looking for more card making inspiration, information and tutorials, be sure to be signed up for the YamStamps Newsletter! New subscribers get a free video tutorial as well. Sign up using the box at the top of the website, or click here.
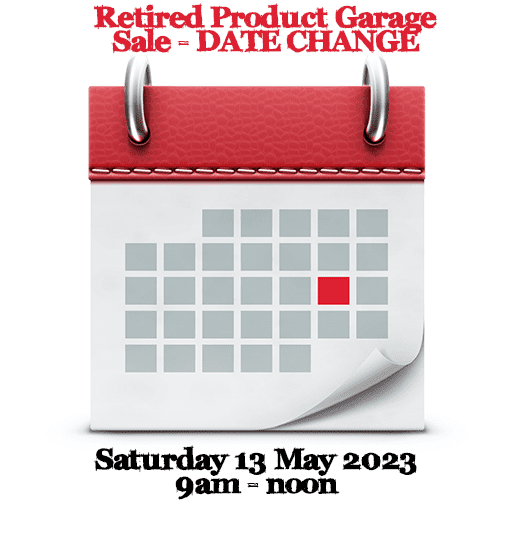
I’ve had to change the date of my retired product garage sale – it will now be Saturday 13 May from 9am until noon (NOT the 6th), in Burlington ON. If you haven’t already, please RSVP for directions and to reserve a copy of the new Annual Catalogue!
If you’re within driving distance to Burlington ON, come out and check all the deals! Hope to see you then!
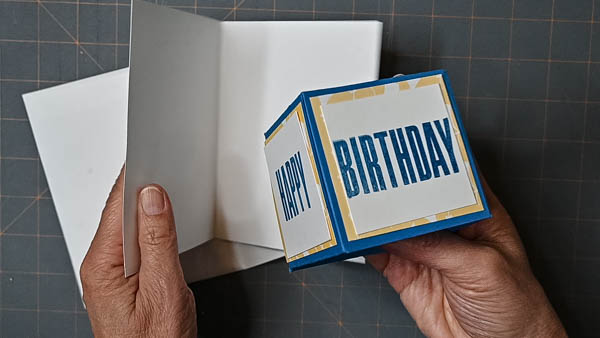
Looking for something sure to SURPRISE them? Take the Pop Up Box Online Class and Learn How!
I probably say this about most of my classes, but I LOVE this project! The Pop Up Box Online Class is in Pre-Launch and you can get Early Bird Pricing before 4 May 2023 (when the class opens). Check out my class protoype project below! (Video is the best way to see this).
In the Pop Up Box Online Class, I’ll show you how to create a version that fits inside a regular, medium Stampin’ Up! envelope, but I’ll also teach you how to scale the size up or down, depending on your needs! Plus I’ll show you some fun variations on the theme.
No fancy tools required for construction of these items – just your basic paper crafting tools, plus some household items you probably have in your junk drawer!
Sign up before 4 May and pay just $20CAD for lifetime access. You’ll be first in line to access the class when it officially launches 4 May! If you miss the early bird price, I will keep registrations open for a while longer at full price after that date. Online Classes are open to paper crafters from across the world!
Message me if you have any questions about the class, otherwise, go here to register and be ready to SURPRISE your friends and family with your Pop Up Box creations!!
A quick and fun stripes and spots card that’s easily customized!
I love how it’s easy to get a custom card by swapping out colours or sentiments. That’s the case with this stripes and spots card! It’s a fun celebratory card that could be used for any number of occasions.
For this card, I used the NEW Core Colour Fresh Freesia. Yes, the same Fresh Freesia that is a 2021-2023 In Color – it’s sticking around and becoming part of the regular Stampin’ Up! colour offerings! I combined it with Pale Papaya and Polished Pink, also 2021-2023 In Colors, but those ones are retiring 1 May 23.
You could easily take this stripes and spots card design, and use it with any cardstocks and embossing folder you have on hand. In this case, I used the spots folder from the Basics 3D Embossing Folders package – which includes 3 different Embossing Folders which are great for all occasions. They are one of the Online Exclusives – so they don’t actually appear in any catalogue, just in the online store.
The sentiment is from the Eden’s Garden stamp set (available until 1 May/while supplies last) and is stamped in Fresh Freesia ink – because you know I like to coordinate my colours! I used a die that had angled edges because it made it easy to angle my sentiment across the cardfront. It’s actually from the retired Frosted Flurry dies….but apparently I couldn’t keep track of that and used it anyway LOL! I don’t feel it’s fair to use retired products here because they aren’t always available (though obviously this one will show up at my retired product garage sale if you’re able to attend!). There are other angled dies that would do a similar job – like the Something Fancy Dies or even the Sentimental Park Dies. Or you could go old school, cut a long rectangle and then once you’ve adhered it in place at an angle you like, just trim off the overhang!
If you’re looking for other card design ideas to help you get creating more quickly and easily, subscribe to the YamStamps Sketch System! Subscribers have been loving how quickly they can create cards based on the sketches! You get the “blueprint” or sketch of the card, including measurements, the first week, and then in the following weeks you’ll get samples (and a supply list) using the same sketch, showing different takes on it! For only $9.99 CAD a month that’s a lot of inspiration – and it’s exclusive to the program. Find out more and start your subscription here!