Oct 4, 2008 | 3D samples, Announcements
 The new phase of Stampin' Up!'s Decor Elements product line has been released. There are some great holiday themed rub ons as well as new colour options!

There are also some great new designs for children's rooms. Available in different colours and shapes. CLICK HERE to view the online brochure featuring our ENTIRE Decor Elements product line. Ready to order? Click on the box at the top right of the blog!
For the month of October – I will include a free applicator tool with your Decor Elements order! (If you place your order online through www.yamstamps.stampinup.net, your tool will ship separately)
Contact me for more information or samples.
Oct 2, 2008 | rubber stamping
 I looooooove this set! All attendees at Stampin' Up!'s convention this year received this stamp set in their bag (well, that and a couple other sets…).
This is a card we'll be doing on Saturday at the World Card Making Stamp a Stack in Mississauga. TODAY is the final day to register if you want to join us!
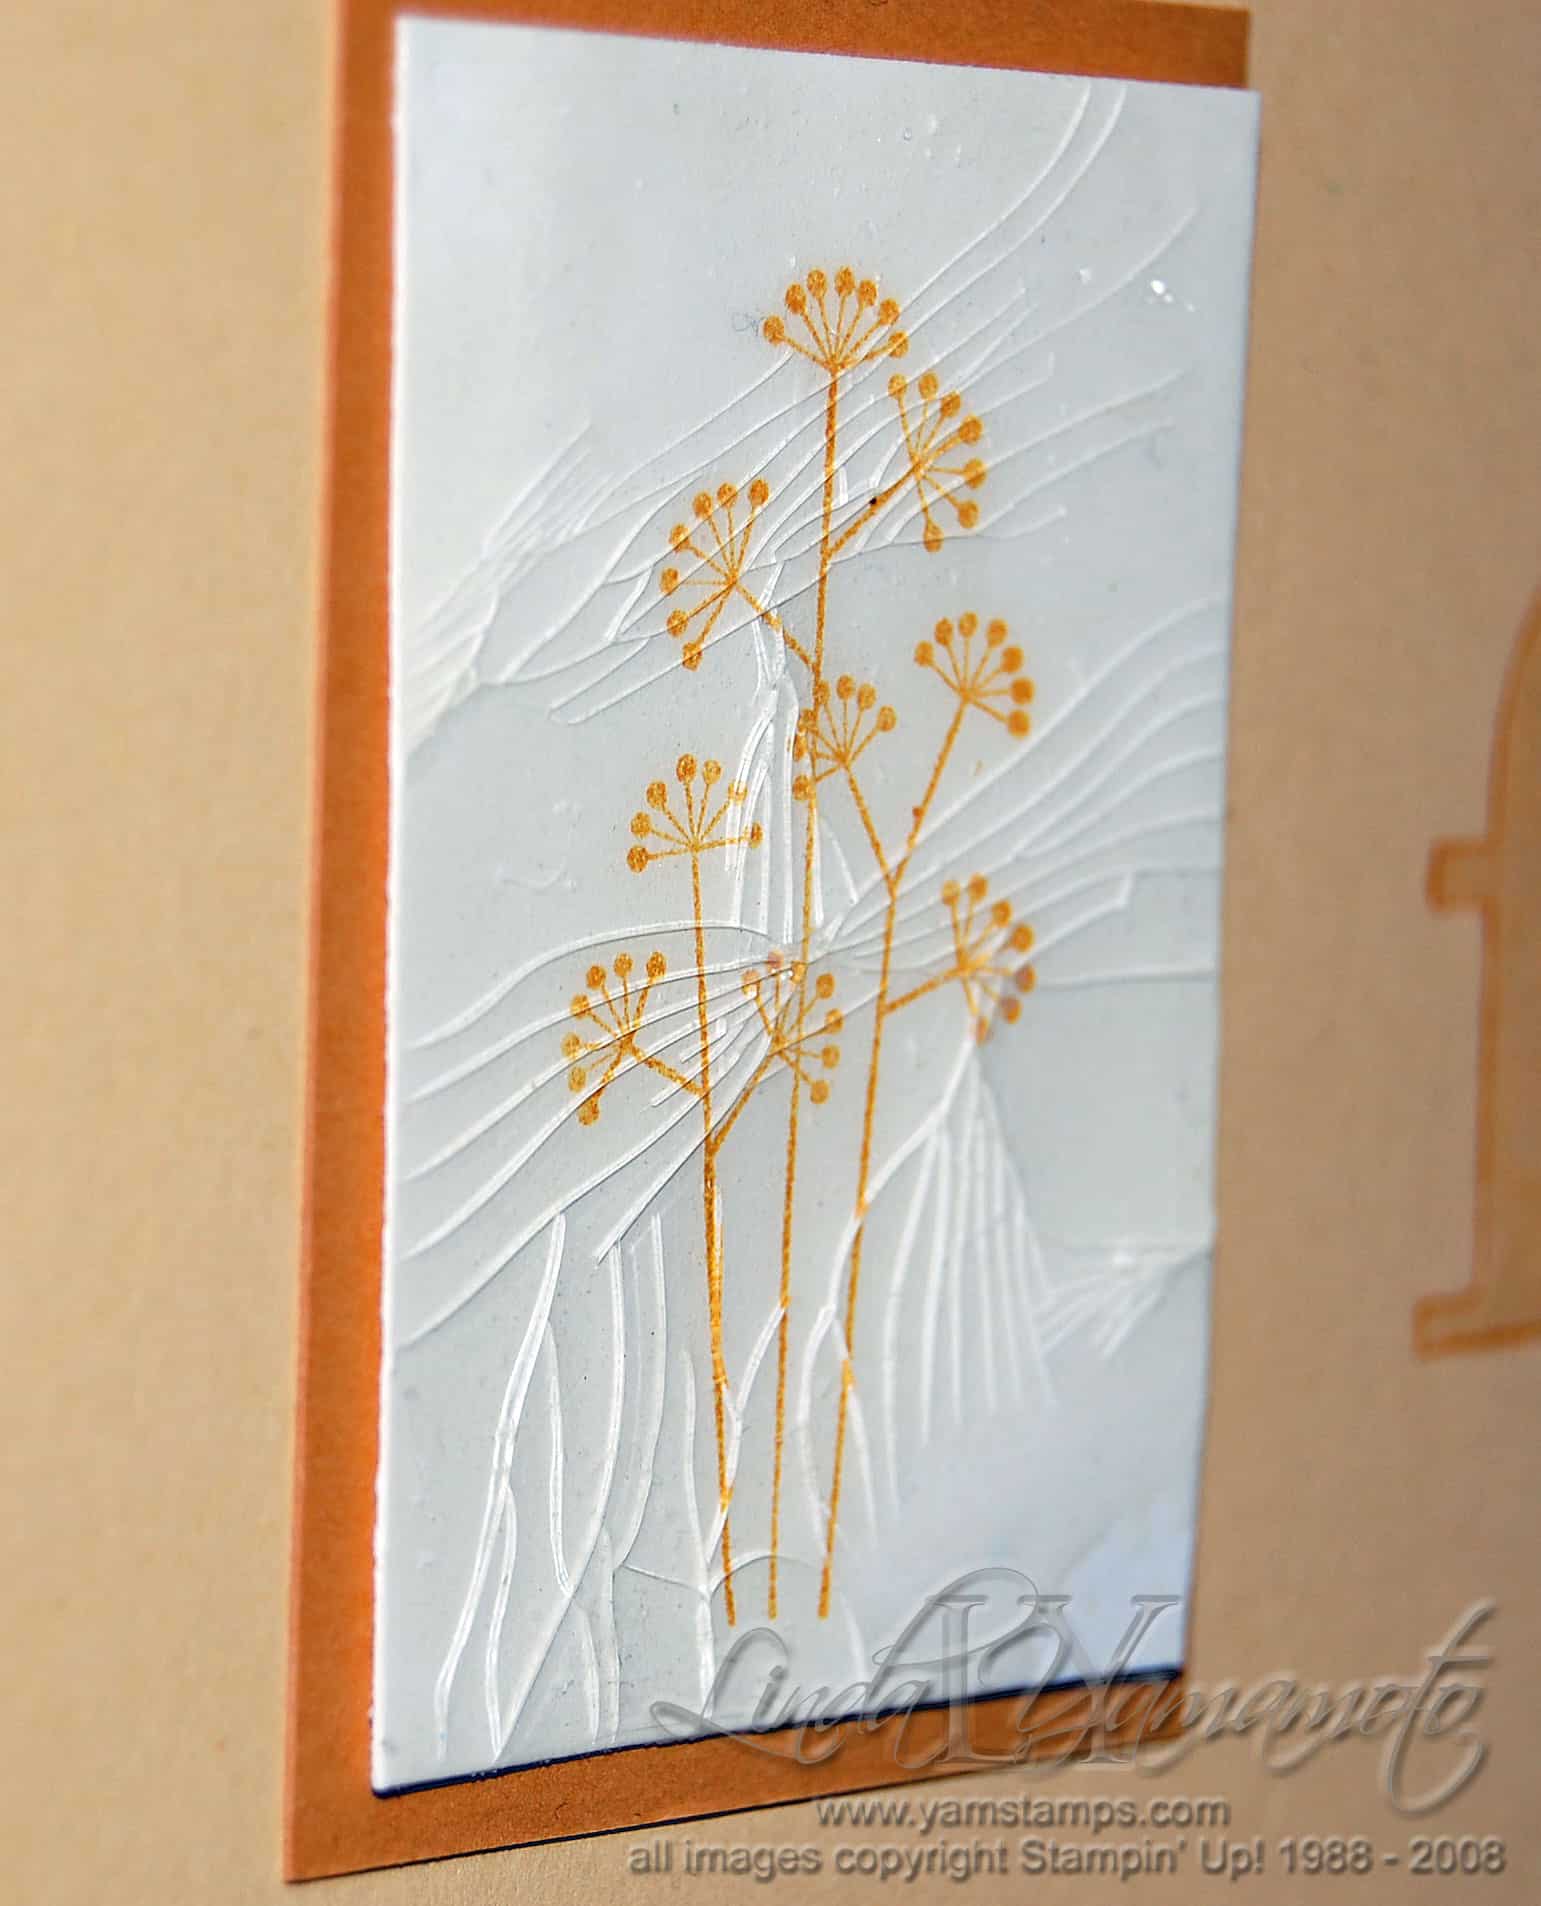
The grass is done on white cardstock while the cone flower silhouette is stamped on cardstock vellum, held in place by gold brads. I really like the soft effect the vellum gives. This is one of those multi-purpose type cards – simply add the appropriate sentiment on the inside & you're good to go!
Thanks for looking….and if you're on my email newsletter list, you should have received your first mailing for the Twelve Weeks of Christmas – if not – contact me & we'll sort it out!!
Oct 1, 2008 | Announcements
 Stampin' Up!'s Holiday Mini Catalogue starts today and it's filled with great stamp sets, accessories and Big Shot products.
If you have not received yours yet, contact me today to get your copy.
You can also view it online HERE.
Sep 30, 2008 | Uncategorized
 My yearly 12 Weeks of Christmas program is getting ready to start. Starting October 2nd, subscribers to my email newsletter can expect a new holiday card, gift idea, ornament or tag idea in their email inbox. Are you signed up yet?? The subscription box is in the upper left corner of the blog. Each week will bring new inspiration for you to create your own handmade holiday items.
Sep 28, 2008 | rubber stamping, scrapbooking
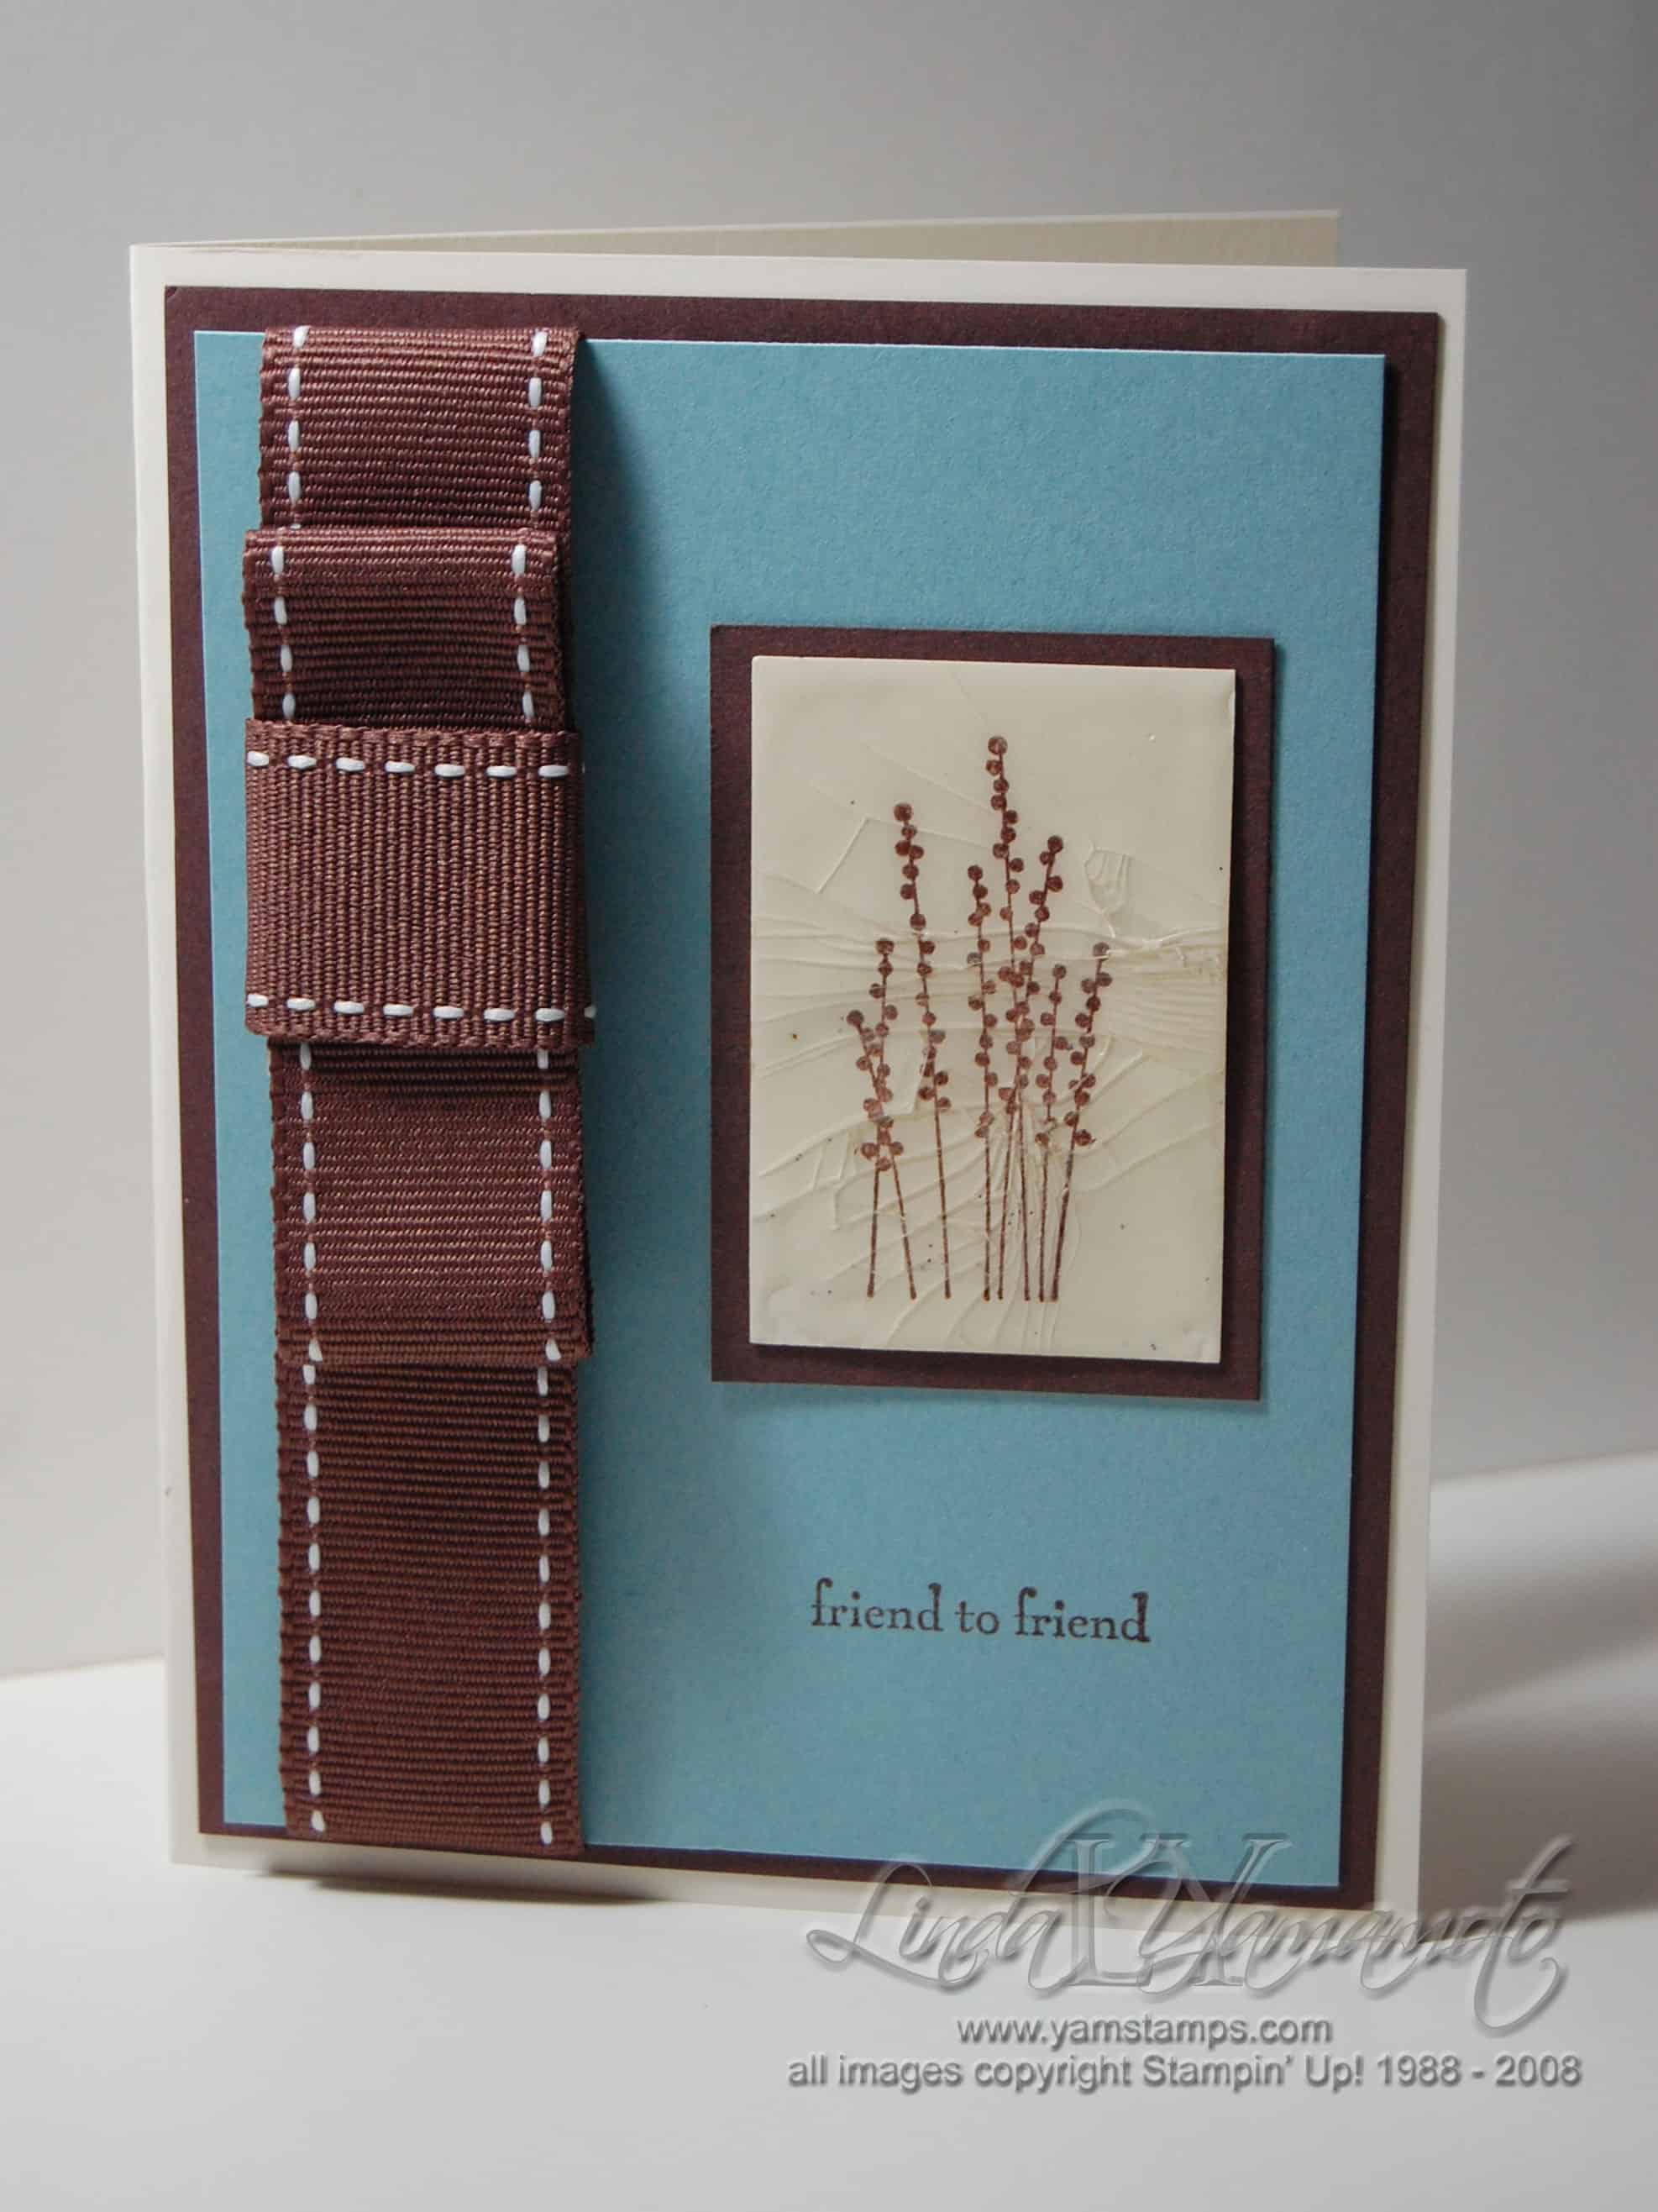
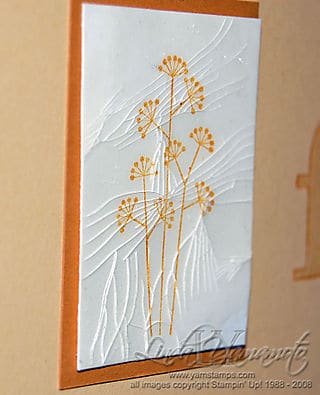 Club projects this month featured a technique called "Cracked Glass". We stamped an image, coated the cardstock with versamark and then repeatedly heat embossed with Glassy Glaze, an ultra chunky/thick embossing powder. If your image is small enough, you can melt your powder, then dump more on right away and it will "stick" until you reheat the image and melt the next layer of powder. If you can't manage working at that speed, or if your image is larger, it may be easier to simply allow the cardstock to cool slightly, then re-ink with versamark and re-coat with the Glassy Glaze. As for me, well, if I can skip that extra stage….I will!!
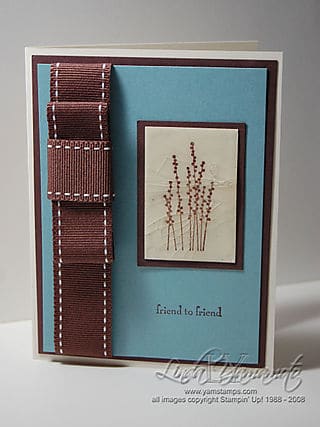
Once your image has a good thick layer (about 3-4 coats), stick it in the freezer where it will curl up slightly. After about 10-15 minutes (minimum), take it out and immediately bend and manipulate (not TOO rough though), and the embossed layer will crackle, giving you the cracked glass effect. If you want it to be even more pronounced, you could gently sponge ink over top to get stuck in the cracks (creamy caramel could give a nice "antiqued" look).
These projects feature the Pocket Silhouettes stamp set – on sale for 15% off but ONLY until the end of September (that would be TUESDAY)! Contact me if you'd like to place your order – or try the online ordering feature at my business website – www.yamstamps.stampinup.net !