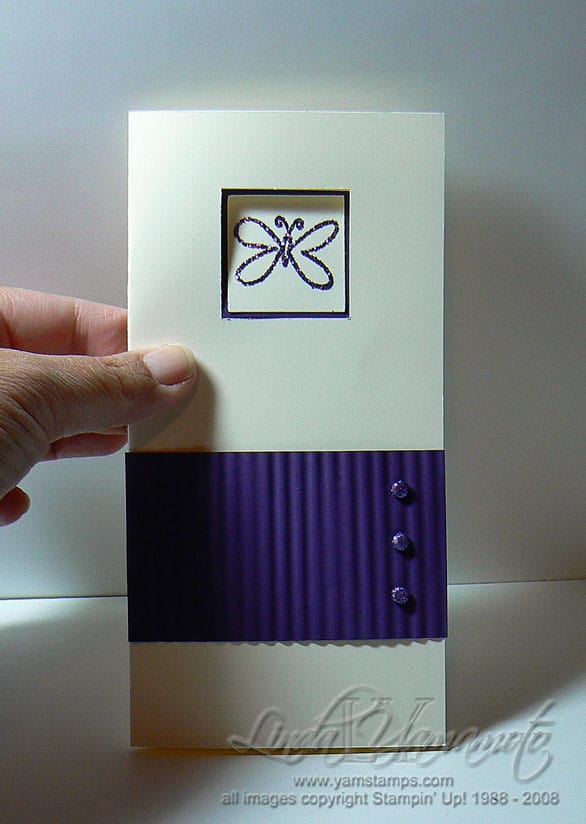
This is a card using Stampin' Up!'s heat & stick powder and cosmo fine glitter. Heat & Stick powder is an adhesive embossing powder that's great for adding glitter or beads to a project with precision.
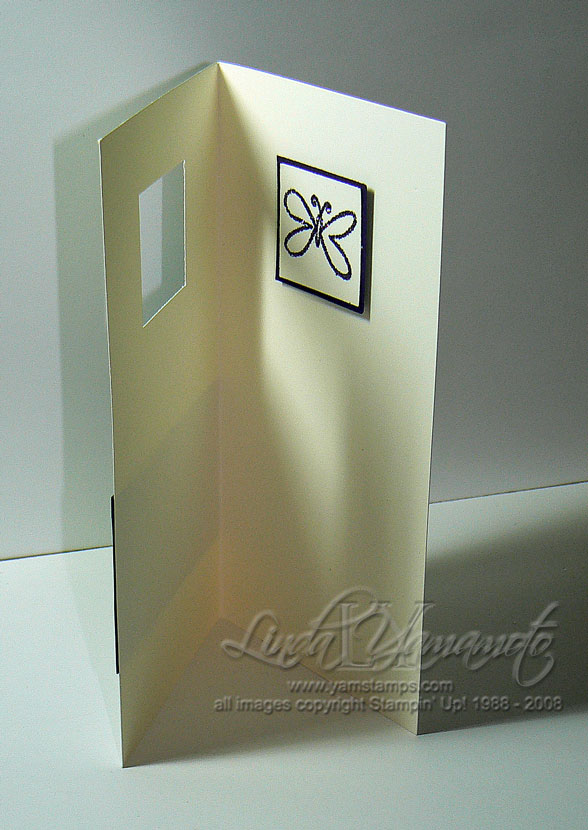
We stamped the butterfly from Sweet Shapes (p. 117 Spring-Summer Collection) with versamark, then coated the image with heat & stick powder. Remove the excess, heat until the powder melts, then coat with cosmo glitter. Shake off the excess, then one more shot of heat to the image to help it "set". THEN use the 1-1/4" square punch – that's the secret to a centred image!
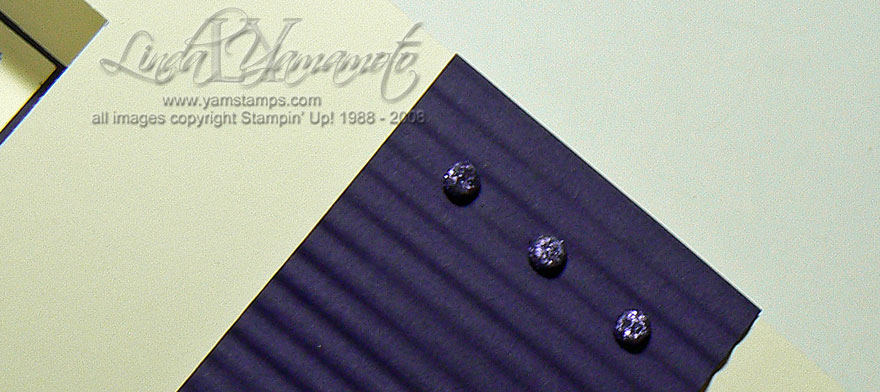
I liked the effect so much, but the card needed more "bling" so we did the same to some antique brads! Using the tweezers from the tool kit (very important to prevent burns!) – we tapped the brad heads into the versamark pad, then coated with heat & stick powder, heated & coated with glitter! I think they make a great accent to the strip of elegant eggplant that we ran through the crimper. This is a long card that fits into Stampin' Up!'s small open end envelopes. I really like this card shape!
And hey – welcome to those visiting via the Canadian Scrapbookers Blog Carnival!
Stampin' Up!'s new catalogue is out on August 11th this year….so for those of us who can't wait…here's a sneak peek! For the month of June, you can purchase the new Fresh Cuts stamp set ($25.95), and add in the coordinating laser cut notes for $5.95! (Or purchase just the notes for $10.75). The stamp set is die cut, which means all you have to do is pop out the rubber and stick it onto the wood block! (Of course, my customers know that I will mount their stamp sets for them at no cost, because I would rather have them ready for you to use right away – so I guess this will make my job easier?! LOL.)
We'll be using the notes & stamp set in this Wednesday's card class in Burlington, so be sure to RSVP by Monday to save your spot! See you soon!
(Oh, and apologies to those of you on feed – the feed was faulty but I did adjust it the other day…which then resulted in a bunch of posts coming to you at once!! Things should be back to normal now….fingers crossed!!).
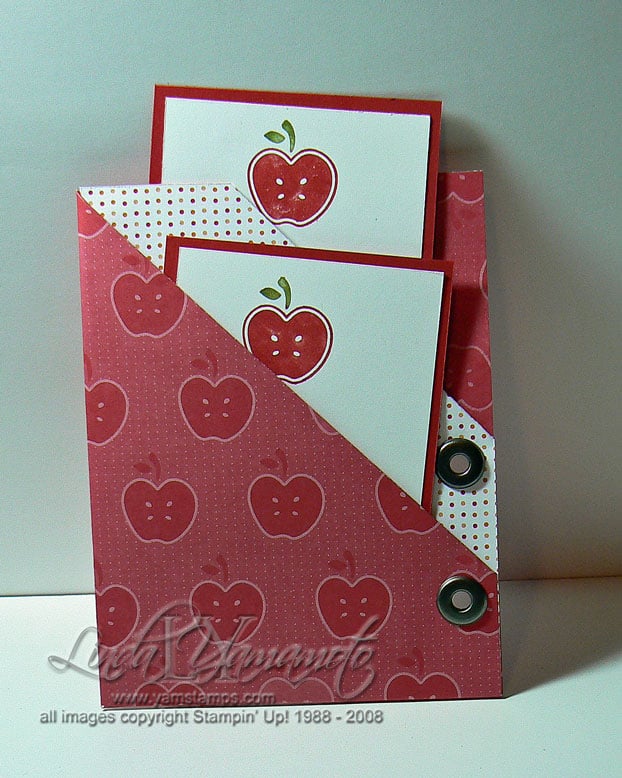
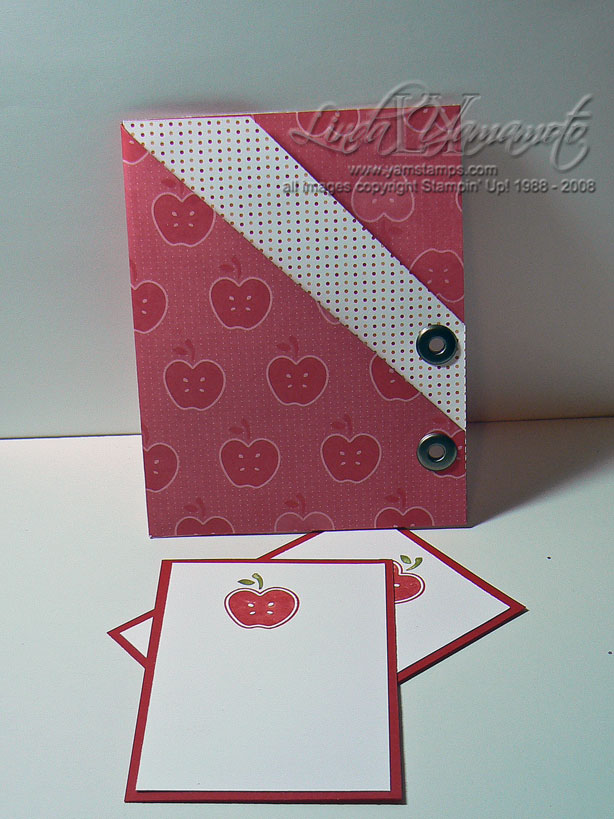
The May video tutorial is here (just under the wire!). This one features my version of a double pocket card. I had promised the video so that club members (OK and anyone who watches!) could get a handle on how we did this. I think that the sound and lighting are better on this month, and I've learned how to do the "speed up" effect… feel free to leave feedback or ask questions! Photo is of the version that I think will become the "Thank you teacher" gift at the end of the school year! One tag can easily be converted to a gift card holder by using the slot punch, and the thank you note can be written on the other tag!
Even with my editing, the video is almost 5 minutes long, so grab a cuppa while you watch (or better yet, grab some designer series paper, jumbo eyelets and your crop-a-dile and play along!!) Enjoy 🙂
Can you tell that this is one of my favourite colour combinations?? I will miss these colours when they retire with this current Stampin' Up! catalogue!! Blue Bayou is the card base, and the main panel is soft sky. The card is stamped with the canvas background in blue bayou; the leaves are in soft sky are from the stamp set Wonderful You (p 91 Stampin' Up! Spring -Summer Collection). A strip of naturals ivory is the background for the strip; a flower and ivory half pearl from the Pretties kit add an elegant touch.
Stampin' Up!'s retired list will be posted on June 15th. Be sure to be on my newsletter list to get details on my retired list contest (oh, and to get a copy of the list when it comes out!).
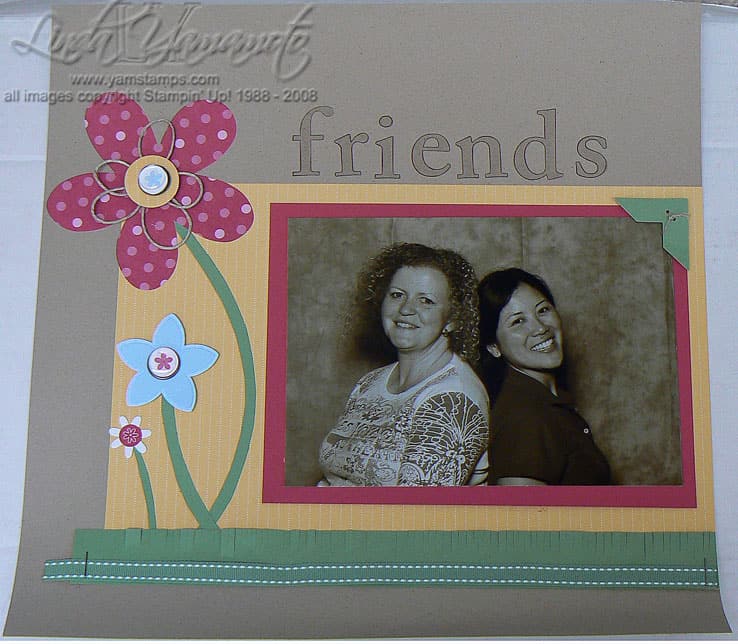
This is a scrapbook page created at last year's Stampin' Up! Convention. My friend (and "upline") Sue and I attended together – we celebrated 5 years as Stampin' Up! demonstrators. This page was a little curled at the bottom from being propped up in my stamping/scrapping room… The word friends is stamped with the jumbo outline alphabet (page 155 in the Spring – Summer Collection), and then coloured in with a versamarker! Loved this effect. The flowers are from Build A Flower Accents and Elements (p 177) – which come in those fantastic, "alterable" hinged tins. There are build-a-brads (p 189) in the centre of the 2 larger flowers. Must use those build-a-brads more, and stop hoarding them!! A fringe of wild wasabi acts as grass. I'm looking forward to seeing what we'll be doing for "make and takes" at this year's convention, celebrating 20 years of Stampin' Up!
I'm looking at starting a scrapbooking club in the next little while – are you interested?? If you're in the area of Hamilton, Burlington or Oakville, contact me for more information! It will run like my current Stampers Club. Space is limited.