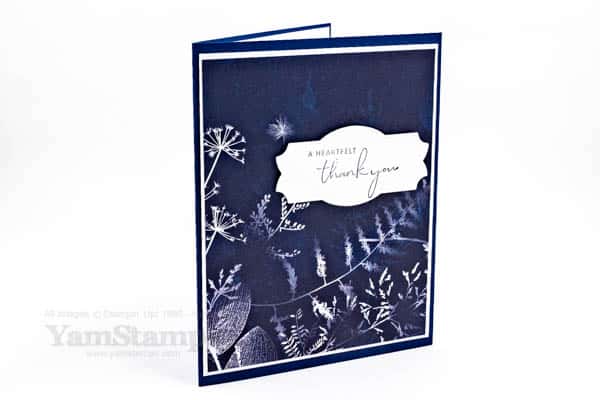
I did a film photography class years ago, and one of the things we did was to make sun prints like this when we were learning to develop our photos. I have no idea where those prints are now….but I don’t need to worry because Stampin’ Up! created this gorgeous paper. I know that many times they use actual art work to create the images for the sheets (painted canvas, acrylic pours etc) so I wouldn’t be surprised if that was the case here as well.
If you like getting a regular dose of crafting inspiration and information, be sure to be signed up for the YamStamps newsletter! Each week brings something new and exclusive to your inbox. The projects and tutorials I share in the newsletter don’t appear elsewhere on my social media, so you’ll need to be subscribed to get them! Use the boxes on the YamStamps site or click here! The big monthly newsletter is going out on Tuesday 31 May (since I can’t wait until the first Tuesday in June – close enough, right?!). Sign up before 1pm Eastern so you don’t miss out!
I did an unboxing video where I was as surprised as anyone watching…
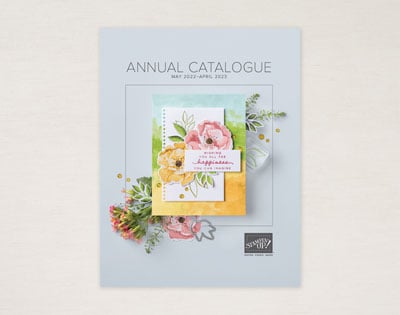
Please tell me I’m not the only one – you know when you have those moments that you walk into a room and can’t remember why you are there…and you only remember when you leave that room?! Anyway, I filmed an Unboxing Video when my first order from the 2022-2023 Stampin’ Up! Canada Annual Catalogue arrived. I knew I’d liked everything that I’d ordered, I just couldn’t remember what exactly that was, so I was as surprised and excited as everyone else!
Check out the video below. I posted it on the YamStamps Youtube Channel and Facebook Page as well. I was going to try going live, but it’s been a while since I did that, so I thought it would be safer to shoot a video. I’ll figure out the live stuff again later…
Unboxing Video
I have already used a bunch of items from this order – including the Masking Paper which I was most excited to try!
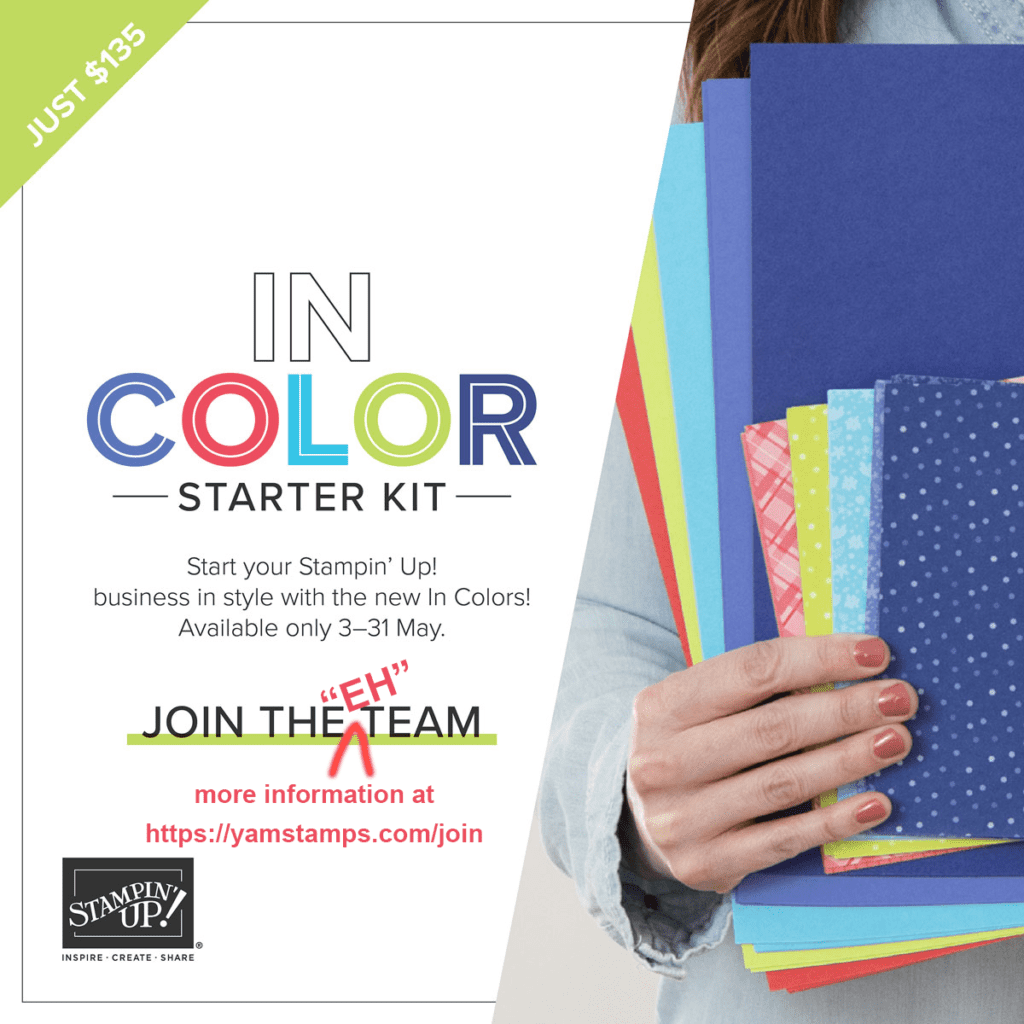
Don’t forget that during May, when you purchase a Demonstrator Starter kit, you get a bonus! As usual, you’ll get to select $165 worth of product for $135, get a free past Paper Pumpkin Kit and get all the basic business supplies you’ll need to get started. You pay no shipping, and Provincial Sales Tax only (if you’re in a province with blended tax, you pay NO tax at all!). Until 31 May 2022, you’ll also receive an In Colo(u)r Product Bundle worth $95! It includes 5 full sized ink pads; cardstock, Designer Series Paper and special In Colo(u)r Grid Paper! Check out the details on this page. If you want more specifics or have questions, feel free to contact me. I’m happy to chat by email or Zoom or phone – whatever preference you have, and would love to welcome you to my group of demonstrators known as the “Eh” Team!
I hope you liked the Unboxing Video peek into my first catalogue order. What other types of videos do you want to see? Let me know – you can message me or leave a comment below.
Check out this Slimline Birthday Card with a fun die cut background!
Stampin’ Up! makes it easy to make and send slimline cards – with appropriately sized dies and envelopes!
Slimline Birthday Card
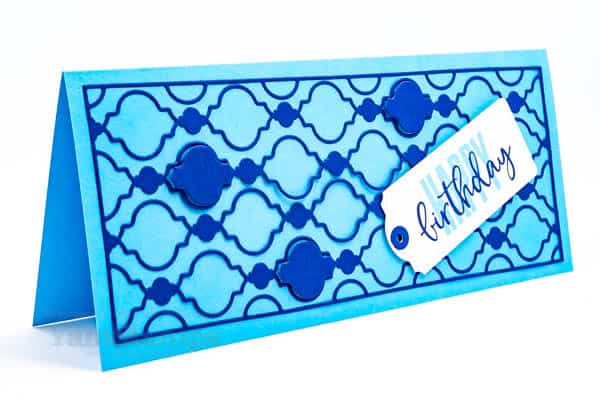
We made this fun slimline birthday card in Stampers Club this month. It features new In Colours and a fun die from the January-June 2022 Mini Catalogue. The cardbase is Tahitian Tide, and the accent die cut is Starry Sky. I used the Slim Card Dies to die cut the Starry Sky cardstock – but not before I added strips of Adhesive Sheets to the back of the cardstock. For this sample (which was my prototype) I just added smaller strips of the sheet at the borders of the die – so you may be able to see that the centre details aren’t totally adhered to the card. When I prepped for club, I put the adhesive all over the back of the cardstock so everything could be totally flat and stuck down. Some of the die cut shapes were added back in place as a design element – Stampin’ Dimensionals help them stand out. This card fits in the Slimline Envelopes from Stampin’ Up! so you don’t have to worry about how to send them!
I decided to make a slimline birthday card, so I made a tag from the Tailor Made Tags. I die cut the reinforcement from one of the shaped discard pieces so that it had adhesive on the back already – which made it easy to adhere in place on the tag. The sentiment is from the Biggest Wish stamp set. I love layering the two fonts on top of each other! I try to stamp the script word in the darker ink (in this case, Starry Sky) so it stands out against the bolder, larger font (stamped in Tahitian Tide).
A tip if you’re planning on recreating the slimline birthday card…I removed adhesive from one portion of the die cut first – along the top edge. I placed the die cut where I wanted it before removing the rest of the liner strips and adhering the rest of the die cut. Since this creates a rather fine/lacy die cut, you just have to watch that it doesn’t get stuck to itself when you’re peeling off the liner.
If you need a regular crafty “fix”, consider joining the Stampers Club! We are meeting virtually each month right now and participants receive their package of supplies for the cards before club so we can craft together. If members can’t make it to the “live” Zoom class, they have access to the recording after the fact in our private membership area, so they can craft at their leisure. See more information here on the YamStamps Event Page, and then contact me to join us! New members can start each month. Our next Club meeting is Monday 13 June at 6:30pm Eastern. Open to anyone across Canada since we are meeting virtually right now!
This card for a dreamer would be a great graduation card!
Card for a Dreamer – like a grad!
This is the Sunday Swap share on the YamStamps Facebook Page – and it’s a card that I made as my contribution. One of the fun things about being a Stampin’ Up! Demonstrator is participating in swaps and other events. A fellow demonstrator organized a card swap – where each person created multiples of the same card and then sent them in – and then a little while later we get back a whole variety of cards – one from each person who participated! It’s a great way to get ideas and see how other demonstrators are using their new product – including product that I may not necessarily own (I know, it’s shocking, but true).
I used a few host only items from the 2022-2023 Annual Catalogue for my card for a dreamer. The paper is from the Design a Daydream Designer Series Paper package, which is 48 sheets of double sided designs (4 each of each design) – it’s twice the amount of the typical Designer Series Paper set! The sentiment is from the Begin with a Dream stamp set, also a host exclusive. I decided to die cut a cloud from the Waves dies and then heat embossed the word dreamer in gold.
For the single word, I used a “template” in my Stamparatus to help me position the cloud perfectly every time. I die cut a cloud from a scrap piece of cardstock, then placed the cardstock with a hole in it in my Stamparatus and held it in place with the magnets. I put a die cut cloud into the cloud hole, and once my stamp was lined up correctly, I just kept an assembly line going!
If I get the chance, I’ll see if I can upload a video of the template system – it’s super easy. Right now, my craft room is in sheer chaos as I’ve downsized my room (since I’m no longer an empty nester…). While I managed to sell a fair bit of retired product at my Rubber Garage Sale last weekend, it still feels like I have a whole lot of stuff around still! I’m trying to purge and organize and place all at the same time, so it’s a little slow going…If you have any organization tips, throw them my way!!
This card for a dreamer has a lovely sentiment that I think is good for graduates – like my son! It’s hard to believe that he’s done four years at university already. He really enjoyed his university experience, and I think he learned a bit along the way too! I think I might use this card for him, but add in “but remember, a dream with a deadline is a goal!”….hahaha!
If you’re interested in benefits of being a Stampin’ Up! Demonstrator with my team, you can check out this information page here (shortcut is yamstamps.com/join), or message me with any questions you might have. It’s a great time to join since there’s a special until the end of May! All Starter Kits include In Colour products (on TOP of the $165 of product that you select). You’ll get the 2022-2023 In Colour Ink Pads, cardstock, Designer Series Paper and grid paper – a $90 value – but only if you purchase your starter kit before the end of May. Once you read the Information Page, you can either message me with any other questions, or just click on the link on that page to start picking your starter kit items!
If you’re local to Burlington ON and can make it to my retired product garage sale on Saturday, you can pick up a hard copy while you shop the deals at my Rubber Garage Sale! RSVP for directions/parking instructions and to ensure there’s a copy set aside for you. If you’re not local to Burlington, you can fill out this form and I’ll be in touch to get a copy to you. I’ve also automatically bought enough catalogues to cover anyone who has placed an order with me in the past year, so if I don’t see you Saturday, I’ll be making arrangements to get your copy to you.
PLUS THERE’S AN IN COLO(U)R SPECIAL!
From today until the end of the month, when you purchase a Starter Kit, you get a bonus! The “normal” starter kit includes $165 product of your choice, plus basic business supplies (catalogues, order forms), and a previous Paper Pumpkin kit. During May, you’ll also receive an In Color Bundle that includes the five In Color Ink Pads, Cardstock, Designer Series Paper and Grid Paper so you don’t mess up your work surface (though it’s so pretty you may not want to mess it up either!). It’s a $90 value (so that’s $255 worth of product alone) for $135 CAD. No shipping costs and only Provincial Sales Tax applies. (If you’re in a province that has a blended tax, this means you don’t pay tax on the kit).
I’d love to welcome you to the “Eh” Team, which is my group of demonstrators! You can get more information at yamstamps.com/join. You can also email me with any questions, or to RSVP for my Information Evening, which is happening online via Zoom, Thursday 12 May at 7pm Eastern.
In the meantime, I’ll be prepping for my Rubber Garage Sale. Literally in my garage this year….which in part is because my son has moved home from university and I’ve moved my craft room – so everything is in chaos in our house. Or perhaps I should say “more chaos than usual”. Hope to see you Saturday, or online at the Zoom!