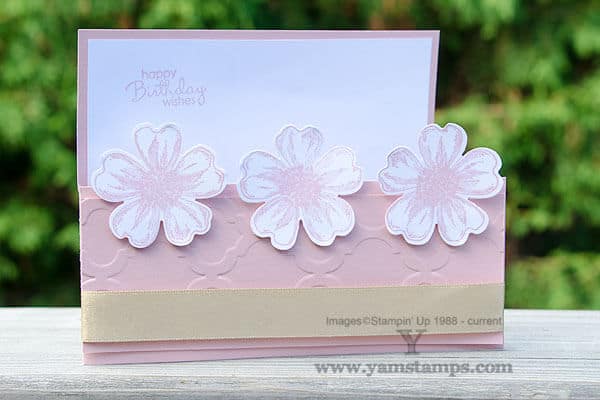
This is an easy variation on a “standard” fold card, inspired from Ronda Wade’s swap card from convention. Swapping is a sport amongst Stampin’ Up! demonstrators – you make a whole bunch of one card design, and then trade with others! This was an “organized” swap, meaning we signed up and had to make a certain number of the same card (I think it was 45). Anyway – this is a regular sized card; the cardstock is cut lengthwise so it’s 4.25″ x 11″, and then scored at 5.5″ to fold. I then trimmed 2″ off the top of the front of the card and embossed that cut portion with the Modern Mosaic embossing folder. That piece was wrapped with a bit of Gold 5/8″ Satin Ribbon and adhered to the bottom of the cardfront. The flowers along the border are from the Flower Shop set, punched out with the Pansy Punch. The sentiments (there’s also one at the bottom right corner that you can’t see) are from the Petite Pairs set. I love the Blushing Bride and Gold colour combination.
If you’d like to build up your card stash, there’s plenty of upcoming opportunities – first of all, the Monthly Card Class, happening on Wednesday, September 2nd, which is THIS Wednesday. Take a break from the week of “prepping for back to school” and come join us for a fun evening out! Please contact me to register. All supplies are included to create 4 cards for your $20 class fee. Registration is closing soon for the Tin of Cards and September Christmas Card Classes as well – details and PayPal registration links are on the YamStamps Events Page. For these special classes, product is included, so registration & payment is needed 2 weeks ahead of time to allow time for everything to arrive for class. Please let me know if you have any questions. I’m also working on some Online Christmas Card Classes so if you’re not local to Burlington ON you can still join in the fun!
The Stampin’ Up! Canada Weekly Deals are a number of items that are specially priced for a limited time and in limited quantities. This week’s specials are items that will take your paper crafting to the next level of “wow” for sure. Anything that glitters always catches my eye (just a little distractible…) and my fave pick this week is the Gold Glimmer Paper. Though I always love the satin ribbon, and now that I’ve learned how to line up my Pansy Punch, I quite like it as well LOL.
Click on the image or on this link to see all the Weekly Deals. Place your order online, or contact me if you have any questions or need assistance. For those of you anxious to start ordering from the Holiday Catalogue, orders will start Tuesday, September 1 (same day as the next batch of Weekly Deals). You can place your order online at that time or contact me and I will place your order that day. Or you could become a demonstrator and order Holiday Catalogue items for your Starter Kit choices today, and be eligible to preorder to your heart’s content before September first. (Yes, it’s true, I called Stampin’ Up! to check on that for a customer!!). Just saying…..
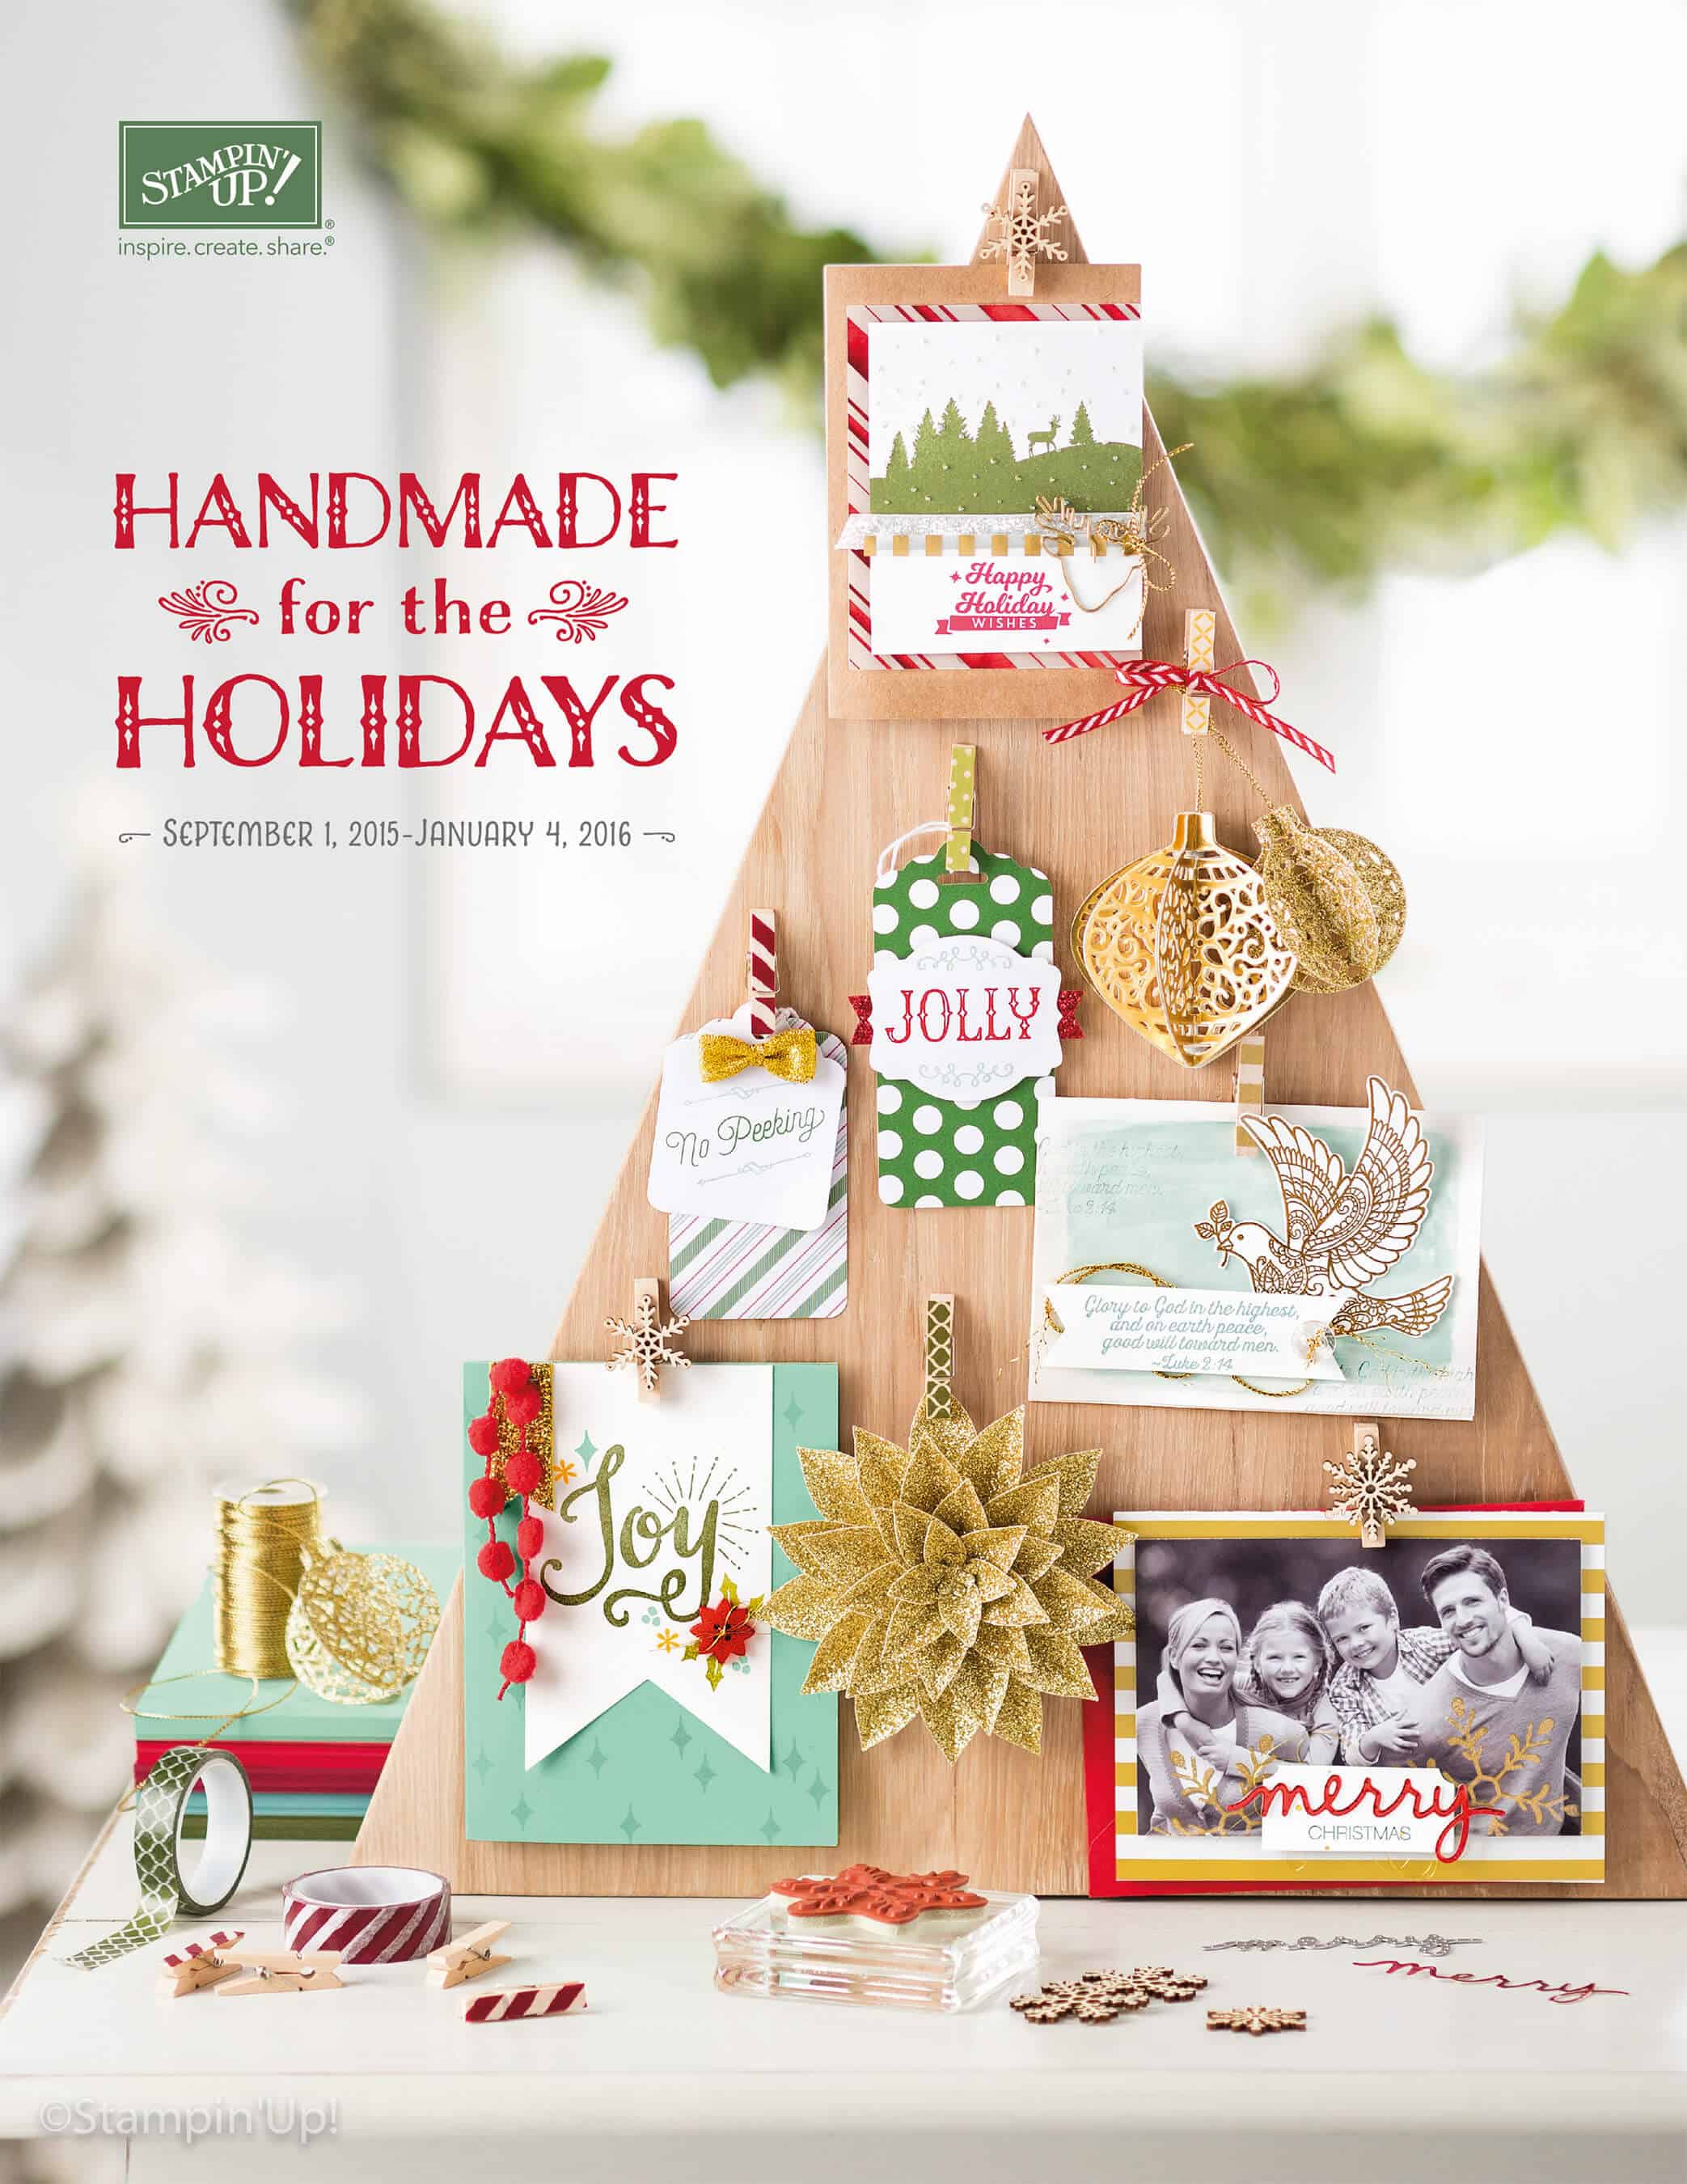
They’re starting to arrive in mailboxes…if you don’t receive one soon or get a call from me (I’ll be calling to be sure they arrived) – fill out this form to get a free copy of Stampin’ Up!’s Holiday Catalogue from me! (sorry, due to Stampin’ Up! regulations, Canadian residents only). As one of the Stamp Club members emailed me this morning -“Got a look at the Holiday Catalogue…I’m in trouble!” Lots of things to love in there!!
Here’s the latest grouping of Weekly Deals! You can see them in the YamStamps online Stampin’ Up! store by clicking here or on the image above. We just used the Envelope Punch Board in Stamper’s Club for one of the projects so I was happy to see it on here – so it’s a toss up between that and the Bow Builder Punch as my two favourites this week. Don’t forget that there are a limited number of these items at the special pricing so don’t miss out.
Browsing these specials will give you something to do while you wait for the mail…the Holiday Catalogue was mailed out late last week (or was supposed to be…) so hopefully will be arriving in your mailbox soon! (I will be following up with people once I know they’ve started to be delivered). If you have not received a Holiday catalogue from me and would like one, please complete this form.
In the meantime, please contact me if you have any questions. Happy Shopping!
My friend, Steve Gaul, is going for another World Record. He previously set a record for continuous drumming – which has since been broken, and now he’s in the hunt to regain the title, and raising funds for a worthy cause – Cardiac Kids. You can find out more about Cardiac Kids and donate here.
If you’re in the Burlington area, you can drop in to cheer him on at the Burlington Music Centre. If you’re not local, or need to do things like work…you can check out the livestream here.
If you make a donation, let me know & I’ll send you a handmade thank you card!
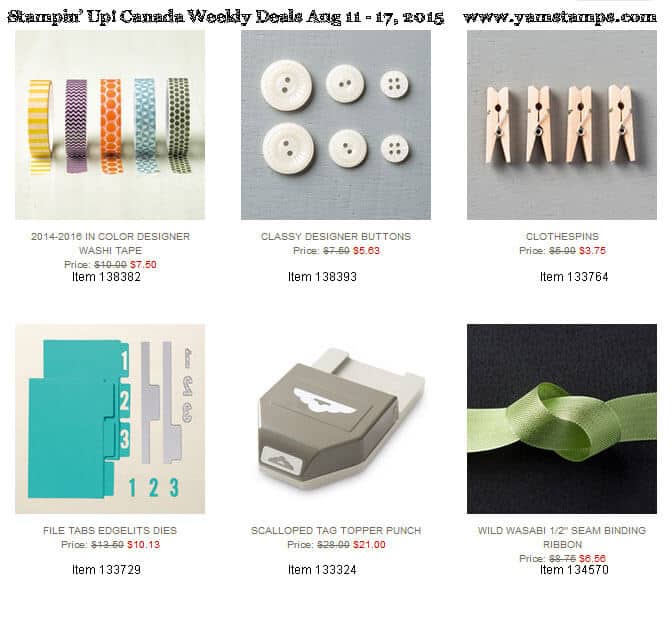
Here are Stampin’ Up! Canada’s Weekly Deals that run from today, August 11 until August 17th. Look! There’s washi tape, and you could organize it using my tip from yesterday! I’d like to say that it was a well planned plot, but no, I don’t have any insights as to what might be on the offering for the Weekly Deals. It’s just a lucky fluke LOL. As a sucker for office supplies, I do think the file tabs edgelits are one of my fave picks this week, but I also love the scalloped tag topper punch. I just learned a fun technique with this punch that I’m saving for the upcoming Christmas Card Classes. SPEAKING OF WHICH – a reminder that the registration deadline for the first class is THIS THURSDAY, August 13th. If you are thinking of registering for the August class, or want to attend all the classes, please don’t hesitate! Christmas Card Classes all come with product this year – so you will use some of that product in class to create your projects, but you’ll also have the left overs (and there will be a LOT) to take home with you to use on cards or other projects. See the YamStamps Events page for more information & to register.
In the meantime, you can shop the Weekly Deals here, or contact me if you have any questions, or need help placing your order or registering for an event.
I love Washi Tape for use on my paper crafting projects and in my organizer…but I also like to know what “set” it’s from – handy when I’m doing the class supply list! I use an open bin to store my washi and ribbons, but when the retired list came out or I was searching for an accent for a card, it was frustrating to figure out what set the tape came from, or if it was still available! (I told you, the quest to be organized is an ongoing one in my life, and often only small areas achieve it at any given time!!). So for Manic Monday, here’s my quick organizing tip for Washi Tape.
My solution (for now) – I used a piece of ribbon (retired) to keep all the washi together from one set, and stuck the label from the end of the tape roll to one end of the ribbon (it still had sticky left on it). This way, I can tell at a glance what tapes came together, and what set they’re from. I can go to the catalogue and easily look up what colours are in the tapes if I need/want. I can still store them in the open bin, too!
Hope this helps you, as well. If you have any organizing tips or problems, please share via the comments or email! I’m always looking for ideas…
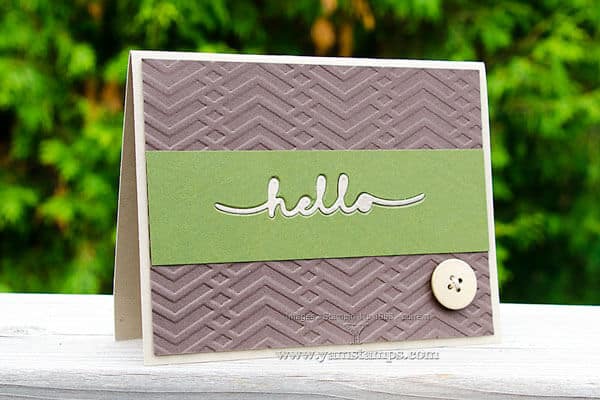
This is a fun and easy technique to do with your die cuts! This card uses one of the Stampin’ Up! Greetings Thinlit dies and the Zig Zag Embossing Folder. Die cut the “hello” from Crumb Cake cardstock, and then die cut from Mossy Meadow. Use the Crumb Cake “hello” to fill in the negative space on the Mossy Meadow cardstock – that’s how easy this technique is! Mass production tip – cut strips of Mossy Meadow and Crumb Cake cardstock, die cut with the same placement and switch out your die cut words – so you can create twice as many cards easily, with contrasting backgroound strips. The colours in this card (Crumb Cake, Chocolate Chip and Mossy Meadow) tend to give a more masculine feel, but you can switch out the colours (and the embossing folder) easily to create a different feel for the card.
Don’t forget this tip to make removing your more intricate die cuts easy. (from the YamStamps YouTube channel). With this thinlit, I found that I didn’t actually need to use the waxed paper to get easy removal. I did end up with some of the holes embossing through (the dots on the die cut) – but this occurred even if I used nothing, so I used the dryer sheet to make my life a little easier.
I’m looking forward to trying out some of my new Holiday Catalogue goodies that just arrived, so will try to get to work on posting some projects with those new items!
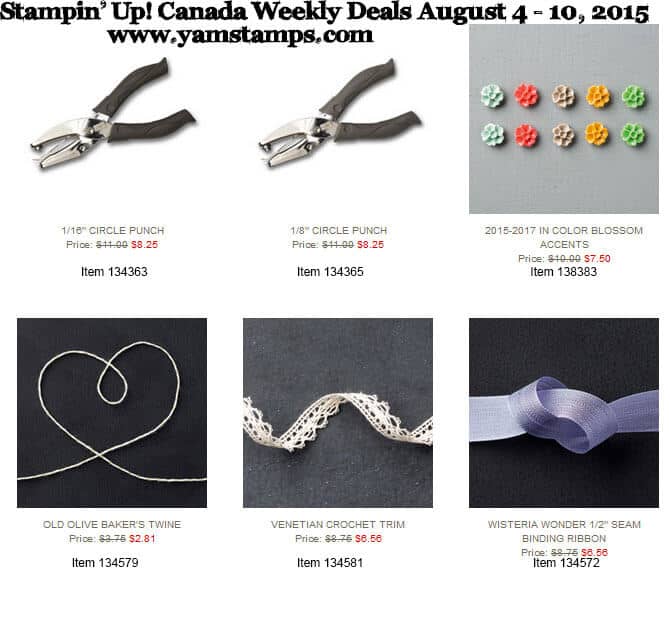
Here are the latest Weekly Deals from Stampin’ Up! Canada, with special pricing in effect for a limited quantity / while supplies last. I think my favourite this week is the In Colour Blossom Accents. I actually don’t need to buy any since I am already hoarding some in my stash…but I suppose I should actually USE them on a project rather than just admiring them in the packaging, right?!
The other fun thing about today? (The non-fun thing being back to work after a long weekend LOL…) Stampin’ Up! demonstrators get to place their preorders for Holiday Catalogue product. The catalogue itself is due to be mailed out sometime in the next couple of weeks, but we demonstrators get to see the new catalogues and order supplies ahead of time! Hmmm….maybe that’s the reason we welcomed so many new demos to my “Eh” Team group in the last little while?! Hahaha. So you’ll excuse me if this post is short….I’ve got some preordering to do! If you want to see some of the new product in person, be sure to check out the YamStamps Events page and sign up for one of the upcoming Christmas Classes!
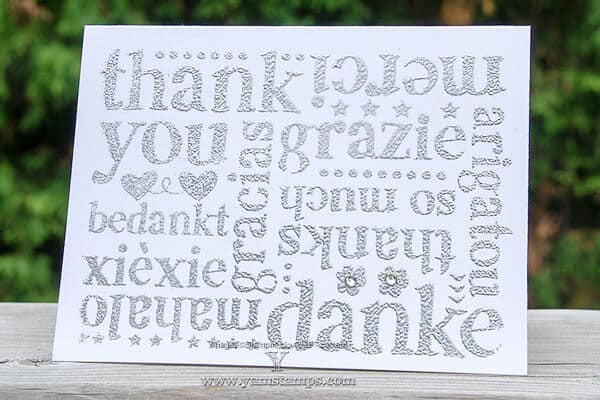
One of the most effective techniques for your paper crafting projects is heat embossing. It adds such an elegant touch and makes a simple card a little more impressive. This card uses Stampin’ Up!’s A World of Thanks (available in wood or clear mount). (and no, I don’t know why there’s a “u” at the end of the Japanese thank you – we always spelled it arigato in our house). I used Whisper White craft ink – easier to see – on the new thick Whisper White Cardstock (LOOOOOOVE this). The thick cardstock makes for a perfect no layer card. I did a combination of Silver and Iridescent Ice embossing powders on the image to add a bit of shimmer to the metallic colour. I just used an empty button container and mixed the embossing powders at about a 2:1 ratio (but you can adjust as you wish). We will often do a heat embossed card in stamp class or stamp club, or if you’d rather learn from the convenience of your own home, I did do an online class about embossing a little while ago.
Here in Ontario it’s the Civic Holiday – yay for long weekends! Hope you are able to spend some time with family and friends…and maybe a bit of time crafting too!!