I was super happy with how this turned out, because it was pretty close to how I envisioned it – and I was also really happy with how easy it was to create!
piano card
I started piano lessons when I was 5 years old….and continued until I was in high school, though I switched focus to flute. (Sight reading on flute was so much easier than piano – only one line of notes to follow….LOL). World Piano Day is on the 88th day of the year, since there’s 88 keys on a full sized piano. To make this card, I simply cut strips of Basic White Cardstock (.75″ x 4″) and strips of Basic Black Cardstock (.5″ x 2″ I think? I don’t have the card in front of me as I write this…). I searched through my stamp sets and found one that referred to a note, so used that for the sentiment! It’s from the Enjoy the Moment stamp set – which is included in the Last Chance Sale that’s on right now. Selected retiring products are being offered at a discount, and this stamp set is one of them!
This piano card would be a great thank you for a piano teacher or to keep in touch with a musical friend. Check out this quick video on how it was made. (if you can’t see the video below, click here to watch it on youtube)
Fun, right? I was so pleased that it came together so easily. Truthfully, some of these “quick videos” can take a while to make – either because what I envisioned doesn’t actually happen (aka it’s a hot mess and I have to re-design it) or I mess up while constructing it and have to re-do it – but this one actually was a true one take from start to finish – I only had to make one version of this card!
If you want to get other fun project ideas and tutorials, be sure to sign up for the YamStamps Newsletter. Each week you’ll get paper crafting ideas, inspiration and information – straight to your inbox! Plus when you sign up, you’ll receive access to a subscriber only video tutorial. You can sign up here or by using the sign up boxes on the YamStamps site. The big multiproject newsletter goes out on Tuesday 5 April!
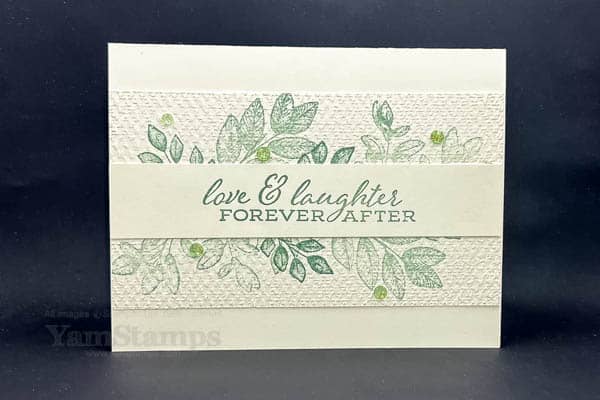
I love monochromatic themes, and used the one colour approach on this wedding wishes card.
wedding wishes card
I am partial to one colour cards – I always think they are so elegant. I like to add something to keep it interesting – and I think texture is a great way to do so.
For this card, I used the Forever Fern stamp set. I stamped the wider strip with the images of the leaves, varying first and second generation images in Soft Succulent ink so that I added some variation in the intensity of the image and colour. (First generation = inked the stamp and then stamped the cardstock; Second generation = inked the stamp, stamped off onto scrap paper once, then stamped onto the cardstock without re-inking the stamp). I then ran it through my Stampin’ Cut & Emboss Machine with the Tasteful Textile 3D Embossing Folder to add some texture. I stamped the sentiment on another strip of Very Vanilla and left it unembossed so it stood out more on the embossed background. I added a few green toned Genial Gems to tie in to my one colour theme, and to give it some bling, since it is a wedding wishes card!
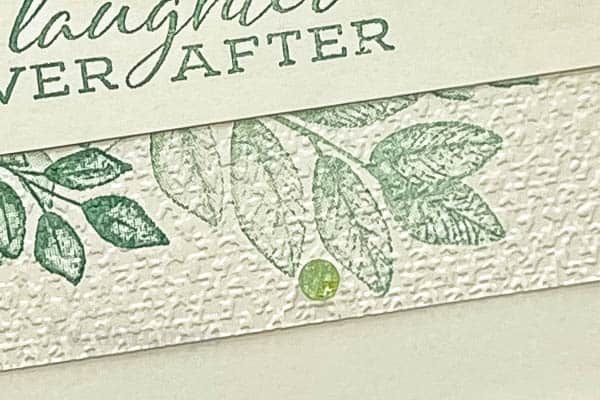
close up detail wedding wishes card
I am so sad that the Tasteful Textile Embossing Folder is retiring! It’s such a useful one to have to add just some subtle texture to my projects. If you don’t have this one in your crafting collection, it’s 20% off as part of the Last Chance Sale. Grab it before it’s gone – all retiring product is while supplies last or 2 May 2022, whichever comes first… The Genial Gems are 40% off so you can add lots of bling at a good price, too! You can download the Annual catalogue retiring lists from this post here. I’d recommend the spreadsheet version if you can – it’s sortable and the print is bigger!
I’m sad to see some favourites retire, but this only means there’s room for new items in the next Annual Catalogue, right? I am automatically sending catalogues to those who have placed orders with me during the last year, but if you’d like to get one (or be sure you’re on my list), you can complete this form. If you don’t already have a Stampin’ Up! Canadian demonstrator with whom you do business, I’d be happy to help you.
Could I pick a longer title? Blended Ink Stamped Background Technique is an accurate, if a little wordy description of my latest video upload on YouTube.
Blended Ink Stamped Background Technique Card
If you come up with a better description, please let me know….in the meantime, I showed how I created this card in the video. I used my Blending Brushes (hence the “blended ink”), and then I stamped with one of the stamps from the Amazing Silhouettes stamp set (hence the “stamped”). The picture is a little more vibrant than the card is in real life, but I still love the subtle effect of the “ghostly” leafy plant on the inked background. Since I used some of the Rainbow Glimmer Paper, I tried to add the same tones into the background that I created – so I used Coastal Cabana and Granny Apple Green. I love that I could come up with thousands of variations for this technique by varying the colours used. Easy and impressive – always my motto for crafting!
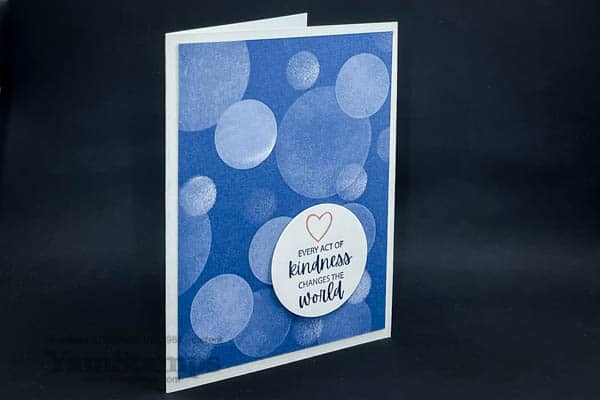
I’m partial to blue tones, and Misty Moonlight is one of my current favourites. It is also one of the 2020-2022 In Colours, so it will be retiring at the end of April – and I am really going to miss it! If you like it too, you’ll want to be sure to stock up on your supplies of it sooner rather than later. As with all retiring product, it will be “while supplies last” or until 2 May 2022 (the end of the sales period for the current Annual Catalogue) – whichever comes FIRST. In Colours usually sell out before the end of the catalogue period, so please don’t hesitate!
I am working on getting more videos onto my various social media channels, so I did a video celebrating circles and Pi Day by showing the Bokeh Technique used on this card. I posted the full video on the YamStamps YouTube channel.
Celebrating Circles – Bokeh Effect Tutorial Video for Pi Day 2022
You may have seen that I also did an Instagram Reel on this card. I could get addicted to doing reels – short videos with music, what’s not to like? Take a look at my Celebrating Circles Reel and let me know what you think – do you prefer the full length video or a mini length sped up version – or both?
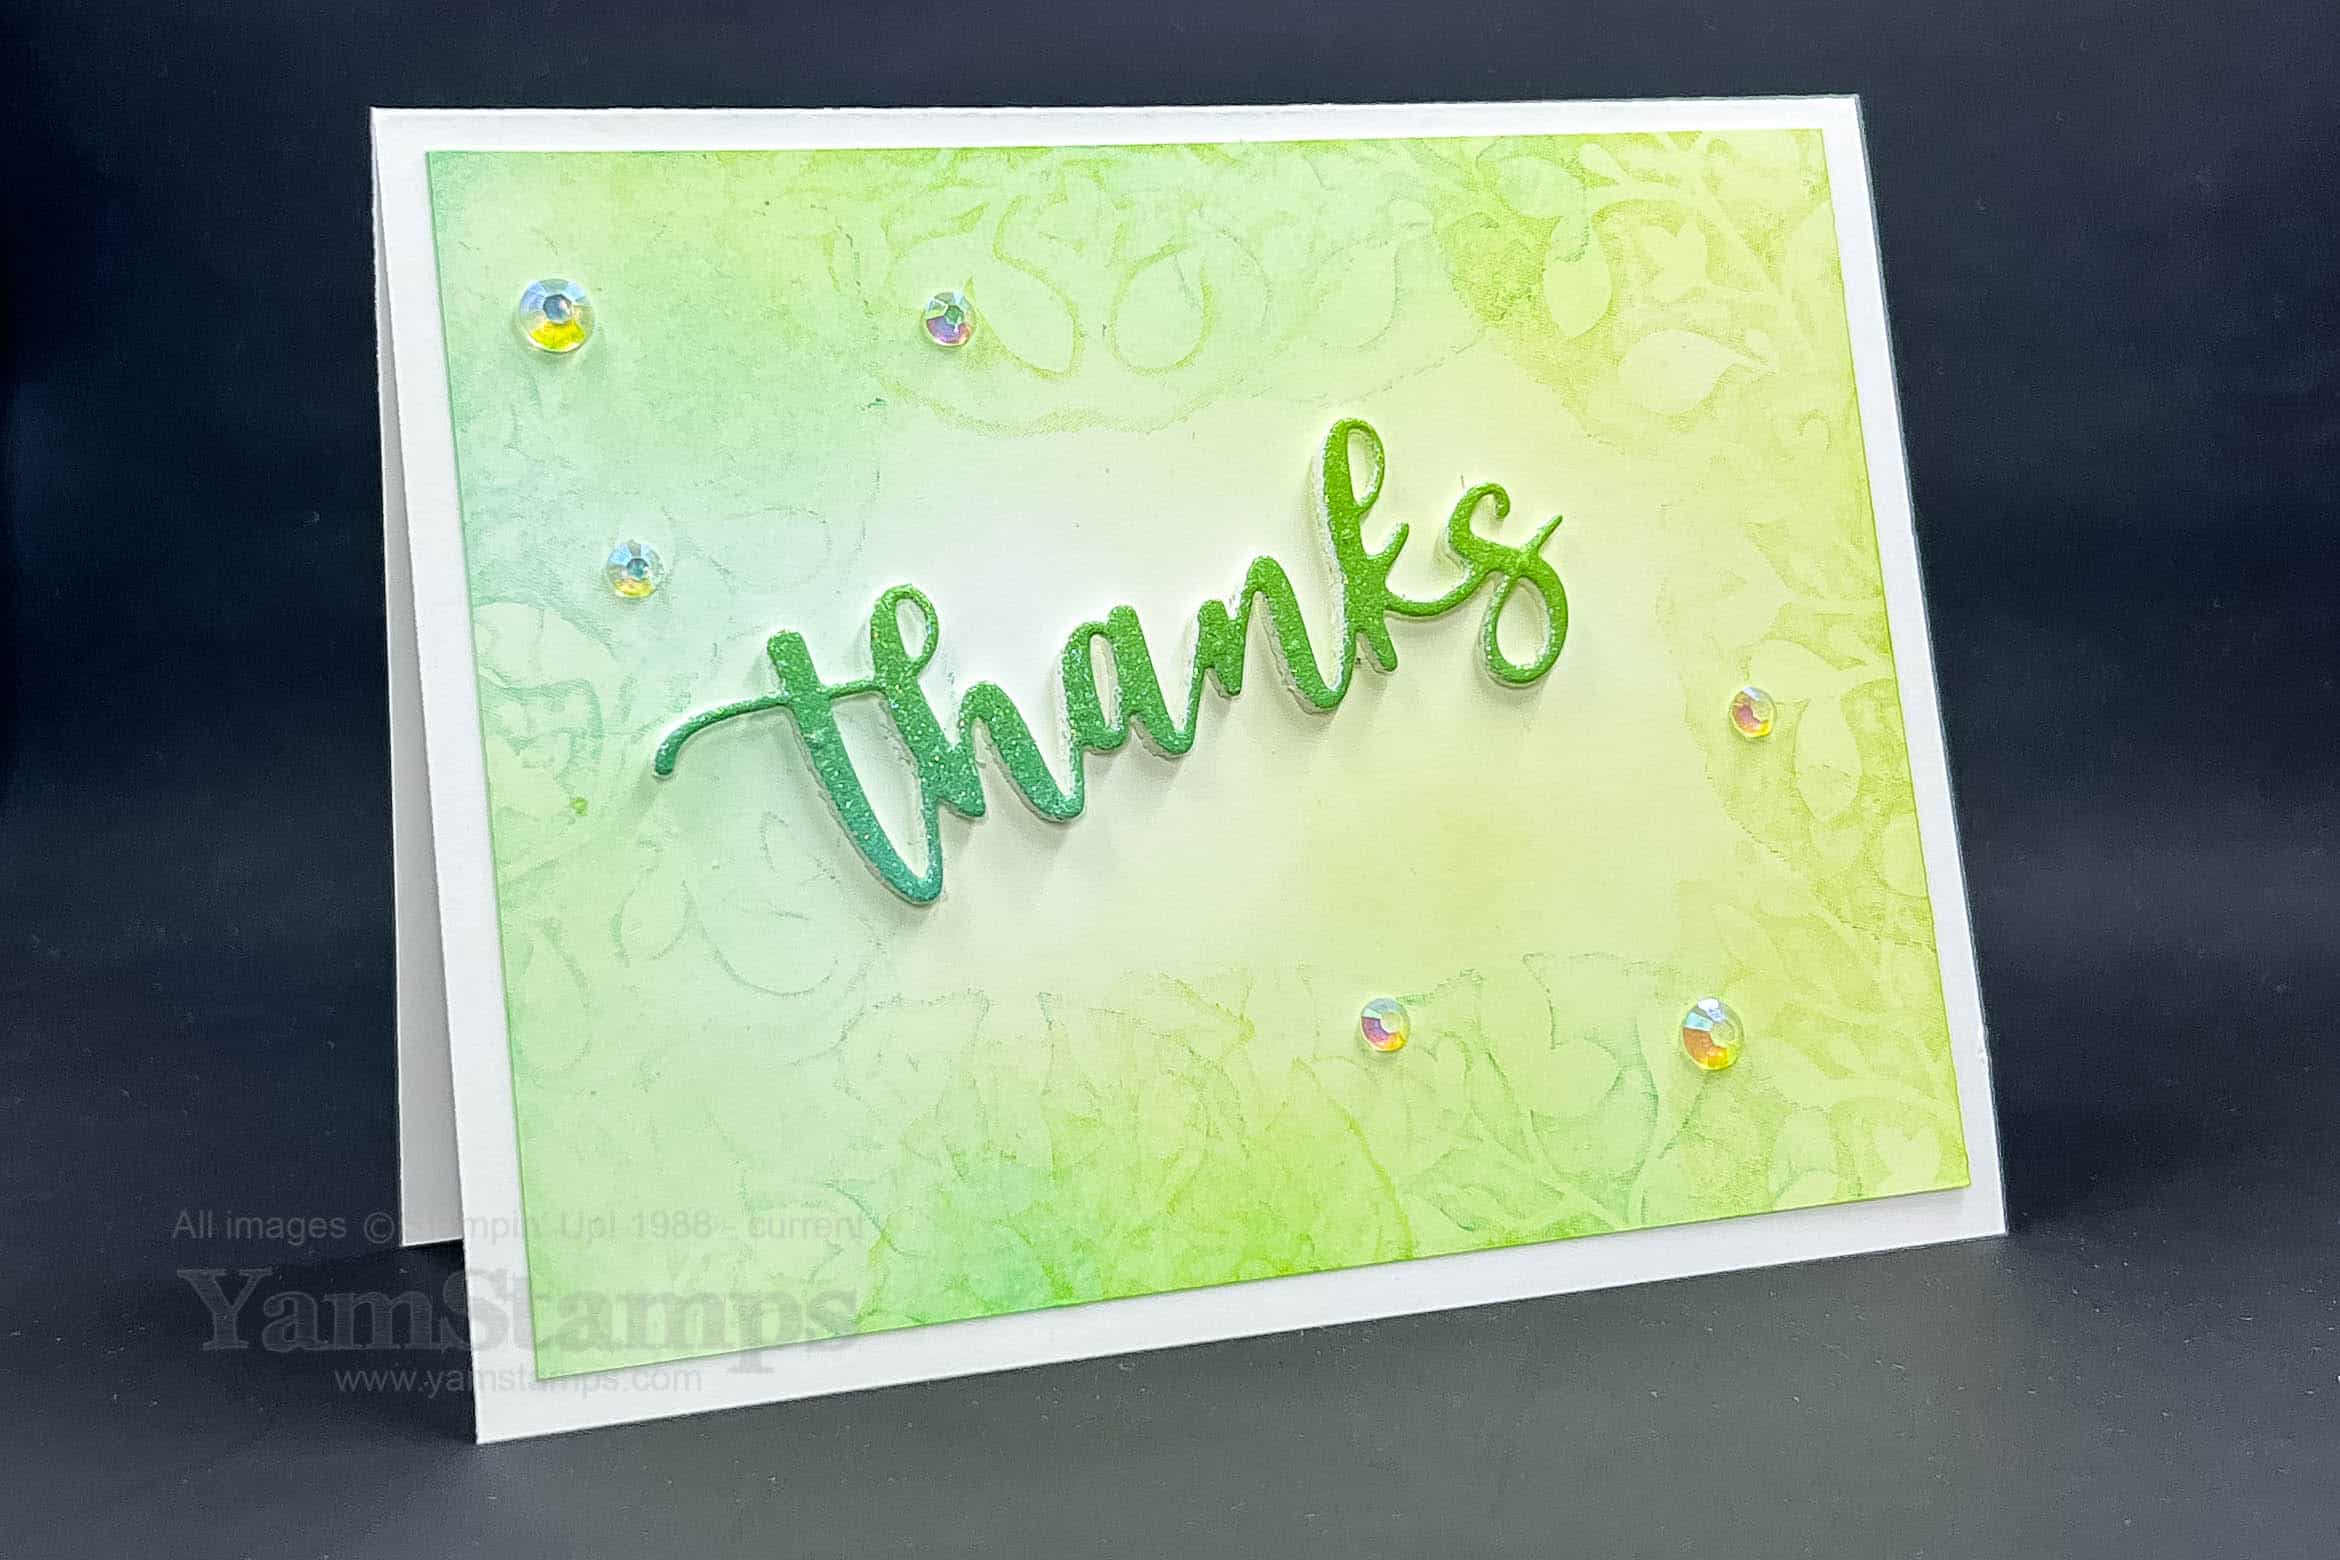
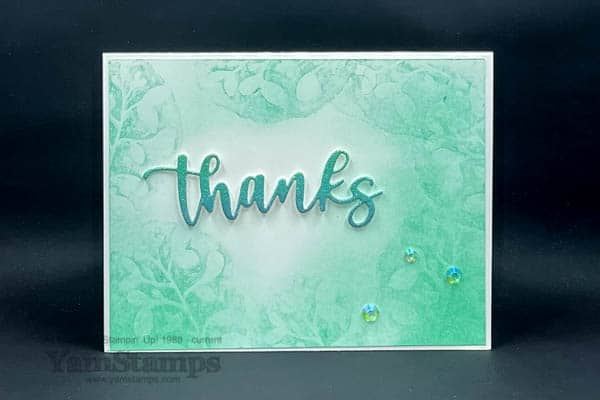
I’m calling this the blended ink thank you card – because I can’t think of another way to describe it! It’s a super easy technique that gave this wonderful look. I have always loved monochromatic projects – I think there’s something elegant about focusing on one tone. Plus it’s easy….haha! This card features Stampin’ Up!’s Amazing Silhouettes Bundle.
I might make more of these – since I need to send thank you cards to those who have supported my Celebrating Sunflowers Fundraiser for the Canadian Red Cross Ukraine Humanitarian Crisis Appeal so far! Just a reminder that if you purchase the Celebrate Sunflowers Stamp Set, Sunflowers Dies or Discounted Bundle (which is only available this month), I’ll donate my income to the Red Cross fund noted. I chose the stamp set and dies because the sunflower is the national flower for Ukraine, and I chose the Canadian Red Cross’s Appeal because the Canadian government pledged to match all donations before 18 March up to $10 million (already met!). My personal fundraiser is going until 2 May 2022, which is the end of the sales period for the 2021-2022 Annual Catalogue.
Who do you want to thank? This blended ink thank you card is a quick and easy way to send a note of appreciation to someone. If you need supplies, you can go to the shortcut yamstamps.com/shop to shop in the YamStamps Online Stampin’ Up! Canada store, or message me for assistance placing an order.
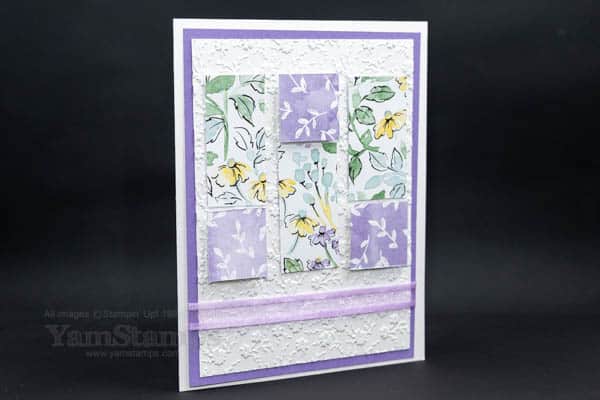
In this “a little goes a long way” card, the strips are 3/4″ wide. I used 3 consecutive strips so that my pattern on the rectangles would carry across. With the wonderful two sided designs, I just flipped the squares over so that the coordinating pattern shows! Love easy crafting!
Give this easy design a try with whatever patterned paper you have on hand. It’s a great way to make a bunch of impressive cards quickly and easily! Change up the patterned paper for a totally different look.
If you like getting card design ideas like this, be sure to be signed up for the YamStamps Newsletter. Each week brings some new paper crafting ideas, full card tutorials, information and inspiration to your inbox!