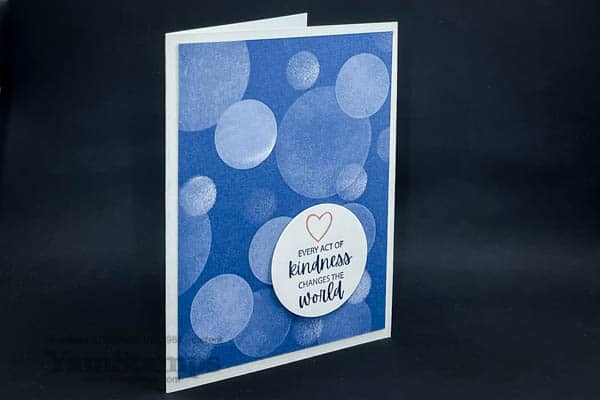
I’m partial to blue tones, and Misty Moonlight is one of my current favourites. It is also one of the 2020-2022 In Colours, so it will be retiring at the end of April – and I am really going to miss it! If you like it too, you’ll want to be sure to stock up on your supplies of it sooner rather than later. As with all retiring product, it will be “while supplies last” or until 2 May 2022 (the end of the sales period for the current Annual Catalogue) – whichever comes FIRST. In Colours usually sell out before the end of the catalogue period, so please don’t hesitate!
I am working on getting more videos onto my various social media channels, so I did a video celebrating circles and Pi Day by showing the Bokeh Technique used on this card. I posted the full video on the YamStamps YouTube channel.
Celebrating Circles – Bokeh Effect Tutorial Video for Pi Day 2022
You may have seen that I also did an Instagram Reel on this card. I could get addicted to doing reels – short videos with music, what’s not to like? Take a look at my Celebrating Circles Reel and let me know what you think – do you prefer the full length video or a mini length sped up version – or both?
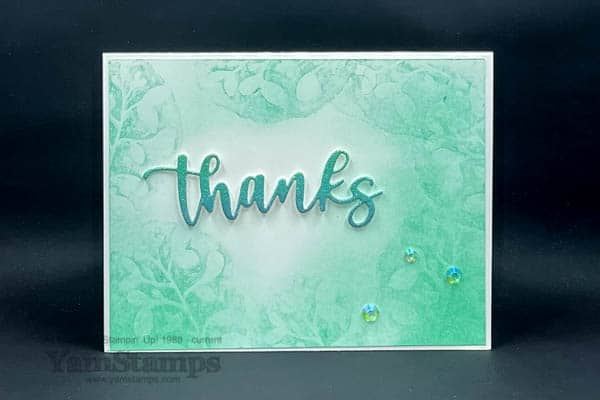
I’m calling this the blended ink thank you card – because I can’t think of another way to describe it! It’s a super easy technique that gave this wonderful look. I have always loved monochromatic projects – I think there’s something elegant about focusing on one tone. Plus it’s easy….haha! This card features Stampin’ Up!’s Amazing Silhouettes Bundle.
I might make more of these – since I need to send thank you cards to those who have supported my Celebrating Sunflowers Fundraiser for the Canadian Red Cross Ukraine Humanitarian Crisis Appeal so far! Just a reminder that if you purchase the Celebrate Sunflowers Stamp Set, Sunflowers Dies or Discounted Bundle (which is only available this month), I’ll donate my income to the Red Cross fund noted. I chose the stamp set and dies because the sunflower is the national flower for Ukraine, and I chose the Canadian Red Cross’s Appeal because the Canadian government pledged to match all donations before 18 March up to $10 million (already met!). My personal fundraiser is going until 2 May 2022, which is the end of the sales period for the 2021-2022 Annual Catalogue.
Who do you want to thank? This blended ink thank you card is a quick and easy way to send a note of appreciation to someone. If you need supplies, you can go to the shortcut yamstamps.com/shop to shop in the YamStamps Online Stampin’ Up! Canada store, or message me for assistance placing an order.
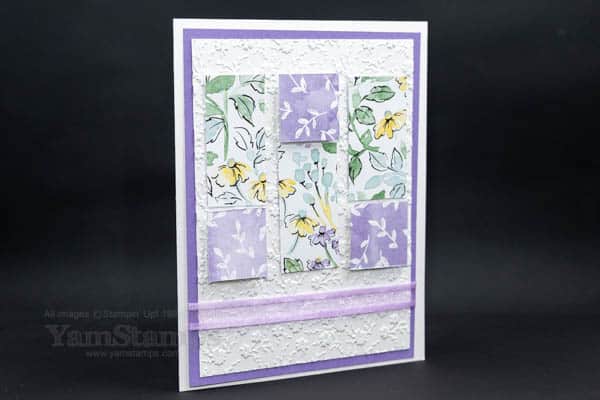
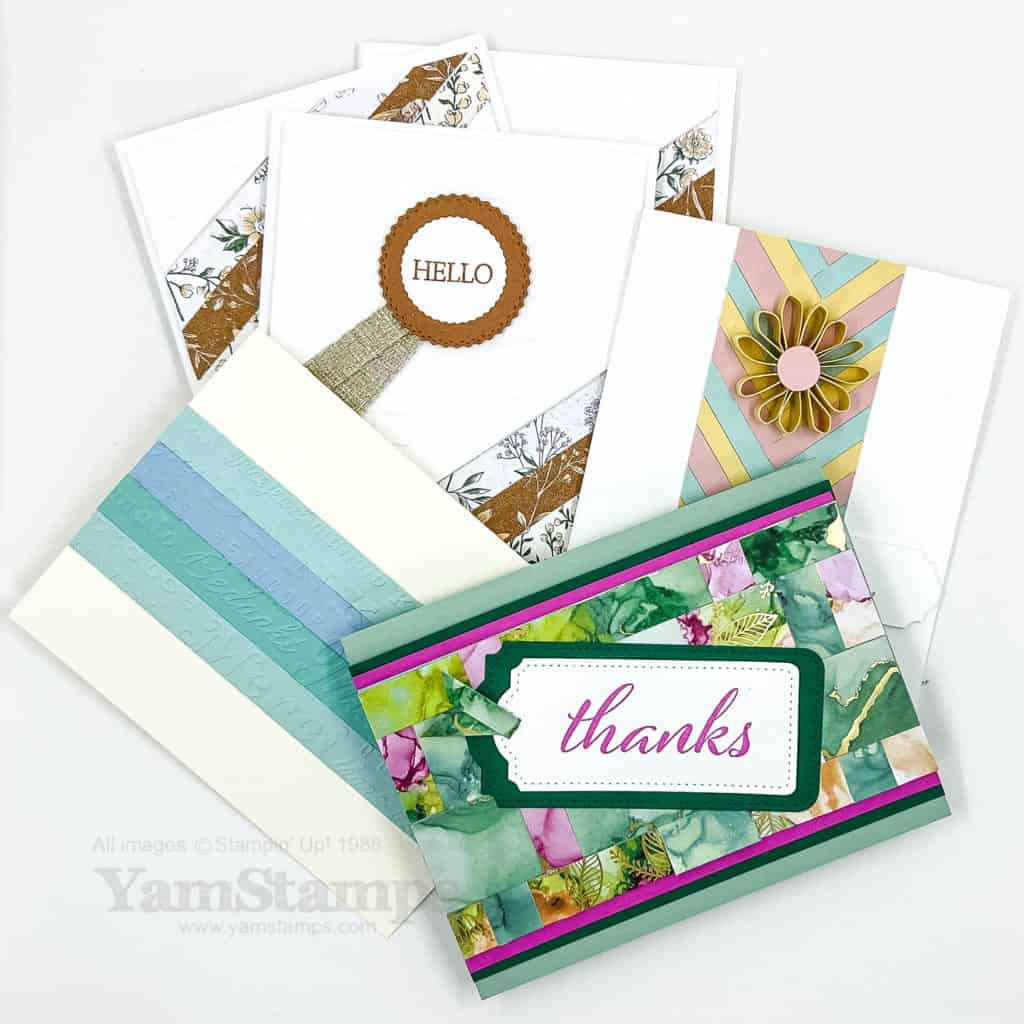
In this “a little goes a long way” card, the strips are 3/4″ wide. I used 3 consecutive strips so that my pattern on the rectangles would carry across. With the wonderful two sided designs, I just flipped the squares over so that the coordinating pattern shows! Love easy crafting!
Give this easy design a try with whatever patterned paper you have on hand. It’s a great way to make a bunch of impressive cards quickly and easily! Change up the patterned paper for a totally different look.
If you like getting card design ideas like this, be sure to be signed up for the YamStamps Newsletter. Each week brings some new paper crafting ideas, full card tutorials, information and inspiration to your inbox!
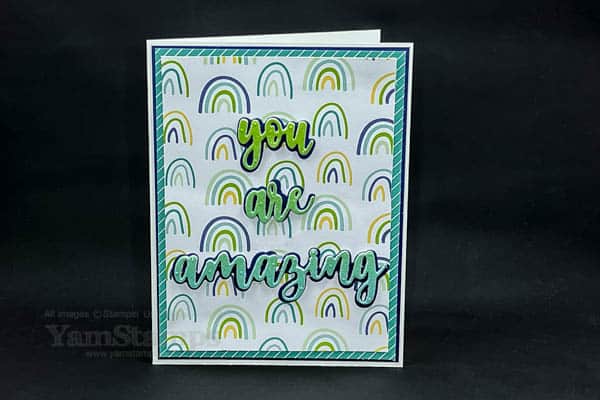
We can all use a little encouragement sometimes, right? This “You Are Amazing” Card will surely give a boost to the recipient.
You Are Amazing Card
I pulled out my favourite Sale-a-Bration item for this one while I still can – the Sunshine & Rainbows Designer Series Paper. I’m also partial to blues and greens, so loved the colours in this particular sheet of paper. I used two layers of Designer Series Paper, and then die cut the words (from the Amazing Thanks Dies) from a sheet of Rainbow Glimmer Paper. I put a piece of Foam Adhesive Sheet on the back of the Glimmer Paper before I ran it through my Stampin’ Cut & Emboss Machine so that the letters would stand out. Plus, the foam sheets have adhesive on both sides, so it was super easy to mount the words on the backing silhouettes before placing them on the cardfront.
Have you been checking out the Sunday Swap Shares on the YamStamps Facebook Page? I also share details of what products were used (or what I -think- was used based on examining the cards LOL) on the YamStamps Sunday Swap Page. Since there’s one more Sunday in February, I may be able to squeeze out one more post that includes the Sunshine & Rainbows Paper…ha!
This was a pretty easy card to create – I think that the most difficulty I had was positioning my dies to be sure that I could catch the rainbow gradient on the words. I love how it coordinates with the sheets of the Designer Series Paper!
If you would like to grab some free Sale-a-Bration products (or a couple of free stamp sets in your Demonstrator Starter Kit), you’ll have until 28 February to do so. Shortcut to shopping is yamstamps.com/shop. Please feel free to message me if you have any questions!
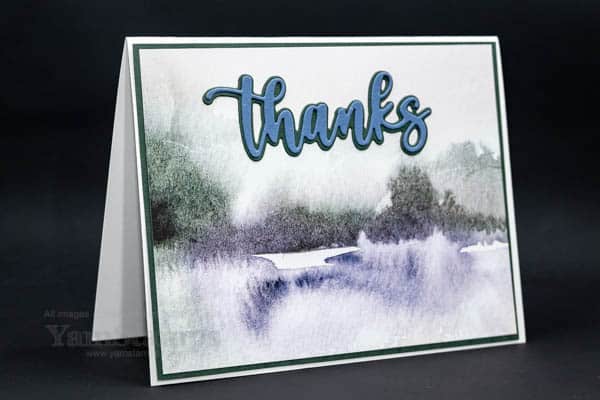
This simple scenic thank you card is a quick and easy way to show your appreciation!
simple scenic thank you card
The main panel is from the New Horizons Designer Series Paper package. It’s a collection of 6″ x 6″ patterned papers that are watercoloured and many of them have scenery and landscape images. Some are a bit more obvious than others, and any of the papers could be used either as a main image or as a background for your projects. This sheet has a more landscape scenery feel to it. The “thanks” sentiment is from the Amazing Thanks dies. I love how these dies have coordinating detailed layers for the main words so they really look polished on a project, without too much fuss.
If you’ve been following the YamStamps blog for a while, you’ll know that I like to economize where I can – so I cut the background layer for the “thanks” die cut from the backing cardstock for the Designer Series Paper. The other great thing about die cutting from the backing layer is that I don’t end up with a lot of funny sized/little pieces left over. Or maybe I should say a lot more – because I already have a collection of bits and pieces.
So that leads me to say…
Paper Strips Online Class
If you have a lot of scrap pieces of cardstock or Designer Series Paper, consider purchasing access to my Paper Strips Online Class! This class features a number of ways to use up small pieces of paper – or, if you are a teeny bit of a paper hoarder (*cough* aka most paper crafters), it’s a way to use just a portion of your precious stash (leaving a lot of it to be carefully returned to the treasure trove!). Stretch your stash!
If you have any questions, please feel free to contact me – though if you could avoid doing so early tomorrow morning, I’d appreciate it, as I’m planning on watching live coverage of the Women’s Hockey Olympic Gold Medal game tonight. (These are times I miss living on the west coast, since the game starts around 11pm Eastern time…). Go Canada!!!
(surprise – not a rainbow themed card…) This card is still a colourful one, though! It’s perfect for sending hugs to someone who could use a little lift. Plus it’s COVID appropriate…*sigh*
Sending Hugs Card
Sometimes a little colouring therapy is called for….it’s a peaceful way to spend some time without too much brainwork involved. I coloured this one with Stampin’ Blends, Stampin’ Up!’s alcohol based markers, which are great for blending and shading without leaving streaky lines. Instead of using Memento Tuxedo Black Ink (black dye based ink good for use with alcohol based markers), I decided to use a paler colour (Sahara Sand) so the lines would still be visible but not such a sharp contrast as the black can be. The image is from the Sending Hugs stamp set, and I used Blends in Pool Party, Balmy Blue,Old Olive, Highland Heather, So Saffron and Shaded Spruce. I added a bunch of Pearl Basic Jewels for a bit of shine and elegance. (plus if you have a few overzealous colouring strokes or got a little close to the lines and had some “bleeding” outside the lines, a few pearls will distract and/or cover that!)
If you’re sending hugs with this card, you’ll want to either hand deliver it or may want to consider mailing it in a padded envelope, or use some of the smaller pearls to decrease the bulk on the front of the card.
If you like using Blends, you’ll be excited to hear about a new grouping of Blends that will be available for purchase next month – a new range of “Natural” tone Stampin’ Blends! My Demonstrator preorder of these new markers just arrived, so I’ll be spending some time playing with them (plus some of the limited time products that will be available) and will share some of my results here! I’ll post more about the special collection when they’re available to order in February, so be sure to come back to the YamStamps blog to see more, and subscribe to the YamStamps newsletter to be notified when they’re available to order!