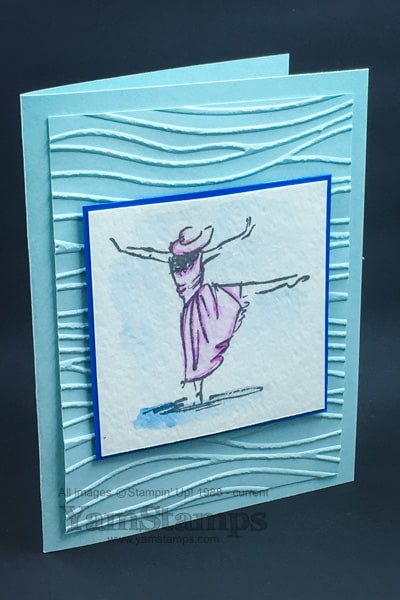
Apparently the third Monday in January is “Blue Monday” because it’s the day that is deemed the most depressing day of the year in the northern hemisphere. I actually didn’t know this fact until recently…until now, Blue Monday was the name of a song I liked by New Order (see the video here, takes me back to the 80s!). I actually think the third Monday is a good day, because it’s typically the day that my Stampers Clubs meet! This is one of the cards we will be making – featuring the new set Beautiful You (available in wood mount or clear mount) from the Occasions catalogue, and my favourite product of the new catalogue, Watercolour Pencils! I thought that the Seaside Embossing Folder with a Soft Sky base (and a punch of Pacific Point) made a perfect backdrop for this image as well. So I choose to colour and dance on the third Monday of January, which should chase the blues away!
If you’re interested in learning more about watercolouring, and want to get your hands on some of the Watercolour Pencils, please register for the Watercolour Pencil class! Registration deadline is Friday, January 20th, and the class will be held Monday, February 6 here in Burlington ON at 1pm or 7pm. Cost of the class is $40 and includes a set of the pencils. While in class, you’ll create 4 different cards and learn a variety of ways to use Watercolour Pencils to add an artistic flair to your papercrafting projects! Please contact me to register. If space permits, late registrations may be available (registration after January 20th) but will be subject to a $25 expedited shipping charge, so that your pencils can be ordered and arrive in time for the class. If you aren’t able to make this date, get a group of friends together and we can come up with a date to do a private class instead. Don’t forget that until the end of March, for each $60 product order (before shipping & taxes) you get one free Sale-a-Bration item too (see the details online here, or download the catalogue here)! What are you waiting for?!
OK Remember when I mentioned having some technical difficulties at Christmas? Well….they’ve been resolved, so THIS is what you were supposed to see on Christmas Day….better late than never??!!! Belated holiday greetings from me, with help from the musical group Pentatonix!
and a holiday throwback musical interlude to enjoy when you are crafting….I LOVE their version of this song!
You may know that I sing in a choir, and we do a lot of a cappella singing (unaccompanied), so I love this group, and what better gift than to share greetings with all of you?! Better late than never? (much like some of the Christmas cards I’m still sending LOL).
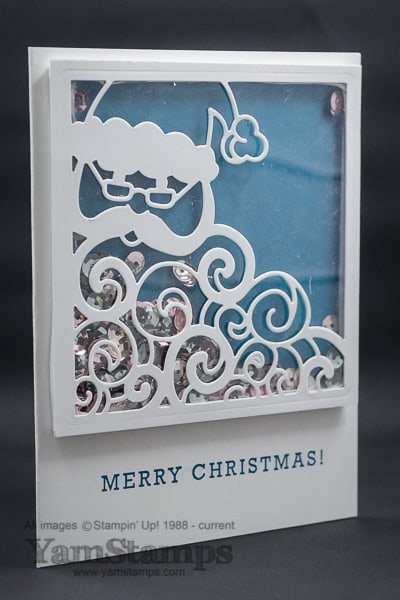
Here’s a holiday card to complete the belated greeting…a shaker card featuring the Detailed Santa Thinlits that are still available, even though the Holiday Catalogue is finished. Ho Ho Ho!
OK back to crafting – more samples to come later this week!
Sharing a card from a month or two ago as I think it suits a new year! I always like fresh starts – January is definitely one of those times.
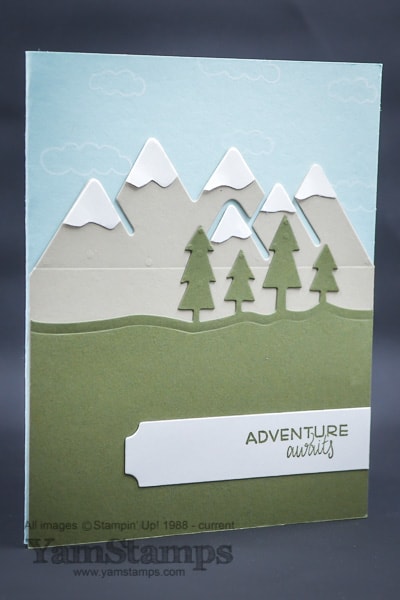
If you’ve been to a class with me, you know I tend to avoid fussy cutting. Not that I don’t like it, I actually don’t mind it at times, but if there’s a faster, easier way of getting there, I’ll take it!! Die cutting is right up my alley! This card features the Stampin’ Up! Outdoor Adventures framelits, that I cut with my Big Shot. The framelits also come in a discounted bundle with the set Always an Adventure, available in clear mount or wood mount, which I used to stamp the clouds in the sky (which you can just barely see….) The tag with the sentiment is from the Project Life Cards & Labels framelits dies, and the sentiment itself (because I couldn’t resist it) is from the Places You’ll Go stamp set. I love the fonts in that set, and I do love this sentiment.
If you’re looking for adventure or new challenges in 2017 (see what I did there), why not look at building a hobby? Come to one of my classes and make some cards to send to friends and keep in touch with them in ways other than online! Or purchase the Stampin’ Up! starter kit – on Wednesday (when Sale-a-Bration starts), you’ll be able to get an additional 2 stamp sets of your choice, in addition to the $165 worth of product you can select! The YamStamps newsletter is going out tomorrow and will have some more information, and I’ll also post here as well. If you can’t wait, you can always contact me to get the scoop! I’ve also updated the YamStamps Events Page for the next few months.
Now that I’ve recovered from watching the first episode of season four of Sherlock (!!!! no spoilers here, though!!) I am looking forward to a relaxing day of watching the Tournament of Roses Parade on TV (can’t wait for the Burlington Teen Tour Band to appear in it next year!) and doing some Christmas clean up. OK so maybe not looking forward to the clean up bit….LOL. I’m also spending some time planning out my year ahead. I have a few goals that I will work to achieve in 2017, and a few that will be longer term. I have travel goals, business goals, and personal goals – including my eternal goal of organization and decluttering….(please tell me I am not the only one?!). Close on the horizon is the launch of my latest online class “Clever Cards”, and even closer is the start of Sale-a-Bration! So definitely, after I finish watching the parade, I’ll get back to work…. Happy New Year everyone!
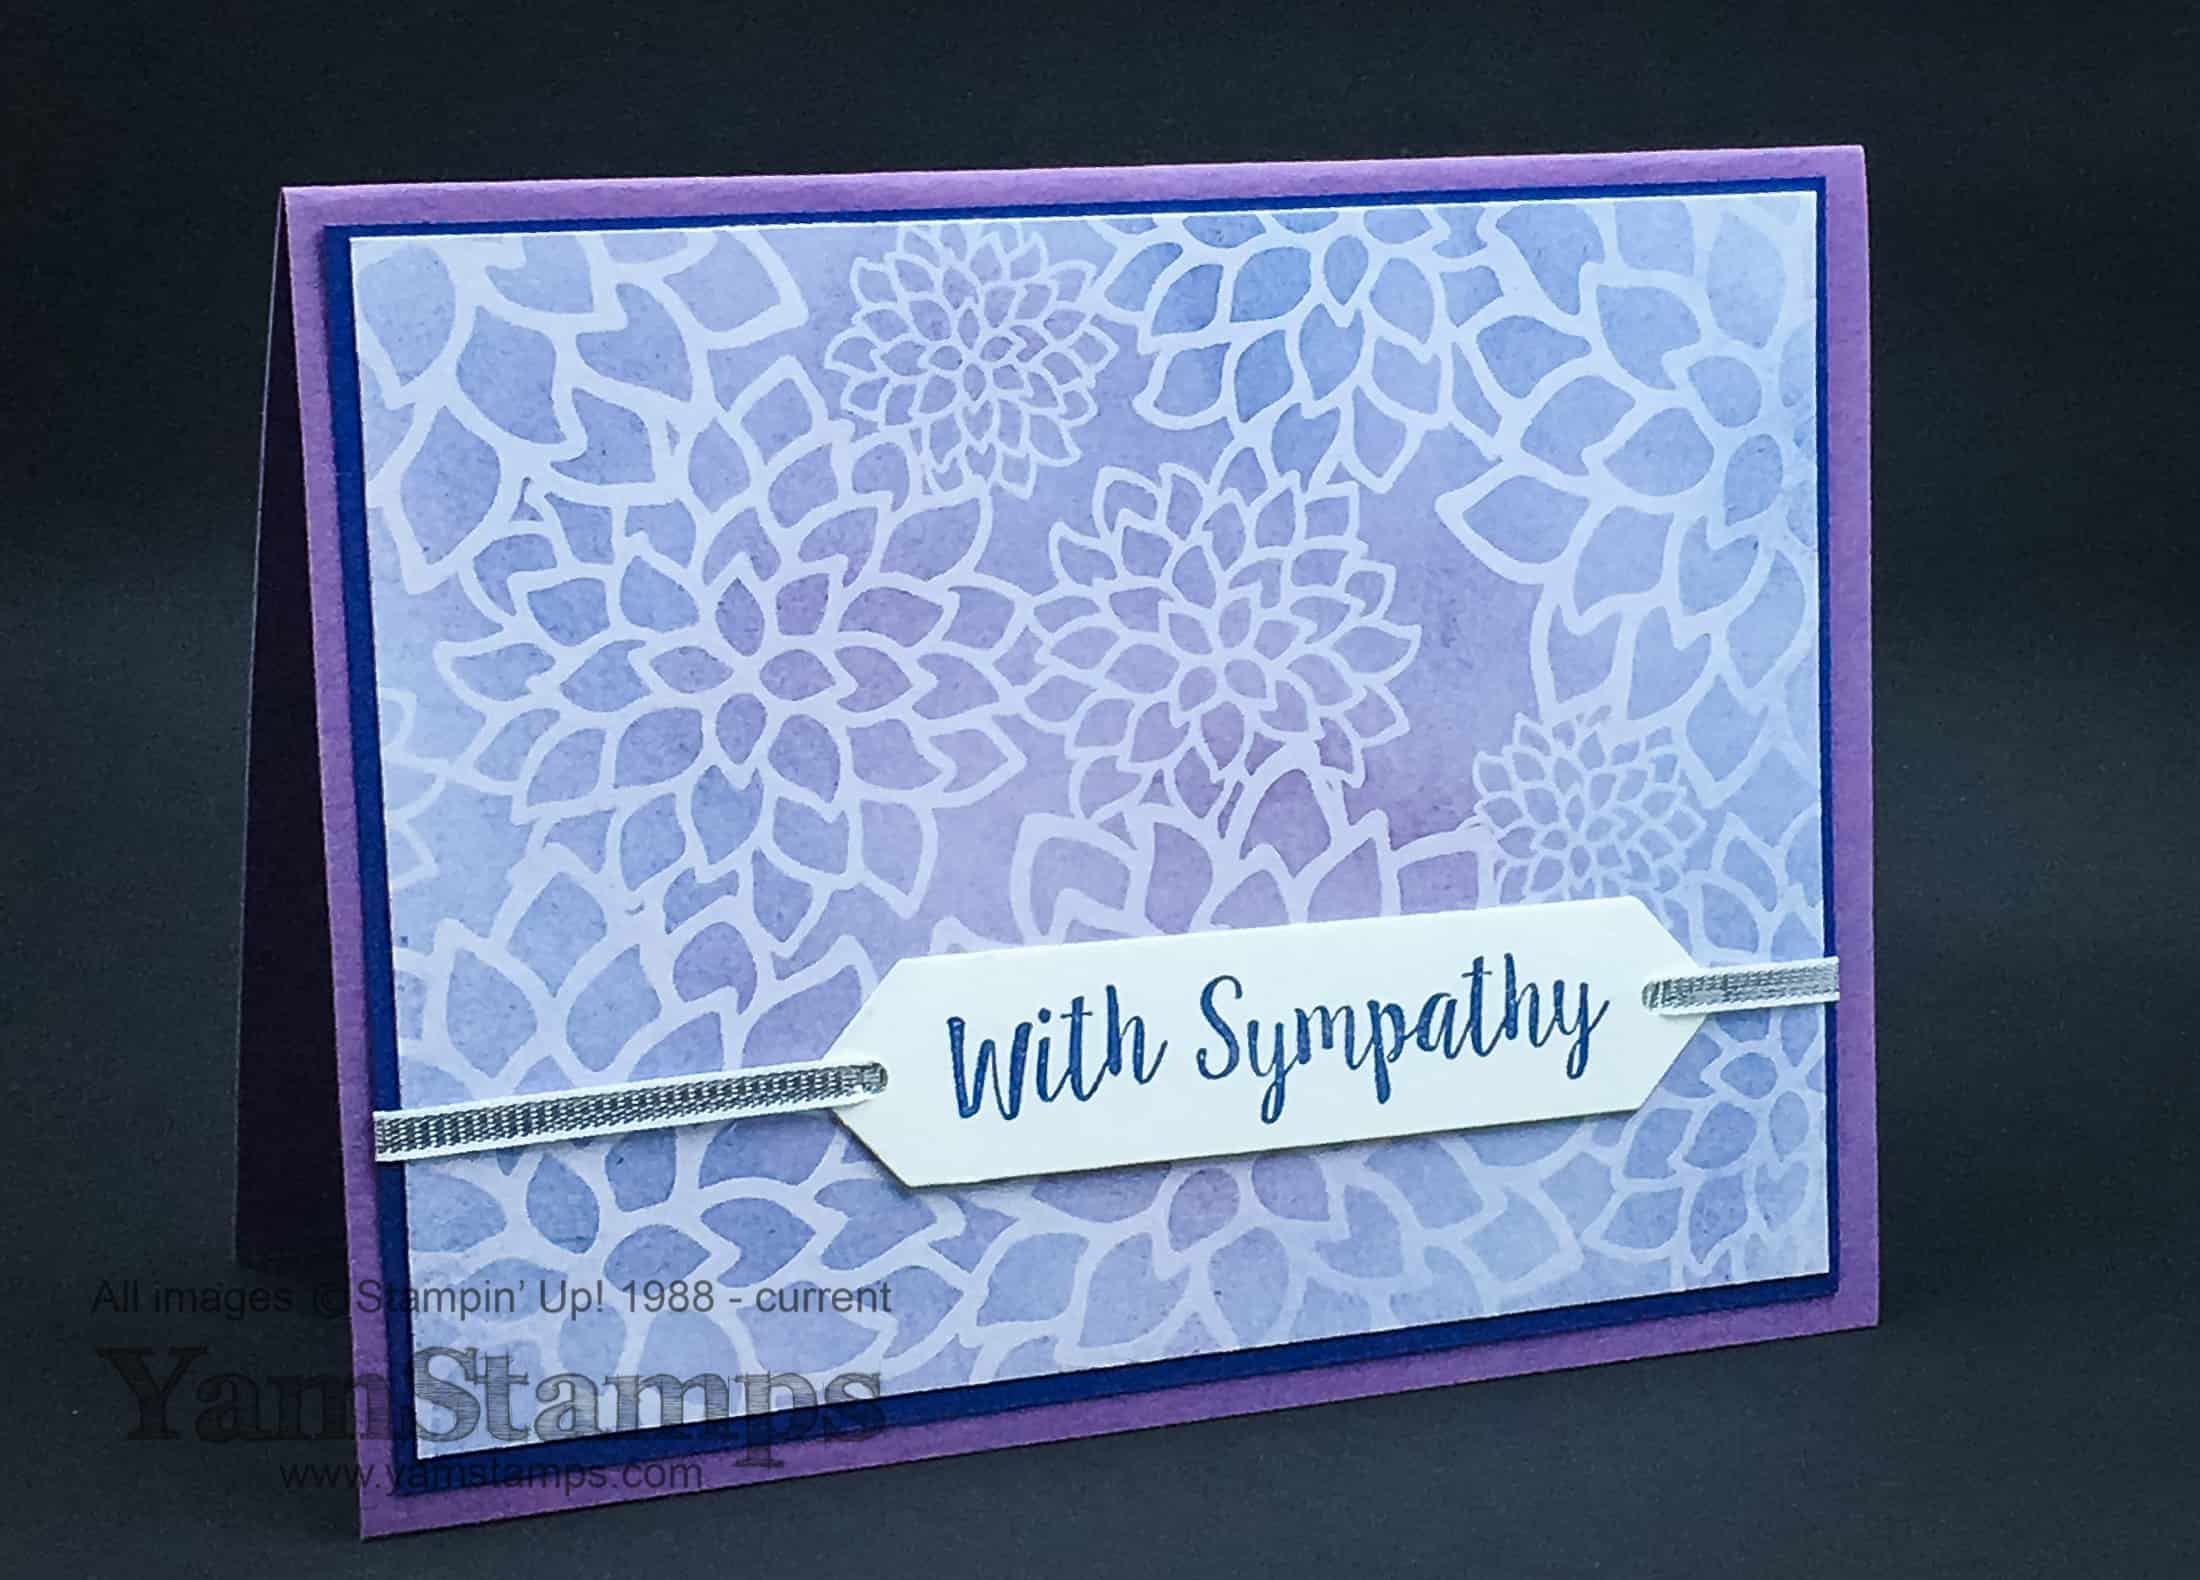
The Irresistible Designer Series Papers make it easy to create emboss resist backgrounds quickly! The paper is already embossed, so all you do is add colour! The card featured here uses the Irresistibly Floral Designer Series Paper from the Stampin’ Up! Annual Catalogue. If you are shopping before the end of the year, the Fancy Frost Designer Series Paper from the Holiday Catalogue is part of the Year End Closeout sale, as is the Colour Me Irresistible Paper. For the featured card, colour was added using the Sponge Brayers with Night of Navy and Perfect Plum inks – which are also the colours of cardstock used for the card. Why make things difficult? Stick to a couple of colours that work together well and don’t complicate it too much!! The Perfect Plum was concentrated in the centre of the paper, and the Night of Navy was concentrated more on the edges. Add a tag with a sentiment (in this case, a sympathy saying from the set Better Together, in clear or wood mount) and you have a card ready to send.
As the year draws to a close, you’re probably spending a bit of time (when you can find it….) reflecting on the year that has passed, and looking forward to the year to come. Thank you for being a YamStamps reader in the past year, and I look forward to bringing you more ideas and information in the coming year. I hope that you have a happy, healthy and creative new year, and selfishly hope that YamStamps will be part of that!! Please join me in a class – either online or in person – in 2017!!
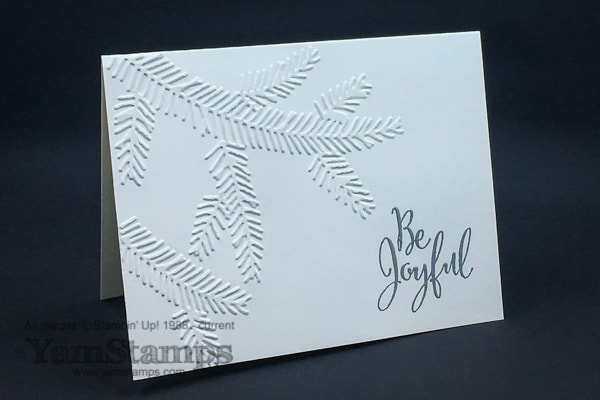
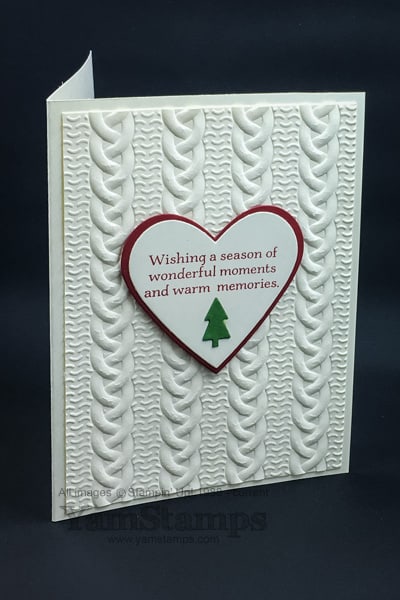
So my personal preference for cards tends to run towards clean & simple….if you can’t tell. I had a couple of designs for Christmas cardst this year that I thought I’d share here, especially since most of the recipients won’t get theirs by Christmas Day…..LOL!
I loved the clean look of this design….though it may not look as impressive in the photo LOL. I used Thick Whisper White cardstock (I _love_ that cardstock, especially for a card without additioinal layers on it) and embossed the words in Silver. It features the Pine Bough Embossing Folder (on sale as part of the Year End Closeout), and the sentiment is from Merriest Wishes – which is available in wood mount, clear mount (on sale) or as part of a bundle with the Merry Tags Framelits (framelits on sale)- again, either in wood or clear. **If you like clear mount, your best deal is to buy the set and framelits SEPARATELY because with the sale pricing it ends up being LESS than the discounted bundle. If you like wood mount, your best deal is the bundle.**
So here are some of my tips for bulk card making…..or “Linda’s Learn From My Mistakes List”. (I will post this here as a reminder for myself….and perhaps repost it early next Christmas Card Season?!)
Figure out how many cards you need in advance and figure out how much you will need in terms of supplies. (Hence two designs for me as I ran out of Very Vanilla cardstock.) (This has sadly reinforced my stockpiling paranoia).
You can score an 8.5″ x 11″ sheet of cardstock at 4.25″ lengthwise BEFORE cutting the sheet crosswise in half at 5.5″ to create two scored cards of 5.5″ x 8.5″. (I cut, then scored twice as many times as I needed to.)
Do “batch” processing. I actually DID do this… Cut all the cardstock at one time, dry emboss all the cardstock at one time, stamp all the cardstock etc. rather than creating each card in individual steps. The only thing you can’t batch do? Heat embossing. Get that done before the ink dries! Since my Pine Boughs card didn’t have much else to be done on it, it wasn’t too much of a chore to heat emboss the outside & inside sentiments one card at a time.
One last tip – think about thickness and bulk if you’re going to be mailing your cards – don’t want to get dinged for extra postage or risk cards getting caught in the processing machines, so think about how many layers and how many dimensionals you want to use on your design!
I am hoping to have a Christmas message for you up on the blog here tomorrow but there are some behind the scenes glitches that may interfere…so fingers crossed. Otherwise, I hope that you are able to spend some time with friends and family over the next few days. Thank you for being a YamStamps reader, and Merry Christmas!
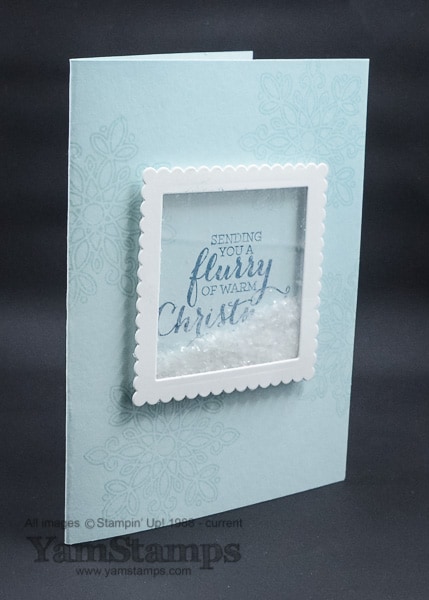
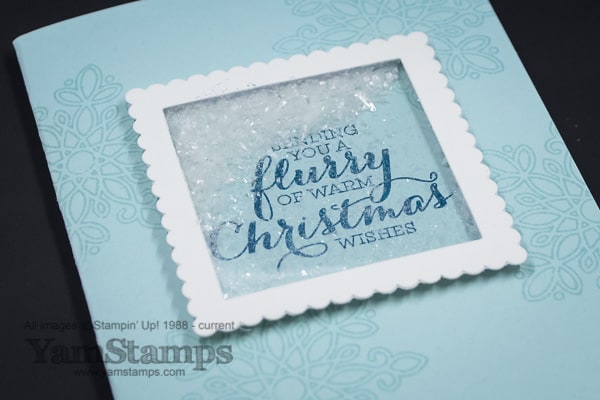
Shaker cards are so much fun and really catch the eye of the recipient! Stampin’ Up!’s Foam Adhesive Strips make it easy to make dynamic cards like this. The strips can be cut to custom lengths, and have adhesive on two sides, automatically creating a 3D effect. They’re used on this card behind the frame that was cut with the Layering Squares Framelits – this allows room for the enclosed items to move about. There’s a square of Window Sheet to contain the Mica Flakes, and a little of the flakes goes a long way! Right now the Mica Flakes Trio Pack from the Holiday Catalogue is on sale as part of the Year End Clear Out, while supplies last, so you can stock up! Don’t know if you can tell in these images, but I was a little too enthusiastic with the amount of flakes I put into my window…so the words get buried in snow. Kind of like my driveway these days…. The images and sentiment on this card are from the Flurry of Wishes stamp set.
I hope that things aren’t too crazy for you in the lead up to Christmas Day! School is continuing until tomorrow so it really feels like it’s full out until the weekend for everyone. I will be posting on the blog over the holidays, so please come back to see what’s new. I’ll have a fun post on Christmas Day and a Boxing Day special as well. In the meantime, keep warm, keep crafting (I’m STILL working on my cards….don’t judge!!) and keep the spirit!