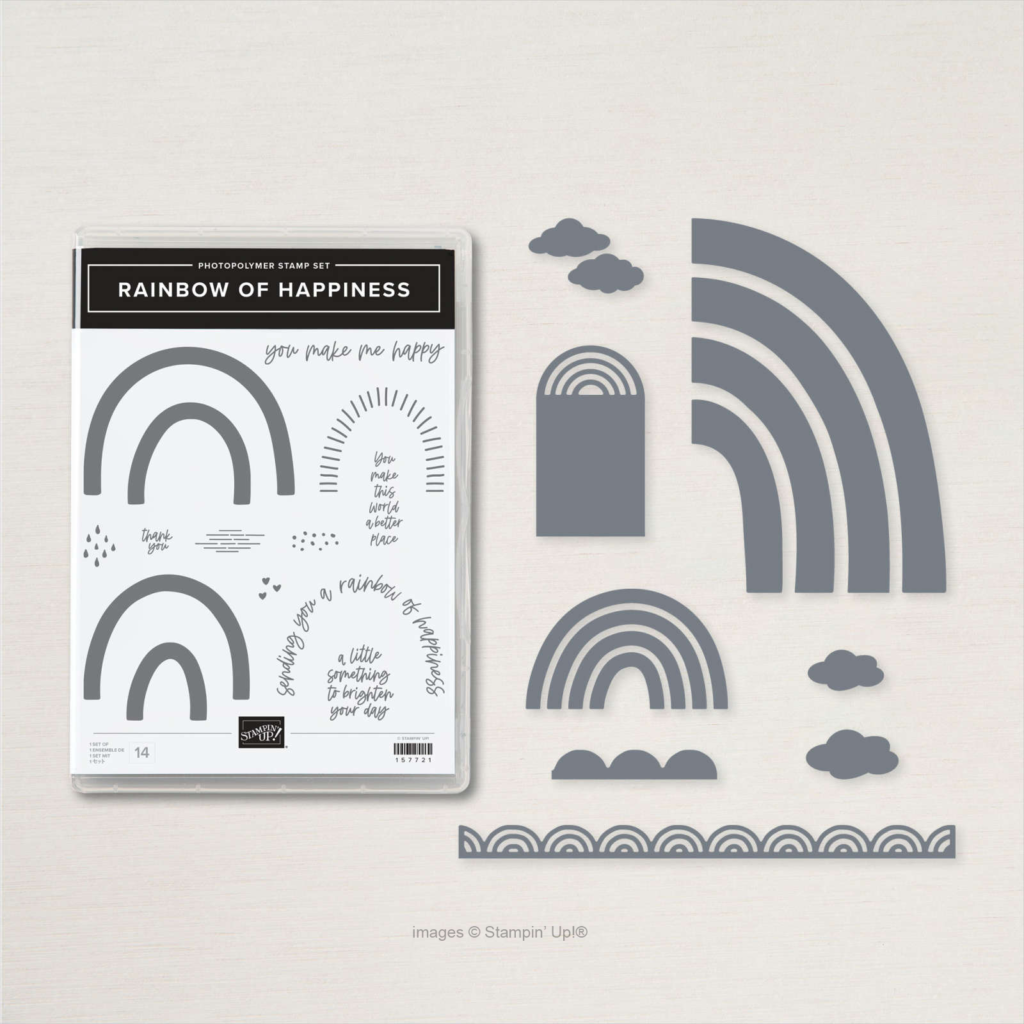
I love rainbows, and this bundle has made me happy! ONE THING – if you love this bundle as well, and would like these products before they retire, PURCHASE THEM SEPARATELY right now. The Brilliant Rainbow Dies are 50% off as part of the Last Chance Sale. Add them to your cart, and then add the Rainbow of Happiness Stamp Set. Cheaper than the discounted bundle!
OK – second thing on the Three Things I’m Going to Miss list…
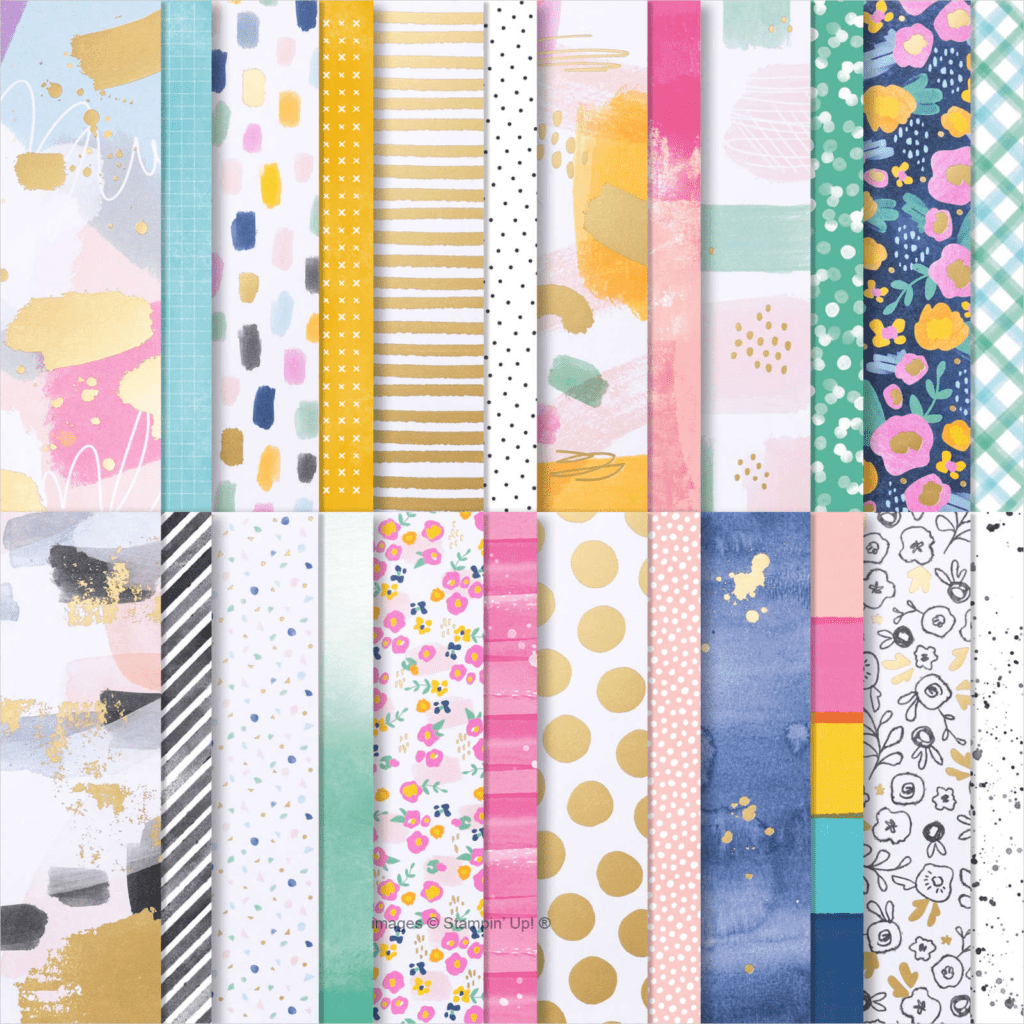
I don’t think you can ever go wrong having a stash of randomly patterned paper in your craft room – great for backgrounds on cards or scrapbook pages, and the variety of patterns you get in this package covers a whole lot of potential card making! Plus it’s got a great combination of bright and cheery and monochromatic colours and there’s some cute ephemera and coordinating cards and envelopes to go with it!
Last but not least on the Three Things I’m Going to Miss list…
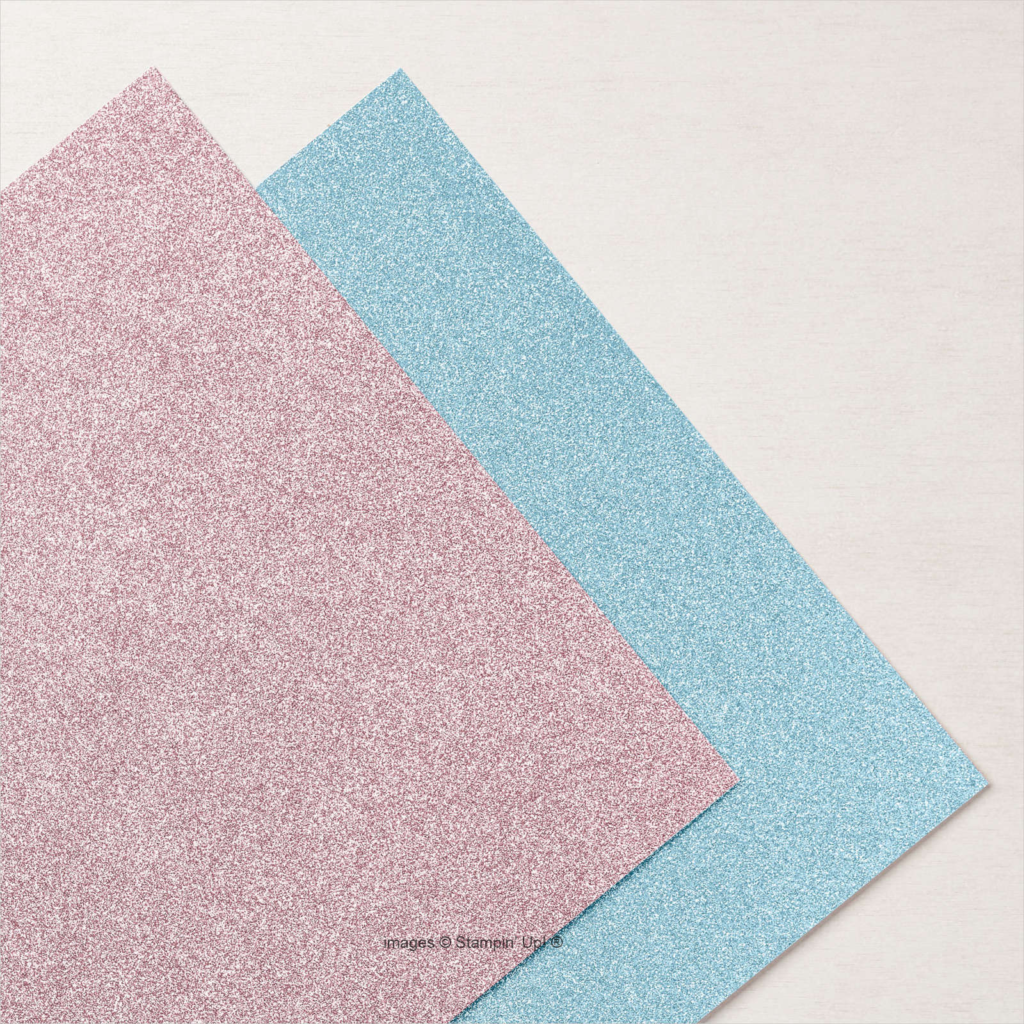
Well, duh. It’s shiny. LOL (plus it’s currently on sale).
Did anything on my Three Things I’m Going To Miss list cross with yours? Don’t forget that all retiring product is available until 30 June 2022 or until supply is exhausted – whichever comes first – so don’t miss out! Shortcut to shop is yamstamps.com/shop or you can message me if you’d like to pay by etransfer or need assistance placing your order.
It’s that time of year – make sure you have a Congratulations Card in your stash!
As we approach the end of June, it’s the time for graduations – so we made this congratulations card in Stampers Club this month. Of course, there’s many reasons to send a congratulations card, but I guess I am thinking of grads, since my son just finished his university degree! We just attended his convocation at Western earlier this week, and so happy that we were able to be there in person. I was thinking that he got a little lucky with the timing (weird to say that, I know), but honestly – he was able to have a “normal” first year; the pandemic started in his second year so things changed part way through and into third year, and fourth year they were able to resume a lot of their in person classes and groups, including an in person convocation ceremony.
(one of the many photos taken the other day…)
So here’s the card (right, you’re here for the crafting LOL). Featuring some new catalogue product, including something that I need to reorder already…
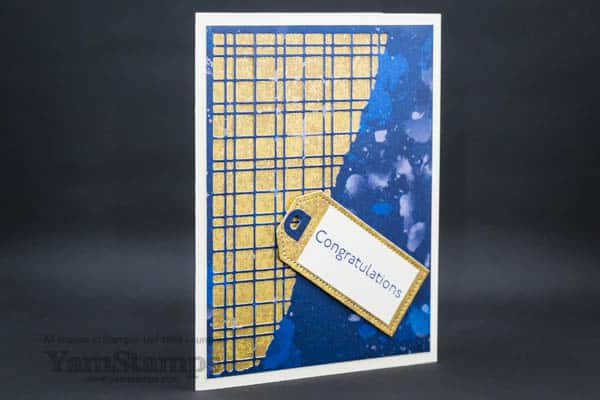
Congratulations Card
I absolutely love the Distressed Gold Specialty Paper! (So much so that I have to put it on my next order going in because I’m down to scraps). Even though it’s in the background, it still stands out because of the design of the card. The foreground paper is from the Sun Prints Designer Series Paper, and it’s die cut with the Split Card Textures Dies. I die cut a Tailor Made Tag from the bottom right corner of the Distressed Gold Paper (because it’s hidden behind the DSP) before using Multipurpose Liquid Glue to tack the the Gold Paper and DSP together. I die cut the tag reinforcement from a scrap of the Sun Prints Paper. The sentiment is from the Art Gallery stamp set, and is stamped in Starry Sky ink.
I am drawn to the shiny objects LOL, so the Distressed Gold Paper was an easy pick for this card design, and I also love the Sun Prints Papers….plus the Sun Prints include a bit of a purple tone, and Western’s main school colour is purple!
one more photo of the grad for good measure…
Stampin’ Up! does have some other stamp sets that include the word Congratulations (including A Grand Kid, Peaceful Moments, Celebrate Sunflowers, the new Breaking News and more…) so there’s lots of options for your Congratulations Card – whether it be for a graduation, promotion, wedding, baby or whatever life event you’d like to celebrate! (For me, right now, I think it’s “You made it to today, yay you!). Shortcut to shopping is yamstamps.com/shop or you can send me a message if you’d like assistance placing an order or would like to pay by etransfer and have the order shipped directly to you.
Stampin’ Up! Canada is offering free shipping today only! Order $100CAD product (before taxes, after discounts applied) and pay no shipping costs. Shortcut to shopping with me is yamstamps.com/shop.
If you have a smaller list of things you “need”, and can pick up your order in Burlington, contact me by 6pm today and I will include your order in a group order going in this evening – so everyone will qualify for free shipping! Everybody wins 🙂
Don’t forget that the Kits Collection BOGO 50% off sale continues until the end of June – purchase one kit, get the second one at half price! If you purchase these today, remember that the $100CAD threshold is after discounts applied. (Oh, darn, must pick out more merchandise…LOL).
As always, if you have any questions, need assistance placing an order, or would like to pay by etransfer, contact me and I’ll be happy to help!
I’m always Chasing Rainbows! Combining some retiring and some new product on a simple, sparkly card
I thought this was such a pretty card – I love the rainbow theme!
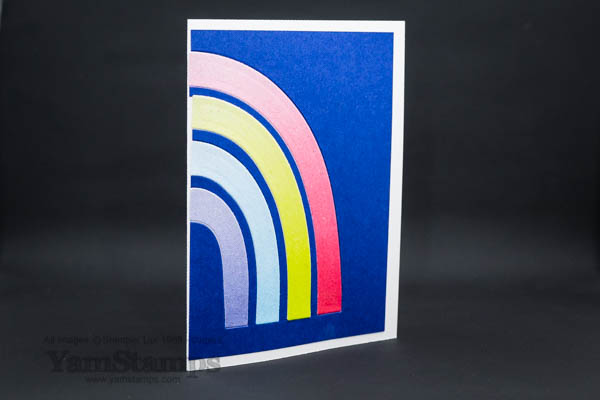
Chasing Rainbows Card
It’s a super simple design but I wanted the sparkly rainbow arcs to stand out on my Chasing Rainbows Card. The Brilliant Rainbow Dies are from the January-June 2022 Mini Catalogue, and they’re retiring at the end of this month (or if they sell out before then). (That’s the “old” on this card). They’re part of the Last Chance Sale – and they’re 50% off!! Such a deal! If you want to get the coordinating Rainbow of Happiness stamp set, which is also retiring, you’ll want to purchase these separately – it’s the best deal because of the sale. Bundles typically offer a 10% discount on regular catalogue prices and are usually the more cost effective way of buying coordinating products – but it’s actually more expense than the separate items right now!
The arcs themselves are the 2022-2024 In Color Glimmer 6″ x 6″ Papers (well, 4/5 of them – since this rainbow only has 4 arcs). That’s the “new” on this card! Since this was one of our Stampers Club cards, I was able to cut a bunch of arcs at the same time and then everyone got one arc of each colour. So, yes, not always in ROYGBV order. (Though my sample is…LOL). Sample shows Sweet Sorbet, Parakeet Party, Tahitian Tide and Orchid Opulence.
I guess the something “blue” if we are going with that theme is the background – it’s the new In Colour Starry Sky. I positioned the rainbow die with the cutting edge off the side of the cardstock so that it left an open end at the edge. I liked that it looks like we are seeing this half of the rainbow, and not literally half a rainbow.
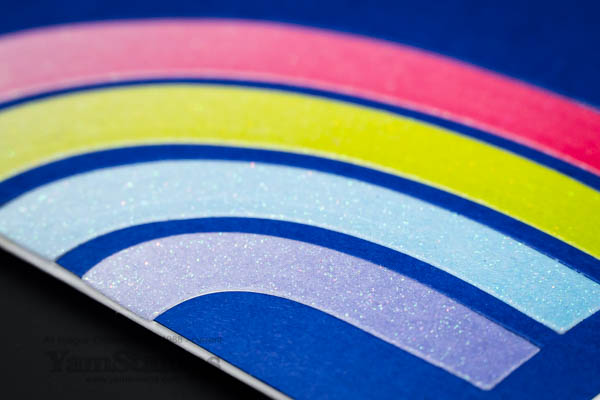
close up to show the glimmer of the Chasing Rainbows Card!
I love the ombre effect on this glimmer paper….and I love that the glitter doesn’t come off all over the place. I love shiny stuff, but I tend to be a bit of a messy crafter, and so I need all the help I can get to try to contain the chaos and mess. I have actually started to use Liquid Glue a little more often these days – often because it’s right there, and I do like the ability to move things around a bit before they’re totally adhered in place. I still end up with glue on my fingers though LOL.
Shortcut to shop is https://yamstamps.com/shop – be sure to check out the Last Chance Sale and grab these dies to make chasing rainbows even easier! Remember that retiring product is available until 30 June or until supply is exhausted. Don’t miss out!
See the painfully slow progress as I am organizing my craft room!
My son has recently returned home after finishing university (what? how fast was that?!) and we have switched out his bedroom and my craft room….so I’m in the process of organizing my craft room. Well, to be truthful, I’m still in the process of unpacking and placing, so I’m trying to organize at the same time – so it’s painfully slow. (Plus I’m still running my Stampers Club, making projects and shooting videos and photos for classes and social media, so you can imagine how efficient I am right now….LOL).
My new craft room is smaller than my old one (don’t judge me, I delusionally thought that he wouldn’t be living at home full time again), so I’m also downsizing. My retired product garage sale a while back did help to free up some space, but there’s still so much stuff!
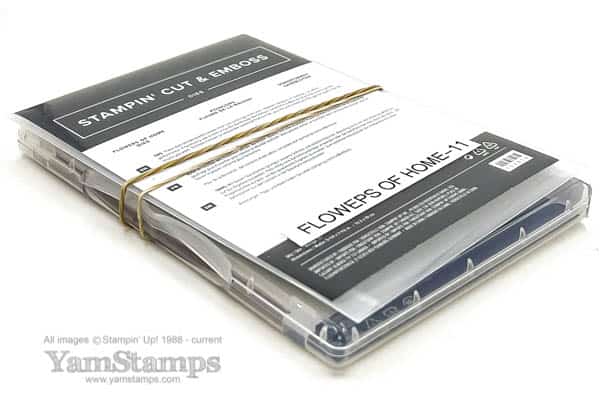
Organizing my craft room – old way of storing dies
I used to store my dies in stamp cases, with magnetic sheets inside, which is fine if you’ve got room. I’m a visual person, so I need to see what is there (and there’s no way I’m relying on my memory these days LOL!)
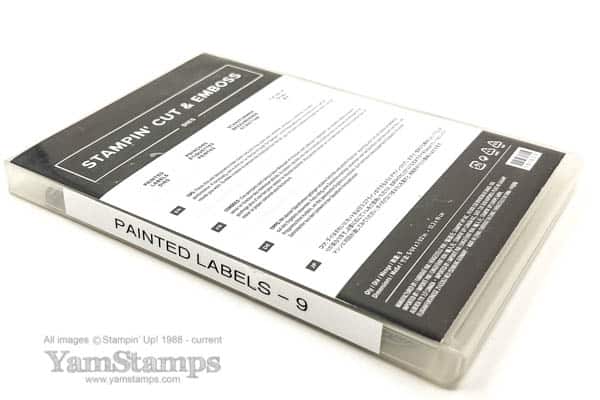
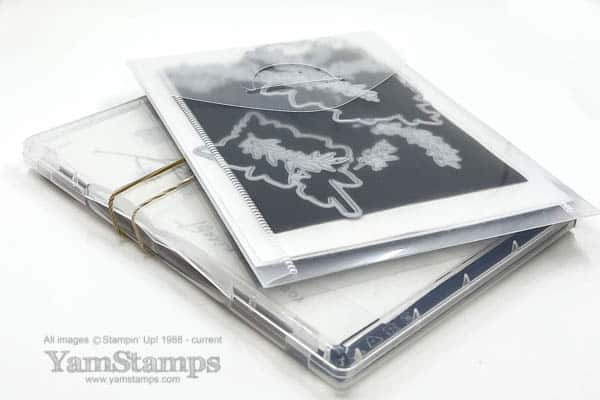
Organizing my craft room – storing dies now – ignore the typo on my label
For now, I’ve gone back to leaving them in their plastic sleeves; I add in a magnetic sheet if I have one, or if there was one in the case in which it used to be stored. I’m also using a rubber band to keep the stamp set and coordinating dies together (which also helps when I’m getting prepped for retired product sales, so I know what was bundled together!). I also use the labels to show the name of the dies in large print (because my eyes are not what they used to be), and how many dies are in the set (because I tend to take them out and leave them around).
Organizing my craft room – dies with magnetic sheet
This process has just begun, and since it’s a “working craft room”, it means that sometimes organizing my craft room is the last thing on the priority list… I do have some time off from my “other” job so I am hoping to get a bit more organizing done.
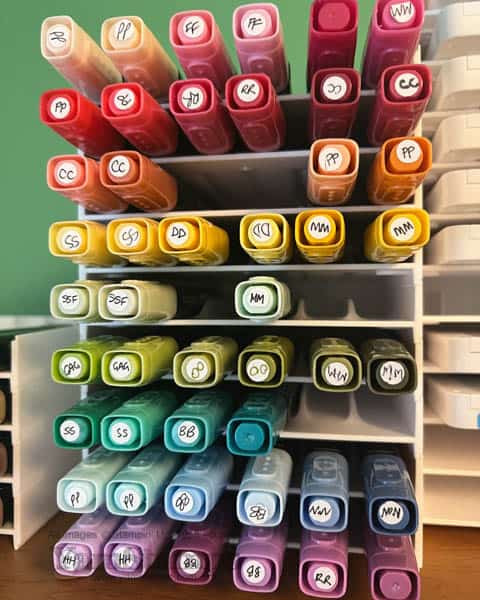
I recently finished the videos and projects for my Stampin’ Blends 101 Online Class so when I was putting my Blends markers away in the Blends Storage trays, I thought I would change how I stored them. I am a “Sort by Stampin’ Up! Colour Family and in Alphabetical Order” kind of girl, because I usually search for things by their name. For example, if I’m trying to coordinate ink/cardstock with a Designer Series Paper, I check which colours are used in the DSP (it’s on the backing sheet) and then I go grab those colours. For the Stampin’ Blends, when I’m colouring an image I often find I choose based on hue vs specific colours – “I need a green” vs “I need Old Olive” for example. So…..
Organizing My Craft Room – Stampin’ Blends
I was so brave and did the ROYGBV thing! OK, OK, you’re probably thinking “what’s brave about that?” but for me, this is stretching the boundaries a bit. You can see my little labels on the caps (because I still need to know what colour it is LOL). I did have them originally sorted by Stampin’ Up! Colour Family and in Alpha Order (because I’m me…), but I actually found that putting them away took longer because I had to read the label, remember what Colour Family they were in, and then put them in the right spot alphabetically. (and then I would often wonder if I was putting them in the right spot and had to move them around). Sometimes being slightly obsessive about these things is not good….LOL. So rainbow order it is for now! I also tried to go paler shades to darker shades….
Have any good organizing tricks? Throw them my way! Perhaps at some point in time I’ll have the craft room organized (and cleaned) enough to do a room tour. Don’t hold your breath, though, that’s going to take a while!!! I think the Blends are the best organized thing in the room so far LOL.
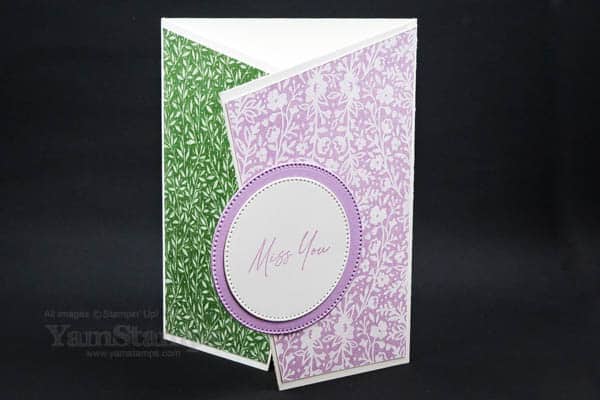
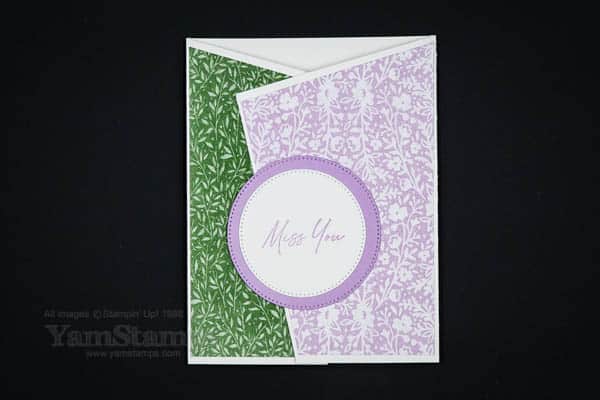
This eye catching angled fun fold card is easy to make!
angled fun fold card – slightly open angle
Another in my quest for eye catching, “different” card designs that aren’t overly tricky to make – the angled fun fold card! This is like a “gatefold card”, where the two ends of the card are folded towards the centre. In this case, the flaps overlap, and you just trim the top and front edge at an angle (and it’s the same on both sides) to create this look.
For this angled fun fold card, start with a 5.5″ x 11″ piece of cardstock. Score at 3-3/8″ and 7-5/8″ to create the gatefold design. Mark 1″ down from the top on the front/long edge of each flap, and 1″ in from the edge along the bottom/short edge of each flap. Cut from the top of the score line to the first mark, and then cut from the first mark to the mark along the bottom of the flap to create the angle. That’s it!
I used the Heart & Home Designer Series Paper from the January-June 2022 Mini Catalogue (retiring soon and on sale right now!). I cut two pieces from the same paper to 3-1/4″ x 5-1/4″. I stacked the papers so that the designs that I wanted to show on the front of the card were facing each other on the inside, then I cut them the same way that I cut the edge of the card – from the corner, to 1″ along the long edge, and then from that spot to 1″ in along the bottom edge.
angled fun fold card (closed flat)
To finish off the card, I added some circles from the Stylish Shapes Dies – my new “go to” dies. The sentiment is from Honeybee Home, which is part of the Heart & Home Suite with the Heart & Home Designer Series Paper.
This was another of the Stampers Club Cards in May. We’re getting set for another session of Stampers Club this month and looking forward to welcoming new members starting in June. The good thing about virtual Stampers Club is that when people can’t make the live Zoom meeting, it’s recorded and uploaded to a members only site. I know that many members actually prefer to go through the card construction with the recording and use the “live” time to watch and chat with other members. You can find more information about Stampers Club on the YamStamps Events Page.
Another option, if you want a “one off” for card classes, is to check out my online classes. They are all “stand alone” classes – so you can purchase whatever one suits your crafting needs. Once you’ve purchased a class, you’ll have lifetime access – so you can definitely take your time going through the step-by-step videos!
In the meantime – give this angled fun fold card a try! It’s a great design to have in your crafting repertoire!