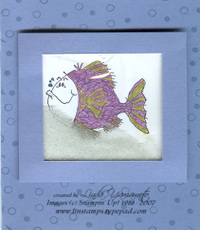
May 21, 2007 | rubber stamping, Tutorial
We did a diorama card at the punch class (Punch your art out!) and I had promised to post the instructions for the attendees so they could remember everything!!
This was taught to me by my friend & fellow SU demonstrator, Karen Motz, at another demo’s (Mo Dickie) demo meeting.
I used the In Full Bloom simply scrappin’ kit (as did Karen) because it makes life a little easier (and who couldn’t use that?!). I have a sneaking suspicion that we may lose this simply scrappin’ kit because the coordinating stamp set In Full Bloom is retiring at the end of June (*sob*). (No insider information here, but just hazarding a guess…..really).
Anyway…..
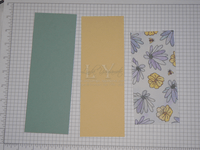
2 pieces of coordinating solid cardstock, 3" x 8.5"
1 piece coordinating patterned cardstock 3" x 6.5"
(or randomly stamped cardstock).
1-3/8" circle punch (for the holes on the front of the card)
1-1/4" circle punch (for the holes on the middle section of the card)
paper trimmer with scoring blade
adhesive
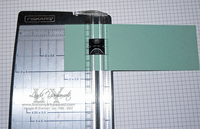
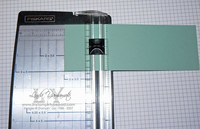
Score both solid cardstocks widthwise 2" from both ends.
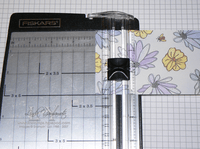
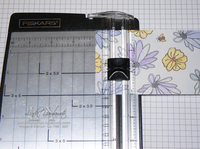
Score patterned cardstock widthwise 1" from both ends.
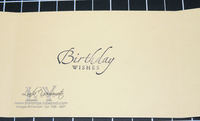
Choose cardstock to be the back of the card.
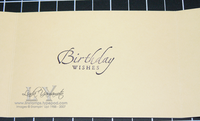
Stamp sentiment of choice on centre of this cardstock & set aside.
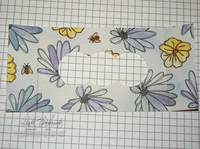
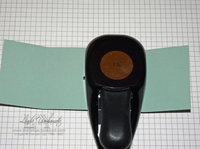 The front of the card
You may wish to stamp on the cardstock to decorate – you can do this either before or after punching holes.
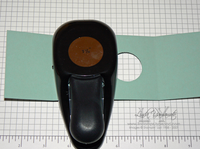
Punch first hole:
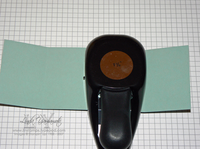
Line up the right edge of the 1-3/8" circle punch with the right score line, and insert the cardstock all the way into the punch.
(the physical edge of the punch lines up with the score line, not the shape to be punched
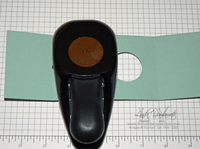
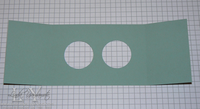
Punch 2nd hole lining up left edge of punch with left score line, again, inserting cardstock all the way into punch.
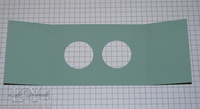
This is what you have so far. Use as a mask for Hallowe’en….or continue on to make the diorama card.
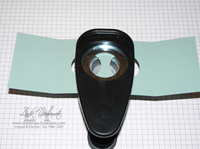
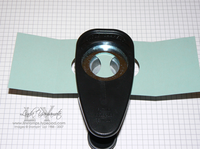
Using the punch upside down so you can see what you’re doing, punch a third circle in the middle of the two circles already punched out.
(truth be told, I usually punch upside down, perhaps I spent too much time "down under" in the South Pacific on my travels).
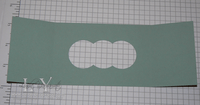
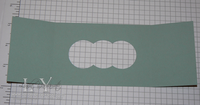
The end result
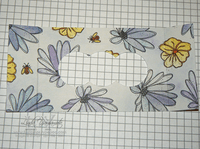
Repeat above process using the 1-1/4" circle punch on the decorative cardstock which will be the middle portion of the card.
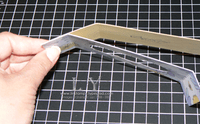
Start construction:
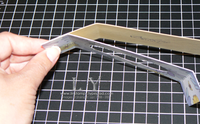
Adhere middle & back section of card first:
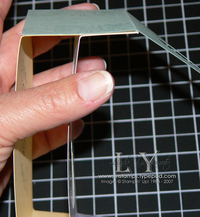
Apply adhesive to the outside edge of the decorative cardstock. Align ends of cardstock & adhere.
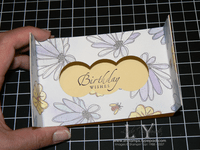
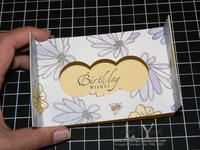
Repeat with other side so you end up with something like this:
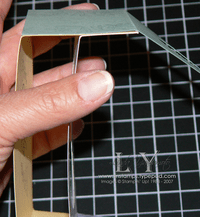
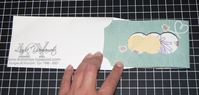
Apply adhesive to front section edges & align & adhere to card body.
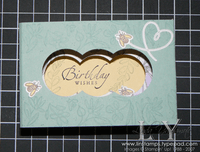
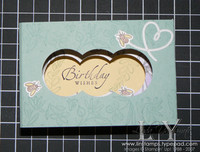
The finished project. I stamped images from the In Full Bloom stamp set & applied some adhesive die cuts from the Simply Scrappin’ kit.
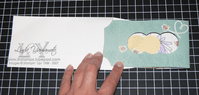
One of the best things? This card folds flat and fits into the small open end Stampin’ Up! envelope!!
May 21, 2007 | Information, Tutorial
I’m baaaack….and a couple of tutorials here!
First up is the Stamp-a-ma-jig – one of my favourite stamping tools. Trust me, I’ve tried other stamp positioners and this is the best one! I’m still using my original samj from Stampin’ Up! – it’s purple. The current version is the same but is in black.
This tool is great for precise placement of stamped images or quick fixes. You know, when you stamp and some of the image doesn’t turn out….the samj will help you restamp exactly over top of your original image & saving that piece of cardstock from the recycle bin.
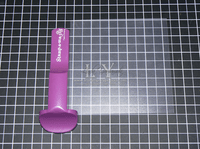
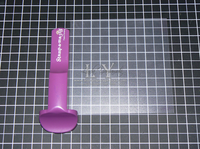
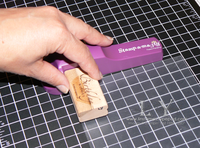
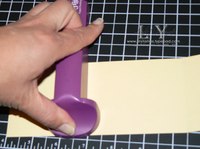
The samj consists of the positioner and the acrylic sheet. To use; position the sheet snugly in the corner of the positioner. The set up here is great for right handed stampers. Lefties could position the acrylic sheet on the other side. You can also put the positioner at the “top” corner of the sheet. It’s your preference, just be consistent.
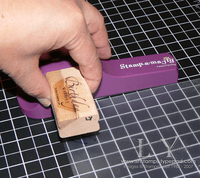
(OK try not to notice that the sheet is not in perfect position, it’s very hard to position & photograph with only 2 hands!! LOL)
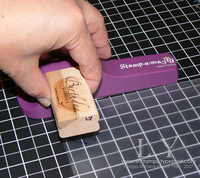
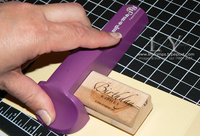
Next step – ink up the stamp, and place it snugly in the upper corner of the positioner – and slide it straight down….
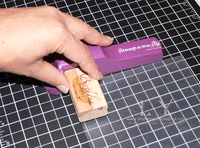
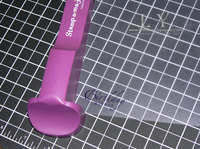
until it makes contact with the acrylic sheet.
Normally, I’d use one hand to hold the positioner in place, and the other hand to slide the stamp, but again, I only have 2 hands, and one of them was holding the camera!!
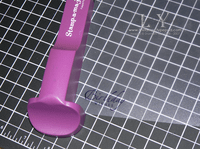
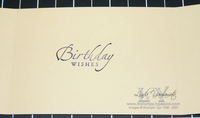
Here’s the image on the acrylic sheet.
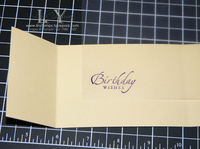
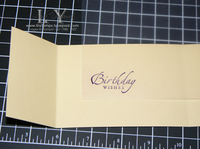
Next step is to take the acrylic sheet & position it so the image is exactly where you want it to be on your cardstock.
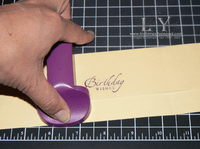
Holding the acrylic sheet in place, slide the positioner up to the corner of the acrylic. (again, more easily accomplished with two hands!! LOL)
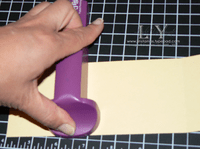
Remove the acrylic sheet, leaving the positioner in place.
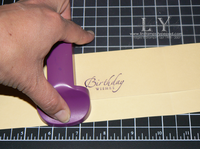
Ink up your stamp
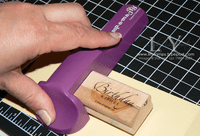
Line up the stamp in the upper corner & slide down until you make contact with the cardstock.
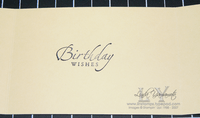
et voila!
Apr 27, 2007 | Tutorial
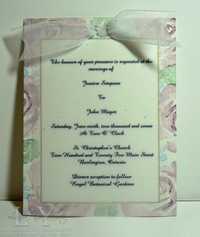
AKA the bow on my wedding invite swap. (Did you notice it was for Jessica Simpson & John Mayer?! LOL. What can I say, it was easier than making up 2 names).
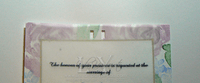
First of all, I used the double rectangle punch to create the 2 holes. Much easier than trying to line up a single punch twice. The vellum paper is thin, so I could punch through that and the cardstock without issue.
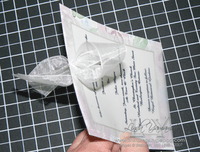
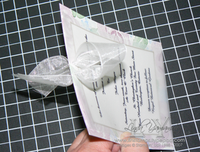
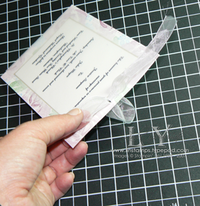
Next, I took a length of wide organdy ribbon, and put an end through either hole, front to back.
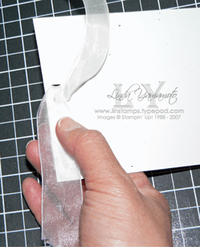
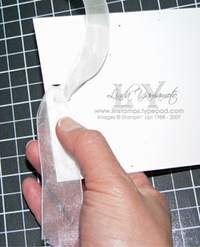
Next, criss cross the ribbon in back. I’m holding one end out of the way.
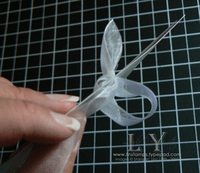
The end of the ribbon feeds to the front of the card, through the opposite hole. (I’m still holding the one end of ribbon out of the way).
(Don’t my nails look nice? didn’t even have to "edit" them with photo software!! LOL).
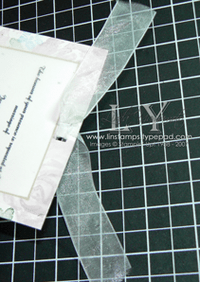
Pull the end through snugly….
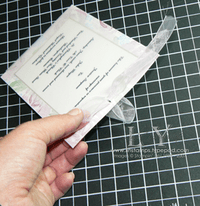
Then repeat with the other end of ribbon.
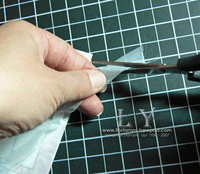
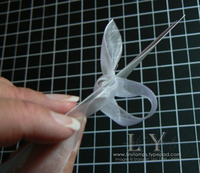
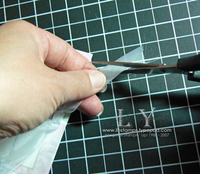
Finish the ends. Fold ribbon in half lengthwise, then snip on a downwards angle towards the fold. I call this "Martha"-ing the ribbon – it gives a notched edge to the ribbon, looks nice & helps prevent fraying. I originally saw it on Martha Stewart Living!
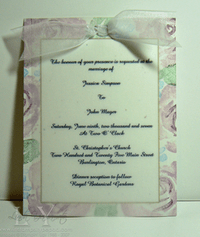
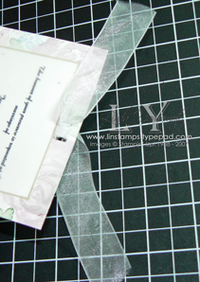
Once again, the finished project.
Mar 15, 2007 | Tutorial
Here’s my attempt at a tutorial! Dedicated to the Mississauga gang who went through the first edition of this class!! This is a revised version that I think is easier to manage (you can let me know if you agree or not!!)
Materials: 3"x3" whisper white to be stamped with image of choice *measure width of your cello bag to be sure – I had some that were actually narrower!!
cardstock for frame: 3.5" x 3.5"
small cello bag
micro beads
sticky strip
scotch tape
To make shaker:
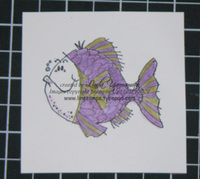
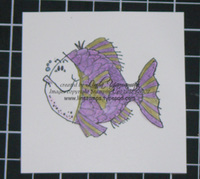
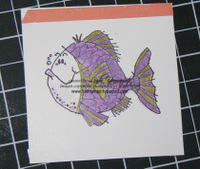
1) Stamp & colour image of choice. We used the fishy friends set and the metallic pencil crayons, blended with the blender pen (works well to smooth out the colour).
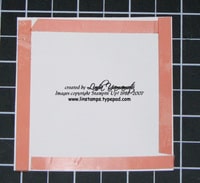
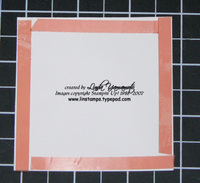
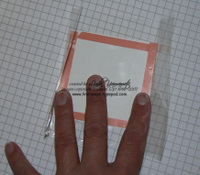
2) Apply sticky strip to the edges of the back of the image (as close as possible to edges). Leave liner on. This will keep the beads in front of the image.
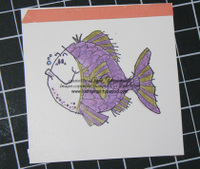
Apply a strip of adhesive along very top border of front of image. Leave liner on. This will prevent leakage of beads!
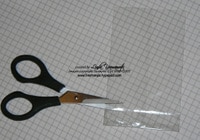
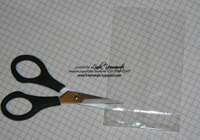
3) Cut off bottom seam of cello bag, and vertically along seam of bag to create open sheet with folds.
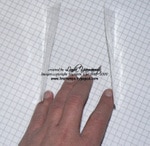
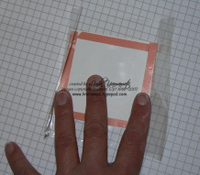
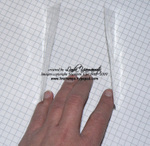
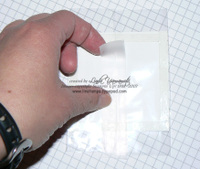
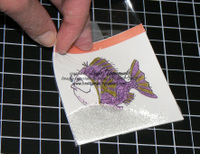
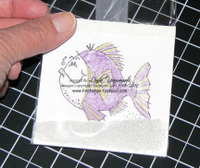
4) Remove red liner from sticky strip on back of image only & place face down in cello. (first pic: liner left on for picture purposes). Then, re-fold cello and adhere to sticky strip.
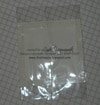
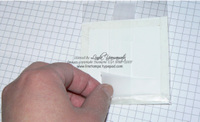
Refold along fold lines & adhere cello to sticky strip.
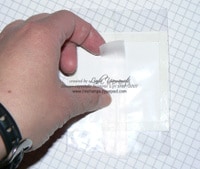
5) Apply scotch tape along back seam to ensure closure. (OK perhaps this is overkill, but I don’t want little beads all over the place when someone goes to shake the card!!)
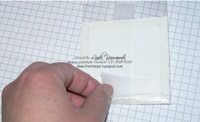
6) Fold up the bottom of the cello package & seal with scotch tape.
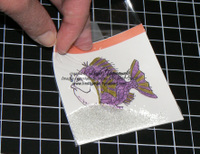
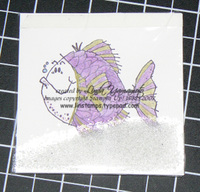
7) Insert about 1 tablespoon of microbeads in cello package. Note that the red liner is still on the front sticky strip.
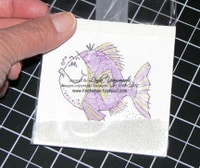
8) NOW remove the red liner from the front sticky strip, and press cello against it to seal closed.
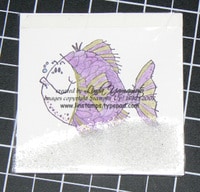
9) Fold down top of cello package & seal with scotch tape (at backside). TADA! A sealed shaker unit!
Create the frame:
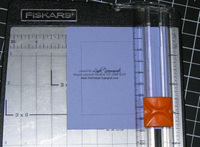
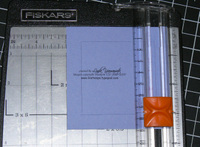
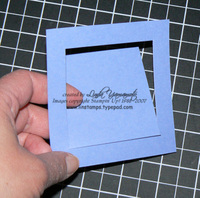
10) Use paper cutter to create frame for image. I used 3.5" x 3.5" square of brocade blue, and then cut 1/2" in from the edges to create frame. I prefer using my paper cutter when possible, vs a hobby blade….call me a klutz….
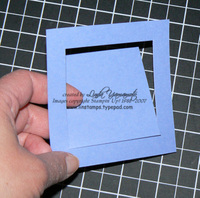
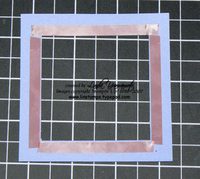
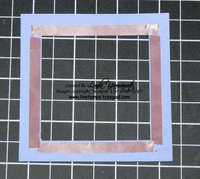
11) Apply sticky strip to inner edge of frame.
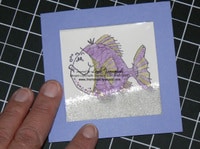
12) Remove liner & attach to shaker unit.
Construct the card
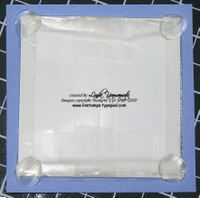
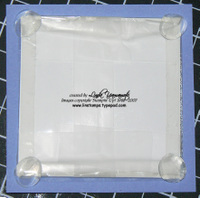
13)Apply pop up glue dots to back of package and then apply to cardfront – you’re done! We did a brocade blue card covered in the hot to dot wheel in brocade blue.
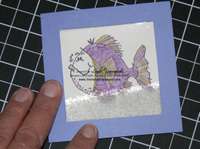
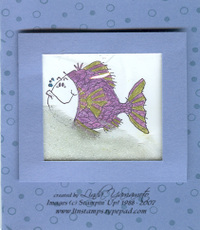 TADA! The finished product. Card is brocade blue, wheeled with the hot to dot wheel in brocade blue ink.

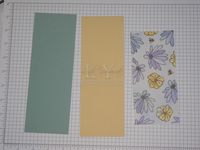
 The front of the card