A bit overdue, but here’s my report! I think I was actually better at posting while I was away – because I worked at prescheduling so much – so maybe I need to plan my next trip so that I get back to all that prescheduling…
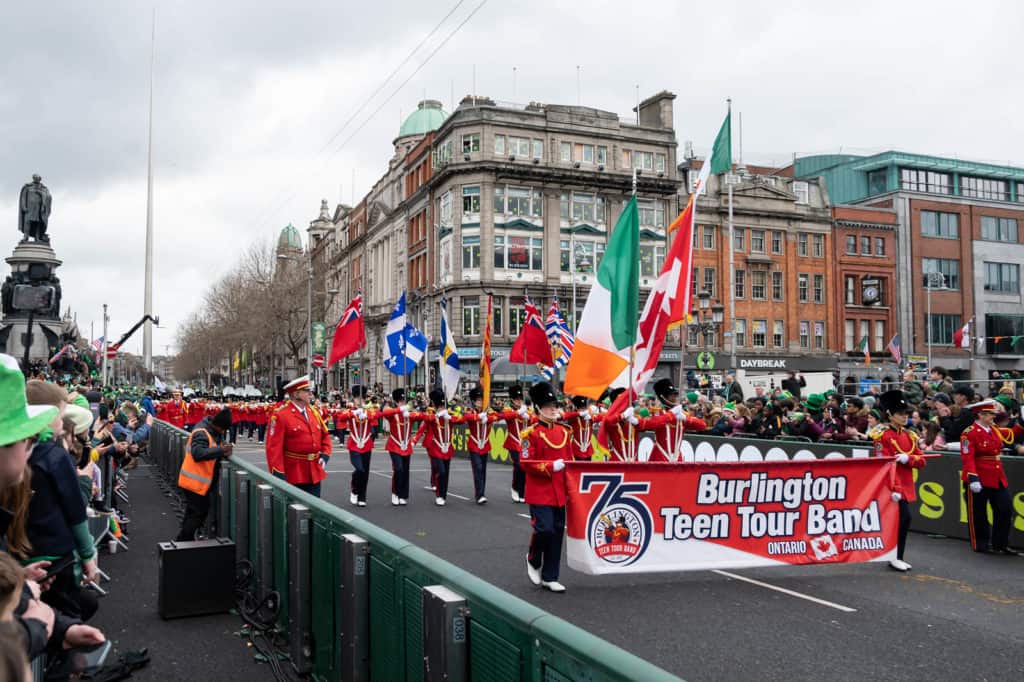
I had the privilege to travel with the Burlington Teen Tour Band to Ireland in March (actually a month ago this week!). They were invited to participate in the Dublin St. Patrick’s Day Parade and had a number of other scheduled performances as well. I volunteer as one of the photographers for the band. It’s a great way to work on my photography and editing skills, give back to an organization that has meant a lot to me and my family, and hang out with my band friends (both young and not so young anymore).
Photo: Burlington Teen Tour Band – Dublin St. Patrick’s Day Festival Parade 2023
The Burlington Teen Tour Band is a city sponsored marching band of youth – aged 13-21. (Right now, they are a pretty “young” band, I think they are mostly around 15-16 years old??). The majority are from Burlington, but we also have teens who travel from nearby cities to participate. They march, but also perform concerts (sitting down…), and include a colour guard section (the ones who carry the flags and twirl the baton). I was a member when I was the right age…LOL, and later my son was also a member in his teens, which is how I got re-involved with the band. The parent group, the Burlington Teen Tour Band Boosters, do a lot of fundraising and also chaperone on trips and events with the band, and I actually reconnected with a lot of people that had been in the band at the same time as me! My son retired from band a few years ago, but I stuck around as one of the volunteer photographers.
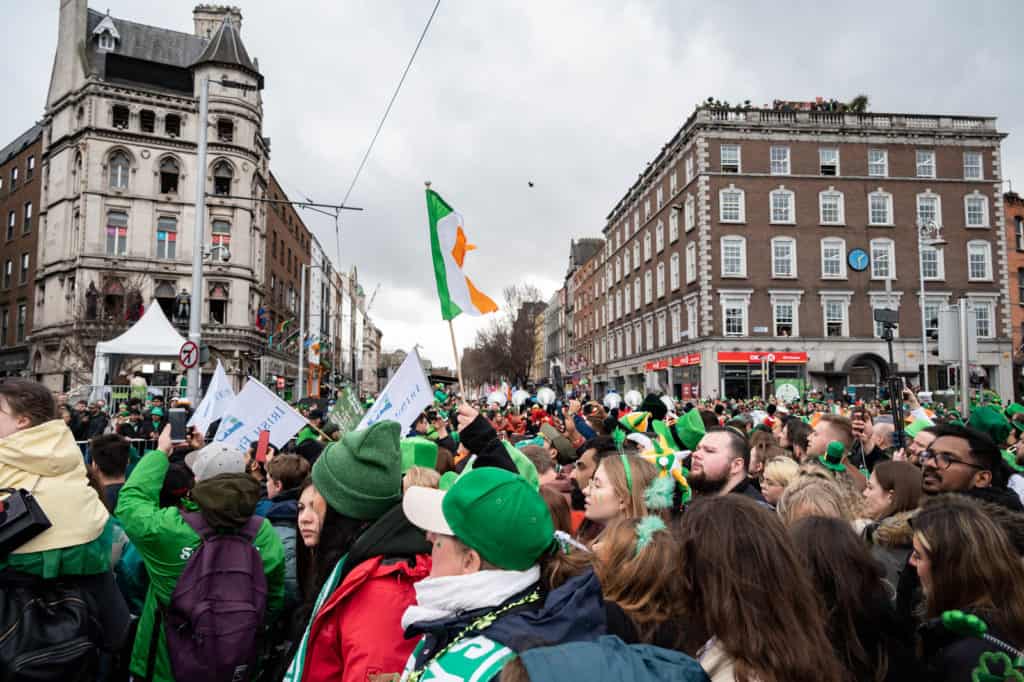
(spot the band in red in the sea of green as they make their way along the parade route)
This tour had been delayed a couple of times due to COVID, so it was great to finally see it happen! Unfortunately, the band equipment was delayed in arriving in Ireland (despite being packed and at the airport for transport days in advance of the band’s actual departure/arrival), so a couple of performances had to be cancelled and schedules re-worked, including a last minute extra practice once the equipment DID arrive! In the end, it was all good – the band performed really well in the Dublin St. Patrick’s Day Festival Parade and won Best Overall Band, topping a number of US college bands, which is quite a feat.
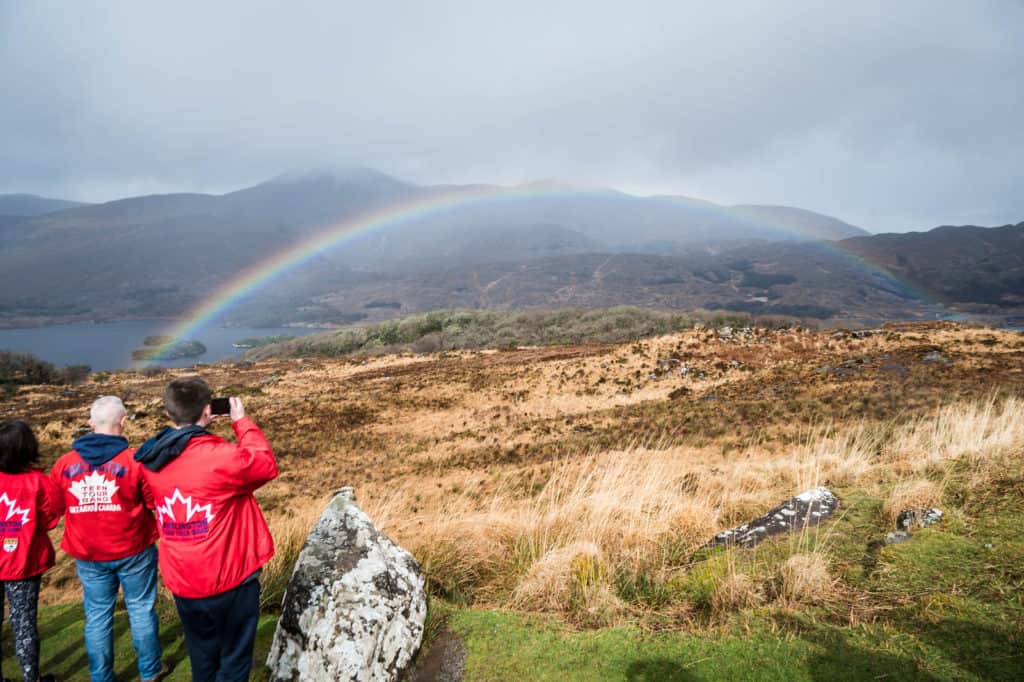
We did also get to do a bunch of site seeing, historical castles and building, farms (sheep and horses!) and cities. Number one most purchased item (besides the badges/pins for band jackets) – RAIN GEAR. It rained pretty much every day. One of the positives to so much rain (besides a very green landscape) though, is the number of rainbows we saw.
If you want to learn more about the Burlington Teen Tour Band, their website is https://teentourband.org . If you want to see more of the pictures from the trip and other activities taken by myself and Andrea, my fellow photographer (and also a fellow band alumna), you can go here.
Last but not least, you may have seen my attempt at a travel reel – I did one on Instagram, but I also did one on TikTok – and I think the TikTok editing was a little better….LOL. You can see that if you follow me on TikTok – or below! (yes, I usually post crafting videos, but had to commemorate my first time travelling internationally in 4 years!!).
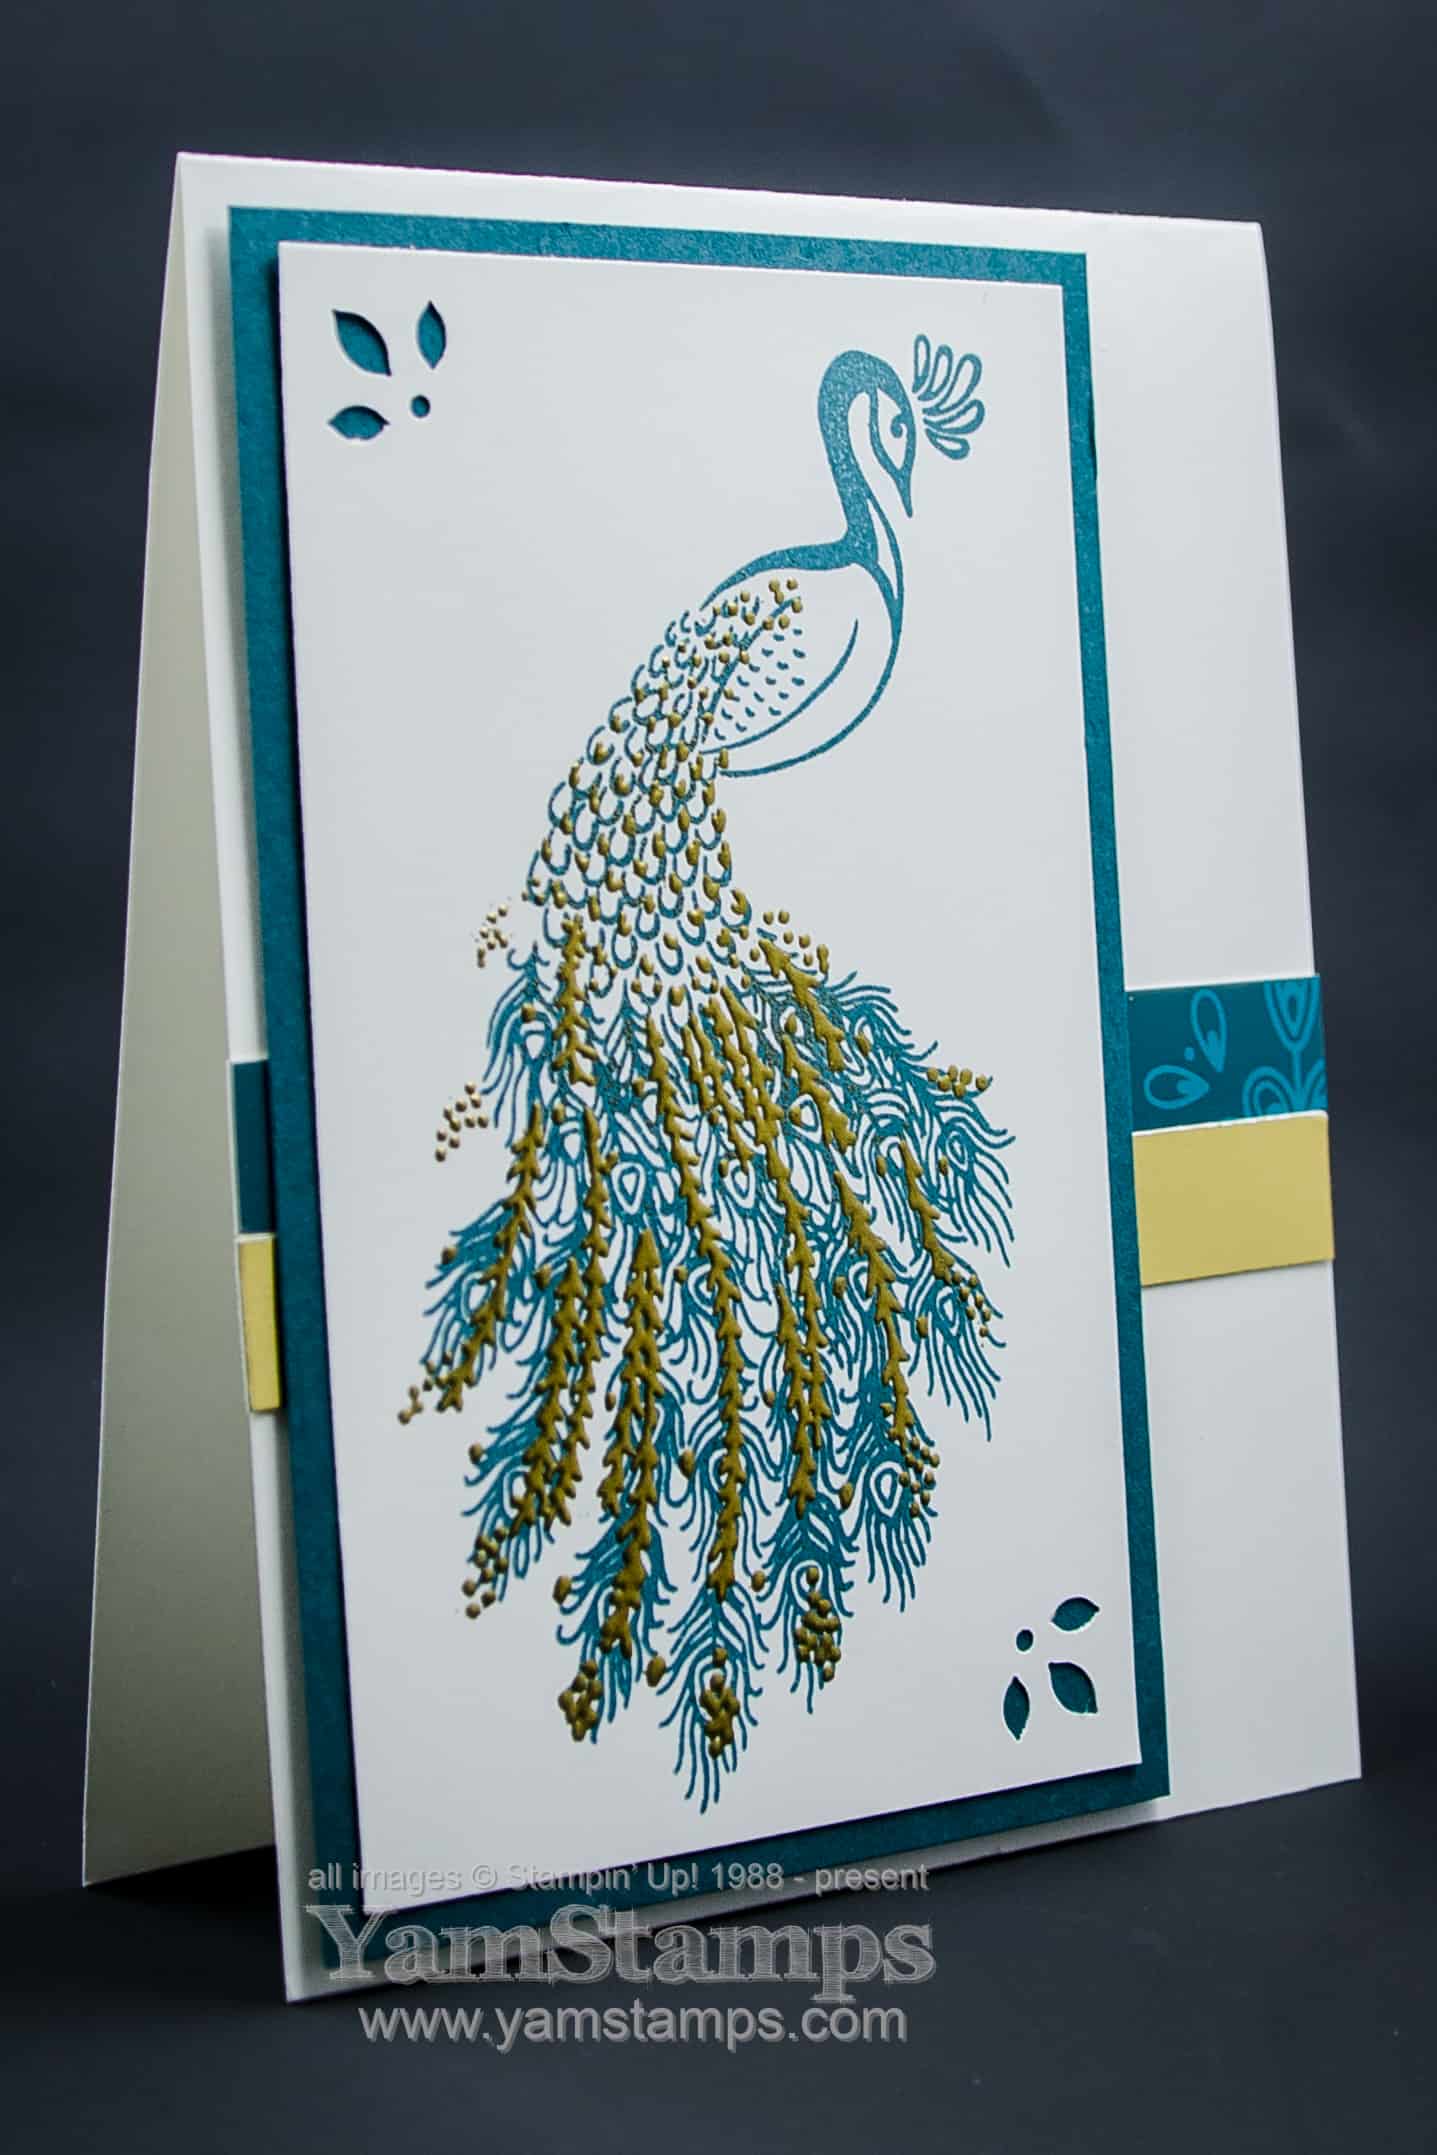
I love the new Stampin’ Up! In Colour Pretty Peacock! I am fascinated by these birds too – but their call is something else…. Anyway – August’s classes will feature this card using the Royal Peacock set. (Well, except for the Christmas Card Class…)
I had the chance to see a peacock up close when I visited the Het Loo Palace in the Netherlands – they’re so beautiful but soooooo noisy. The biggest revelation for me was that they actually do fly – we saw a few up in the trees on the palace grounds! Here’s one of my favourite shots from that day – definitely a pretty peacock.
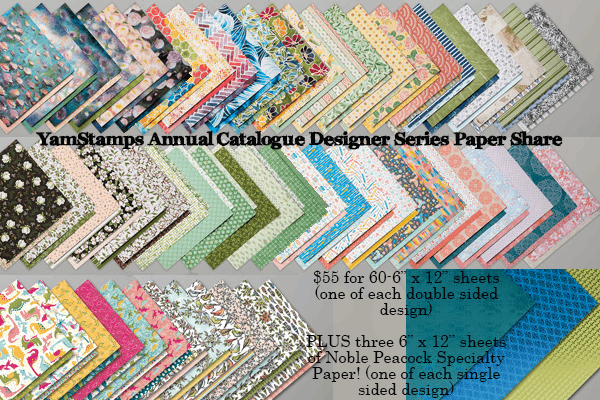
The foil accent on the Noble Peacock Specialty Designer Series Paper seems to come closest to the colour on this peacock’s body, don’t you think? Using strips of the paper as accents also helps to make your paper last a little longer. If you’d like to get a sampling of (almost all of) the Designer Series Papers in the Annual Catalogue, I have a few spots left in the Paper Share. For $55 (plus postage if required), you’ll get a 6″ x 12″ piece of each of the Designer Papers in the image below.
If you’d like to take part, you can contact me for more information and payment details! In the meantime, I’m off to prep for the upcoming Christmas Card Class – the first one is Monday, August 26th at 1pm or 7pm – ho ho hope to see you in class soon. (sorry, couldn’t resist!)
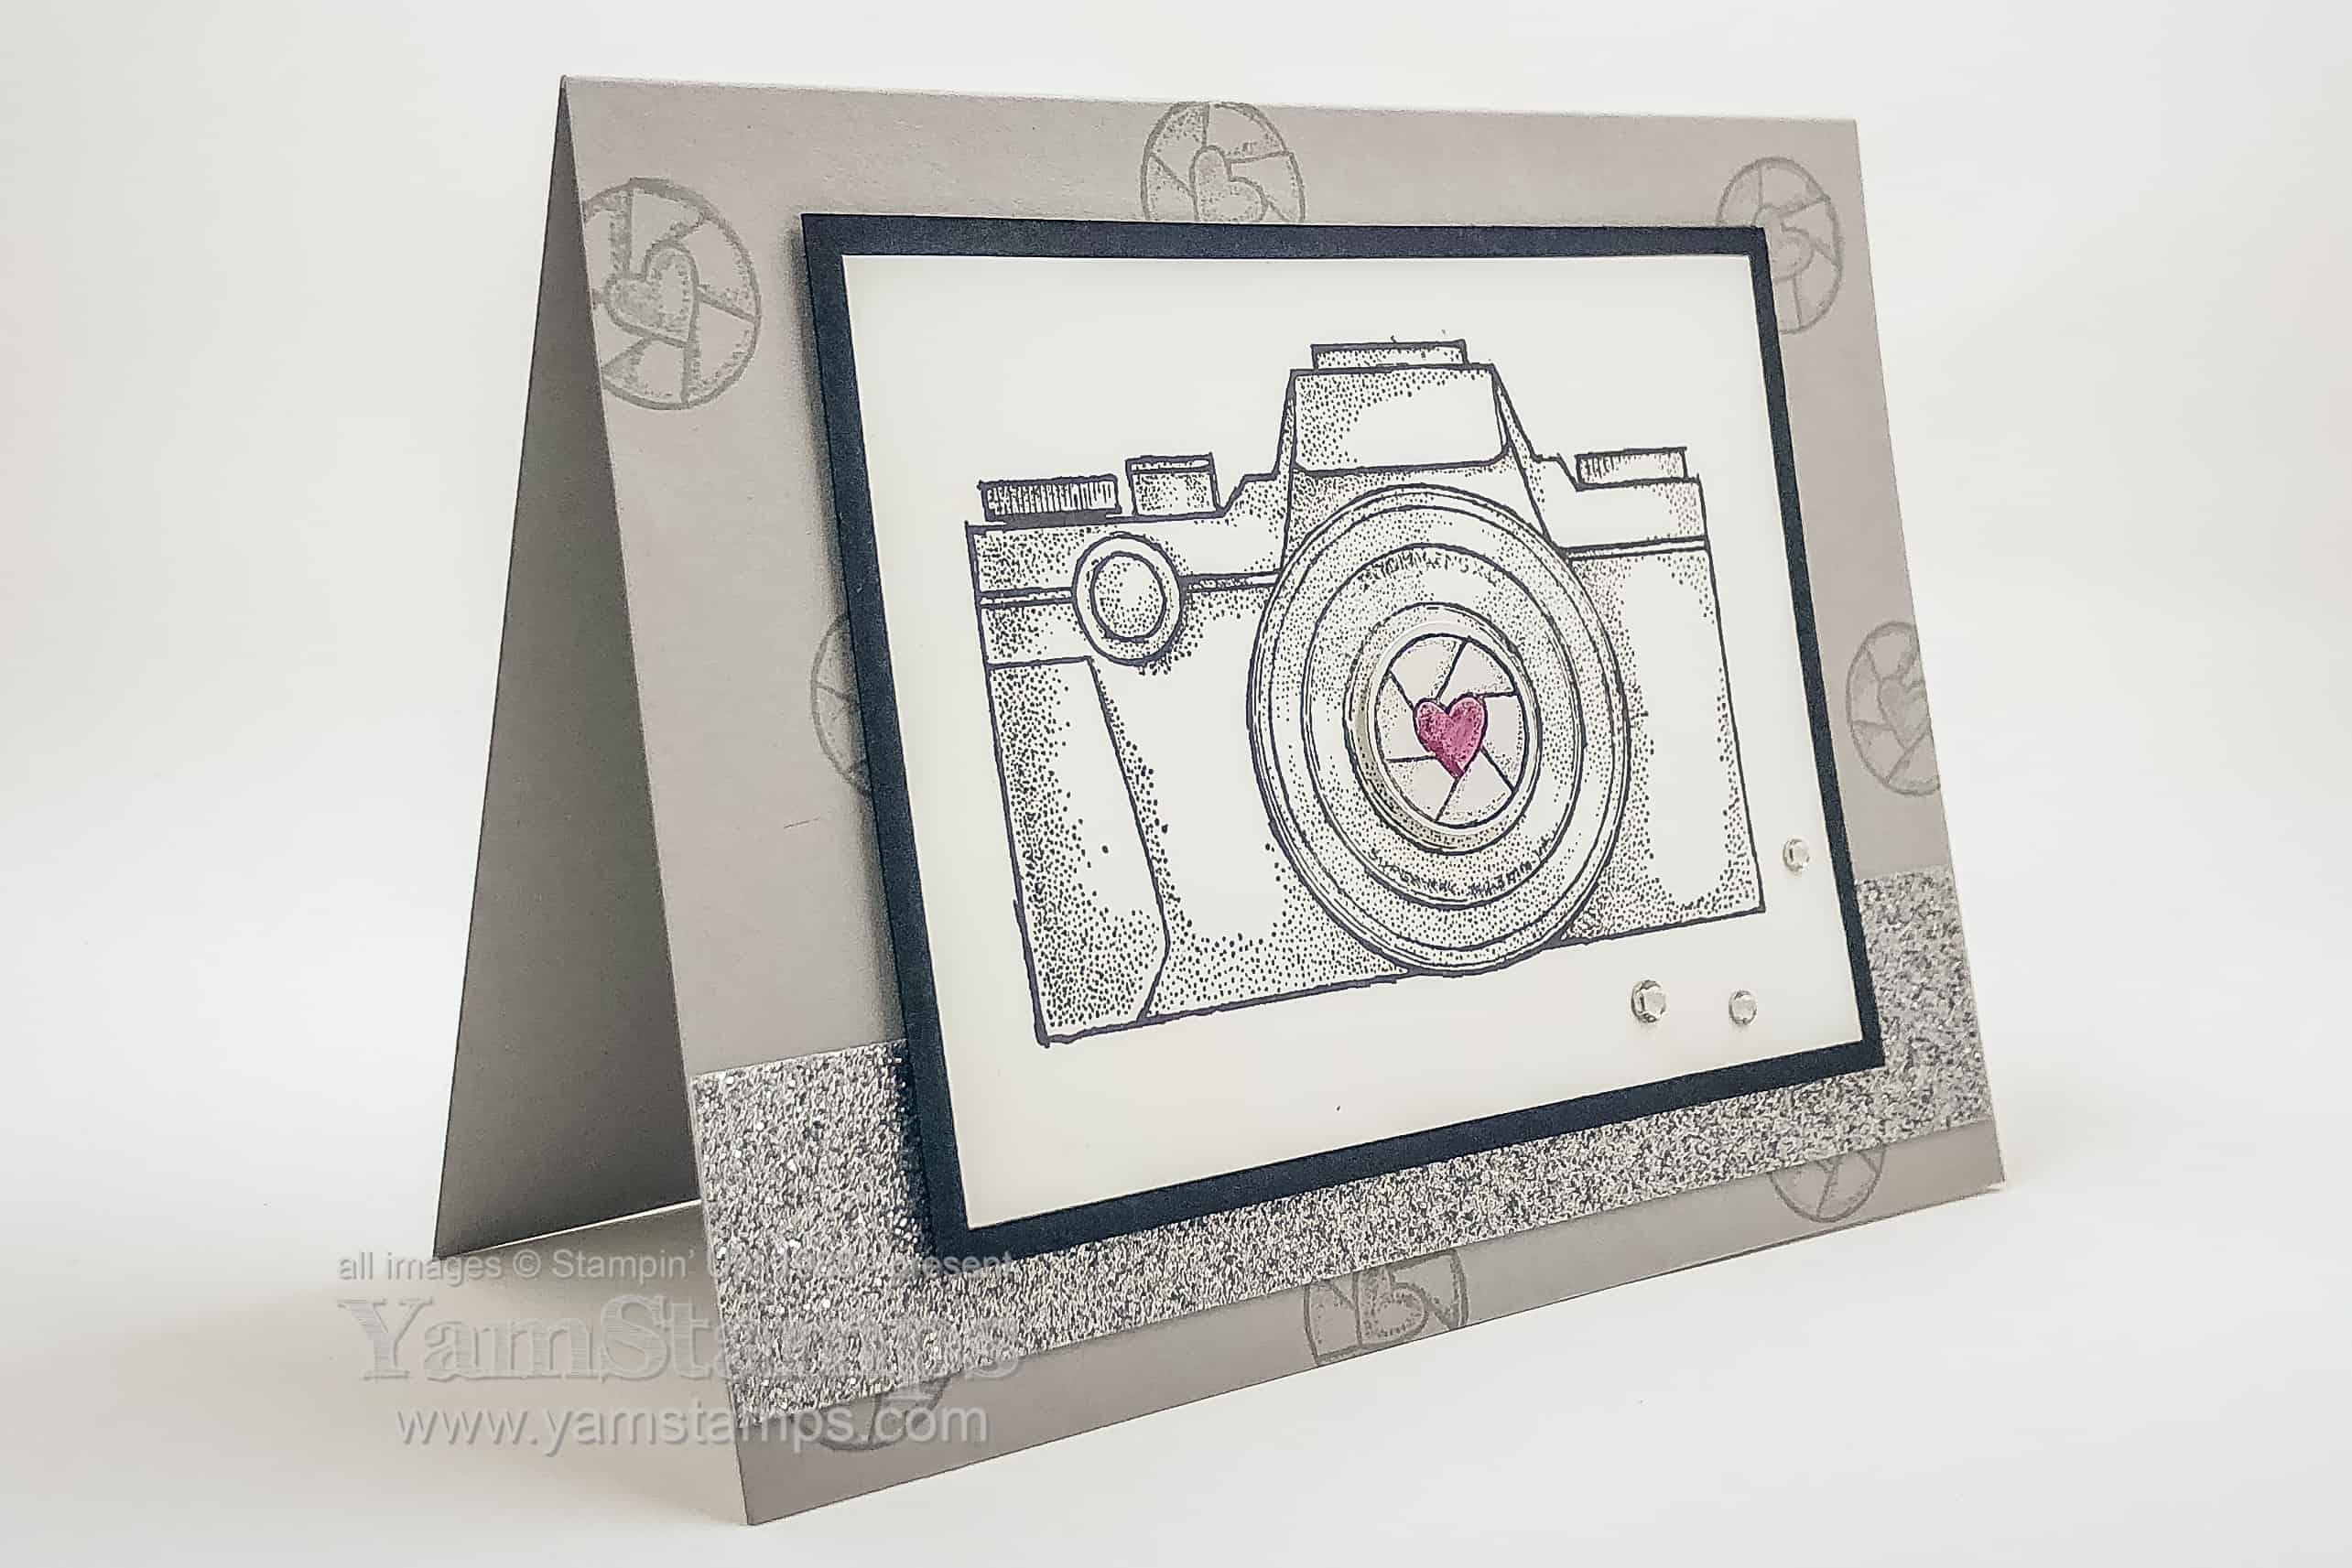
Say cheese! This greeting card for photographers is one that I made for a Stampin’ Up! Demonstrator only swap, using my new Capture the Good stamp set. I went with a monochromatic theme with a little pop of colour.
Actually, I just realized that I have bling on my actual camera….LOL – on my lens cap holder!! So perhaps that’s why I added the rhinestones…it’s a greeting card for photographerswho appreciate a bit of bling…like me!
In any case, with or without rhinestones, this camera card is great for any photographer in your life, or for your scrapbook pages! The sentiments can be applied to many card giving occasions too. This set was inspired by Demonstrator Tami White – when Stampin’ Up! Demonstrators reach 1 Million in Sales (!!) they have a big ceremony and presentation, and the demonstrators get to work with the Stampin’ Up! Artists to come up with a stamp set.
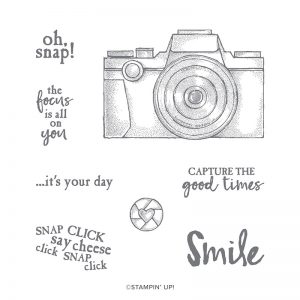
Capture the Good Stamp Set
So whether you’ll be creating a greeting card for photographers, scrapbook pages featuring photographers or (ahem) photos, or other paper crafts, I’m sure you’ll find lots of ways to use this stamp set – I think it’s one of my new favourites from the current catalogue. I will try not to overuse it for future sharing!
That being said, I did use it for a black and white card for July’s Card Class and Stampers Club Class….hahaha! Monthly Card Class is the first Wednesday of each month (usually), so you’ve missed that chance, but if you join Stampers Club before Monday, July 15th, you’ll get the opportunity to make your own camera card (similar but different to this one). Don’t forget to check out the upcoming events on the YamStamps Events Page (you can also see more details about Stampers Club there) or sign up for the YamStamps mailing list to get crafting inspiration and event reminders in your email! Hope to see you in class soon!
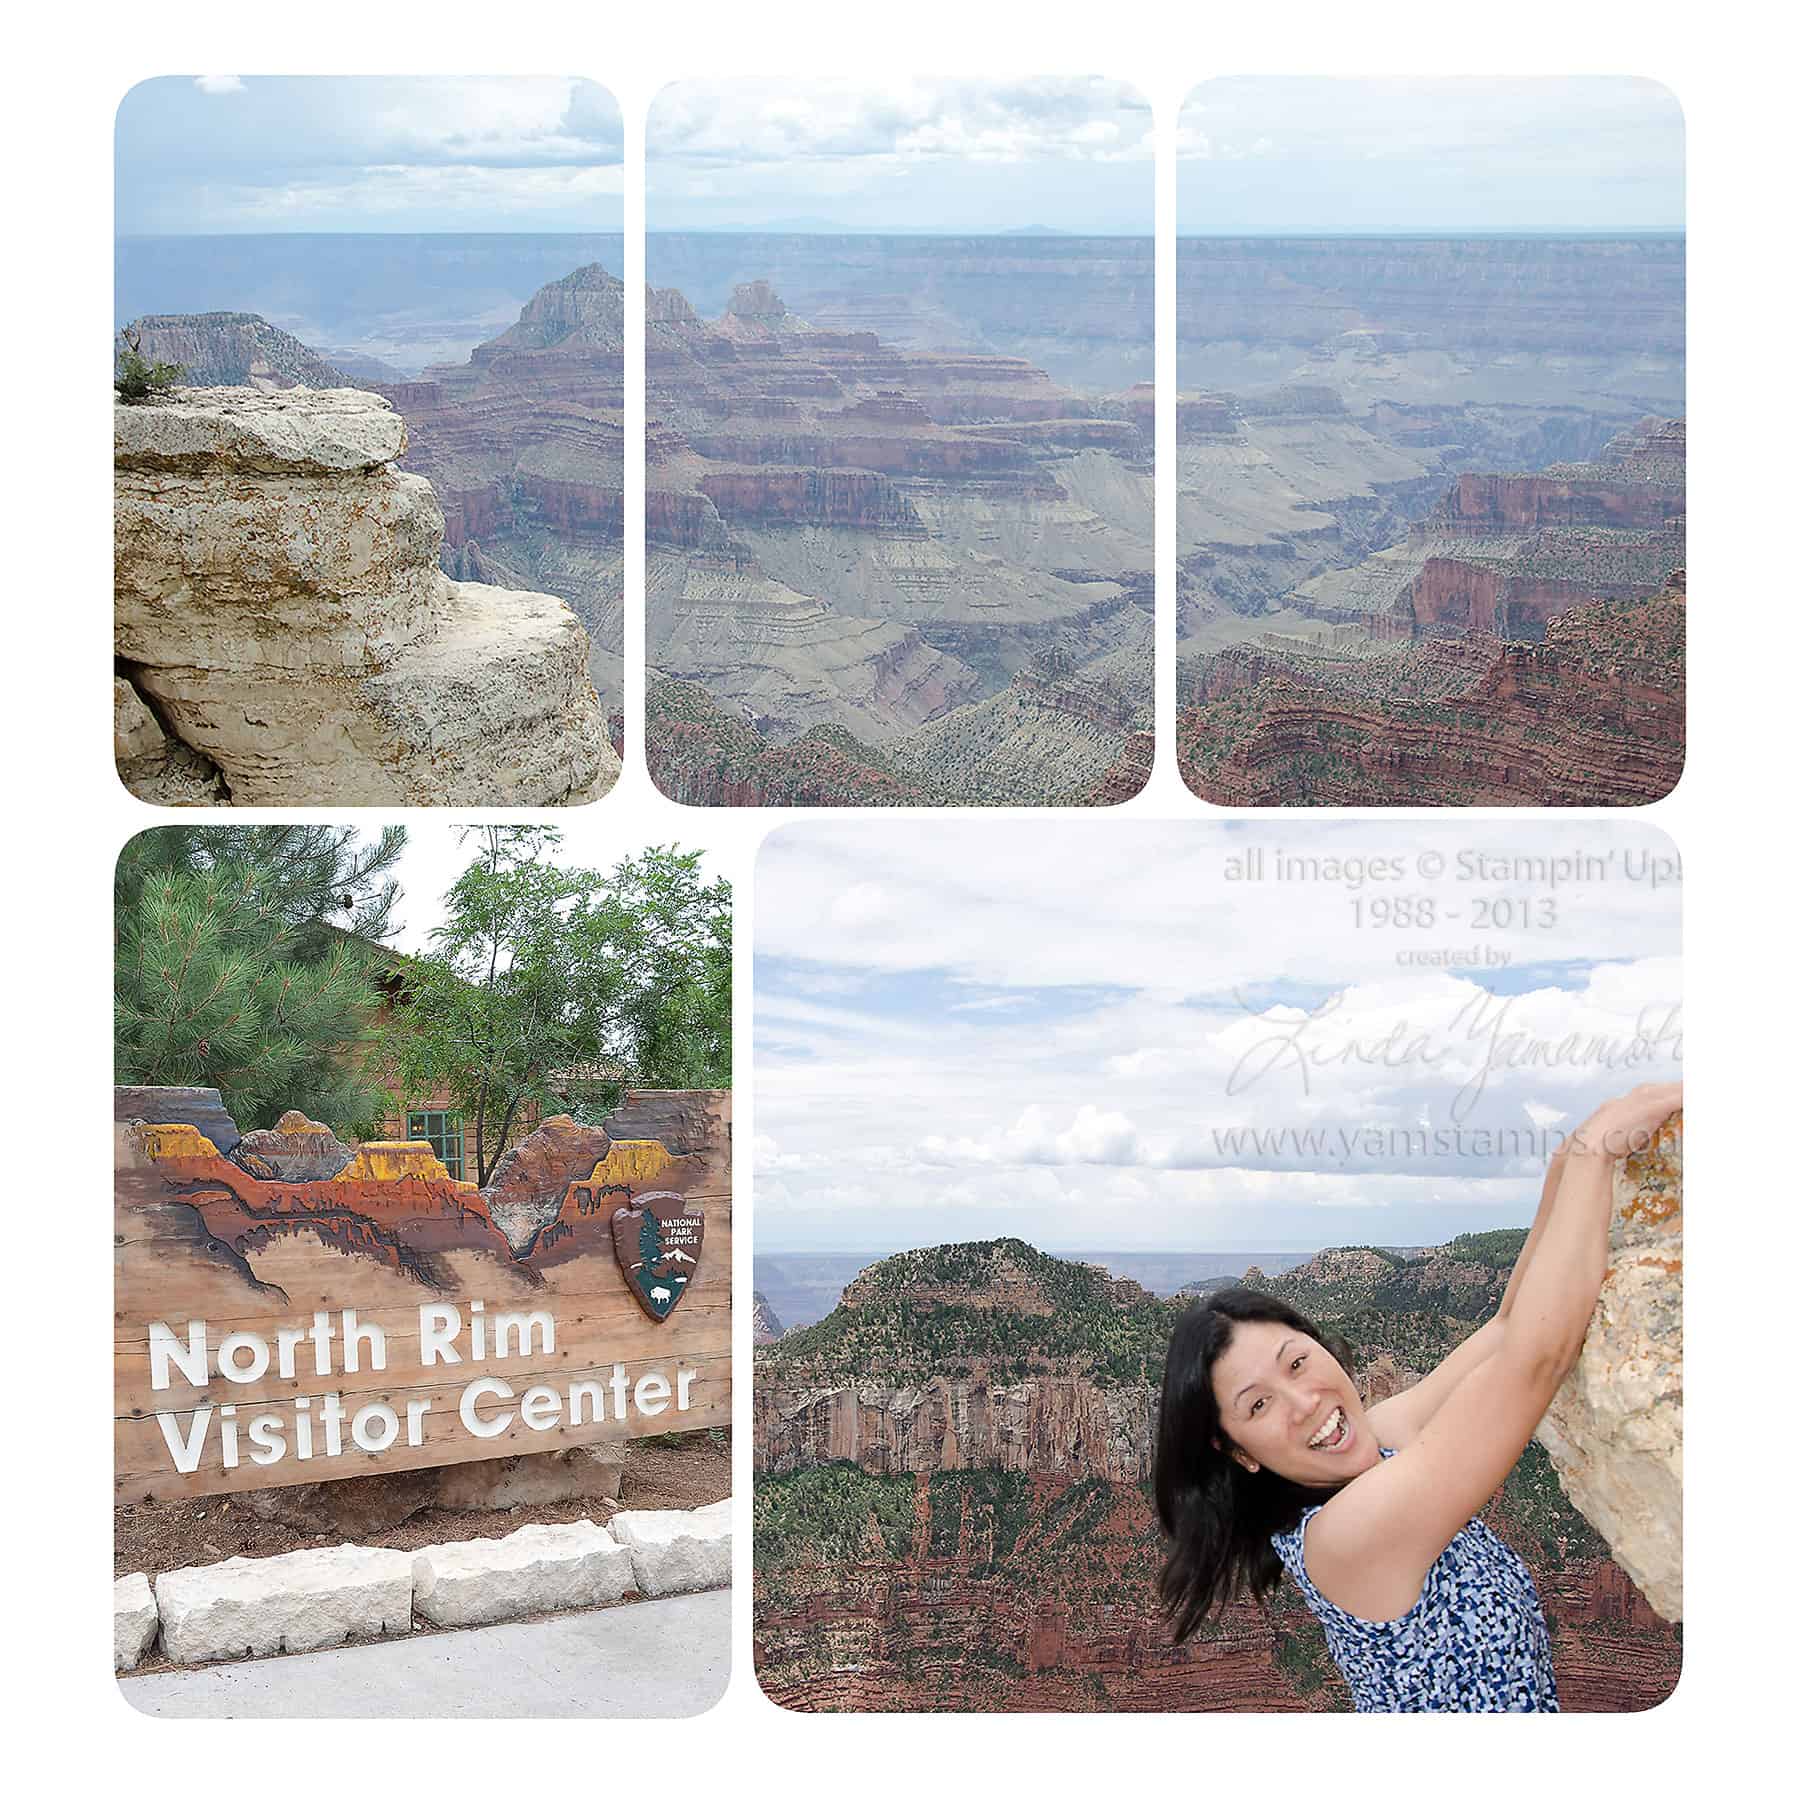
OK here’s the second page that I created in MDS from my recent girls trip to Utah/Arizona and Stampin’ Up!’s 25th Anniversary Convention. Melanie organized a stay in Kanab, where we stayed in a gorgeous huge house that actually belongs to Shelli Gardner (the co-founder & CEO of Stampin’ Up!)’s family. We toured the factory there and saw the sights, including a day trip to the North Rim of the Grand Canyon. This was my first trip to the Grand Canyon and it was fantastic – and my photos don’t do it justice.
So once again, I used a 12 x 12 photo page template in MDS and added my photos into it. I’ll do a quick video tutorial on how to create the image at the top (so stay tuned!). It’s actually three photo blocks that you “group” together, and then drag & drop your photo into place. It’s a great way to incorporate a larger photo to a pre-set layout. The bottom right photo is a fun set up that I have taken to doing whenever there’s an opportunity… A friend introduced me to this concept a few years back (OK a LOT of years back) when we were at Ayer’s Rock or Uluru in Australia. You find a spot where there’s an outcropping or a downhill slope area, then set yourself up so it looks like you’re hanging off the edge! Again, note that I say it LOOKS like you’re hanging off the edge. You are TOTALLY safe. This being said, we did see some crazy people climbing out to the edge for photo ops, and I couldn’t even look at them – too stressful for me. I have enough stress in my life without adding to it.
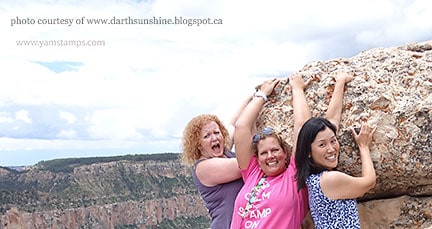
Here’s me, Dana and Sue (Sue being the only one who looks convincing in this shot…..) cropped photo ready to go…
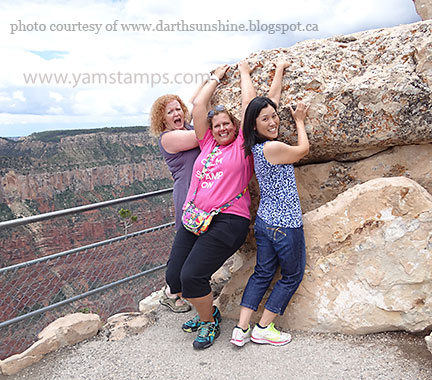
and here’s the uncropped photo showing how we did it (not that you couldn’t figure it out yourself, I’m sure…LOL). This was taken by an innocent passerby that we convinced to take the shot for us (and who didn’t get the instruction to take us from waist up). I’m sure she wondered what the heck we were doing….
We had so many laughs during our time together – I’m so fortunate to have found such good friends through crafting!