
Well, imagine my surprise when I realized I hadn’t posted here in a while – oops! So I’m back, with a bonus. One set, two looks. I have been busy behind the scenes, updating my new subscriber video, hanging out in the new catalogue launch event group, and like you, continuing to negotiate our changing situation day to day. Sometimes it’s all I can do to make it through the day and then zone out watching Netflix (currently finishing the Great Canadian Baking Show, which I’ve enjoyed, though admittedly not quite as much as its big brother, the Great British Bake Off, and not as much without Dan Levy).
Anyway – refocus! OK, so the set/bundle I used was Blossoms in Bloom. I love the coordinating Blossoms in Bloom stamp set and Many Layered Blossoms dies, and love that the dies can actually be used on their own as well. The first card was one that I used for a demonstrator swap where Stampin’ Up! demonstrators each create multiples of a card, then we get back one of each participants’ cards. It’s a great way to see other ideas and stamp sets that you may not (yet) own. I try to share a different swap card I’ve received each Sunday on the YamStamps Facebook Page Sunday Swap Share.
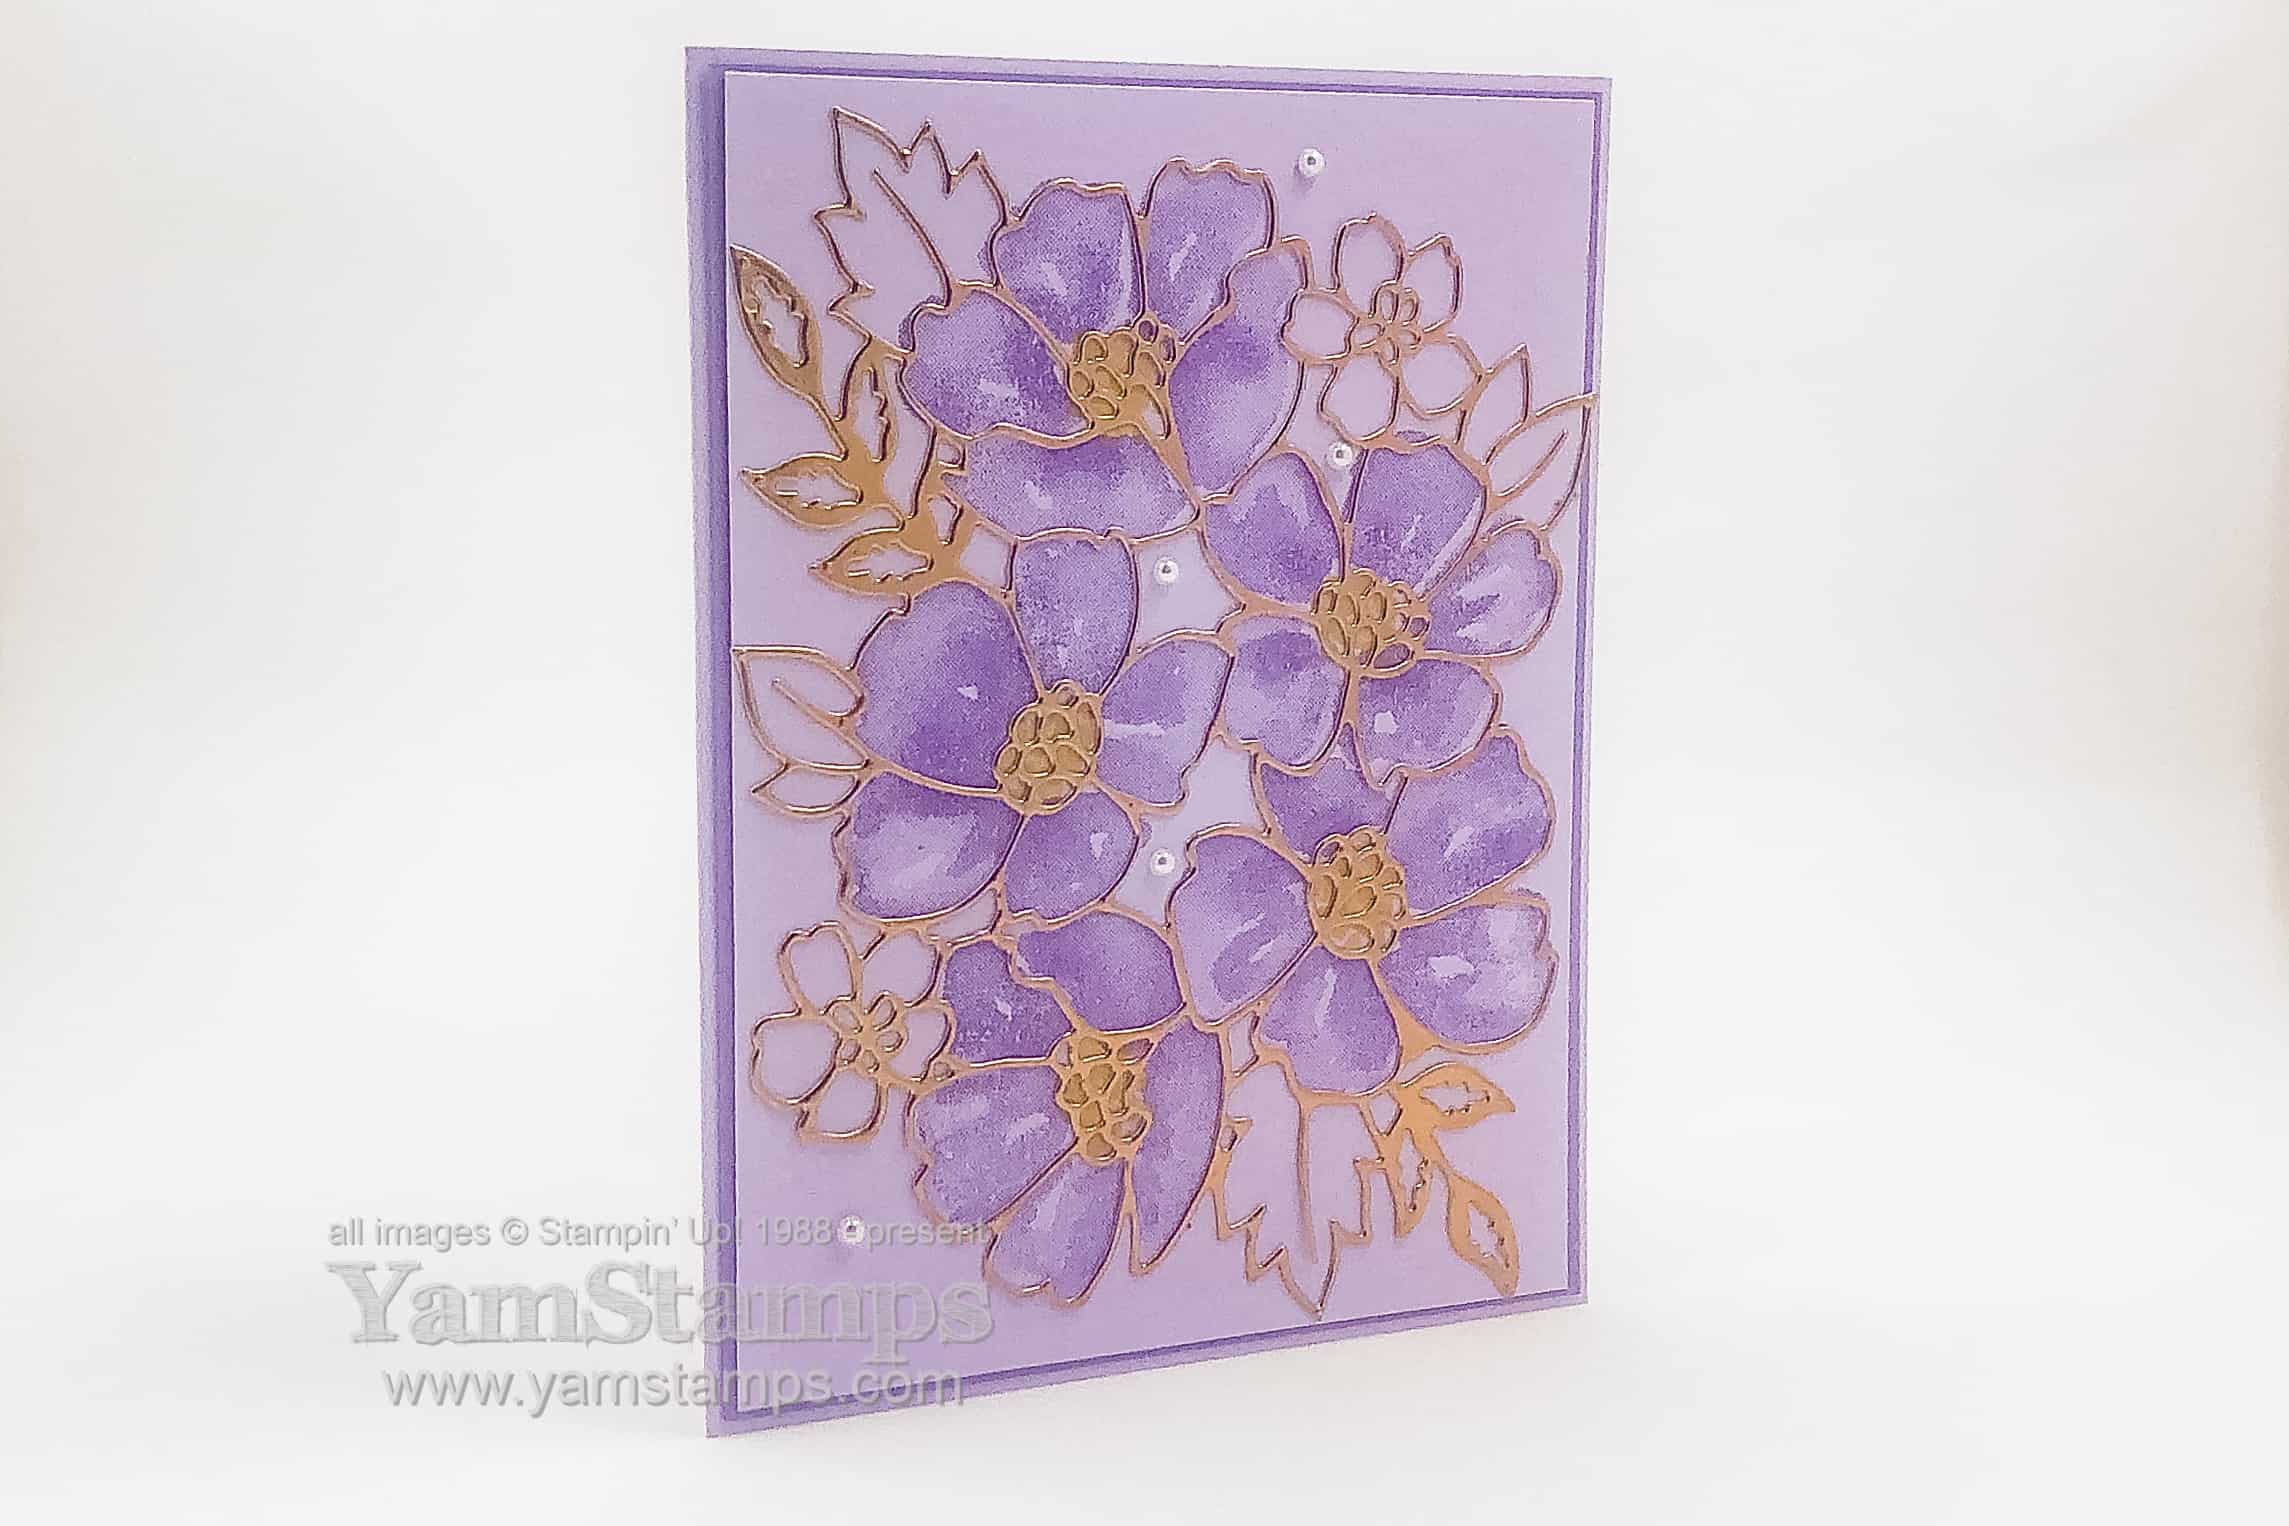
For this card, I focused on the thin, detailed die cut and kept the colours monochromatic otherwise. The image of the blossoms is stamped in Highland Heather onto Purple Posy Cardstock. The detailed die was cut out of a Copper Foil Sheet. When you place an Adhesive Sheet on the back of your cardstock/foil before die cutting, all you have to do after running it through your die cutting machine is peel off the liner for the adhesive and place your die cut wherever you want!
For the second version of the card, I focused on the stamped images in the set and a more colourful approach.
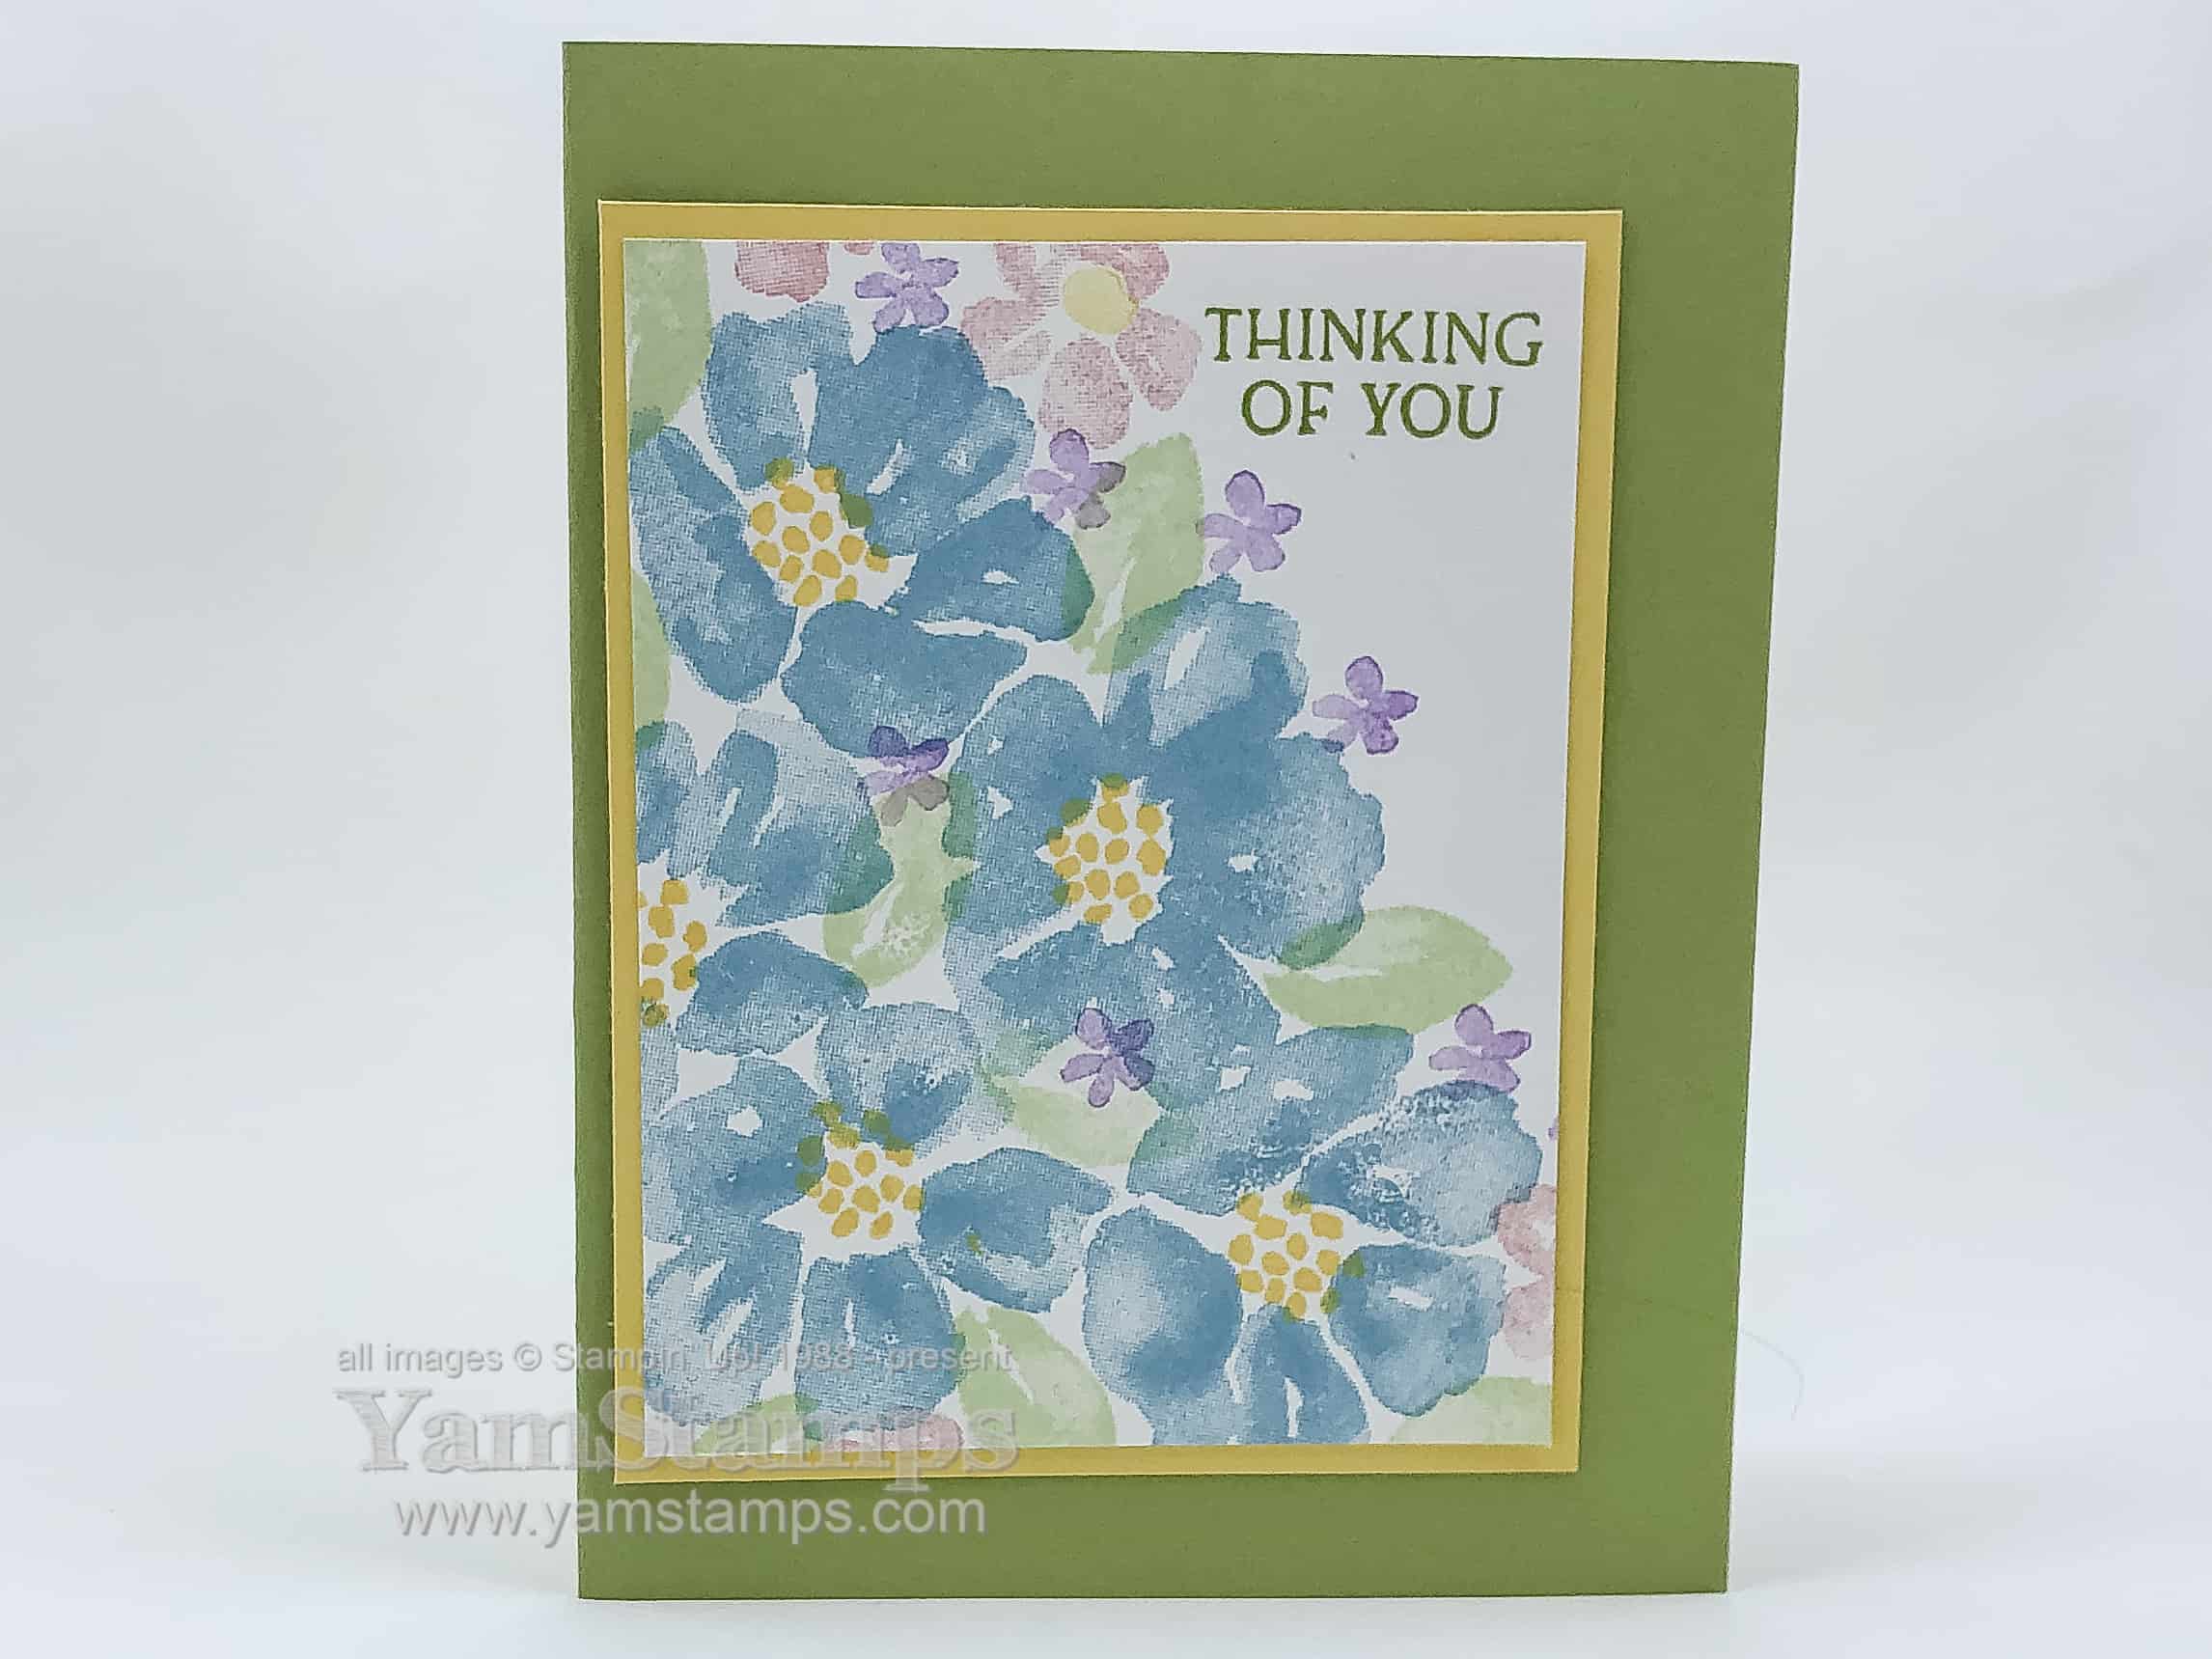
For the large flowers, I used Balmy Blue ink, then used Highland Heather for the very small flowers and Petal Pink for the medium sized flowers. I essentially just stamped the large flowers first, then filled in any gaps. The sentiment and leaves were stamped in Pear Pizzazz, but I used second generation images for the leaves so they were a softer colour that didn’t distract from the flowers. (Second generation image = ink up the stamp, stamp off once on scrap paper, then stamp onto your cardstock). Some of my favourite card making hacks are on this card – second generation images, stamping off the edge of cardstock, leaving one corner blank for the sentiment, and mounting the image off centre on the cardfront. I use these tricks for myself otherwise I can end up with the same design all the time! It’s fine if you’re sending off the cards to different people, but it becomes obvious when you’re posting them in one place LOL. My other lazy crafting card hack? All the colours used came from the same Stampin’ Up! colour family – Subtles.
Hope you enjoyed this One Set, Two Looks approach! I’m off to finish up prep for Stampers Club tomorrow. We continue to meet virtually, and it’s great to see everyone during our Zoom crafting sessions. We likely will not be meeting in person for a while longer, and will keep an on local mandates to help guide our decisions. In the meantime, you can always check out the YamStamps blog here, plus the YamStamps accounts on Facebook, Instagram, YouTube and Pinterest. Oh – and subscribe to my newsletter to get access to the new subscriber tutorial video. See you online!


