
Curved layers make this hello there card more interesting!
This hello there curved layer card uses Stampin’ Up! Canada’s Around the Bend stamp set and coordinating dies – and I think that this makes the usual “layer the patterned paper on cardstock and then onto the cardfront” look a little more interesting. Of course, I’m all about making an interesting card without spending 6 hours on it, so I’m happy about that!

The Around the Bend stamp set is available in your choice of red rubber cling mount or clear photopolymer material – so when you place your order be mindful that they will have different item numbers (or just contact me and let me know which one you want and I will be mindful when I place the order for you!). The Around the Bend dies have coordinating shapes and angles, and there’s a discounted cling mount bundle or a discounted photopolymer bundle available. Have I mentioned how much I love the fact that the coordinating dies and stamp sets now have the same name so I don’t have to remember which ones go together?!
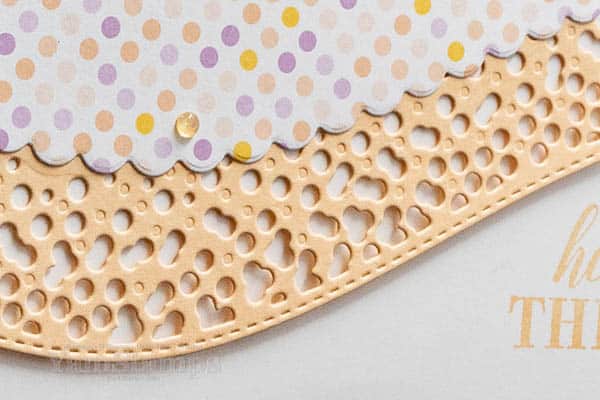
The scalloped layer on the Hello There Curved Layer Card is cut from the Dandy Designs Designer Series Paper which is a Sale-a-Bration item – you can select this patterned paper for free with a $120CAD product order. I picked the Pale Papaya cardstock for the curved layer and I also used Pale Papaya ink for the sentiment. After I finished the card, I decided I wanted to add a bit more bling to it – so I used some 2021-2023 In Color Opal Rounds to add shine and just a touch of colour.
The Take Your Pick Tool with the Die Brush Tip make removing all the little bits easier – just place the die cut piece on the foam that comes with the Brush tip, then run the brush over the die cut piece. I put my foam mat into a shallow box to try to contain some of the little bits that tend to go flying (especially because I am usually doing it in a hurry….).
This is one of the cards we made during Stampers Club this month, though I didn’t think of adding the bling until after club! My Stampers Club is a great way for members to budget out their crafting spending. Each month, we meet (via Zoom/recording) and create the card projects from the packet of supplies each member receives. After club, we place a group order, and each club member gets a turn receiving the Stampin’ Rewards from the orders placed that month. Each member signs up for 6 months and has the option to continue for another 6 months. Some members take a break every now and then, and some just carry on! New members can start at any month, so we often have a rotation of new faces coming and going. Right now, since we continue to meet by Zoom, the bonus is that if you can’t make the club date, you can catch the recording, and still benefit from being in club. The other bonus is that you can be anywhere in Canada, you don’t have to be local to Burlington! If you’re interested in joining us, or have any questions about Stampers Club, feel free to contact me!


Linda, I love this stamp set but am having trouble getting the curved dies to cut all the way through the card stock. Could you tell me the sandwich plates you use? Love you catds.
Hi Judy (sorry for the delay in answering I missed this comment!). I use the Stampin’ Cut & Emboss Machine, and the sandwich is 1,2,3, paper with die on top, 3. If it’s not quite making it all the way through, I do a couple of passes back & forth through the machine. Often if my plates are getting warped I may have an issue – sometimes flipping the plate helps. Other option is to put the die through lengthwise (not always possible if you’re cutting the front of a card with a border die), or at a slight angle. Hope that helps a bit!