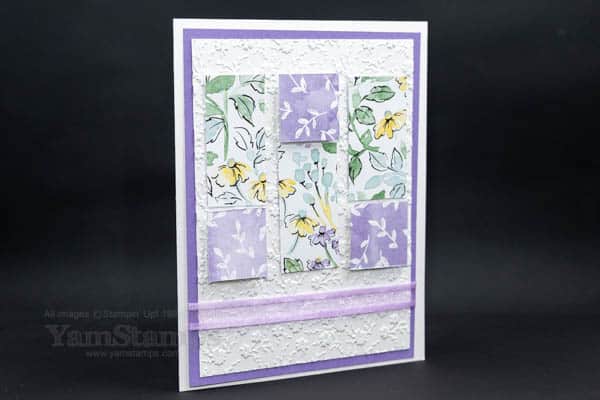
In this “a little goes a long way” card, the strips are 3/4″ wide. I used 3 consecutive strips so that my pattern on the rectangles would carry across. With the wonderful two sided designs, I just flipped the squares over so that the coordinating pattern shows! Love easy crafting!
Give this easy design a try with whatever patterned paper you have on hand. It’s a great way to make a bunch of impressive cards quickly and easily! Change up the patterned paper for a totally different look.
If you like getting card design ideas like this, be sure to be signed up for the YamStamps Newsletter. Each week brings some new paper crafting ideas, full card tutorials, information and inspiration to your inbox!
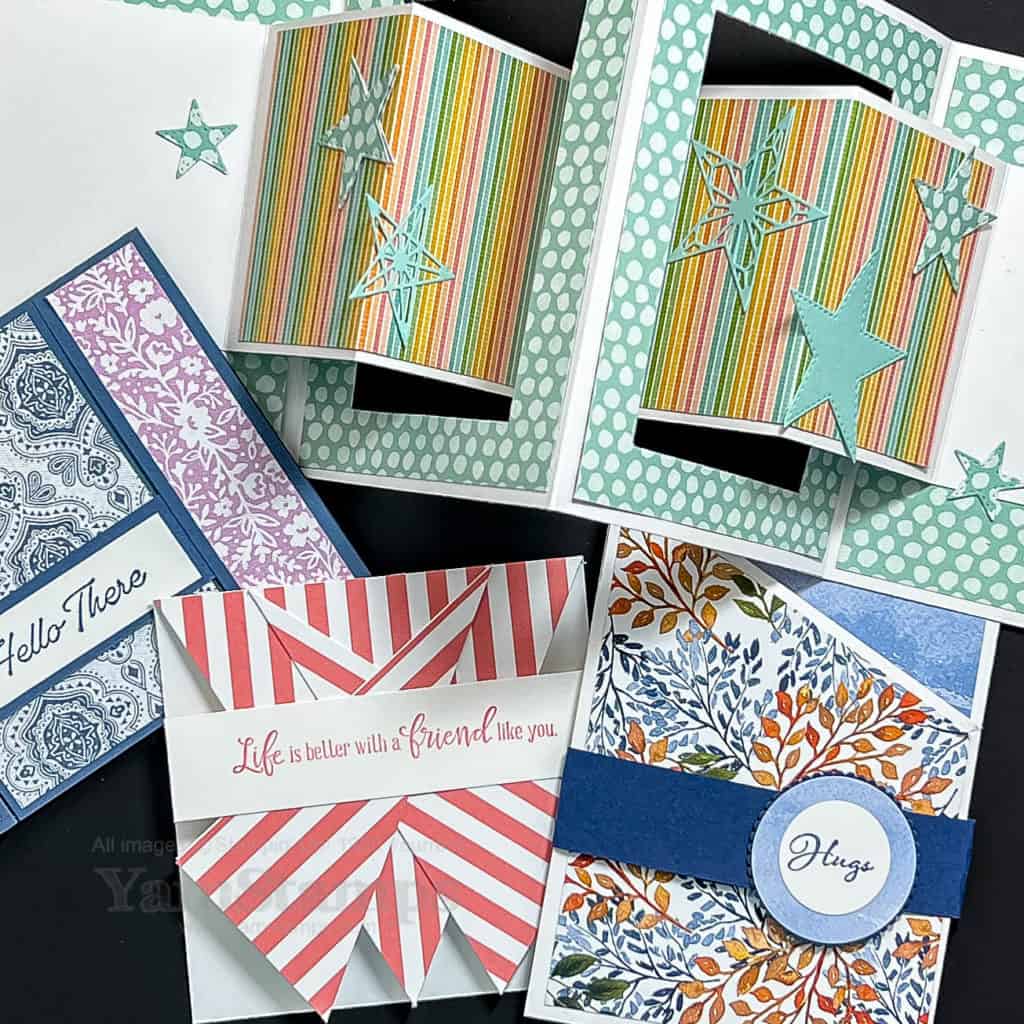
Are you tired of your card designs seeming to be variations on the same theme? Then check out my latest online class – More Fancy Folds!Launching Thursday 10 March 2022.
More Fancy Folds Online Class
Currently in prelaunch/Early Bird pricing – pay only $20 for lifetime access! The class features step by step videos (edited, so they aren’t 6000 hours long), plus a list of the supplies that I used for the samples in the video. As always, because I am a lazy crafty (trademark pending LOL), I look for designs that are impressive but actually easy to reproduce, so that’s what you get in this class!
Basic Supplies for the class: Minimum: Cardstock, Paper Trimmer/Scorer (or ruler and scissors, and capped pen/scoring stylus/bone folder), adhesive Recommended: Above plus decorative paper; bone folder (or ruler) Recommended for further Personalization: Above plus stamps/ink of choice and punches or dies.
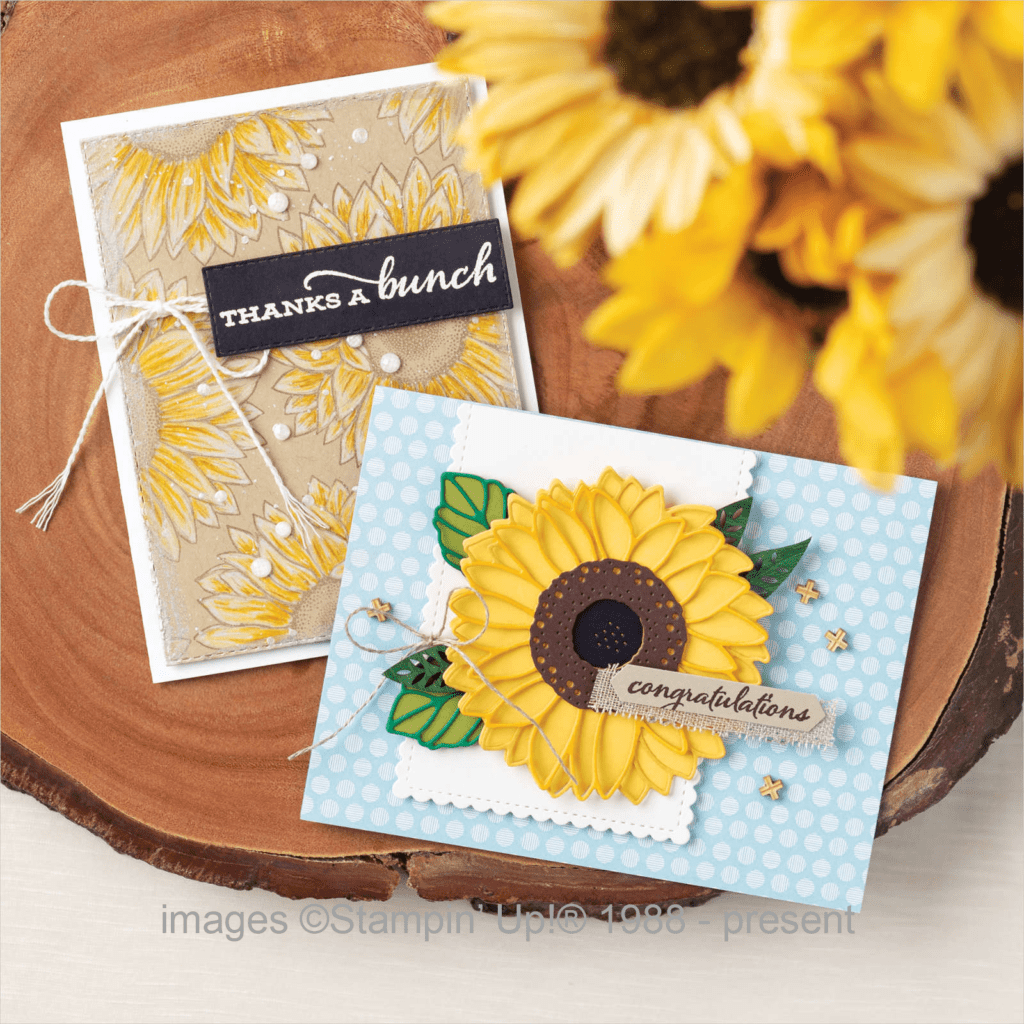
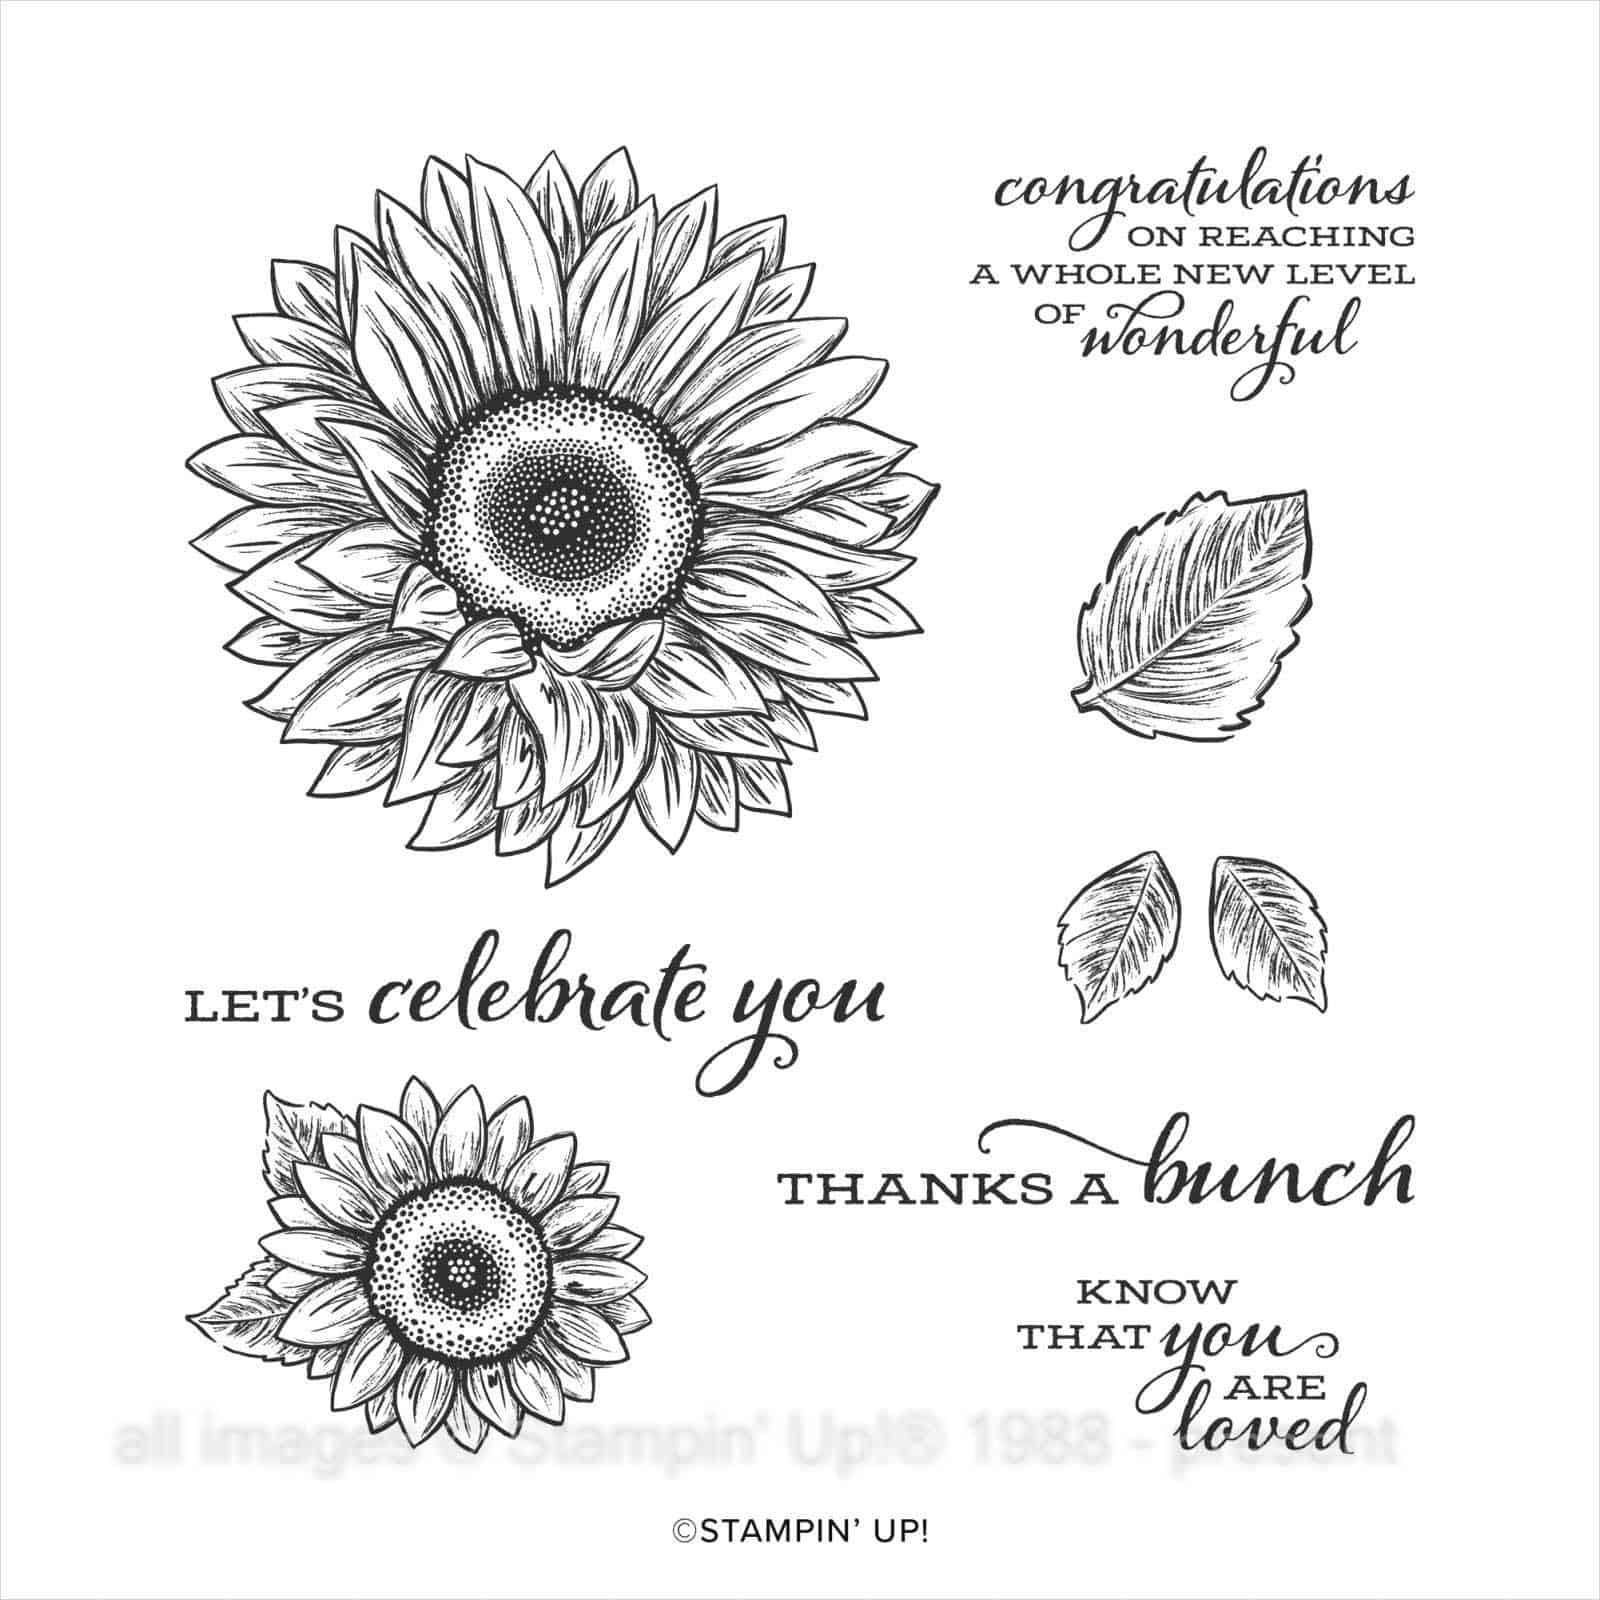
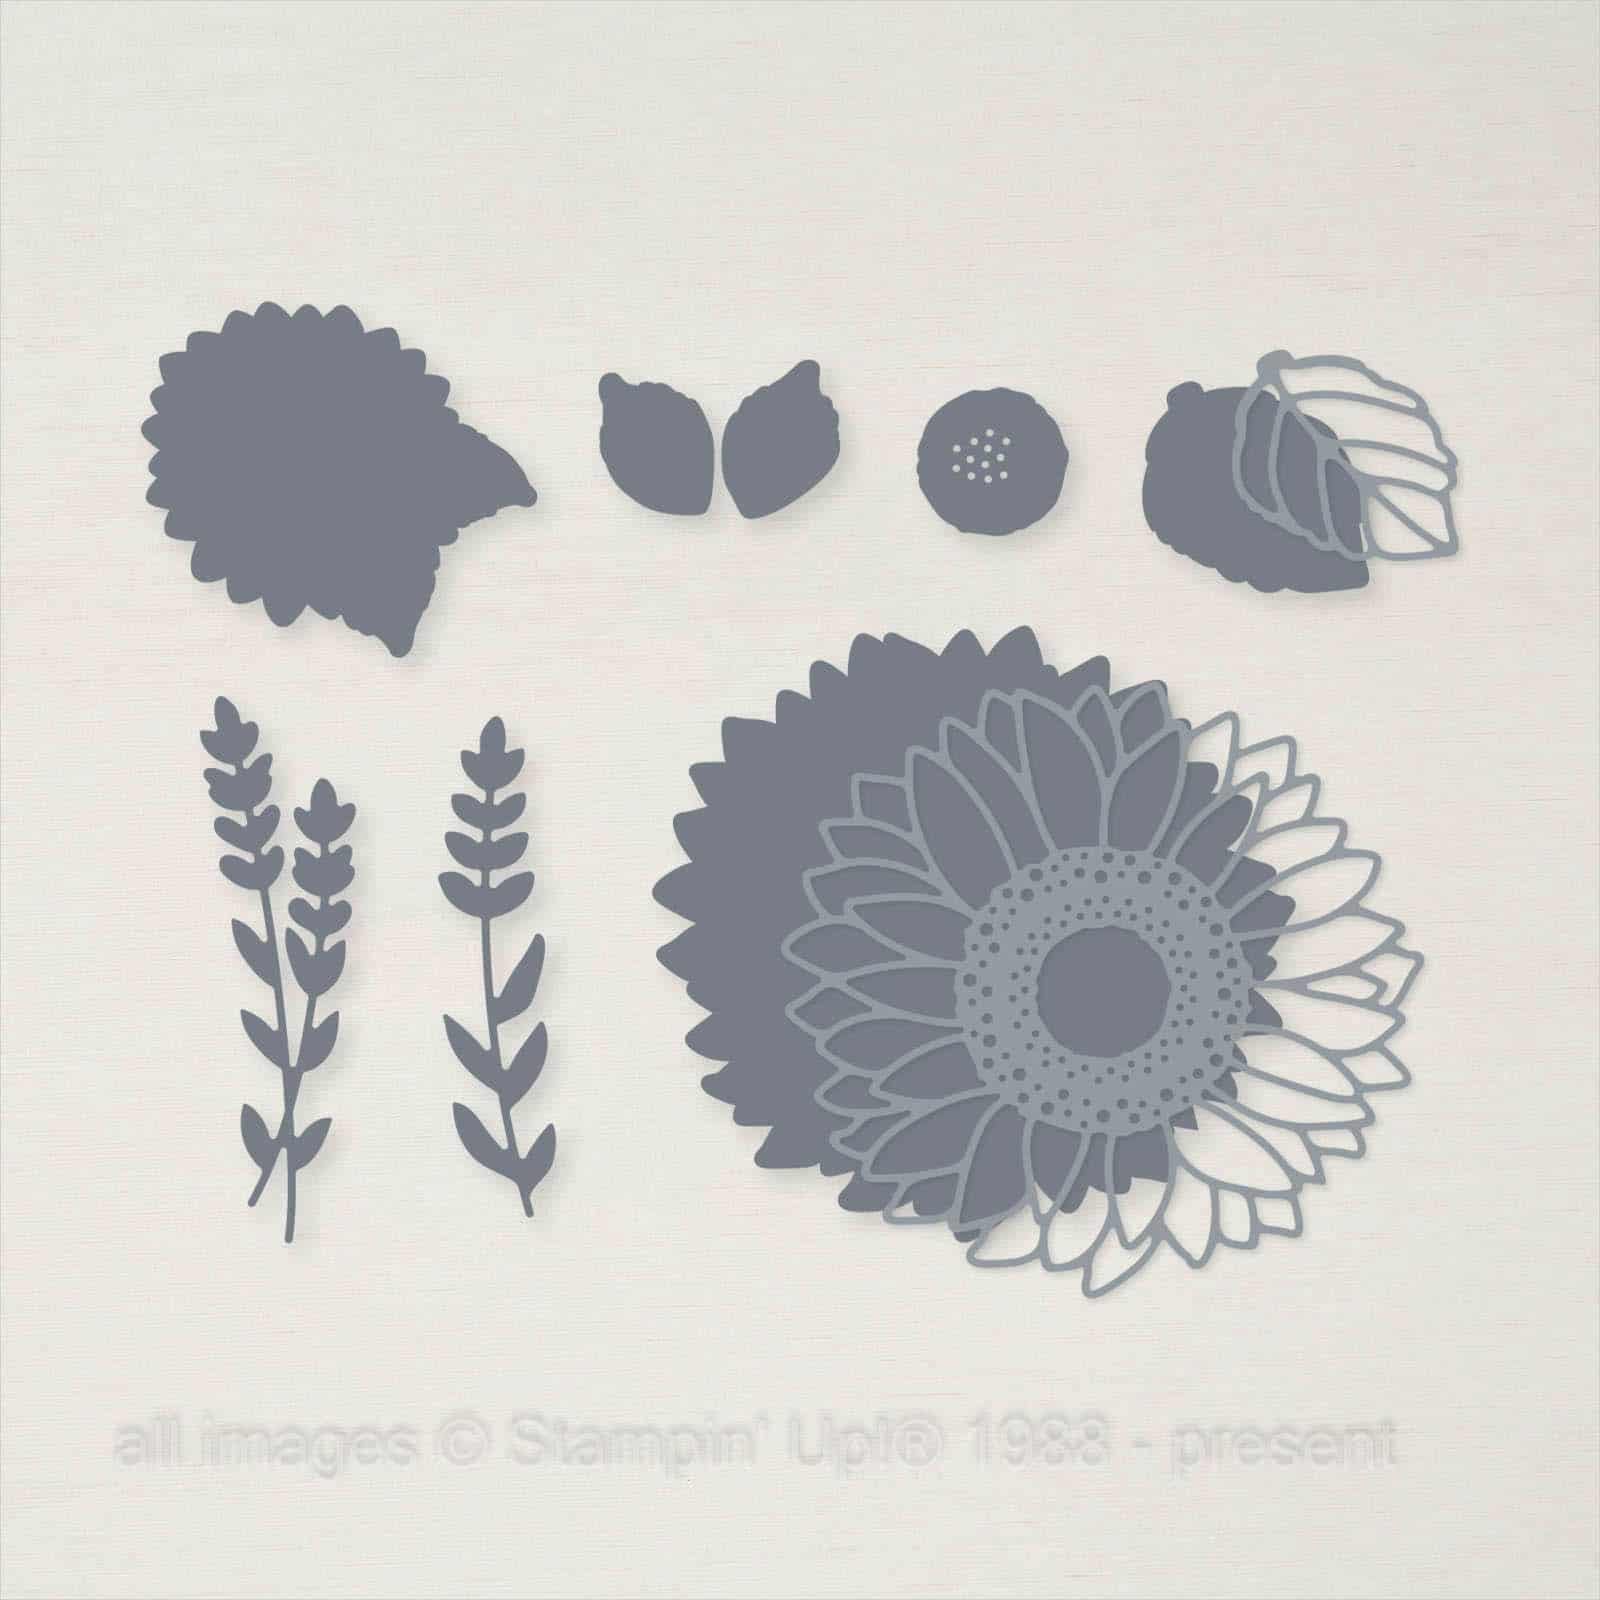
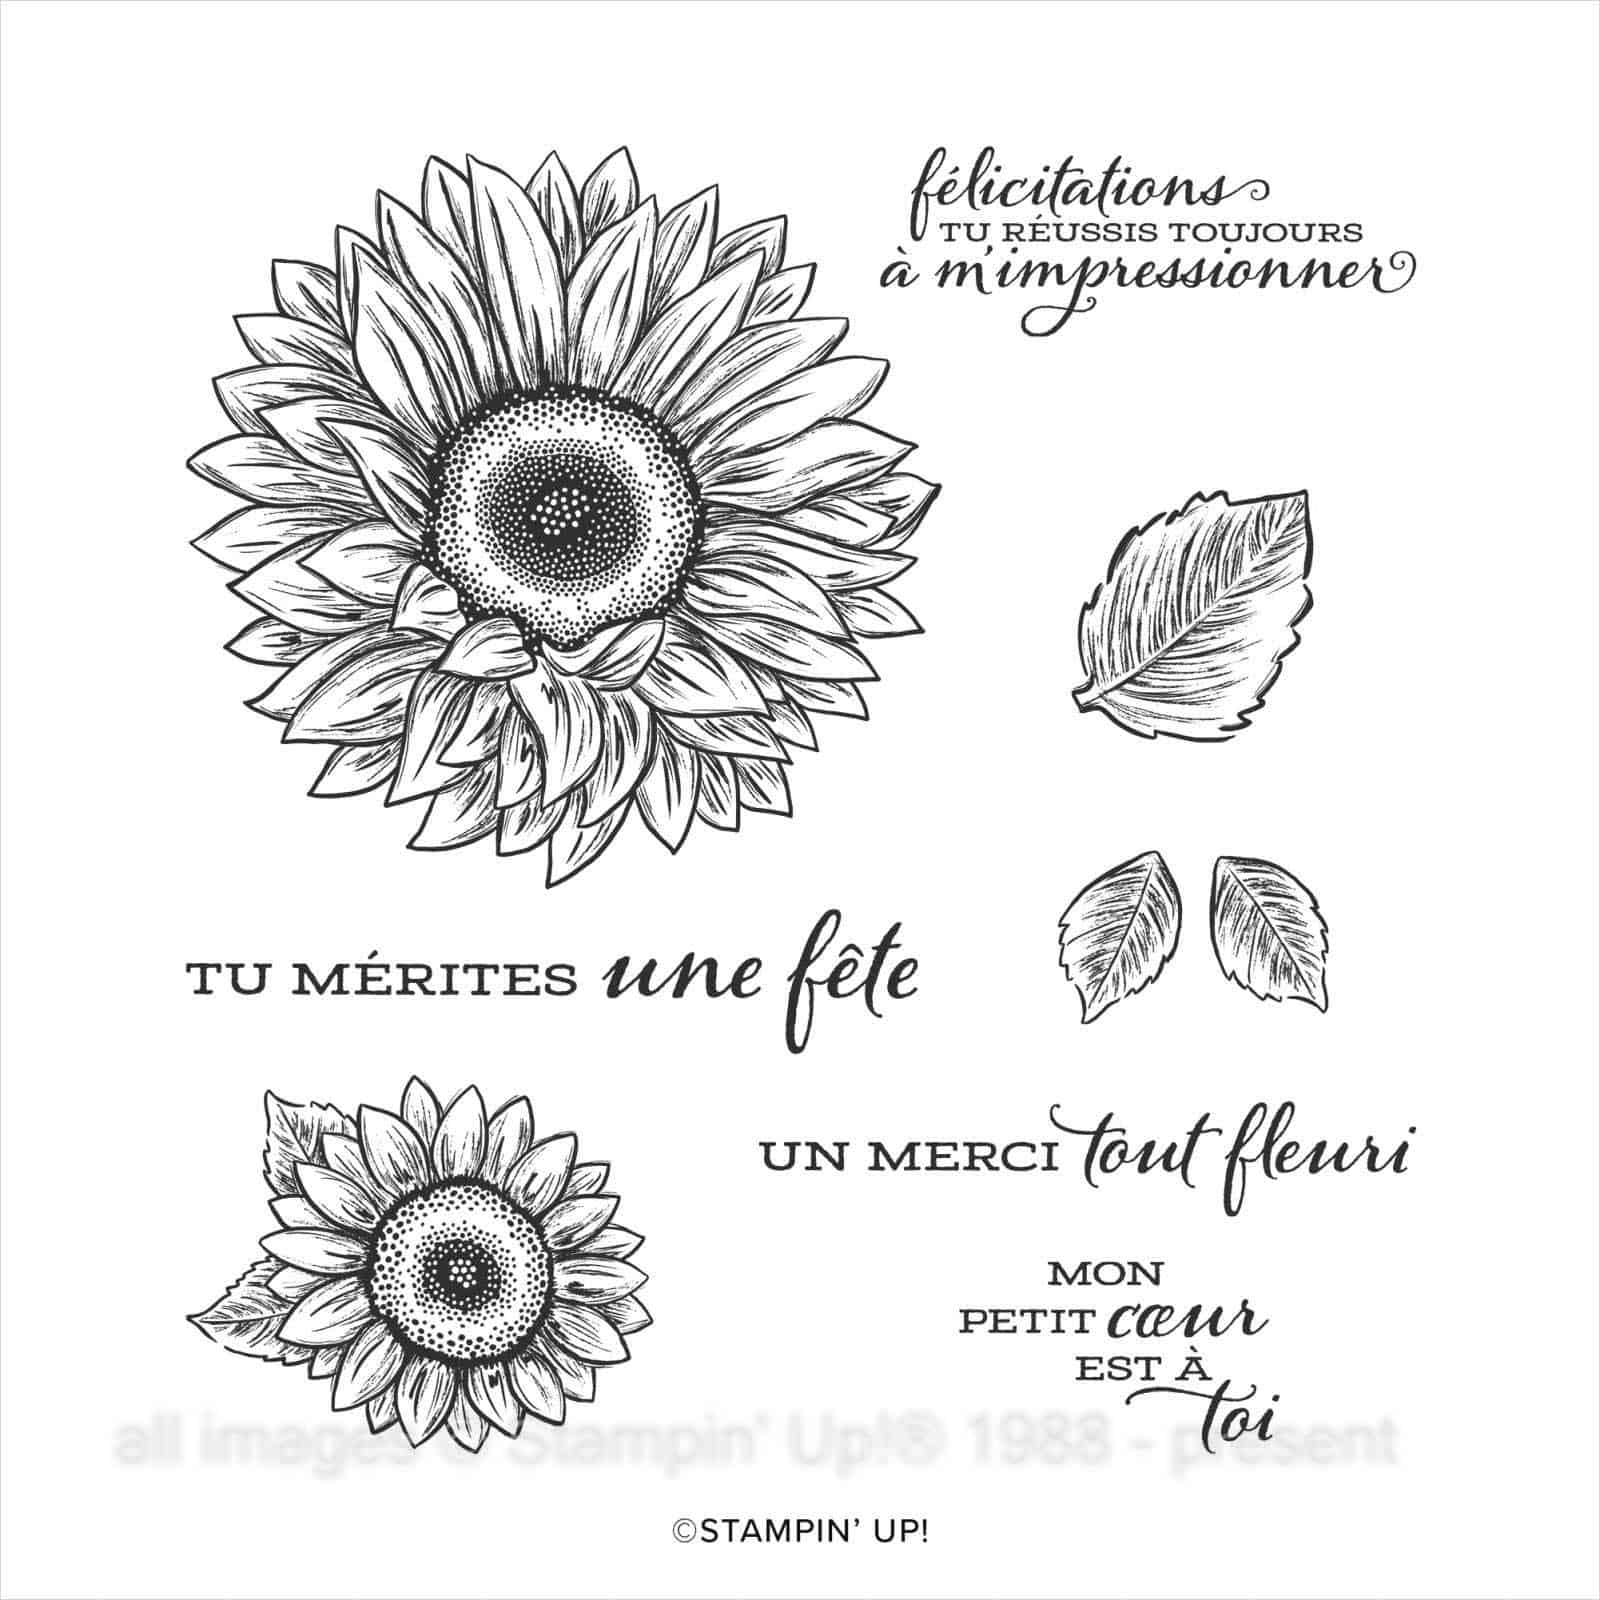
There are three bundles making a return. The individual stamps and dies have been available in the current Annual Catalogue, but for the month of March, they’re available again in a discounted bundle! They are Art Gallery, Garden Wishes andCELEBRATE SUNFLOWERS. Sorry for yelling about the last one. That’s just because I wanted to highlight it, since I’m donating my income from sales of Celebrate Sunflowers stamp set, dies – and now the bundle – to the Canadian Red Cross Ukraine Humanitarian Crisis Appeal. (including the direct link if you prefer).
The Mini Stampin’ Cut & Emboss Machine is a super cute, lightweight and portable addition to your crafting tool shed. Much like the Stampin’ Cut & Emboss Machine, it features folding “wings” so it doesn’t take up much space when not in use. It’s easy to manage and doesn’t require too much muscle force, and the numbered cutting platforms mean less brain work too! (If I forget, the “sandwich” is written on the main platform). I have both in my crafting room, and I often pull out the Mini if I’m just cutting a small shape from a scrap.
These extra savings on bundles and the Mini Machine are in effect 1-31 March 2022 – shortcut to shop is yamstamps.com/shop or message me for assistance placing your order! Happy Savings!
Did you know that the national flower for Ukraine is the sunflower? Some crafty friends on Facebook are using the hashtag #cardsforUkraine to share images of cards made with blue and yellow or sunflowers as a way to put some light into the darkness, using creativity to cope.
For me, I’m also going to donate my income from sales of the Celebrate Sunflowers stamp sets (English or French) and the Sunflowers Dies. The charity I’ve chosen is the Canadian Red Cross’s Ukraine Humanitarian Crisis Appeal. I chose this charity because the Canadian Government announced that they will match funds up to $10million! They will match up until 18 March, but I will continue my donations until the end of the Stampin’ Up! Annual Catalogue period – 3 May 2022.
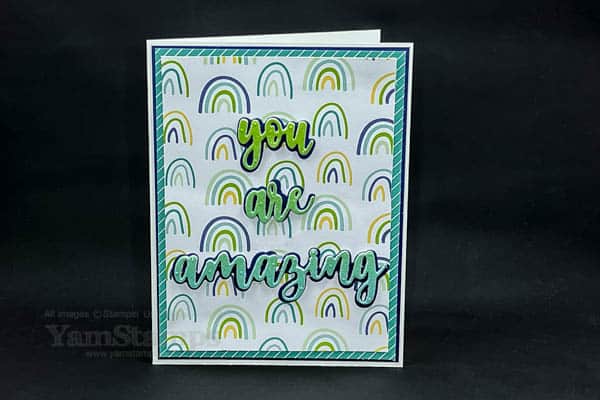
We can all use a little encouragement sometimes, right? This “You Are Amazing” Card will surely give a boost to the recipient.
You Are Amazing Card
I pulled out my favourite Sale-a-Bration item for this one while I still can – the Sunshine & Rainbows Designer Series Paper. I’m also partial to blues and greens, so loved the colours in this particular sheet of paper. I used two layers of Designer Series Paper, and then die cut the words (from the Amazing Thanks Dies) from a sheet of Rainbow Glimmer Paper. I put a piece of Foam Adhesive Sheet on the back of the Glimmer Paper before I ran it through my Stampin’ Cut & Emboss Machine so that the letters would stand out. Plus, the foam sheets have adhesive on both sides, so it was super easy to mount the words on the backing silhouettes before placing them on the cardfront.
Have you been checking out the Sunday Swap Shares on the YamStamps Facebook Page? I also share details of what products were used (or what I -think- was used based on examining the cards LOL) on the YamStamps Sunday Swap Page. Since there’s one more Sunday in February, I may be able to squeeze out one more post that includes the Sunshine & Rainbows Paper…ha!
This was a pretty easy card to create – I think that the most difficulty I had was positioning my dies to be sure that I could catch the rainbow gradient on the words. I love how it coordinates with the sheets of the Designer Series Paper!
If you would like to grab some free Sale-a-Bration products (or a couple of free stamp sets in your Demonstrator Starter Kit), you’ll have until 28 February to do so. Shortcut to shopping is yamstamps.com/shop. Please feel free to message me if you have any questions!