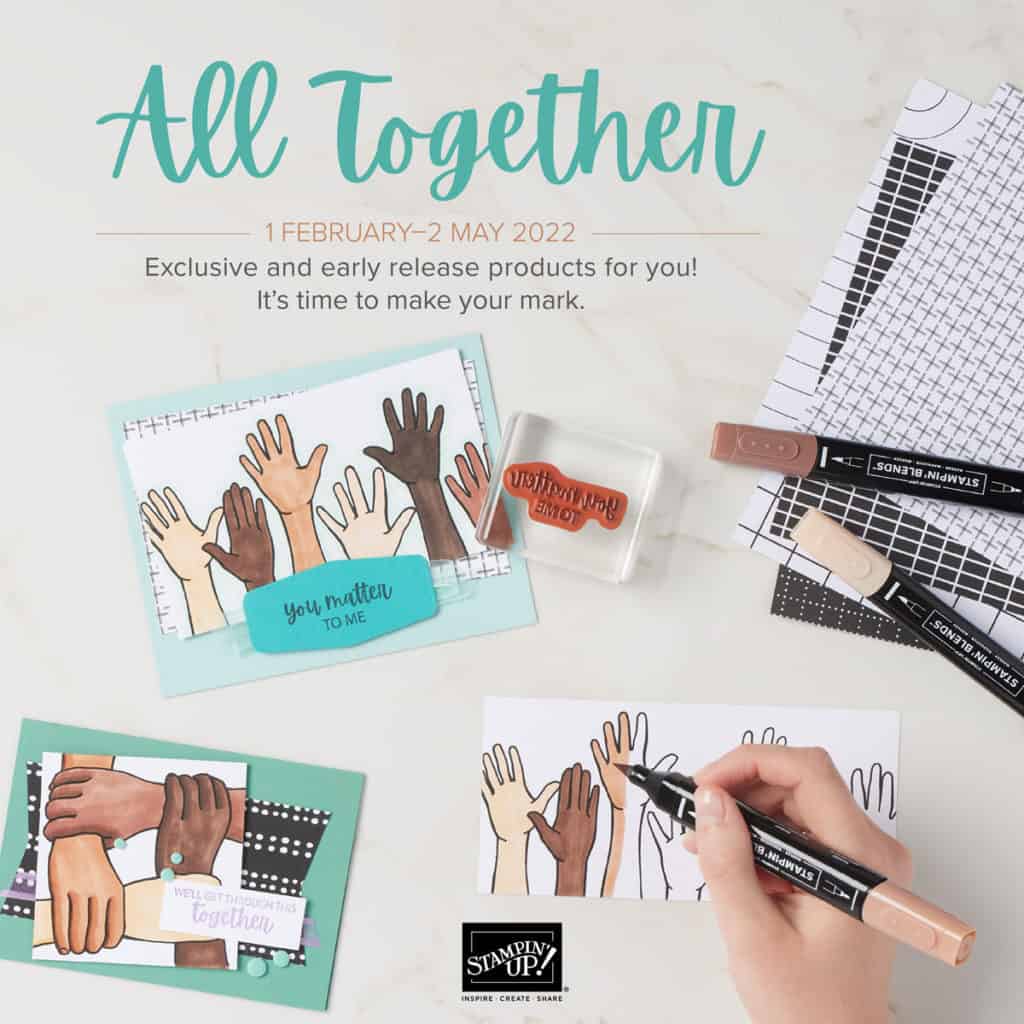
Lots of things to celebrate today – like the Lunar New Year/Year of the Tiger (I shared a Tiger card on the YamStamps Facebook Page), plus the release of a special collection from Stampin’ Up – the All Together Collection!
The All Together Collection is available for purchase today until 2 May 2022. It features a new set of Stampin’ Blends Markers – the Naturals Tones. You can purchase them in sets of two[Light, Medium Light, Medium, Medium Deep and Deep] , or get the entire set of Naturals Blends markers, which cover a range of shades that can be used for skin tones. These alcohol based markers will be available in the next Annual Catalogue as well – so this is like a Sneak Peek at new product. The other products in this collection will NOT appear in the next catalogue – so they’re only available during this promotion period.
I love this collection – it’s going to be great for a bit of colouring therapy for me, plus it will make for some great cards and scrapbook pages! Don’t forget that if you place an order for $60 product (before shipping/taxes), you’ll also get Sale-a-Bration products of your choice for free until the end of February! Shortcut to shopping is YamStamps.com/shop.
(surprise – not a rainbow themed card…) This card is still a colourful one, though! It’s perfect for sending hugs to someone who could use a little lift. Plus it’s COVID appropriate…*sigh*
Sending Hugs Card
Sometimes a little colouring therapy is called for….it’s a peaceful way to spend some time without too much brainwork involved. I coloured this one with Stampin’ Blends, Stampin’ Up!’s alcohol based markers, which are great for blending and shading without leaving streaky lines. Instead of using Memento Tuxedo Black Ink (black dye based ink good for use with alcohol based markers), I decided to use a paler colour (Sahara Sand) so the lines would still be visible but not such a sharp contrast as the black can be. The image is from the Sending Hugs stamp set, and I used Blends in Pool Party, Balmy Blue,Old Olive, Highland Heather, So Saffron and Shaded Spruce. I added a bunch of Pearl Basic Jewels for a bit of shine and elegance. (plus if you have a few overzealous colouring strokes or got a little close to the lines and had some “bleeding” outside the lines, a few pearls will distract and/or cover that!)
If you’re sending hugs with this card, you’ll want to either hand deliver it or may want to consider mailing it in a padded envelope, or use some of the smaller pearls to decrease the bulk on the front of the card.
If you like using Blends, you’ll be excited to hear about a new grouping of Blends that will be available for purchase next month – a new range of “Natural” tone Stampin’ Blends! My Demonstrator preorder of these new markers just arrived, so I’ll be spending some time playing with them (plus some of the limited time products that will be available) and will share some of my results here! I’ll post more about the special collection when they’re available to order in February, so be sure to come back to the YamStamps blog to see more, and subscribe to the YamStamps newsletter to be notified when they’re available to order!
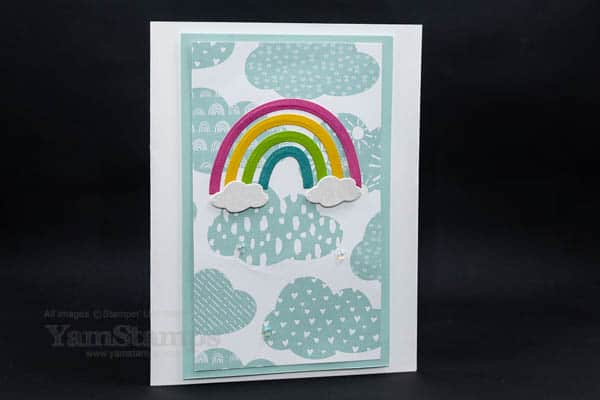
I love how using different patterns and items from the same coordinating suite of products can give a different look and feel to projects! Today’s die cut rainbow card has a softer feel than the previous rainbow cards I shared with you.
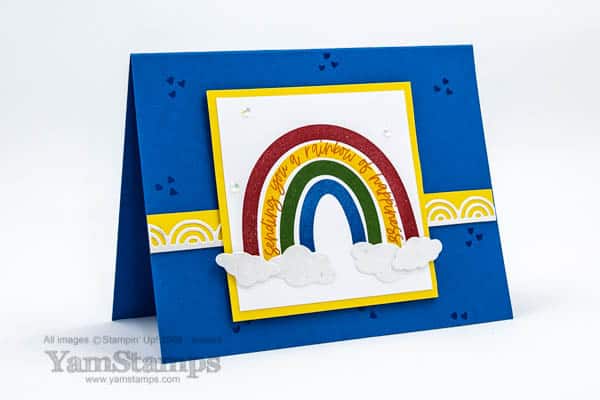
This one used the Mother of Pearl Specialty Paper, Brilliant Rainbows Dies (though not for the the rainbow!) and Iridescent Rhinestones like today’s project. Definitely a more bold colour theme
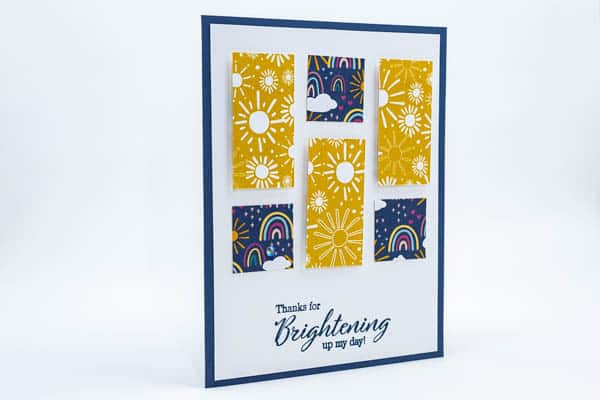
This one used the same Designer Series Paper – just different patterns! Also more bold and bright than today’s share. By using smaller pieces of the paper it’s a little more subtle. A little.
I guess I also like the rainbow theme because it’s going to be a few months until we see some around my home…and it’s a colourful theme, unlike the solid white/grey theme happening outside my window!
We are nearing the end of January (hard to believe) and a reminder that Sale-a-Bration runs only for two months – January and February only. If you’d like to grab the Sunshine & Rainbows Designer Series Paper, it’s one of the Sale-a-Bration freebies you can select with a $60CAD product order, but you’ll want to order before 28 February to be sure that you get some before it’s gone!
I can be a bit of a traditionalist, so I stuck to “ROYGBV” for my rainbow card – well, as close as I could get with only 5 stripes LOL. This is where the Stamparatus comes in handy! I set up the arcs so I had one on each side of a plate (and yes, I used 3 plates) so I could easily mass produce. I made 21 of these cards for a recent Demonstrator card swap, so I had to be able to reproduce them easily. The other thing about using the Stamparatus – I could re-stamp any arc accurately and easily if it wasn’t as dark as I wanted it to be the first time. The clouds and arch die cuts are out of the Mother of Pearl Specialty Paper, which didn’t show up as well as I had hoped on this photo – you can’t quite see the iridescent flecks in it. It’s also a glossy finish, so it’s extra shiny. I added some Iridescent Rhinestones Basic Jewels for a bit of bling and because they reminded me of raindrops.
Sale-a-Bration runs until 28 February, so with each $60CAD product amount you order, you can select a Sale-a-Bration item for free! If you purchase the Demonstrator Starter Kit during Sale-a-Bration, you’ll get to select TWO stamp sets from the Annual Catalogue or Mini Catalogue for free. This is on top of the $165 product that you select! All that plus basic business supplies and being part of my Demonstrator group – for just $135. You can see more about joining the “Eh” Team here, or you can contact me with any specific questions you might have.
In the meantime, I will focus on the rainbow….and not think about the impending snow storm that’s forecast for our area! (To be clear, I don’t mind the snow, it’s the clearing of the driveway about which I am less enthusiastic…).
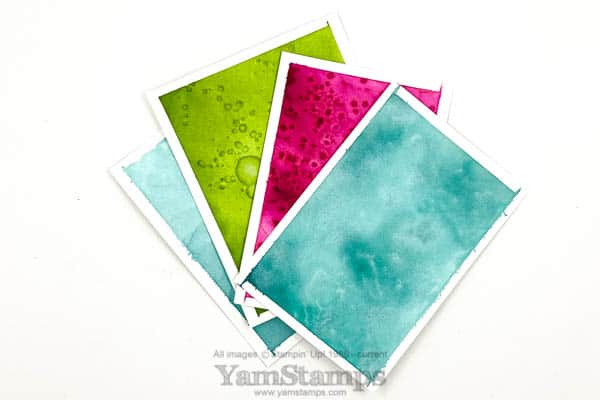
The Early Bird Pricing is on right now for the Watercolour 201 Online Class! Register now at a discount, and be one of the first to check out the class videos when the class site officially opens this Thursday, 13 January!
Watercolour 201 Online Class samples
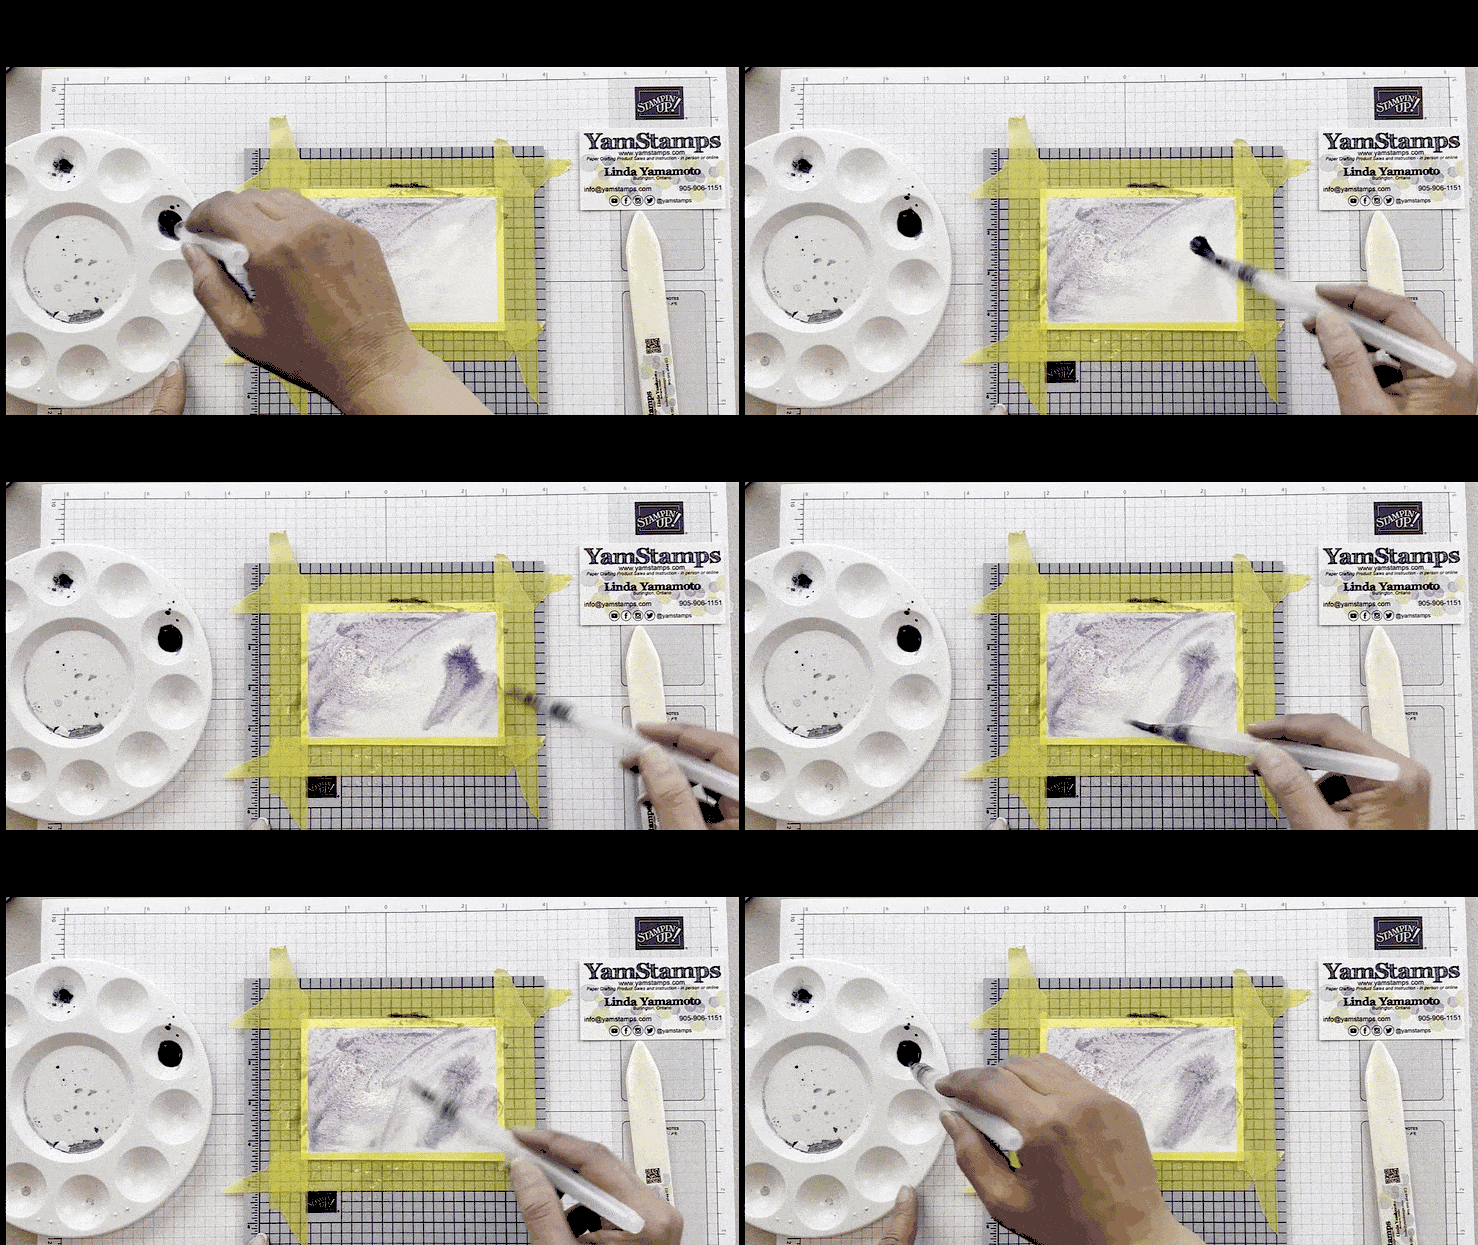
You don’t have to be a watercolouring expert for this class! If you’ve taken the Watercolour 101 Online Class, you’ll have the basics for this one. If you haven’t taken it, no worries. This class focuses on adding textures to watercolour wash backgrounds. The first class video quickly covers a watercolour wash, and then moves right into how to make your wash backgrounds even more fantastic.
FREQUENTLY ASKED QUESTIONS
Q: Do I have to know how to watercolour to take this class?
A: While watercolouring knowledge is helpful, because this is a technique based class on adding textures to watercolour wash backgrounds, you don’t need a lot of skill. (Trust me, I’m not a professional watercolour painter!) See below for level of painting skill required….
if you can do something like this, you’re ready for Watercolour 201!
A: This is an online class with pre-recorded videos, so you can watch them whenever you have the chance to learn the techniques, and use supplies you have on hand. You’ll need a device capable of showing video and an internet connection for this. Basic Craft Essentials: Watercolour Paper, a paint brush, and a source of colour. I used the Fluid 100 Watercolour Paper that Stampin’ Up! carries, cut in half, the Water Painters, and ReInkers like this one. You’ll get a list of what’s required for the techniques in the class site when it opens. (Hey, have to have some mystery involved, still, right?!) They’re things you likely have in your home, so don’t worry. Plus you have lifetime access to the videos, so you can watch whenever it suits your schedule!
Helpful to have: painters tape/washi tape and a surface to tape your work onto – I used a Stamparatus Deluxe Foam Mat; you could also use a Silicone Craft Mat or any flat clean surface that can be wiped/washed afterwards – like a cutting board or clipboard. Also nice to have but not mandatory – Stampin’ Spritzers but you could use your brush with water or an empty spritz bottle filled with water.
You’ll have lifetime access to the videos once you’ve registered. Please note that class videos are for the personal use of paid students only.