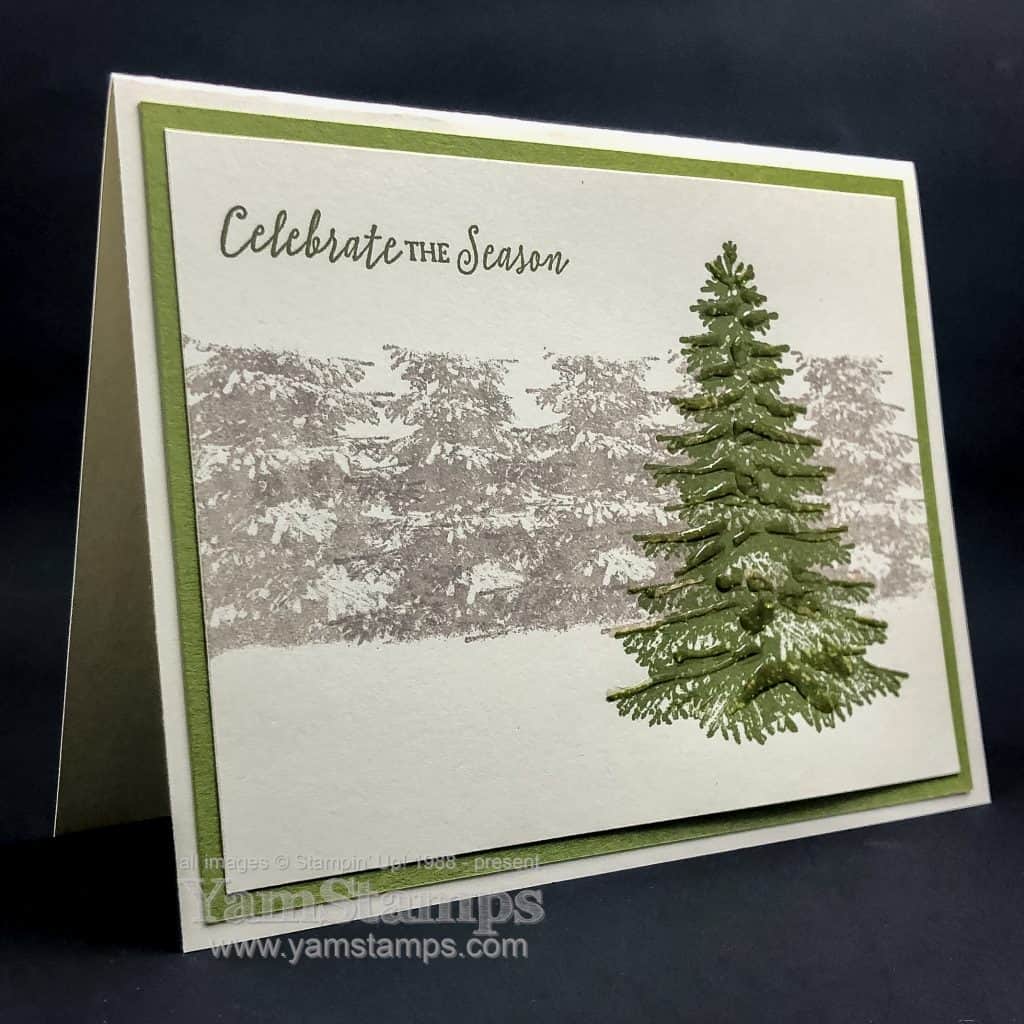
And when I say Winter Evergreen Card, I also mean that the card design is evergreen!
his card features the Winter Woods stamp set, one of my favourites. I love the tree images in it – and the evergreen tree is beautiful. For this card, I added a touch of the Shimmery Crystal Effects onto the foreground tree to make it look like it was covered in ice – much like many of the trees in our neighbourhood after the recent ice/sleet storm! Pretty to look at – especially from the warmth and safety inside the house! (I was fortunate not to lose power, unlike some of my poor friends).
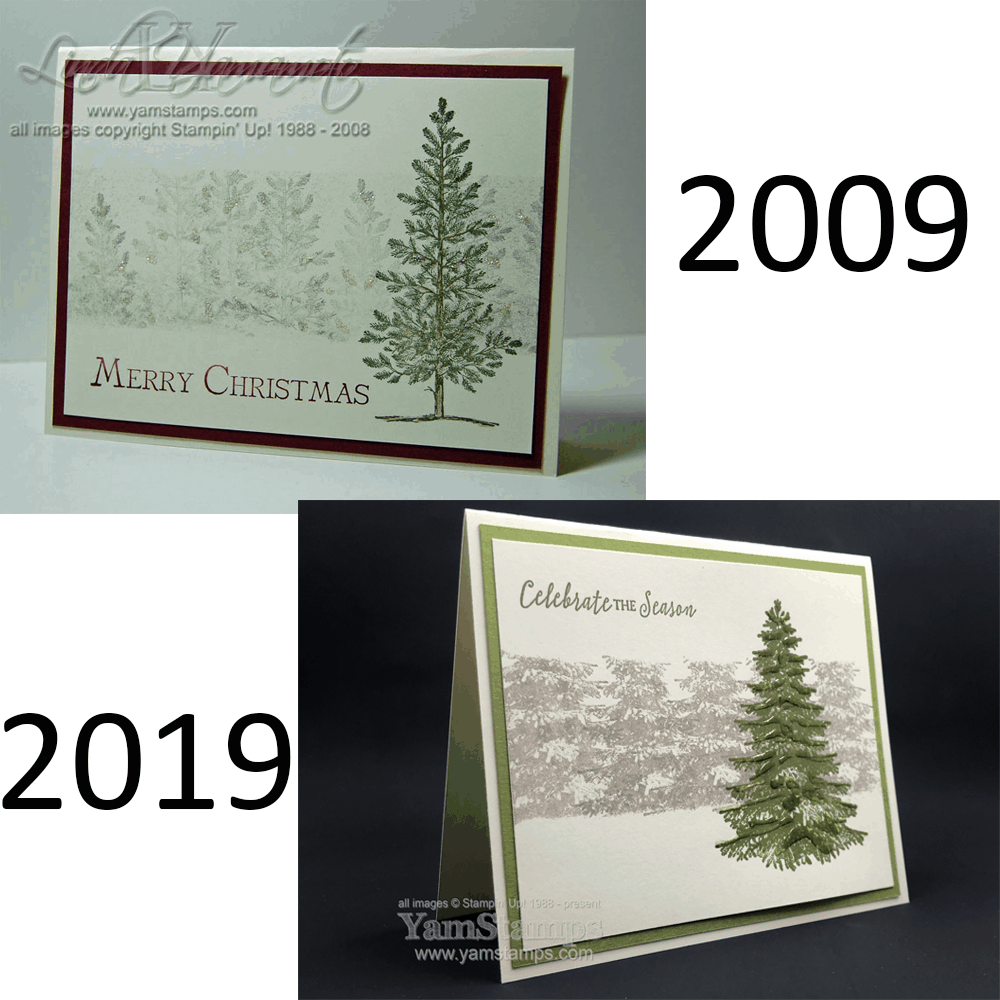
And if you’re wondering about the evergreen comment, well, you can’t keep a good card design down….
haha! This was my papercrafting version of the ten year challenge that people were doing on social media. The idea was to post a pic of yourself from 2009 beside a pic of yourself in 2019. My selfie game is not so strong, but I have TONS of pictures of cards – so that’s what I did. And I’d like to say that I did the card design on purpose….but that would take a lot of planning on my part, so no. I did remember this design and liked it, but honestly didn’t remember that it had been 10 years since I used it LOL!! I did share this on the YamStamps Facebook Page and Instagram, so it will live on in social media infamy.
If you’d like to build up a stash of cards that you can copy 10 years from now, like this Winter Evergreen Card…be sure to register for an upcoming card making class! I’m actually done my scheduled classes for the month, but the first card class of 2020 will be on Wednesday, January 8th – see the YamStamps Events Page for more dates and information, and then contact me to sign up!
While yes, I know it’s still early December, Stampin’ Up! is starting the Year End Closeout Event! Special pricing while supplies last on selected current and retiring products.
Click on the image (or here) to see items in the Online Store – that will be the most current availability at any given time.
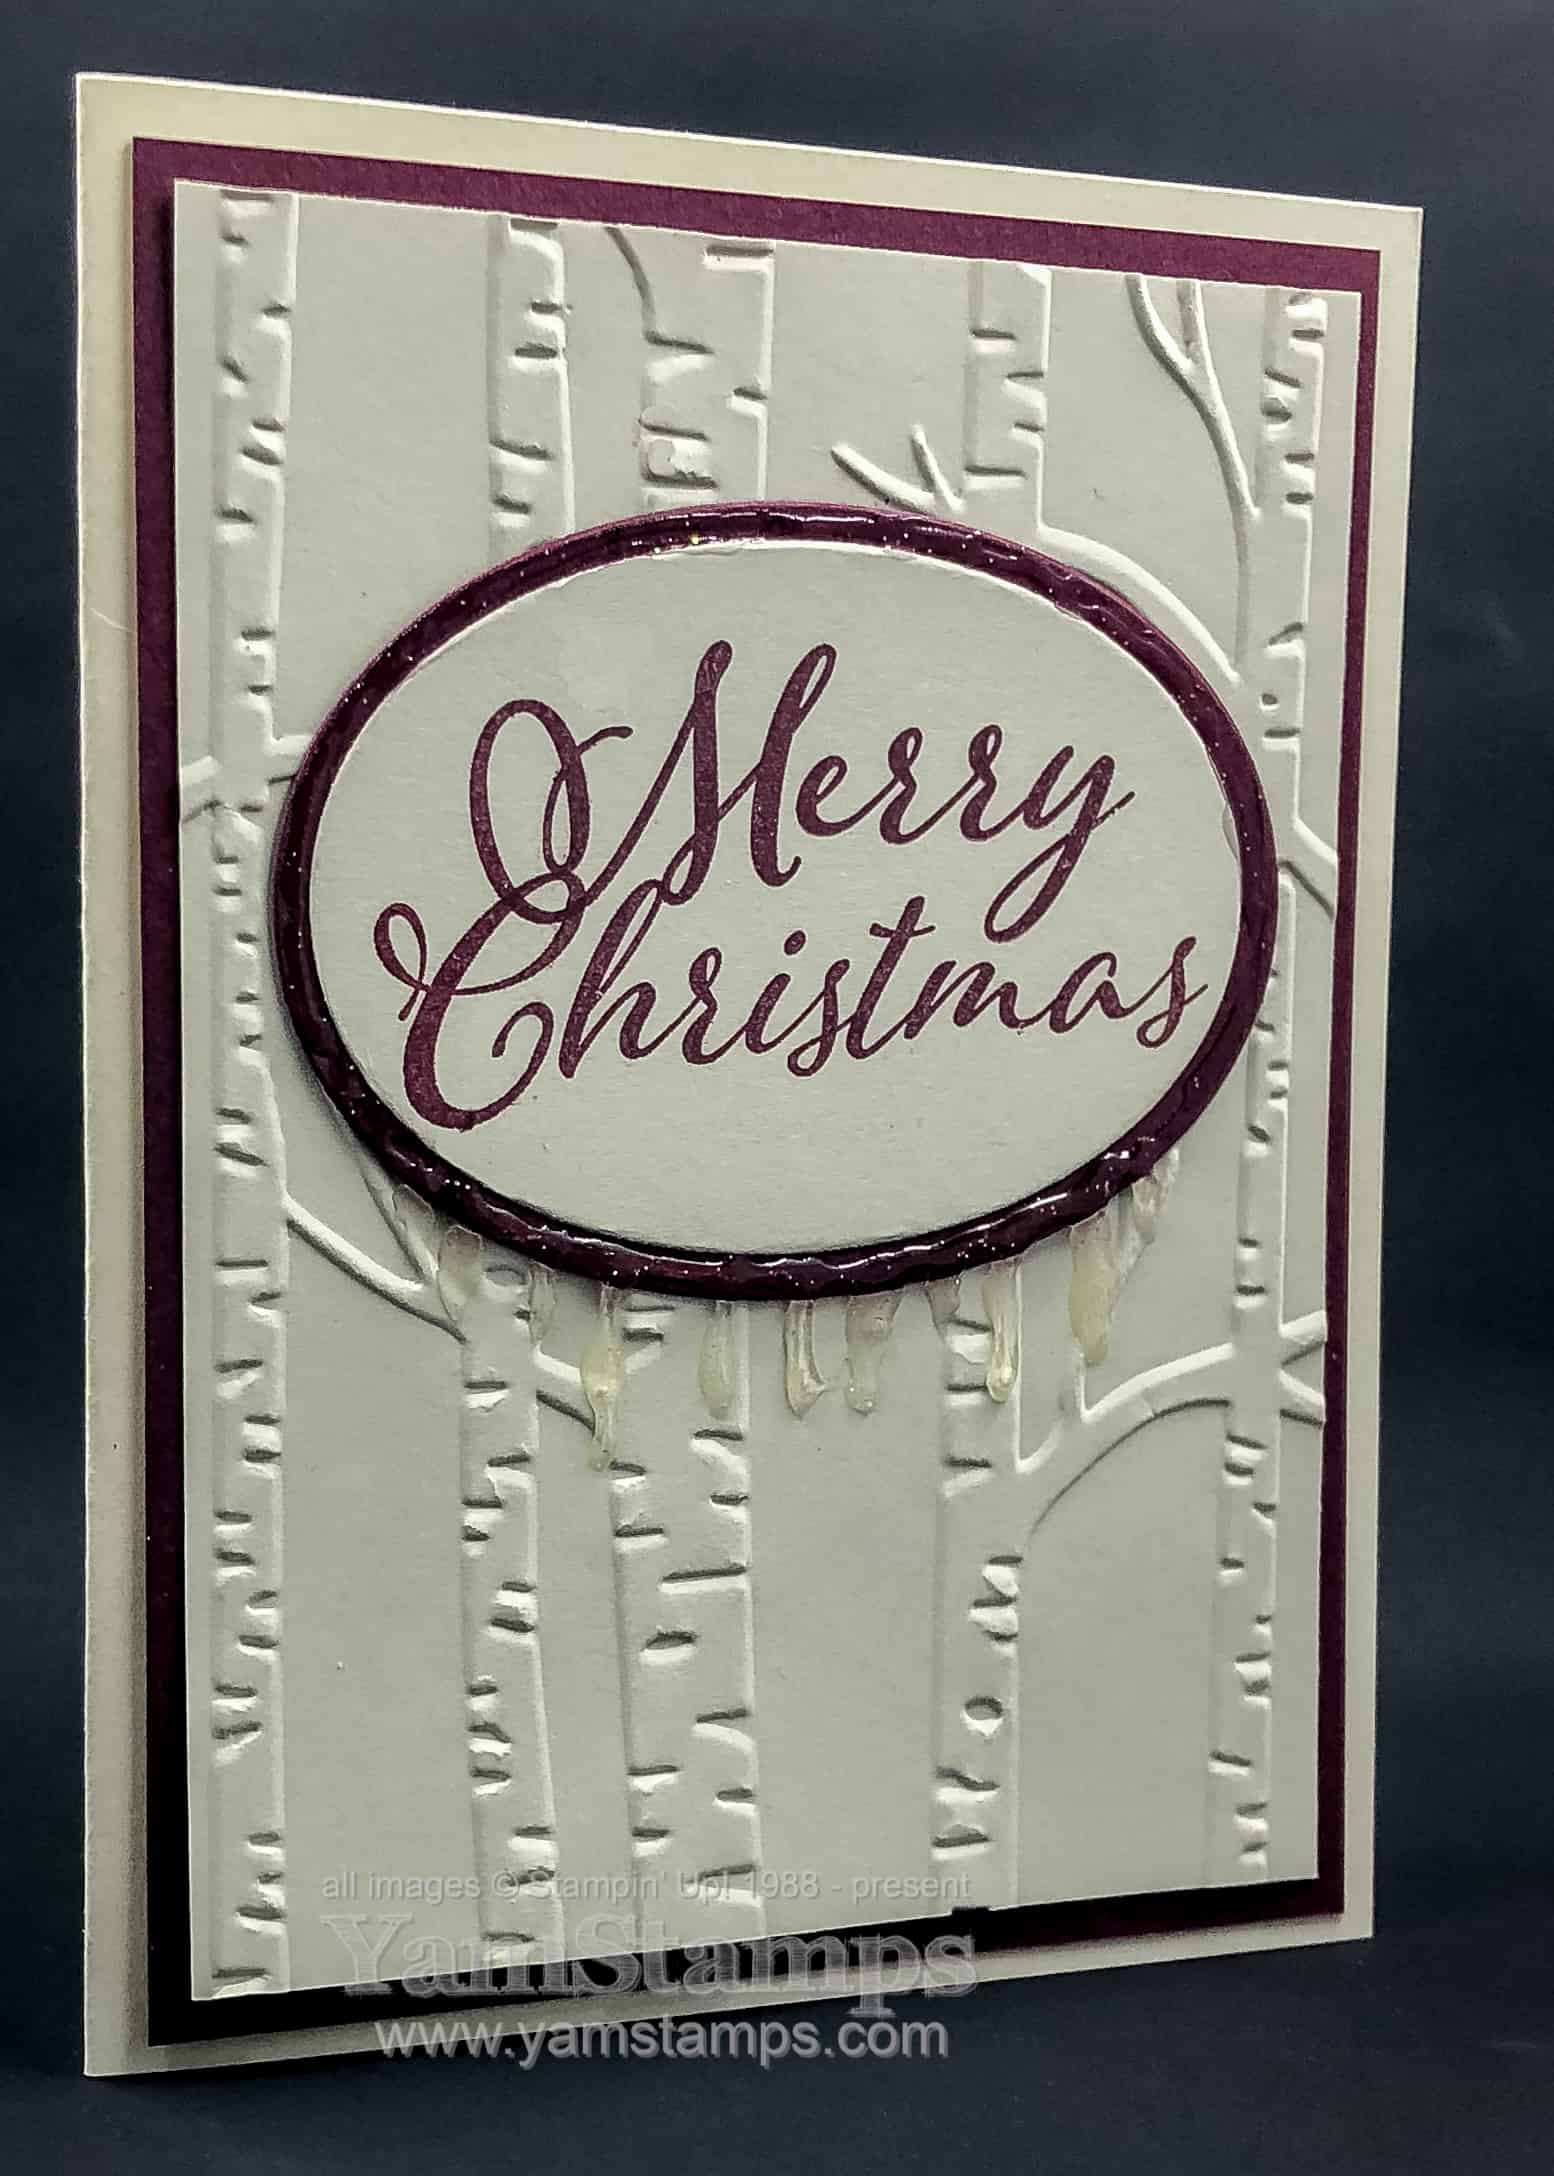
Given the weather outside, it seems appropriate to share this shimmery icicles card! The Burlington Santa Claus Parade had to be cancelled due to the freezing rain storm, so I spent time inside doing some photo editing and a bit of paper crafting. While I was sad about the cancellation, I was glad not to be outside in the awful weather!
This card was from the November Christmas Card Class, where we used Shimmery Crystal Effects on each of the projects.
I still love that Woodland Embossing Folder! It’s great for adding texture and interest to the background of a card. The design of the card itself is quite clean and simple otherwise. Layering Ovals for the sentiment, which is from the Merry Christmas to All stamp set.
We added Shimmery Crystal Effects around the backing oval of Merry Merlot Cardstock, and then drew icicles from the bottom portion of the frame. Easy peasy! You do need to allow a fair bit of time for drying – otherwise the card will be glued to the inside of the envelope!! The Shimmery Crystal Effects is fairly thick and you can layer it up and get a 3D effect.
This would be a fun card to make for your friends – and you can easily mass produce it by using the Stamparatus for the sentiment, and then just “assembly line” the rest of the card production.
I can’t believe we’re in December. All of the Christmas Card Classes are done for the year, but there’s still the Monthly Card Classes and Stampers Club on the calendar. I’ll be adding some new classes for the new year, and don’t forget that the Holiday Punch Art Online Class is still open for enrollment until end of day December 2!
The shimmery icicles card is the preferred way to view ice for me right now – and from the inside of my warm home. I am debating on how safe it is for me to navigate the green bin and blue bin to the curb tonight….or if I wait until tomorrow when it may be better?! Stay safe everyone!
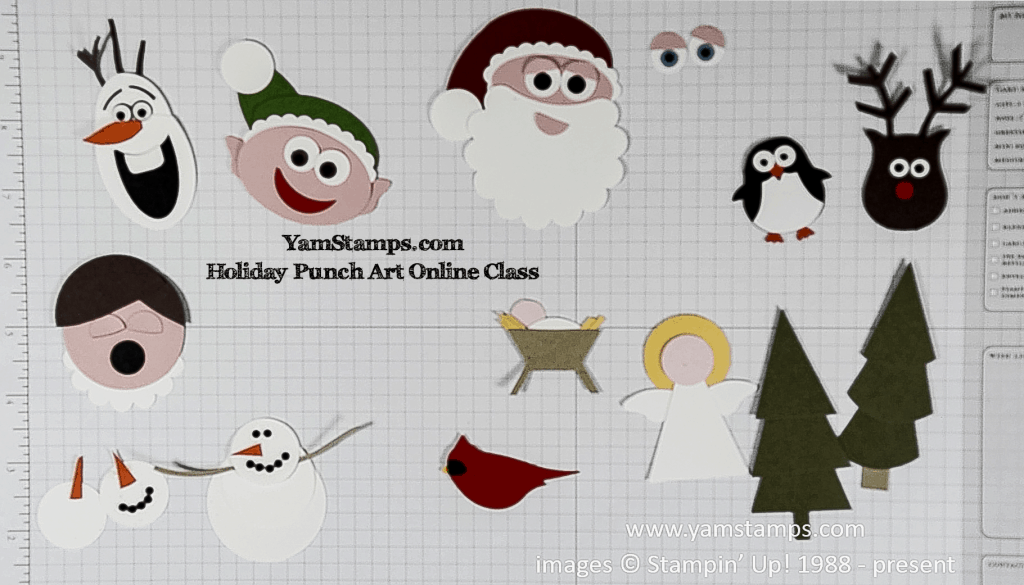
I’m bringing this class out of the vault for four days only! My Holiday Punch Art Online Classfeatures 11 different punch art creations, all seasonally themed.
Special pricing of $5 CAD – but only available for the next few days – after Monday, it’s going back into the vault! Get more information here or click below for instant access!
You’ll get lifetime access to the videos and pdf downloads! While some of the punches and colours may have retired, you may very well still have them in your craft stash – or you can substitute similar punches or dies and get the same effect.
Questions? Message me – otherwise I will “see” you in class!
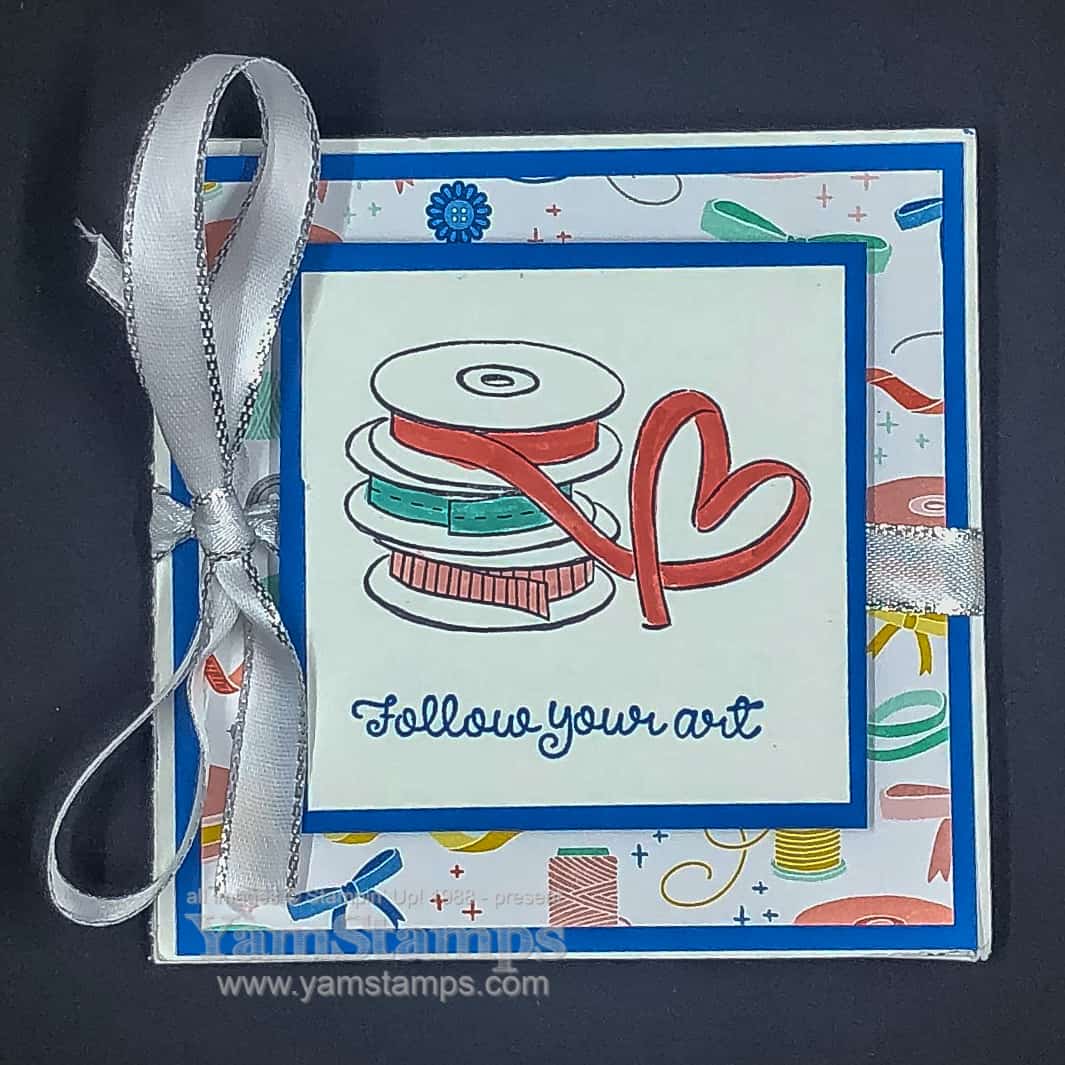
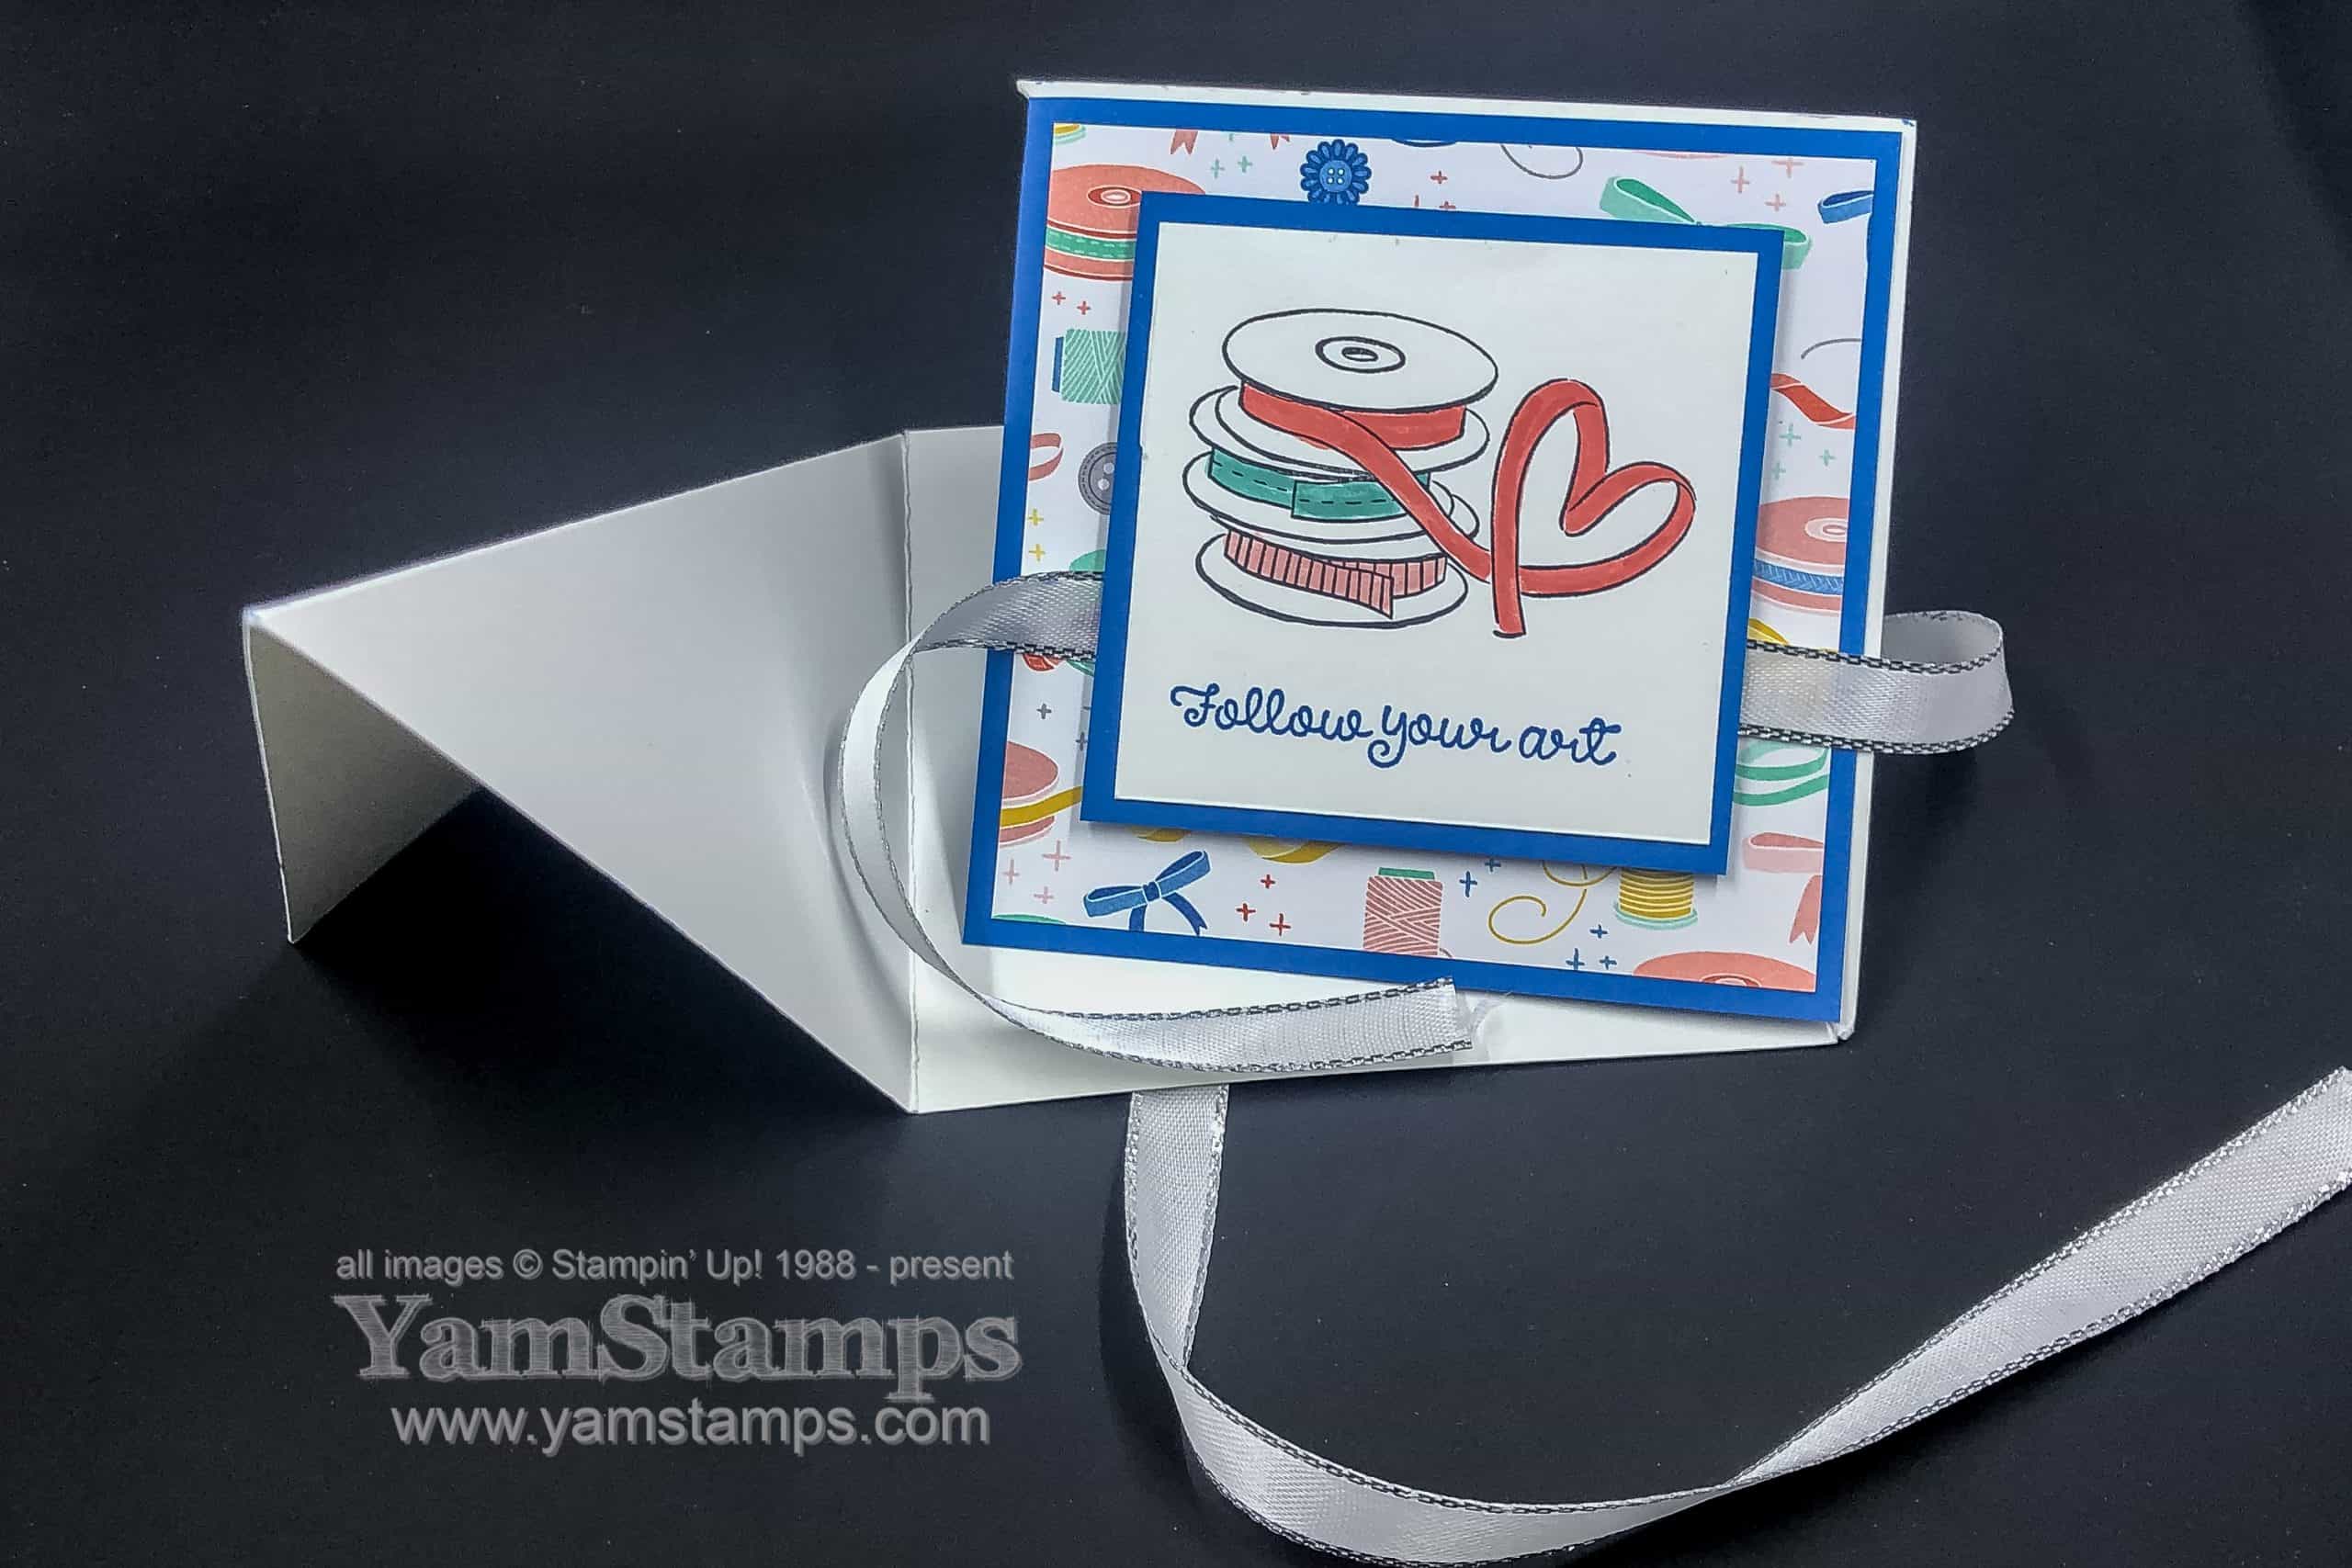
Here’s a fun fold card that we did in last month’s card class, featuring some items from the Follow Your Art Suite.
When closed/folded – it’s a square. If you saw my Facebook Live with the easy Gift Card Holder – it’s similar but different LOL. Start with a 4″ x 12″ piece of cardstock, score at 4″ & 8″, and the score diagonally (same direction) on both end pieces. The vertical scores are valley folds (folded inwards) and the diagonal scores are mountain folds (folded outwards).
The next part of the technique is to put the adhesive on one outward corner of the diagonal folded section – so that you can still open and close the card. When closed, the two diagonal folds meet in the middle (not really visible due to the square front design piece). The ribbon helps keep it closed.
(Clear as mud? Leave a comment if you need more clarification – or let me know if you think a Facebook Live on this fold would be helpful!).
I feel that square cards can feature busy patterns without being too overwhelming, especially if you have a large focal image – so this design was perfect for this fun fold card.
Be sure to check back Friday for myBlack Friday/Cyber Monday special! (YamStamps Subscribers will get the information straight to their inboxes on Friday!). Happy Thanksgiving to my American friends and family – and Happy Thursday to everyone else!