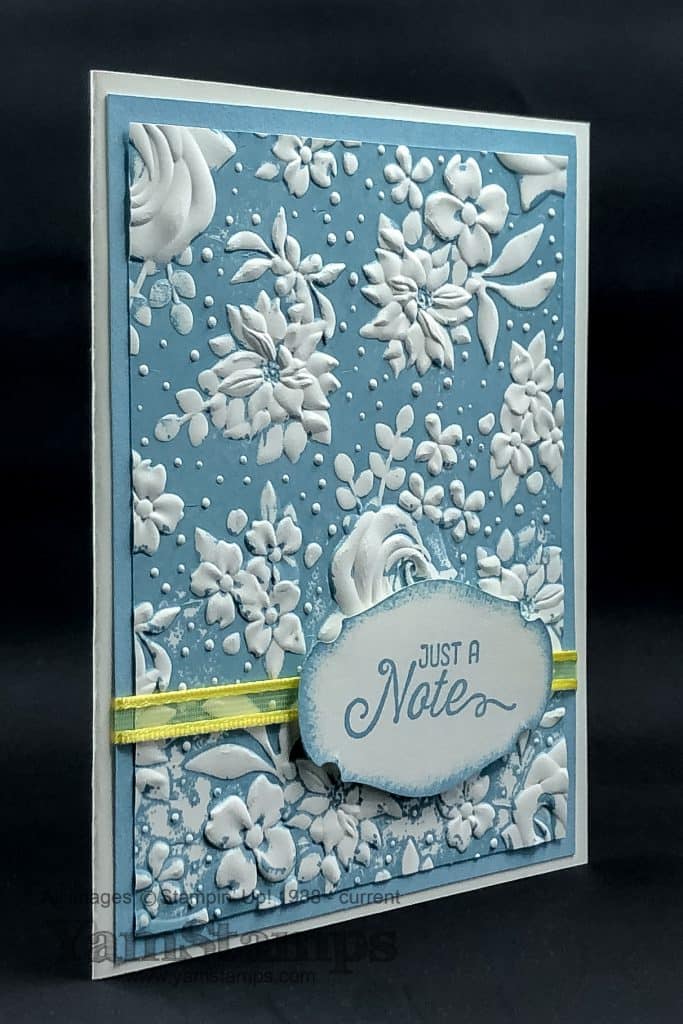
I love this effect! For this card, we tapped the Balmy Blue ink pad onto the inner surface of the Country Floral Dynamic Embossing Folder. (A Sale-a-Bration Level 1 reward – you can select it for free with a $60CAD product order!). Tap onto the side with the Stampin’ Up! logo. Once there’s an even coating of ink, place your cardstock inside and run it through the Big Shot – don’t forget the special sandwich for these extra thick folders – Regular Platform, folder with cardstock inside, top Plastic Cutting Plate only.
Clean up for this inked embossing folder technique is also super easy – I just run the folder under the tap and pat dry with a paper towel. Stampin’ Up!’s inks are dye based so they’re water soluble.
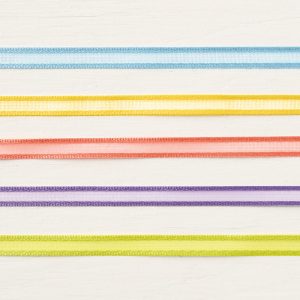
The sentiment is from Flourishing Phrases (available in red rubber clear mount or red rubber wood mount), and it’s punched out with the new Story Label punch which is available for purchase during March as part of the Sale-a-Bration Coordination product suite. We used a sponge dauber to add a bit of Balmy Blue ink around the edges of the label. I am using up some of the Organdy Ribbon I had from my earlier Sale-a-Bration order – because if you blinked….it’s gone again! I think everybody who had been waiting on it jumped in to order and it’s unavailable once again in North America (this time gone for good).
However – there are LOTS of new regular catalogue items available to select for free as well as the original offerings (other than the ribbons, obviously…). You can go to the YamStamps Online Stampin’ Up! Canada store and check out the Sale-a-Bration options currently available. Remember that we are now into the “March 31 or while supplies last” phase of Sale-a-Bration. I shared a strategy for planning out your Sale-a-Bration redemptions on the YamStamps Facebook page a while back. Stampin’ Up! manufactures their own stamps in the US, so they are better able to quickly deal with varying levels of demand for stamp sets, but the accessories and tools tend to be sourced from outside the US and so are often affected by shipping times.
In the meantime, we will continue to Sale-a-Brate until the end of March! Please feel free to contact me if you have any questions, or need assistance placing your order. Comments are working again, too, so feel free to leave a comment for me!
Just a quick note to let you know that the Sale-a-Bration Level 1 Reward, the Organdy Ribbon Combo Pack is available again – while supplies last/until March 31st (whichever comes first). You can select this item 149623 for free with a $60 product order! Go to yamstamps.com/shop or message me for assistance placing your order!
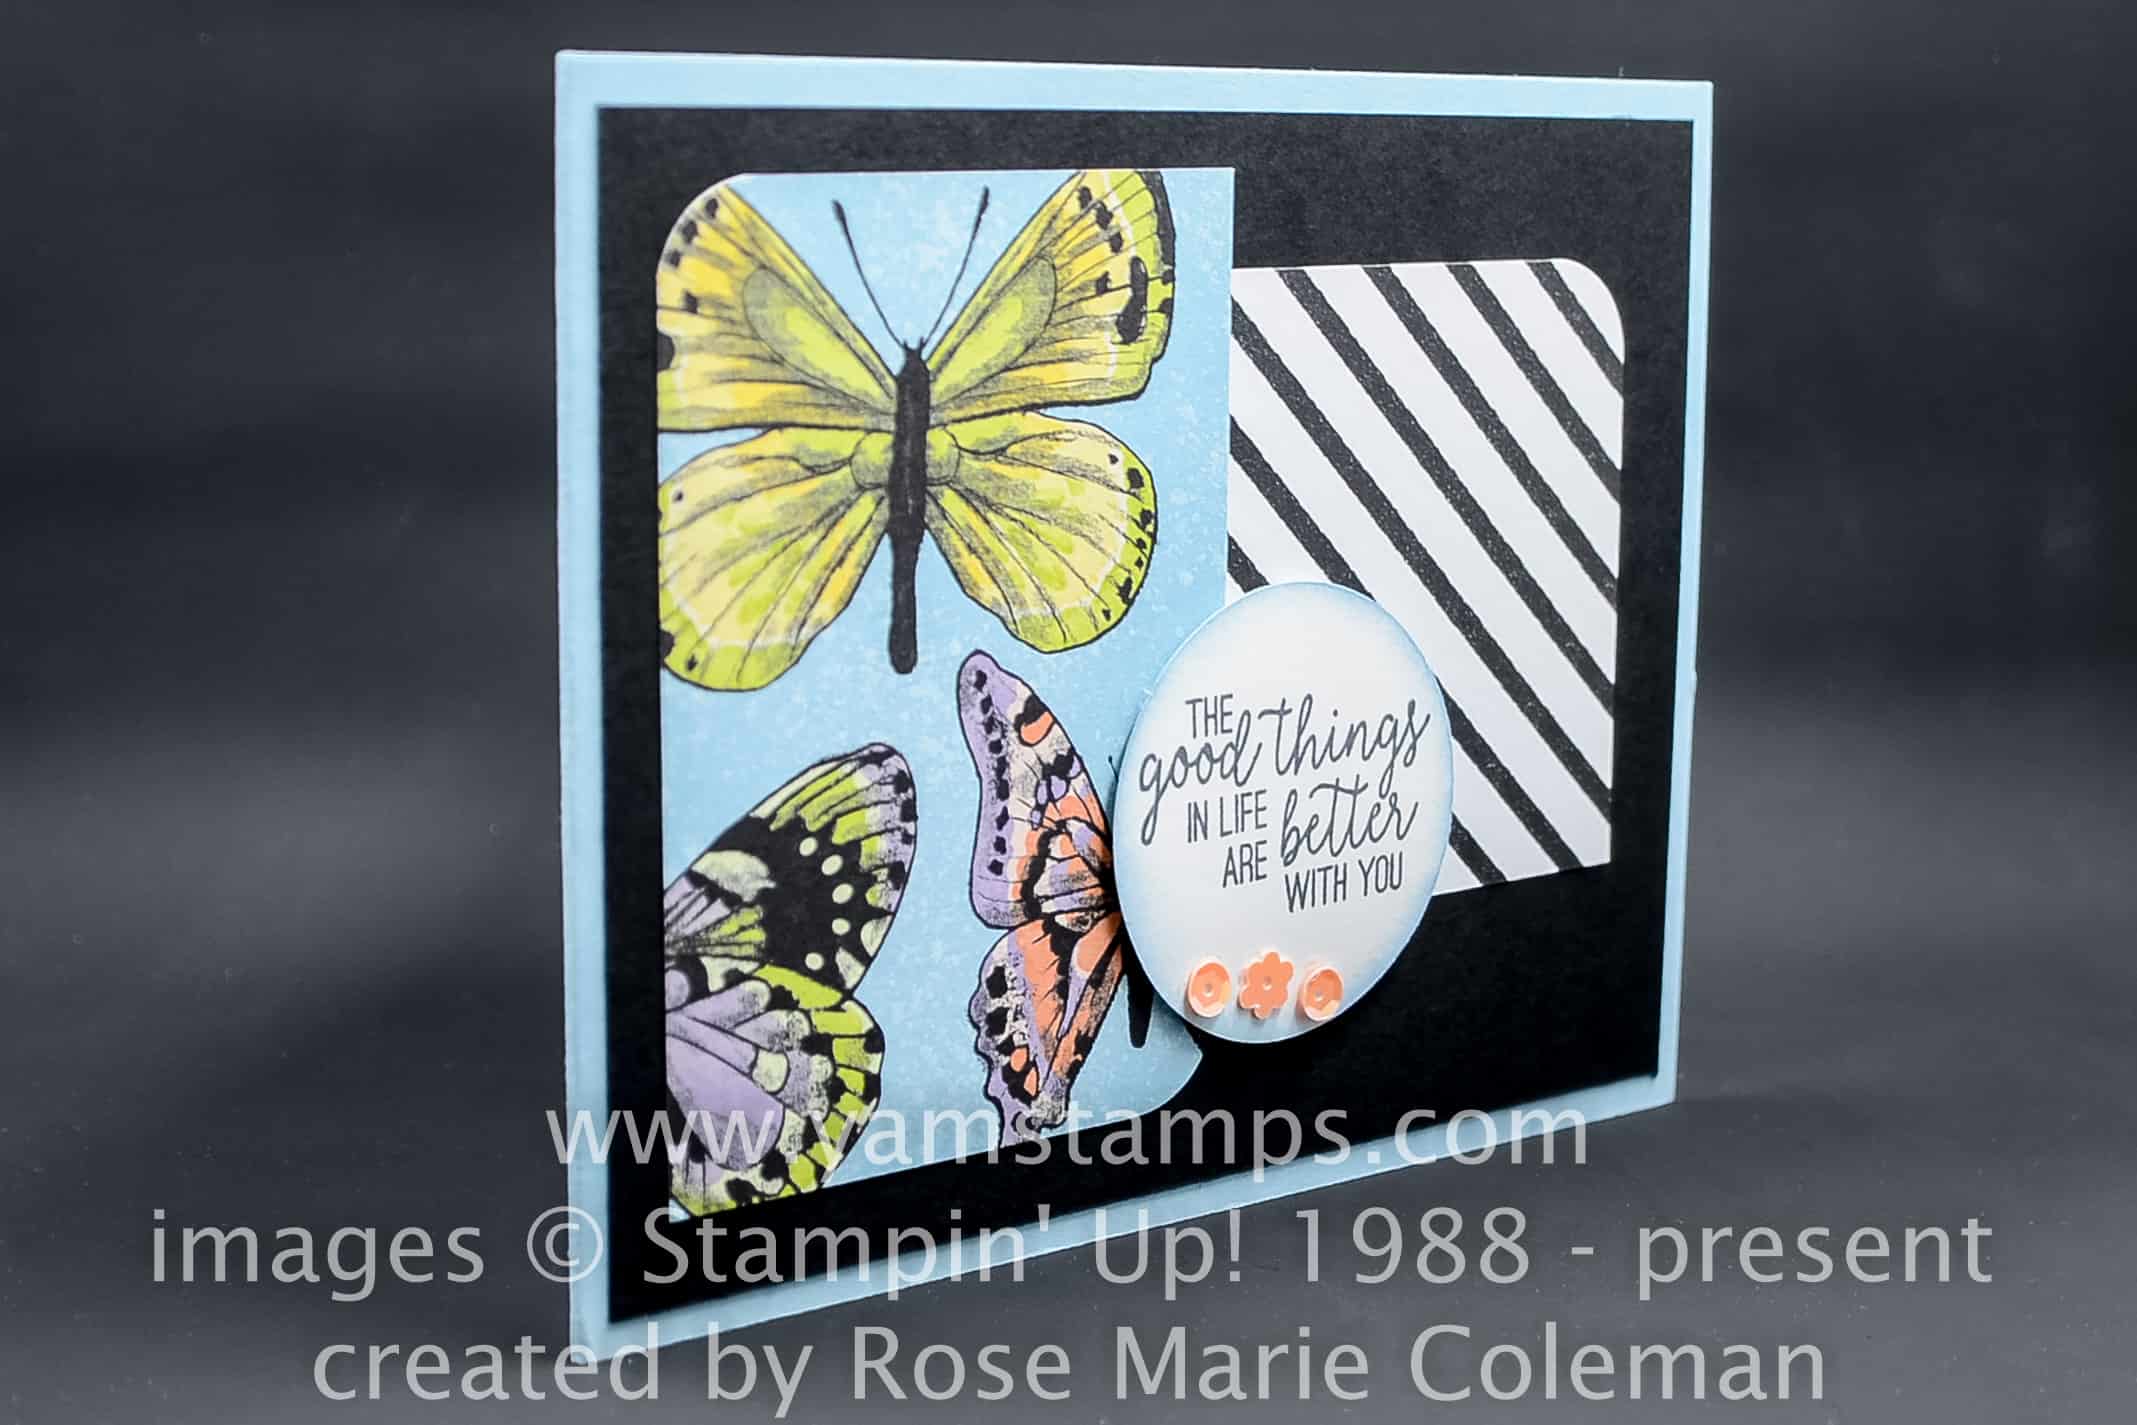
Stampin’ Up!’s Designer Series Papers are great for scrapbooking – but they’re also great for cards! Check out this easy patterned paper card design – by Rose Marie Coleman, today’s Sunday Swap Share.
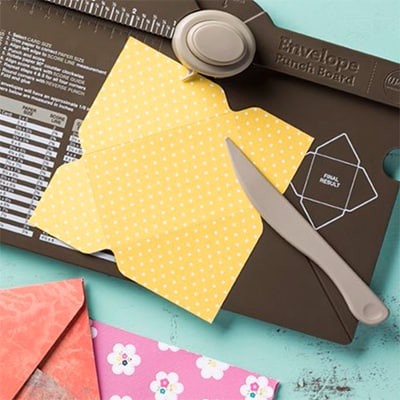
This card uses the Botanical Butterfly Designer Series Paper (Level 1 Sale-a-Bration reward – free with $60CAD product order) for the main visual elements. I love how rounding only a couple of the corners of the paper give it a different effect. There’s a corner rounder on the Detailed Trio Punch, or you can use Stampin’ Up!’s Envelope Punch Board to round corners – it’s built in to the board!
Corner Rounder Punch portion is at the top of the board, above the “button”
The card sentiment is from the Butterfly Gala Stamp Set, which is available for purchase. The Butterfly Duet punch unfortunately is still unorderable at this time (which also means that the Butterfly Gala Bundle is also unorderable), so we will continue to wait patiently until they let us know it’s available again! You’ll notice that you won’t need it for this card anyway!
The accents on this card are the Gingham Gala Adhesive Back Sequins, which are getting low in inventory, so I’d suggest if you need to get them, you order them soon!!
This easy patterned paper card design is clean and simple, and you could easily change out the Desginer Series Paper and sentiment and have a whole different look! These are the kinds of cards that make my crafting so much easier, especially when I need an impressive card in a hurry!
If you need to build up your stash of patterned paper, I’ve put out a LAST CALL for my Occasions Catalogue Designer Series Paper Share. If you’d like to purchase a share, which includes a 6″ x 12″ of each of the sheets from each 12″ x 12″ package, and full 6″ x 6″ sheets from the two 6″ x 6″ packages in the catalogue (NOT including the Specialty Papers), please contact me by March 10th, or click below to order and pay via PayPal. The shares also include the Botanical Butterfly Designer Series Paper as well!!
As always, if you have any questions, please feel free to send me a message or – leave me a comment below – BECAUSE COMMENTS ARE WORKING AGAIN! YAY!!!
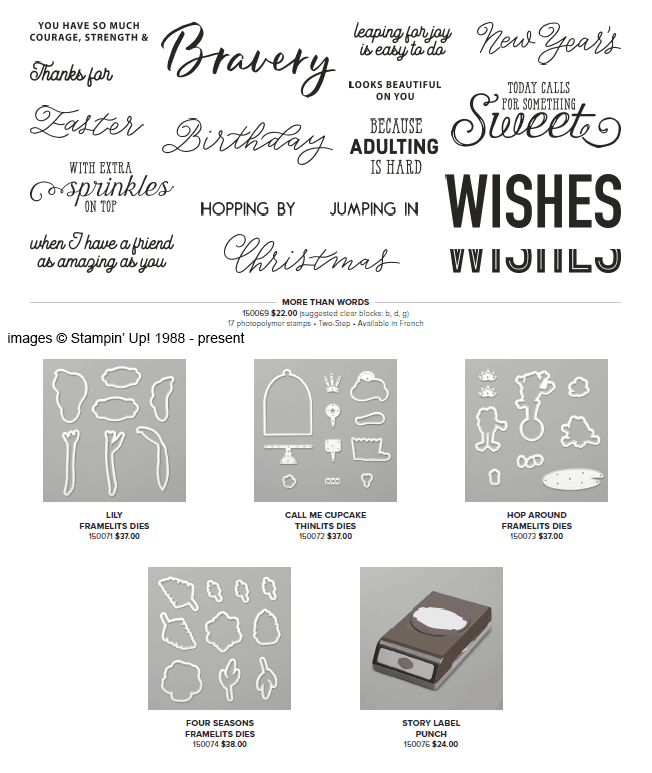
Sale-a-Bration Coordination products are here! Limited Time Only– you can purchase these items during March, and they coordinate with Sale-a-Bration items!
You can download the flyer here. All these framelits will make your crafting even easier…and I love the extra sentiments and the punch!
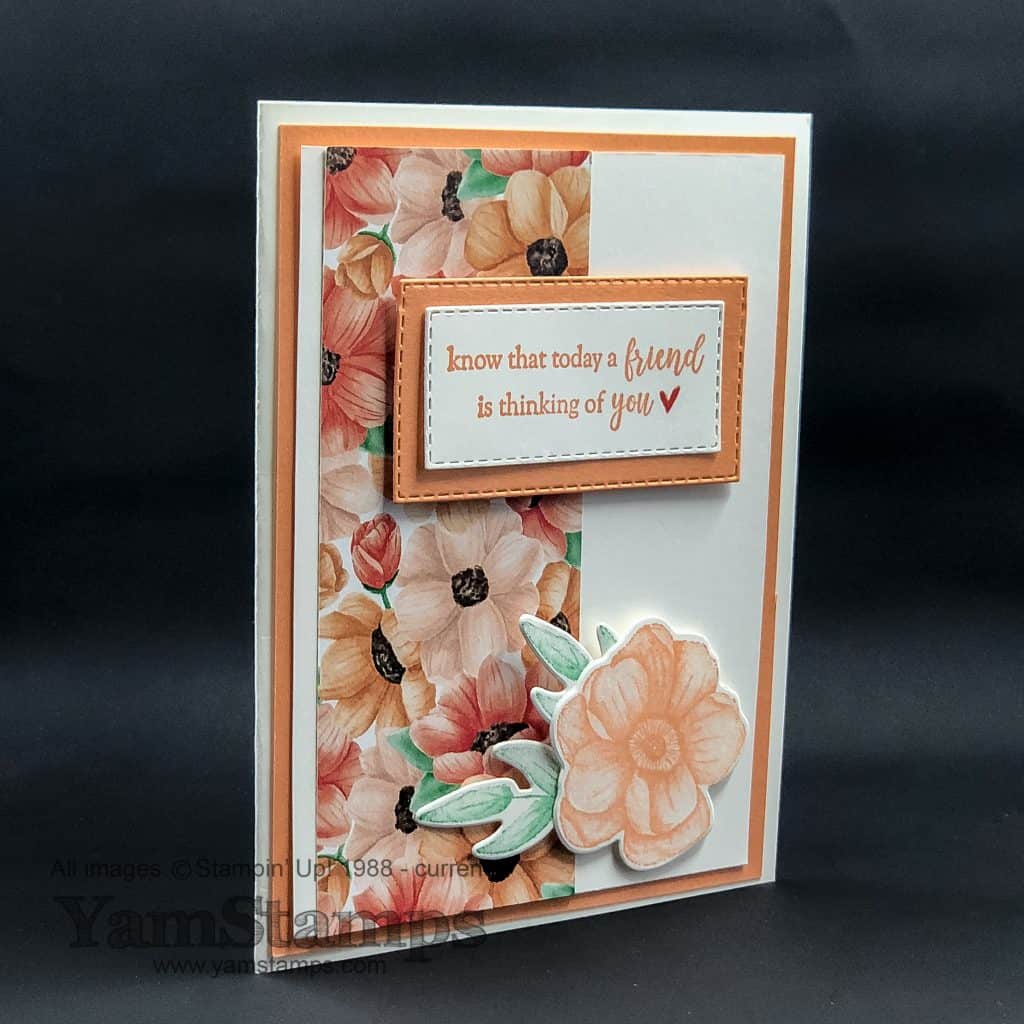
This card features the Painted Seasons Bundle (a Level 2 Sale-a-Bration reward), the Part of My Story Stamp Set (a Level 1 Sale-a-Bration reward) and the Four Seasons Framelits (Sale-a-Bration Coordination product available for purchase during March).
PLUS – Stampin’ Up! has announced that there’s MORE to Sale-a-Brate! From now until the end of March, or while designated supplies last, you can get these additional items as a Sale-a-Bration reward! Please note the special codes that must be used in order to redeem with a qualifying order (shown in brackets after item description).You can download the third release Sale-a-Bration information here.
1. Painted Seasons Designer Series Paper – now available outside of the second release Level 2 Bundle as a Level 1 item! (149574) 2. Delightfully Detailed Laser-Cut Specialty Paper (pg. 189 Annual Catalogue) (152840) 3. Mini Pizza Boxes (pg. 193 AC) (152836) 4. Pearlized Doilies – TWO packs (pg. 192 AC) (152837) 5. Petal Promenade Designer Series Paper (pg. 190 AC) (152839) 6. Rich Razzleberry ¼” Velvet Ribbon – TWO spools (pg. 201 AC) (152838) 7. Scattered Sequins Textured Impressions Embossing Folder (pg. 223 AC) (152833) 8. Share What You Love Embellishment Kit (pg. 198 AC) (152832)
Remember that all Sale-a-Bration items will be while supplies last…..so please don’t wait until March 31st to place an order! (Same goes for ordering a starter kit – only because the system will be guaranteed to be bogged down with the last minute rush!) If you have any questions or need assistance placing an order, please feel free to contact me!
On this Manic Monday I thought I’d highlight a few crafting tips that I shared in the recent Live session I did on the YamStamps Facebook Page. The shortened video version is below, but thought I’d highlight a few things if you like to read vs watch…
full video below….
Distinktive Stamps are more photorealistic and have multiple depths on the same stamp. Crafting Tips for good distinktive images: To get a clear image of all the different depths, it helps if your ink pad is not too juicy – you can rub the surface of the ink pad with the back of a spoon or your bone folder to push excess ink into the pad vs having it on the surface to get better definition in your stamped image. The stamp set used in the video is Forever Lovely; another distinktive stamp set example is Baby Bear.
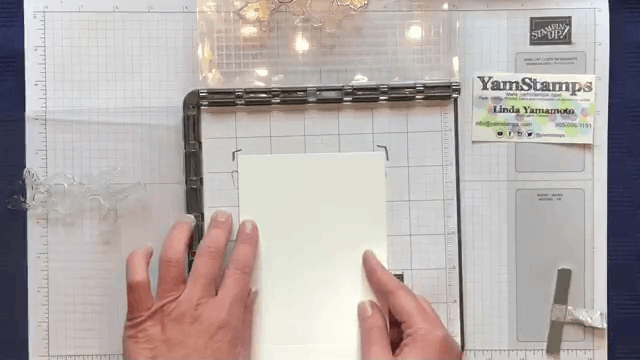
Crafting Tips with the Small Grid Paper: Positioning multiple step stamps and coordinating framelits. In the video, I use the Stamparatus to stamp the images – because once they’re in the right place on the plates, you don’t have to think about it again! My tip – stamp onto the Small Grid Paper so you can see where your image will end up. Position your card stock and mark where the corners of the cardstock are on the grid paper so you know where to place it for future reference.
You can also position the framelit over the stamped image and mark where the side edges of the framelit are on the grid paper so you have it for reference. You can use the grid paper when stamping with the stamparatus, then remove it and place it onto your Big Shot plastic cutting plate as a reference for placement of the framelit – just be sure to remove it before you cut!!
That way, your reference sheet will be intact and ready for future use.
Last tip you might have picked up in the video – put your Big Shot Die Brush and foam pad into a small shallow box to catch all the bits (and store everything together! I used an old cardboard box (it actually held my carvable stamp set, remember that one?), but you could also use one of the full wide stamp cases.
How do you prefer to get your crafting tips & tricks? Video? Written format? Let me know so I can be sure to have you covered for future tutorials – leave me a comment below or message me!