Warming up for the Twelve Weeks of Christmas with this easy fun fold Christmas Card!
The Twelve Weeks of Christmas project tutorials start today at 1pm Eastern, so be on my mailing list before that time to get all twelve projects! (Click on the link, or use the sign up box at the top right of the site). In the meantime, I’m warming up with this easy fun fold Christmas Card!
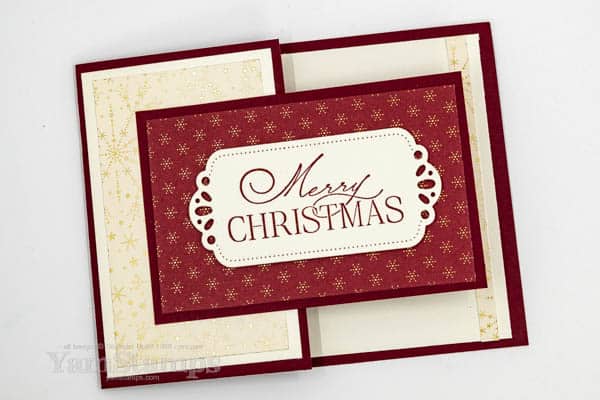
Easy Fun Fold Christmas Card
This is a fantastic card design because it’s so easy but impressive (my kind of project). The card front is cut in half and then rotated to make the “flap” portion. The other thing that I like is that is has a dark cardbase, but with lighter panels built into the design, so you can still write on the card easily (and the person receiving it can read it easily too!).
I did call this an easy fun fold Christmas card, but I hope that it’s obvious that you can switch it up to whatever occasion you might like, just by changing the sentiment and papers….though the papers on this card could be for any celebration! I used the Lights Aglow Designer Series Paper for the accent pieces, and I used the one design that is on a vanilla background – I like that there’s a pattern that doesn’t have white as the base, as a change. The gorgeous sentiment is from the Brightest Glow stamp set (love that font!!), stamped onto a die cut from the Labels Aglow dies. The stamps and dies are available together in the Brightest Glow discounted bundle (July-December 2022 Mini Catalogue availability). I pulled the Merry Merlot colour from the paper background to use for the cardstock and ink.
As we get closer to the card sending/gift giving season, a reminder that Stampin’ Up!, like pretty much all companies, is dealing with “supply chain issues” that may affect product availability. Products may be unorderable for a period of time until stock hits the warehouses. One of the easiest ways to see if current catalogue product is available or not is to check the online store. The shortcut to the YamStamps Online Stampin’ Up! Canada store is https://yamstamps.com/shop. If you look up an item in the store, it usually says “unorderable” if a product is unavailable at that time, so you’ll know right away.
If you’re on my list, look forward to seeing the first project tutorial at 1pm eastern today! See you in your inbox!
Starting Wednesday 5 October – the Twelve Weeks of Christmas! This is my “thank you” to those on my mailing list. Each week brings an exclusive holiday project tutorial – we start with cards and then move to giftables, packaging and tags. Each Wednesday will bring a new tutorial!
The emails start tomorrow at 1pm Eastern – so you need to be on my list by then to get all 12 projects! They are not sent out again, so if you have a strong sense of “FOMO” (Fear of Missing Out), you’ll want to be sure you’re on the list! You can click on the image / click on this link / use the sign up box at the top of the post to register. You’ll get a free video tutorial too! See you in your inbox!
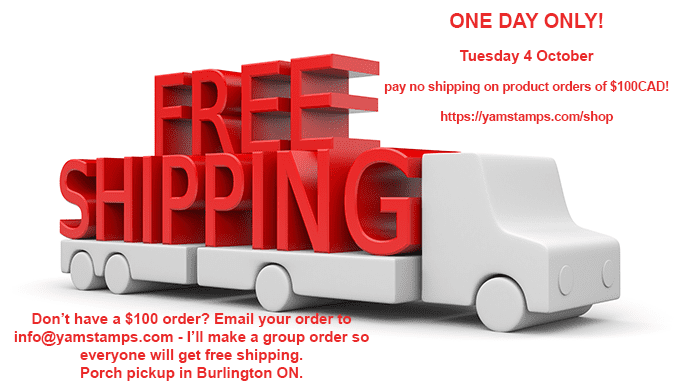
Tuesday, 4 October 2022 ONLY – free shipping on qualified orders!
Stampin’ Up! is offering free shipping for any product orders of $100CAD or more on Tuesday, 4 October! It’s a great way to get more crafting products for your dollars! The $100CAD is calculated before taxes, so keep that in mind. Shortcut to shopping is https://yamstamps.com/shop
If you have a smaller order and can do a porch pickup in Burlington ON, you can message me with what you’d like to order. I’ll be placing a group order – that way, everyone included in that order will qualify for free shipping!
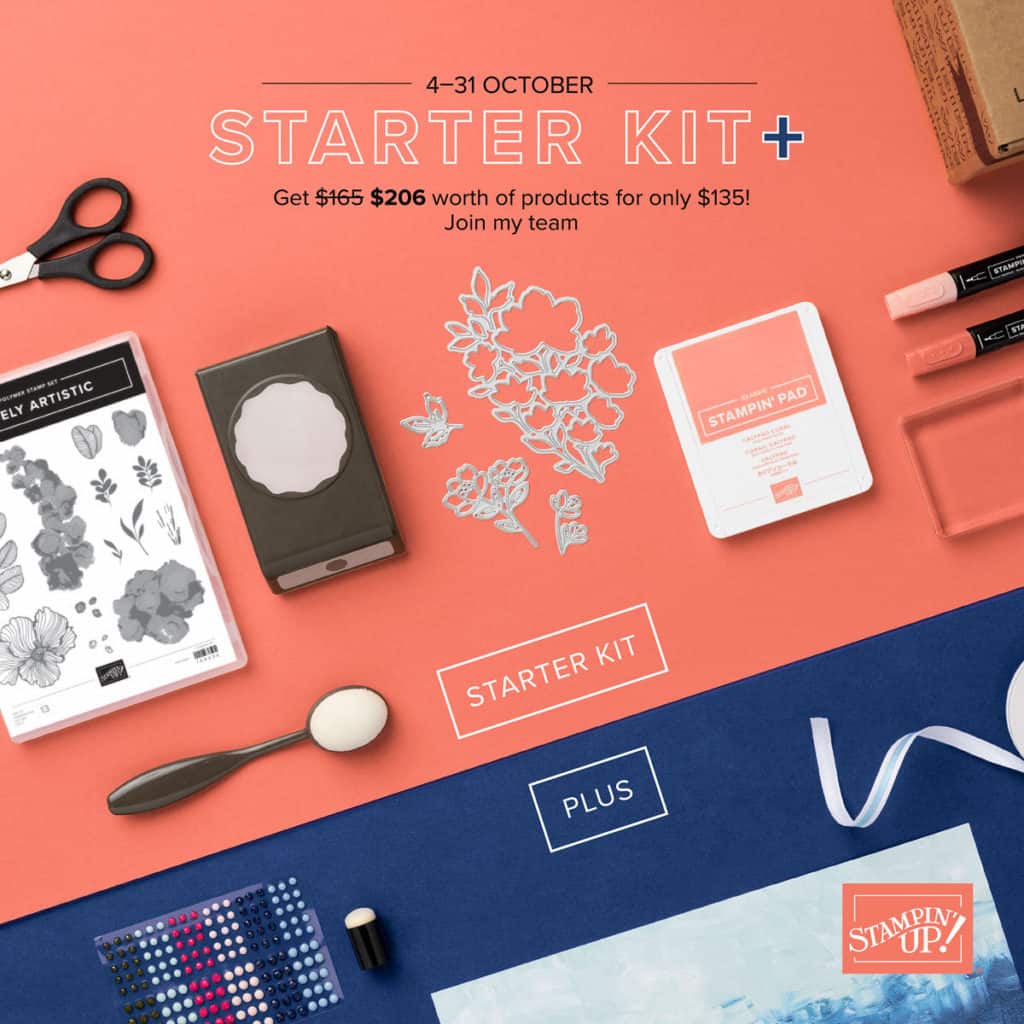
Also starting Tuesday 4 October – the Starter Kit+ promotion!
The Demonstrator starter kit is already a great deal and a great way to start off your own home based business. Normally, you get $165CAD product of your choice, a Paper Pumpkin kit and basic business supplies for just $135. Starting tomorrow until the end of October, you’ll get $206 worth of product of your choice for the same $135! You never pay shipping on the starter kit, and you only pay PST. If you live in a province with blended or harmonized taxes (e.g. ON), you pay NO taxes on your starter kit.
Celebrate World Cardmaking Day on Saturday 1 October!
There are “days” for everything it seems – but this is one of my favourite ones! World Cardmaking Day 2022 is TODAY – Saturday, 1 October. OK, truthfully, I think EVERY day is World Cardmaking Day, but whatever.
I hope that you are able to find a bit of time today to make something! Happy World Cardmaking Day! (Oh…and come back soon for a fun announcement too!)
I know, it’s hard to believe…but the Twelve Weeks of Christmas 2022 edition starts next week – on 5 October to be precise!
The Twelve Weeks of Christmas
As a thank you to those on my mailing list, I send out an exclusive holiday project tutorial each week during the twelve weeks leading up to Christmas. This year, the projects will start on Wednesday 5 October at 1pm Eastern – but only if you’re on the list! Click here, or on the image above, or fill in your information in the box at the top right of the site – so many ways so you don’t miss out!!
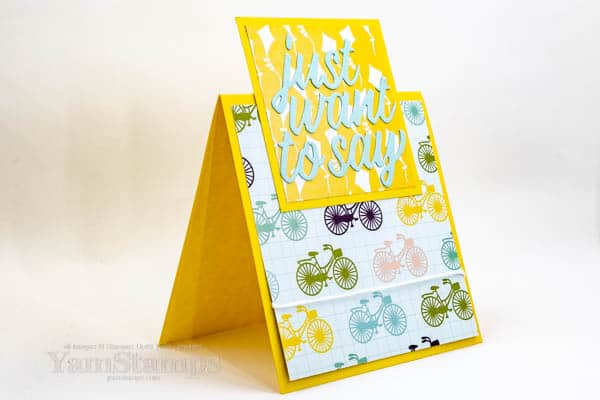
Cheery patterns and a fun card design mean this playful tent card is sure to bring a smile to someone’s face!
There are some projects that just make me smile – and this is one of them…so I figure this playful tent card will also bring a smile to the recipient’s face as well!
playful tent card
This card features patterned paper from the Design a Daydream Designer Series Paper (“DSP”) I thought that the kites and bikes went together well. Since they’re from the same package of paper, they have coordinating colours and go together well on a card.
This playful tent card also features a bit of a fun fold. The tent fold portion is a little shorter than usual, which means you can add the extra piece on top and still have a standard sized card. (I like my cards to fit into regular medium Stampin’ Up! envelopes!). The words are die cut with the Floral Gallery Dies from Pool Party cardstock, one of the colours in the DSP. *crafting hack alert* I used a kitchen product to make applying the die cuts a little more easy…. I put the die cut words face down on some Press ‘n Seal wrap, then applied dots of Multipurpose Glue to the back of them. I picked up the wrap and then placed it onto the card where I wanted the words, rubbed over top and then carefully peeled back the wrap.
We made this card during Stampers Club this month, and the Press ‘n Seal was great for transporting the die cuts (and making sure that the little dot on top of the “J” didn’t get lost!), as well as applying them to the card. It made making the playful tent card much easier! We are meeting virtually for club, which means everyone gets their card kits ahead of club night, and then we gather via Zoom (or via recording for those who can’t make it “live”) to assemble the cards. Club is also great for those who like to be able to purchase items that are only available with Stampin’ Rewards, like this DSP! Each member joins for a 6 month period, and once during that 6 month period, each member gets to use the Stampin’ Rewards for the club orders that month. It’s a great way to budget out craft spending since there’s a minimum order required ($33CAD product at this time), and also know that you’ll be able to earn guaranteed Stampin’ Rewards! If you’re in Canada and are interested in joining us, contact me. New members can start their 6 month membership at any club meeting.
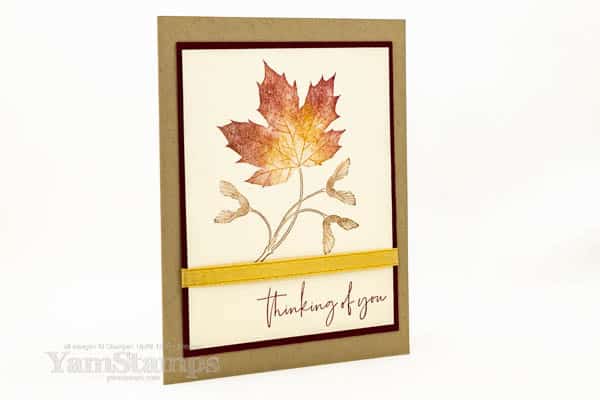
I know it’s technically still summer, but I couldn’t wait any longer to share this Autumn Leaf Card!
This was my contribution to a Stampin’ Up! Demonstrator Card Swap featuring products from the July-December 2022 Mini Catalogue. Since it seems like temperatures have dropped as soon as September hit, I thought I could share this card now….especially since I -did- see some leaves changing colour on a recent road trip over Labour Day Weekend. (Only a few, but they were definitely NOT green leaves).
I love the font on the sentiment – and was sure to use my Stamparatus to stamp it, since I was making 21 of the same card! If I was doing only one card, I might just stamp it “free hand” using a block, but I know that making multiples means not every one will be straight if I do it that way. (Or it will take me 10 times as long to create each card….and “nobody got time for that!”). I always think it’s good to have a “Thinking of You” card in your stash – because it covers a lot of reasons to send someone a card. A little bit of Gold 1/4″ Shimmer Ribbon adds a finishing touch and dresses up this card a little more.
It does feel a little different this year, though, as there’s noone in the household who is heading back to school! To be fair, though, the former student in this household has started TEACHING instead, so was technically “back to class” last month…LOL.
In the meantime, here’s a rundown of what’s new in the YamStamps Stampin’ Up! Canada world this month…
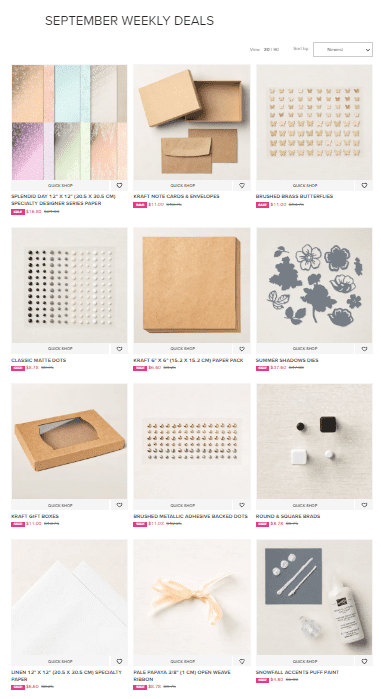
Each week during September, the Thursday will bring a new group of selected product that is on sale! New products will be offered each week – release dates are 1, 7, 14 and 21 September. Each group of products runs for one week. You can try out this fancy QR code which will take you directly to the Weekly Deals section of the YamStamps Stampin’ Up! Canada Online store (so it will cover the entire month of specials!) – just point your camera at your screen and click the link! (or just click on a blue link in the paragraph above LOL).
Here’s a peek at what’s available this week (including one of my FAVOURITE Specialty Designer Series Papers!)
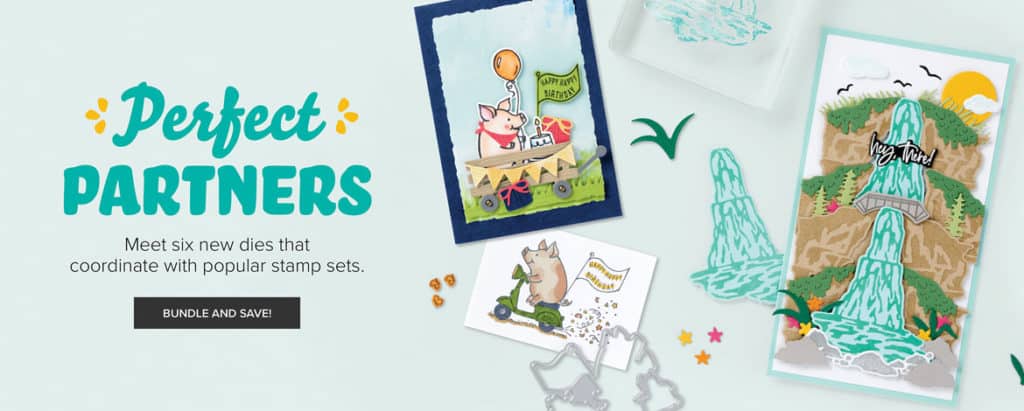
Stampin’ Up! has released SIX new die sets that coordinate with existing stamp sets. These dies will only be available during September. You can purchase the dies on their own if you already have the stamp sets, or you can purchase a discounted bundle that includes the stamp set and coordinating dies! These dies are exclusive to this promotion, so if you see something that catches your eye, you’ll want to grab them while you can. CLICK HERE to see the dies in the online store or CLICK HERE to download the flyer.
Dies include: This Birthday Piggy, Fresh Cut Flowers, Waterfall Canyon, Yeti to Party, Apple Harvest and Trimming the Tree.
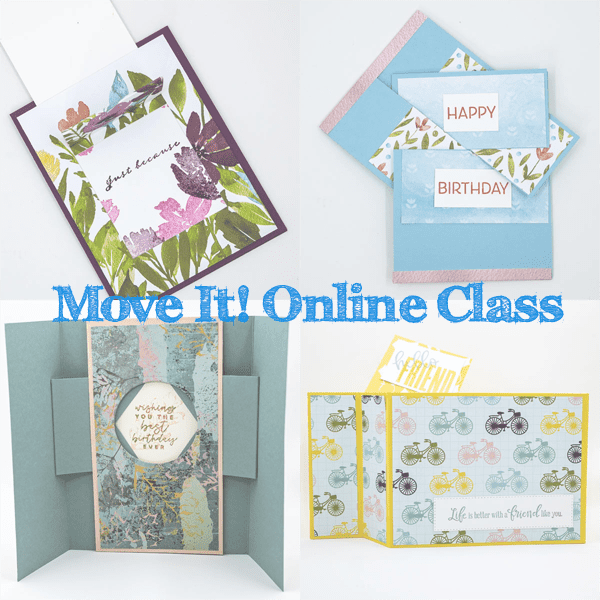
Early Bird Pricing is on for the MOVE IT! online class – featuring four different movement cards – these interactive cards are so impressive and I’ll walk you through their construction – you’ll see how easy they can be! If you register during pre-launch, you’ll pay only $20 for lifetime access. Once class opens on Thursday 8 September, regular price of $30 will apply.
*phew*! That’s a bunch to cover on the first day of the month! I’m off to get a Pumpkin Spice Latte now! (You can always leave a comment below or send me a message though!)
Early Bird Pricing is now on for my next Online Class – MOVE IT! Featuring four different kinetic creations – all these cards have movement and are interactive. Lots of fun for the person creating it – and the person receiving the finished work of art!!
MOVE IT! Online Class
The class officially launched Thursday 8 September, but if you register before then, you’ll pay just $20 for lifetime access! Once class launches, the price will be $30 – but you’ll save $10 during prelaunch pricing!
All these cards are created using basic paper crafting tools. You can use punches or die cuts to customize your card if you like! If I do use a die during the creation of a card, I’ll always mention other ways to get a similar effect using a punch or paper trimmer, because it’s not mandatory to have fancy equipment to make these fancy cards!
Since it’s an online class, you can use your stash of paper crafting products, though I always indicate what I’ve used for the class samples. You can watch and re-watch the videos and the accompanying materials as you need – whenever you have the chance and as long as you have an internet connection!
You can check out more information about the class and register here – https://go.yamstampsmore.com/moveit . If you still have any questions after checking out the page, you can always contact me. Hope to “see you” in class!