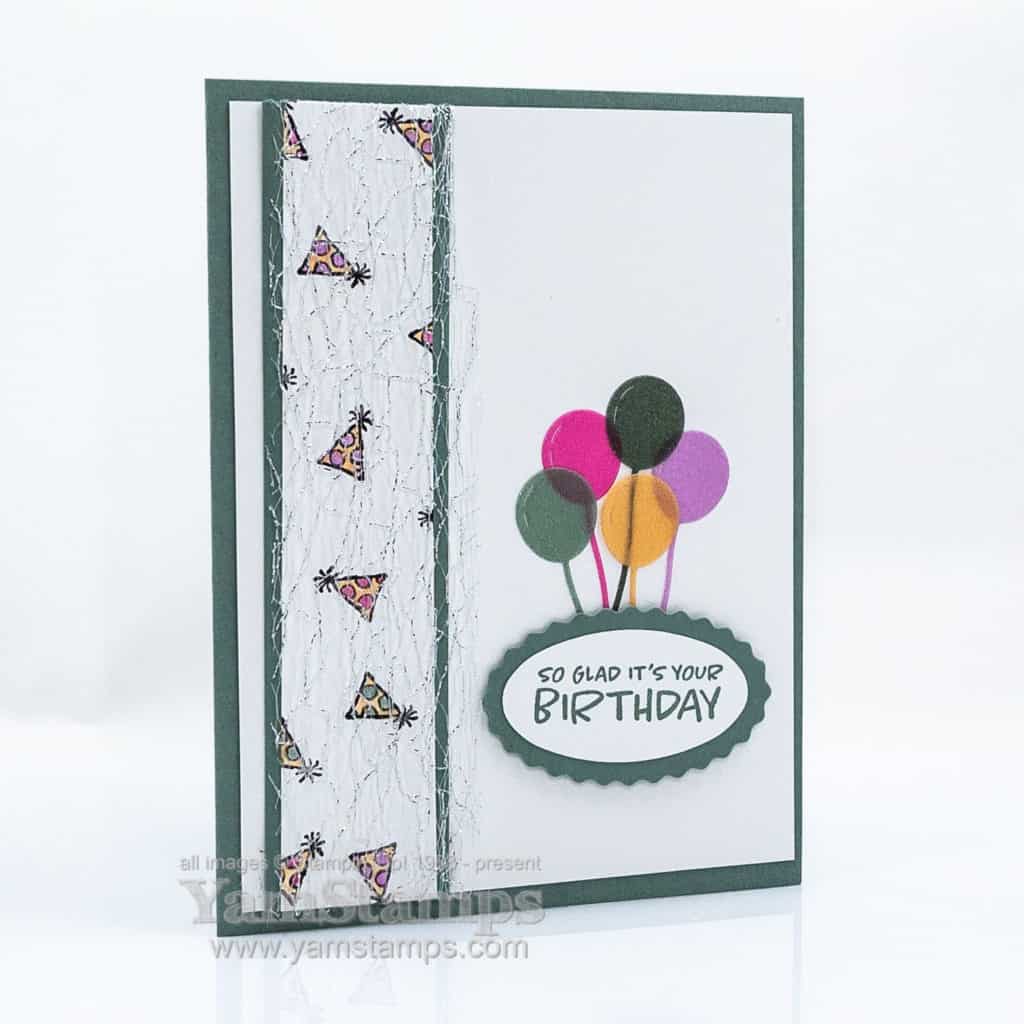
I used Stampin’ Up!’s Counting Sheep stamp set and coordinating Sheep Dies to make this fun balloon birthdaycard – a non-sheep based project!
Balloon Birthday Card
The Counting Sheep stamp set and the Sheep Dies are both Level One Sale-a-Bration items – so you can pick one of them with a $60CAD product order (before shipping/taxes) – so if you wanted both of these items and didn’t want to wait, a $120CAD product order would entitle you to two Level one items – so you could get both (plus enough supplies to make a whole bunch of these cards!).
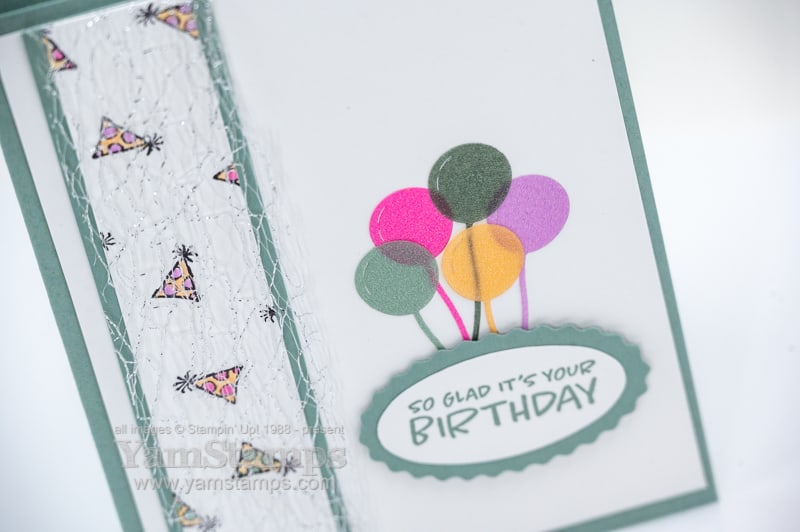
My favourite feature on this balloon birthday card is the balloons (hence the title of this post!). I die cut them (the Sheep Dies include a balloon die) from the 2021-2023 In Color Shimmer Vellum. I think that the translucent shimmer makes for some realistic type balloons – and I made sure to overlap the balloons to show off the their translucency. I used the Adhesive Sheets on the back of the Vellum (and there is definitely a back and front to this vellum) so that when the balloons are adhered in place, you really can’t see any evidence of the adhesive at all. Love it!
Sale-a-Bration runs until September 30, 2021, but Stampin’ Up! have advised us that certain items will not be guaranteed until the end of the period – the Sheep Dies are one of them – so if you have your eye set on them, or want to create your own Balloon Birthday Card, you’ll want to be sure that they are one of your first Sale-a-Bration picks…and save some of your others for your later orders. Online shopping shortcut is https://yamstamps.com/shop for 24/7 shopping in Canada (Canadian addresses only, due to Stampin’ Up! regulations). If you would like assistance placing your order or want to pay by etransfer, you can always message me. Happy Sale-a-Bration!
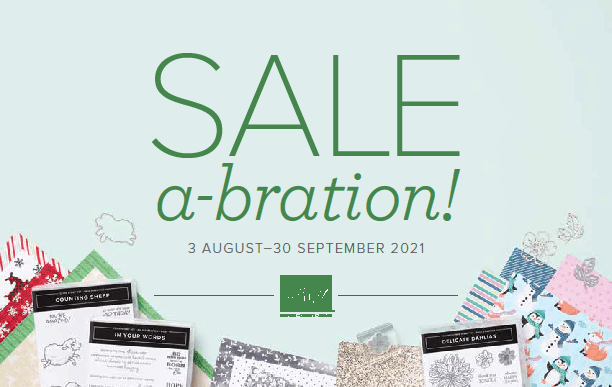
Woohoo! There’s a new Mini Catalogue available today PLUS it’s Sale-a-Bration again!
First things first….the July-December Mini Catalogue is live! No, you didn’t miss anything – this catalogue’s start date was pushed back for a month. Stampin’ Up! made the decision to delay the start to allow for product and shipping slow downs due to that global pandemic that is ongoing… You can check out the digital version of the July-December Mini Catalogue here; shortcut is https://yamstamps.com/jd21 Despite best planning, there are still a few items that are not yet in the SU warehouses – the Gingerbread & Peppermint Memories & More Card Pack and Cards & Envelopes, and the Blackberry Beauty Specialty Designer Series Paper. This impacts their associated Suites – you know, the “Easy” button that uses one code to get all the products in one suite. For the time being, you won’t be able to order the Gingerbread & Peppermint Suite, nor the Blackberry Beauty Suite. You WILL be able to order the other items in the suite without issue, though, it just means a lot more typing! LOL. (Or message me with your order, and I will do all the entering for you!!).
Next up…it’s time to Sale-a-Brate again! It’s the Summer Sequel! August 3 – September 30, when you place a $60CAD product order (before shipping/taxes), you’ll get to pick a free Sale-a-Bration item! There’s a couple of items that are available at the $120CAD level too. There’s a few items that won’t go on back order – when they’re gone, they’re gone. These are the Be Dazzling Specialty Paper, Sheep Dies and Summer Shadows Dies – so if these have caught your eye, be sure to redeem for these ASAP. You can see the digital version of the Sale-a-Bration Catalogue here – shortcut is https://yamstamps.com/summerSAB21
As always, the shortcut to shop is https://yamstamps.com/shop from anywhere in Canada. If you need assistance placing an order, want to pay for your order with an etransfer, or want more information about becoming a demonstrator with my group, you can email me and I’d be glad to help. In the meantime – Happy Sale-a-Bration!
Here’s an easy fun fold card – though I’m not sure what the true qualifications are for a card to be a fun fold, other than “not the typical card fold”….so since it’s a little vague, I’ve decided that this design qualifies.
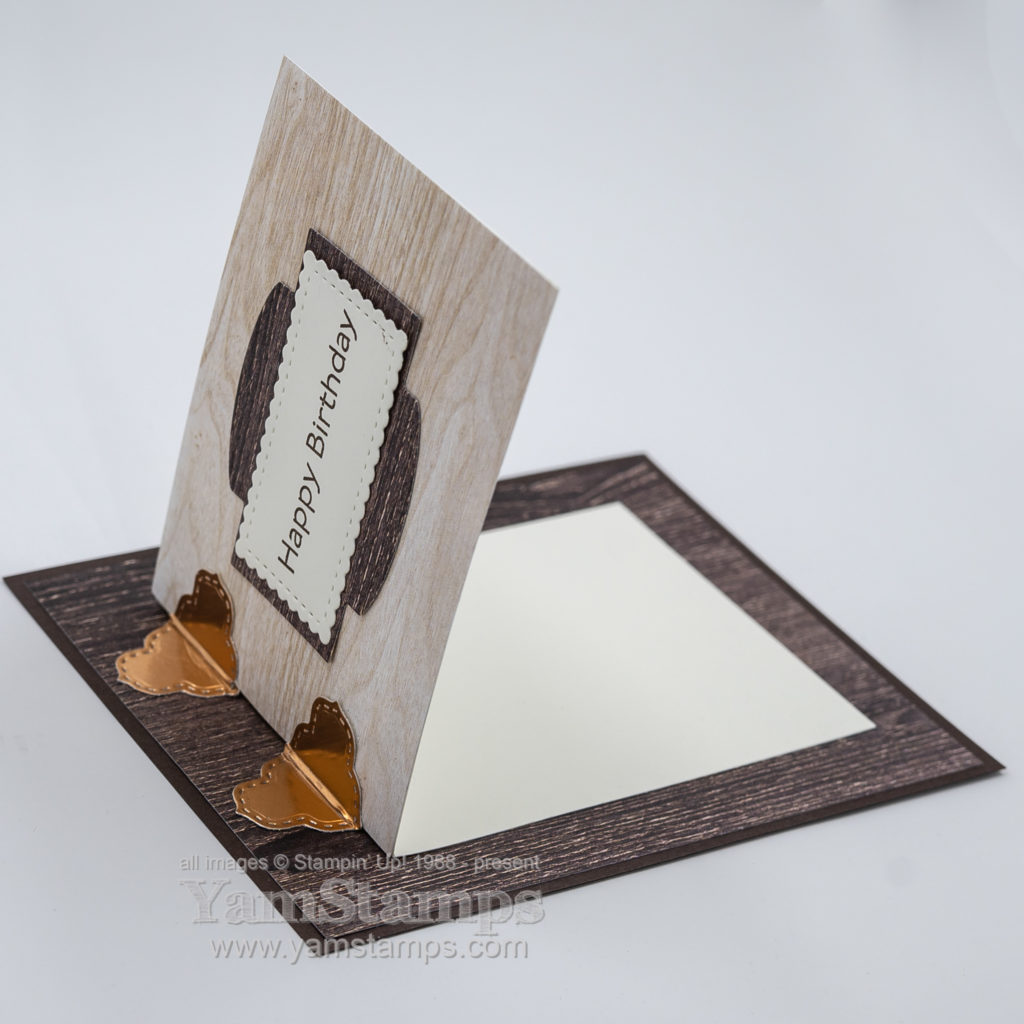
Easy Fun Fold Card – Hinged Woodgrain
This card features a mini card that opens traditionally, and it’s attached onto a backing card. It features the woodgrain designs from the In Good Taste Designer Series Paper, which is part of the Designer Series Paper Sale that runs until August 2nd – you can grab it for 15% off while the sale is on!
The dies that cut the “hinges” and the sentiment piece are from the Stitched So Sweetly Dies. I had some scrap pieces of Copper Foil Sheets with the Adhesive Sheets on the back, so after die cutting the “hinge” pieces, it was simply a matter of removing the adhesive backing and sticking them in place. I ran the rounded end of my Bone Folder along the fold of the card to make a marking in the foil hinge, and so that the mini card would open a little more easily. If you’ve been following YamStamps or have attended a class with me, you’ll know that I cut the backing piece for the sentiment from the bottom layer of Designer Series Paper – because the hole gets hidden by the mini card! This easy fun fold card is also a frugal card…
Easy Fun Fold Card – Open
The mini card itself is a 3″ x 8″ piece of Very Vanilla cardstock folded in half. The front of the mini card is covered by a piece of the lighter woodgrain Designer Series Paper – and it goes across the whole surface, rather than leaving a border, because I liked the effect better. I did still leave a bit of a border between the darker woodgrain paper and the Early Espresso cardstock.
A reminder that the Designer Series Paper sale runs until August 2 – select Designer Series Papers are 15% off. You can place an online order from anywhere in Canada in the YamStamps Online Stampin’ Up! Canada store – shortcut is yamstamps.com/shop, or you can email me for assistance placing an order.
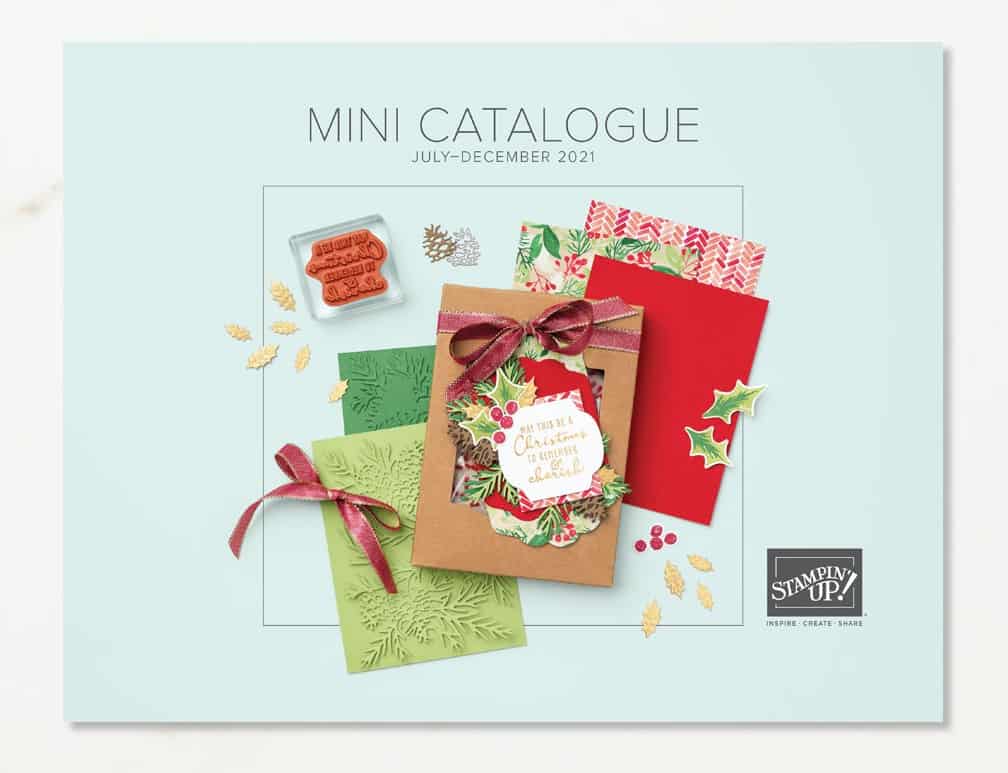
Mini Catalogue cover
I’ve had the new Mini Catalogue and Sale-a-Bration catalogue mailed out to current customers, so they should be arriving soon, if they haven’t already! (I’m hand delivering the local ones). If you need a copy of the catalogue and don’t have a current Stampin’ Up! Demonstrator, please feel free to contact me to make arrangements to get one! If you’ve already received your copy, you may notice that it’s called the “July-December Mini Catalogue” HOWEVER it will be active on the same start date as Sale-a-Bration – August 3rd. Stampin’ Up! made the decision a few months ago to push back the official start date of the Mini Catalogue to compensate for some shipping delays that were beyond their control, and despite their planning. We are all continuing to navigate our changing situations as best we can, right?! You can be sure that there will be links for the digital versions of the catalogues available through the YamStamps Site, as well as the newsletter that will be released that day as well.
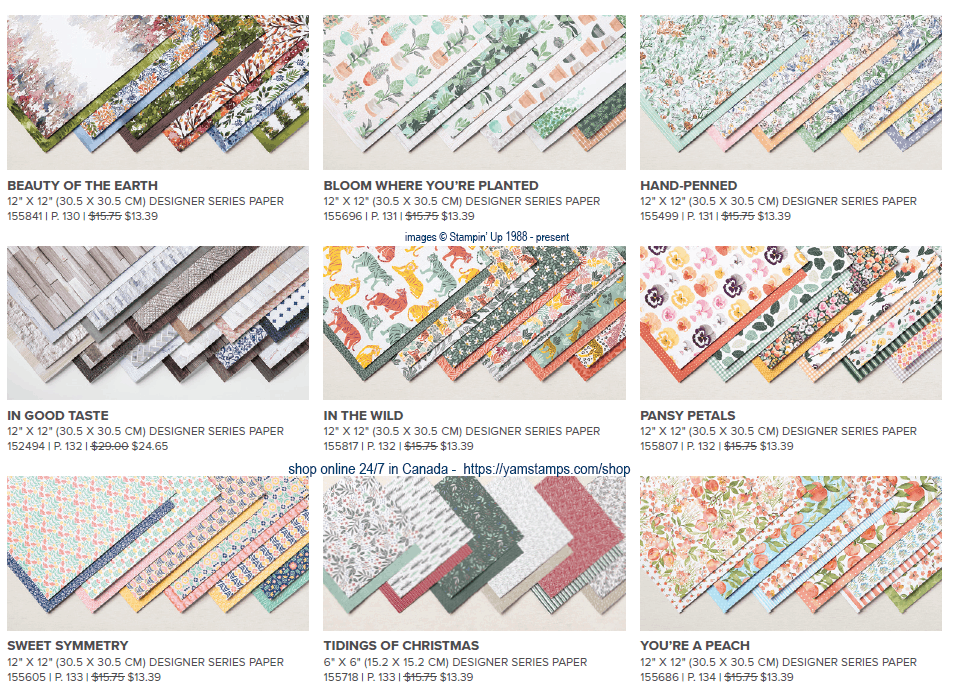
Selected Stampin’ Up! Designer Series Papers are on sale for 15% off until August 2nd! These two sided patterned papers make your paper crafting so much easier – with coordinating patterns and colours. The colours used are listed on the backing cardstock sheet so it’s easy to pick out the colours to use in your projects.
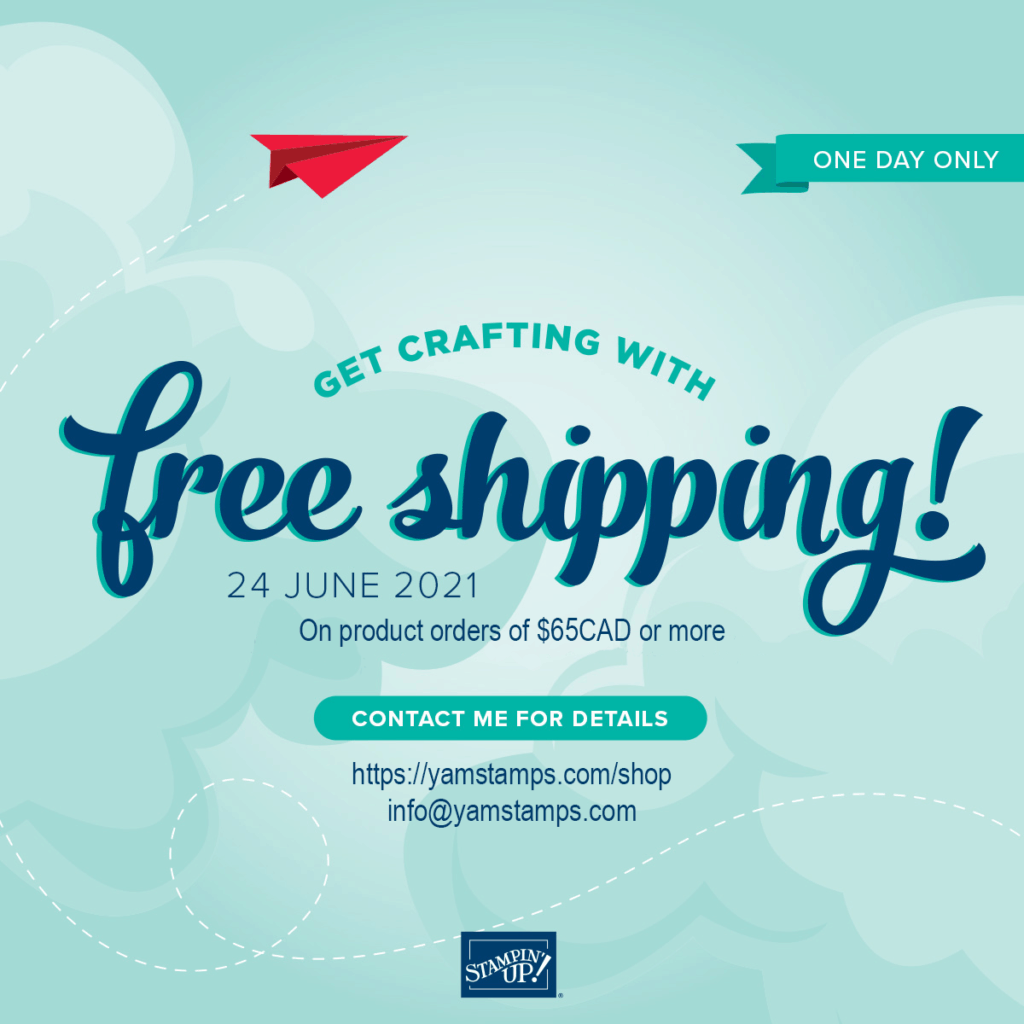
If you are close to Burlington ON and have a smaller order, you can email me before 6pm and I will include it in a group order so that everyone involved qualifies for free shipping. I’ll contact you when the order arrives and you can do a porch pickup in Burlington.
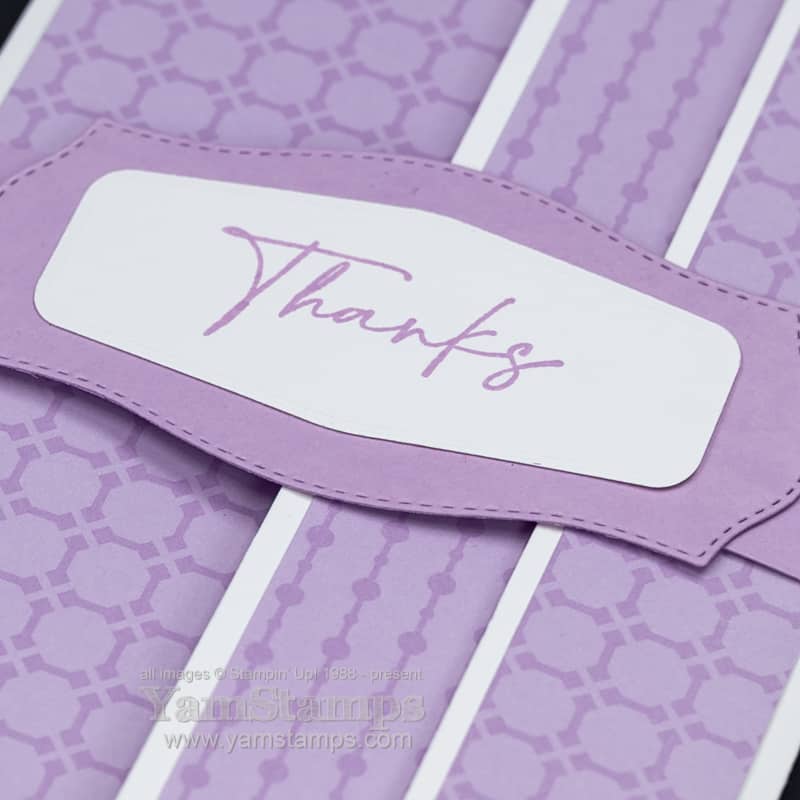
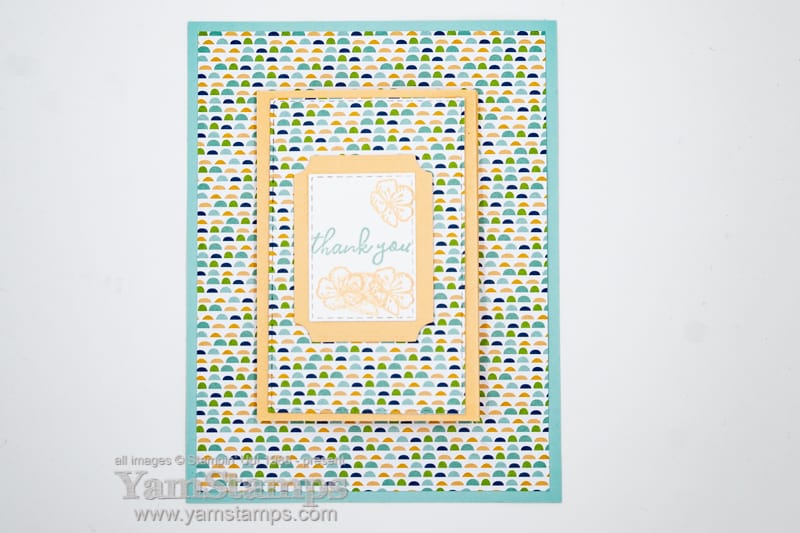
This simple thanks card is made a little less simple looking by adding a fancy fold and belly band – but I promise it’s easy! (Truly, do you expect anything else if you have been here before? haha!). This fun pattern was recently shared by Arlene Luscombe, an “Eh” Team member (my demonstrator group) in a recent online group get together.
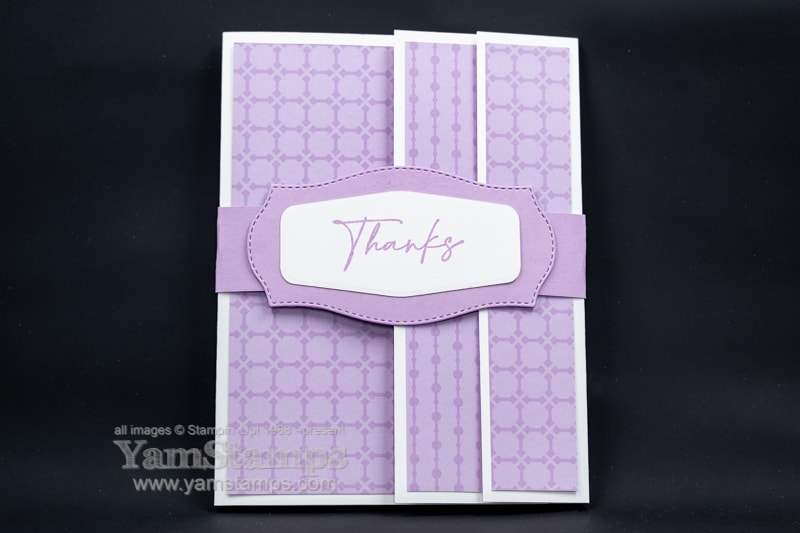
Simple Thanks Card
This easy fancy fold is created by folding the edges of the front and back of the card to create extra “layers”. The Basic White Cardstock was cut to 5.5″ x 11″, scored at 1.75″, 5.5″ and 9.75″ then the centre score line was folded in the opposite direction of the two end score lines. A single sheet of 6″ x 6″ 2021-2023 In Color Designer Series Paper makes the coordination of the designs (and colour) simple. One design was used on the cardfront and back flap, and the flip side was used on the centre flap. Since the sheet was Fresh Freesia, that was the cardstock & ink used on the label and the belly band. The sentiment is from the Hand-Penned Petals stamp set on the Tasteful Labels Dies.
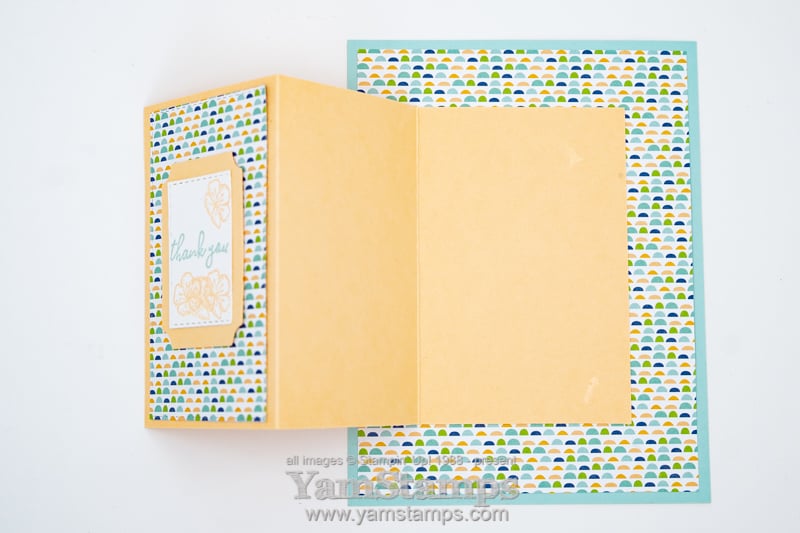
simple thanks card – fancy fold close up
My “lazy crafter” (trademark pending LOL) technique for the belly band – the band is 11″ long and the join is in the front, underneath the label. I usually place the end of the cardstock strip centred on the front of the card and then just fold the band around the card, making sure the flaps are aligned, and then adhere them together, using the label to hide the seam. I don’t fold the band too tightly around the card so that it’s not too difficult to remove. I typically find if I try to score the folds into the belly band, I mess it up somehow and it doesn’t fit properly!
We did this simple thank you card in Stampers Club last month, and I’m busy finishing prep for the June card packages so that they’re set for pickup/mailing! If you’d like to join us in club, send me a message! New members can start at any month for their 6 month membership – but it’s easiest if I have a week or two notice so that I can get your class items prepped for you! We meet the third Monday of each month, so now’s the time to join us for June!
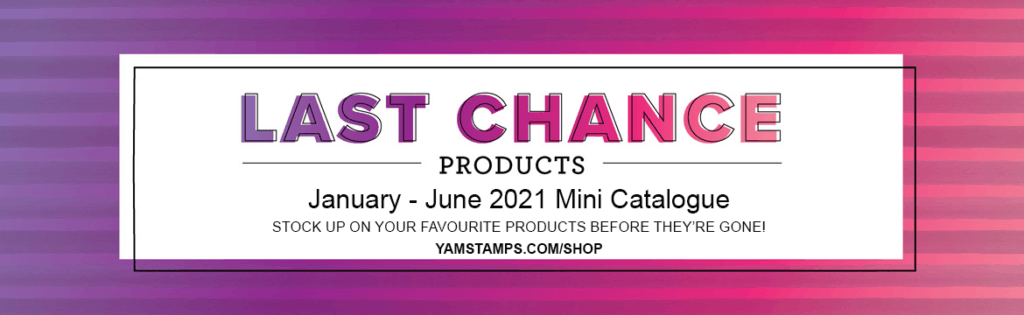
Happy June! This month to me is about endings and new beginnings – like the end of school and the beginning of summer…and the end of the January-June 2021 Mini Catalogue and the beginning of the Retiring Products Sale!
If you are diligent, you probably already figured out which products are retiring by going through the 2021-2022 Annual Catalogue! HOWEVER – some of the items are on sale this month, so bet you didn’t figure that part out! Take a look and make sure you grab what you like – as always, retiring products are “While Supplies Last”. Shortcut to shop in the online YamStamps Stampin’ Up! Canada store is yamstamps.com/shop or you can message me for assistance placing an order or if you’d like to pay by etransfer.
The spreadsheet is sortable. The pdf version is good if you are able to enlarge the image on your screen, because the print tends to be verrrrrrry small. Extra Stampin’ Rewards still apply until June 14th, so if you’ve got a large shopping list, you may be able to cash in on that! Happy browsing, and please contact me if you have any questions!
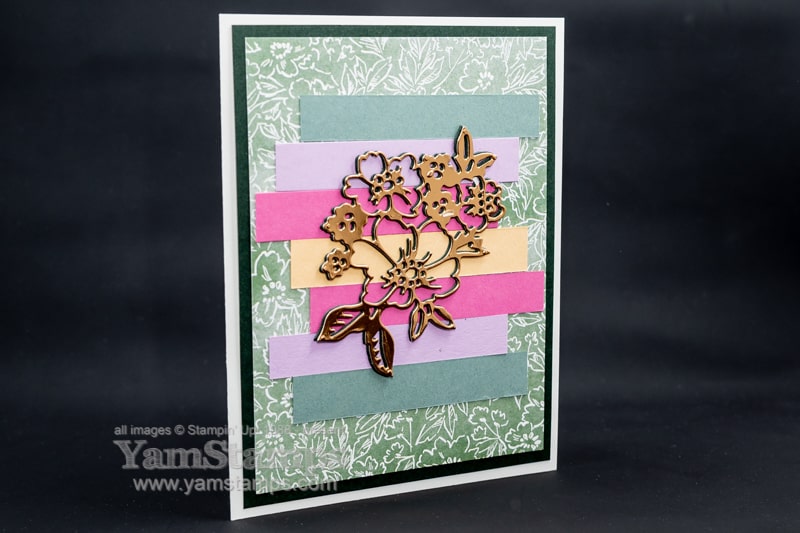
This layered die cut card is a great way to add a bit of dimension to your cards – and of course, because it’s here on the YamStamps blog, you know it’s an easy method! Featuring some products from the 2021-2022 Annual Catalogue.
Layered Die Cut Card
So – I liked the Hand Penned suite products, but in all honesty – I was resisting, and they actually weren’t on my “have to buy” list…until one of my Demonstrator team members, Arlene, shared some beautiful projects she’d made with it during one of our online team get togethers. I pretty much had it on my next order going in LOL!! (so for those of you who say that -I- enabled you in your crafty purchases, know that I am not immune!)
For this card, I added some adhesive sheets to the back of some Copper Foil Sheet strips before die cutting with the outline die from the Penned Flower Dies. I also die cut the same die from the centre of the backing piece of Evening Evergreen cardstock. (One of my favourite thrifty card making tricks!) The hole in the cardstock was covered by the piece of Hand Penned Designer Series Paper, and then I added additional strips of the other new 2021-2023 In Colo(u)r cardstocks.
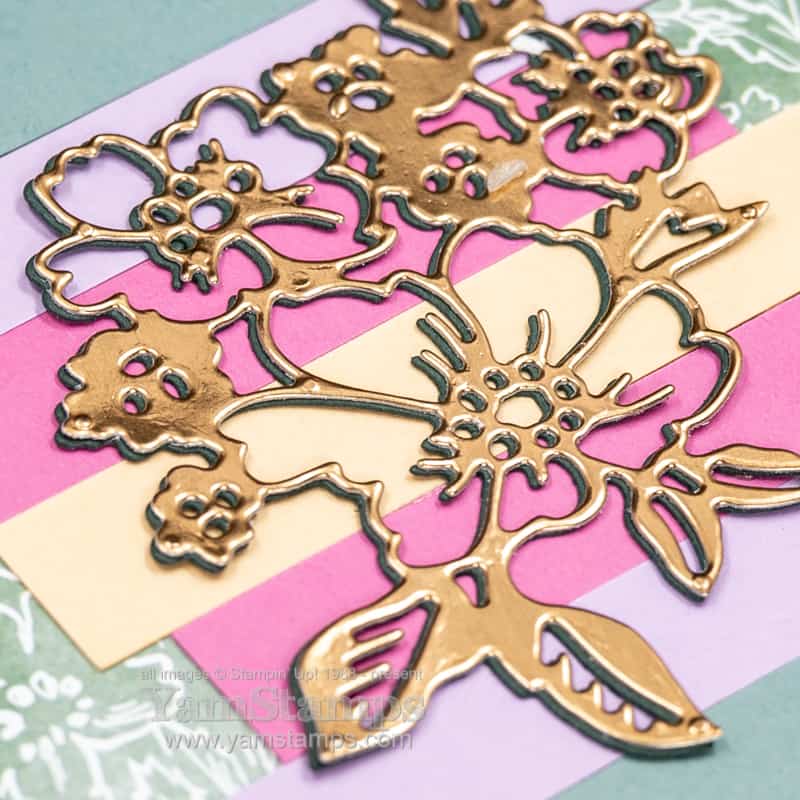
close up detail layered die cut card
Having the adhesive on the back of the Copper Foil Sheet made it easy for me to adhere it onto the Evening Evergreen die cut – but I slightly offset the die cuts so it showed off the bottom layer and gave a bit more dimensional effect. I suppose I could have put some adhesive sheet on the back of the cardstock layer as well, but I didn’t…so I just used small dots of Multipurpose Liquid Glue on the back of the die cut. One tip I picked up recently was to let the liquid adhesive dry just a bit before setting the layer down so it doesn’t “ooze” out all over the place. Handy tip for a messy crafter like myself!
If you’re in Canada, I hope that you enjoyed your first long weekend of the summer(ish) season! We had our barbeque dinner on our back deck – after clearing so much pollen from our table and chairs – crazy! I saw a comment somewhere about people having to say “Pollen, not the plague!” whenever they sneeze or cough these days. True!!
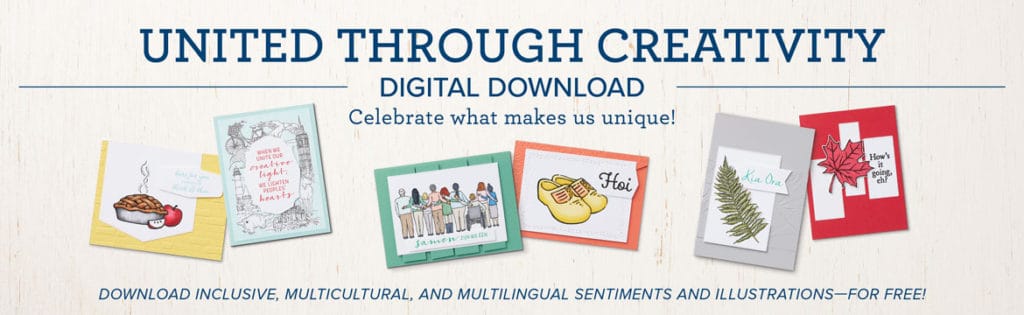
Check out this free digital download from Stampin’ Up! Released earlier this week, the United Through Creativity download features sentiments in multiple languages and images that celebrate the various markets in which Stampin’ Up! is currently operating.
You can download this pdf file for free here – shortcut is yamstamps.com/diversity as it was released in honour of World Diversity Day. I think this is a great file to have for cardmaking and for scrapbooking! When you create something with it, Stampin’ Up! is encouraging us to share our results and use the hashtags #UnitedThroughCreativity and #DiversityDay If you also tag me (@yamstamps on all social media platforms), I’ll look for your projects and share them as well!
This is a quick and easy mini fancy fold card disguised as a standard sized card! By adding a mini card on a 4.25″ x 5.5″ piece of cardstock, it fits into Stampin’ Up!’s Medium Sized Envelope for mailing, and doesn’t get lost on a gift.
This card is a single piece of Pool Party Cardstock cut to 4.25″ x 5.5″, and then I die cut the centre of the Designer Series Paper with one of the Stitched Rectangles. The Z folded Pale Papaya Cardstock covers the hole in the centre, and then the die cut piece fits on the front of that mini fancy fold card. The sentiment is another Stitched Rectangle on a Tasteful Label Die Cut. The sentiment and flower images are from the Free As A Bird Stamp Set.
I didn’t add any bulky embellishments to this card because I didn’t want to make it too thick for easy mailing – but you could easily add some ribbon or bling to further fancy it up!
We had fun making this easy mini fancy fold card together in Stampers Club the other evening. Our Zoom gatherings are usually filled with chatter and laughter, often with everyone laughing at me because I’ve messed up something when showing the construction of the card – I will often (unintentionally) demonstrate “What NOT to do when making this card”! While virtual card classes have their learning curve, some of the definite positives are the quick commute time for all and the quick class time – since I die cut and prep everything ahead of time for everyone! If you’re interested in joining us, new members can start their 6 months in club at any time – our next get together will be in June, so if you’d like to join us, please contact me! As we will still be virtual for a while, as long as you are located within Canada and can access the internet, you’ll be able to join us! I will most likely continue to offer an online version of club even once we can safely gather in groups again, because it’s nice to have options.
Thanks for stopping by the YamStamps site! Leave a comment and let me know what kind of projects you might like to see here in future!