Oct 10, 2017 | cards, specials, Stampin' Up!
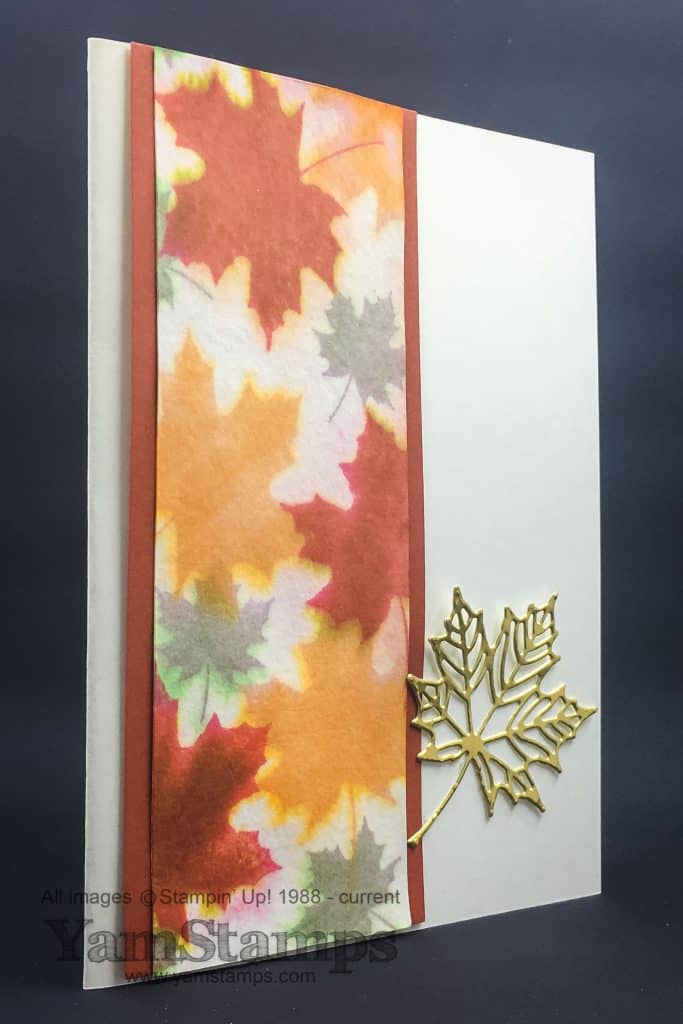
What’s YOUR least used colour? We all have colours that we prefer to work in…and those we can’t always find inspiration to use…. For me, my least used colour is Stampin’ Up’s Cajun Craze. At least until this season! It is a perfect colour for autumn leaves and changing shades of nature.
For this autumn themed card, the strip is stamped with the large and small leaves from the Colo(u)rful Seasons set. (If you are reading this today, October 10th, it’s the last day of the World Cardmaking Day Sale and this set is discounted!) Colours used are Pumpkin Pie, Cajun Craze and Always Artichoke. After randomly stamping the strip, it’s spritzed with water (Stampin’ Spritzers are perfect for this), and allowed to dry….or hurried along with the Heat Tool. This blurs the colours and gives it a soft effect – almost looking like velvet or some other type of material. It’s a forgiving and easy technique! It’s backed with that least used colour of mine, Cajun Craze, and then the finishing touch is a die cut leaf from the Seasonal Layers framelits in Gold Foil. The Gold Foil sheet was backed with an Adhesive Sheet prior to running it through the Big Shot to make it easier to adhere neatly to the card. (Hint: Make sure you use a brand new sheet….not one that you might have already used some of the adhesive from….so that the leaf sticks entirely….ask me how I learned this tip…..!!)
I did have to make a conscious effort to use this colour for this card, but I think I need to challenge myself like this a little more often! What’s YOUR least used colour? Leave me a comment and let me know, and then maybe even challenge yourself to pull it out and make something with it.
Oct 7, 2017 | Announcements, online class, specials, YamStampsMore
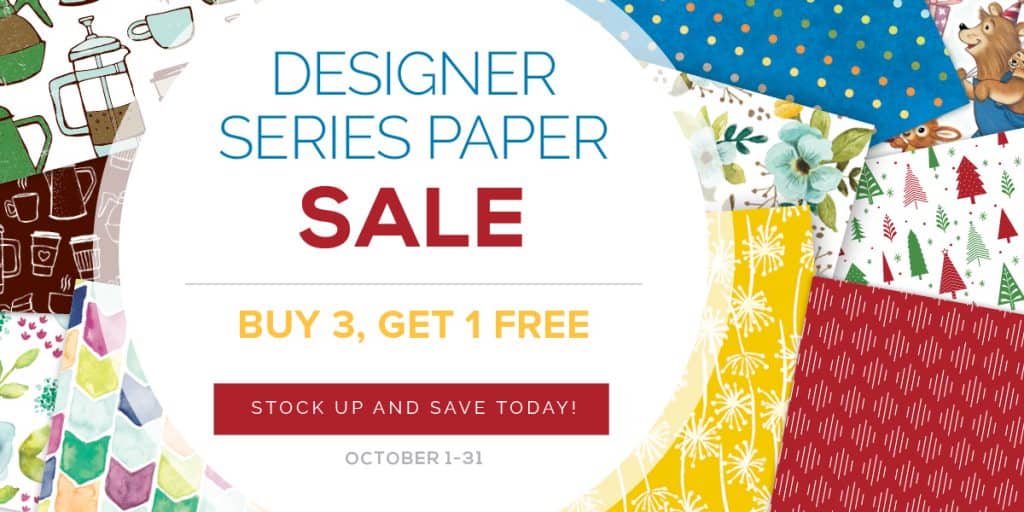
Today is World Cardmaking Day! Stampin’ Up! is already celebrating by offering selected stamp sets at a discounted price until October 10th, and selected Designer Series Papers are Buy 3 Get 1 Free During the entire month! You can shop online in the YamStamps Stampin’ Up! Canada Store here – however, I have one more special offer for you – TODAY ONLY!
If you’d like to hear more about the class, you can go here – but if you want the special pricing, you’ll need to use the above link. The special will be in effect Saturday, October 7th ONLY.
I think that the Clever Cards Class is a great way to celebrate World Cardmaking Day. This class features a number of interesting and clever folds that you can use for your cards when you want an extra special card! It’s an online class, so you can learn from the comfort of your own home, and like all the YamStampsMore Online Classes, you’ll have lifetime access to the videos and instructions.
I hope that you are able to spend a bit of time today being creative. World Cardmaking Day is a fun way to celebrate the art and craft of a handmade card – and of course, part of the joy of making a card is sharing it with someone – so I hope that you take the time to send a handmade card as well. As always, if you have any questions, please feel free to contact me!
Oct 5, 2017 | cards, Stampin' Up!
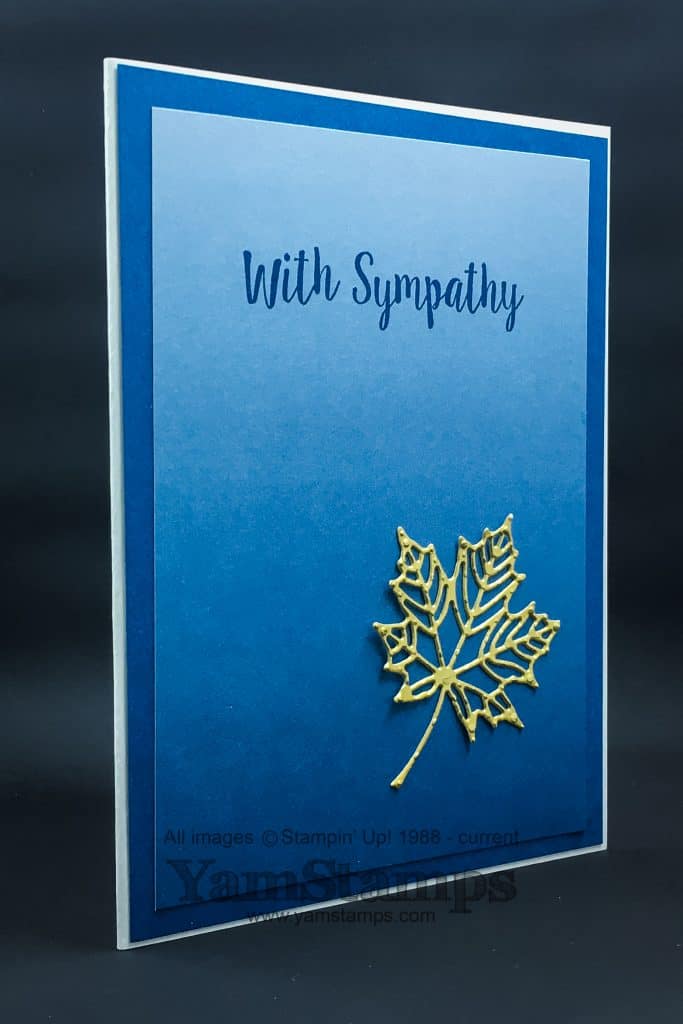
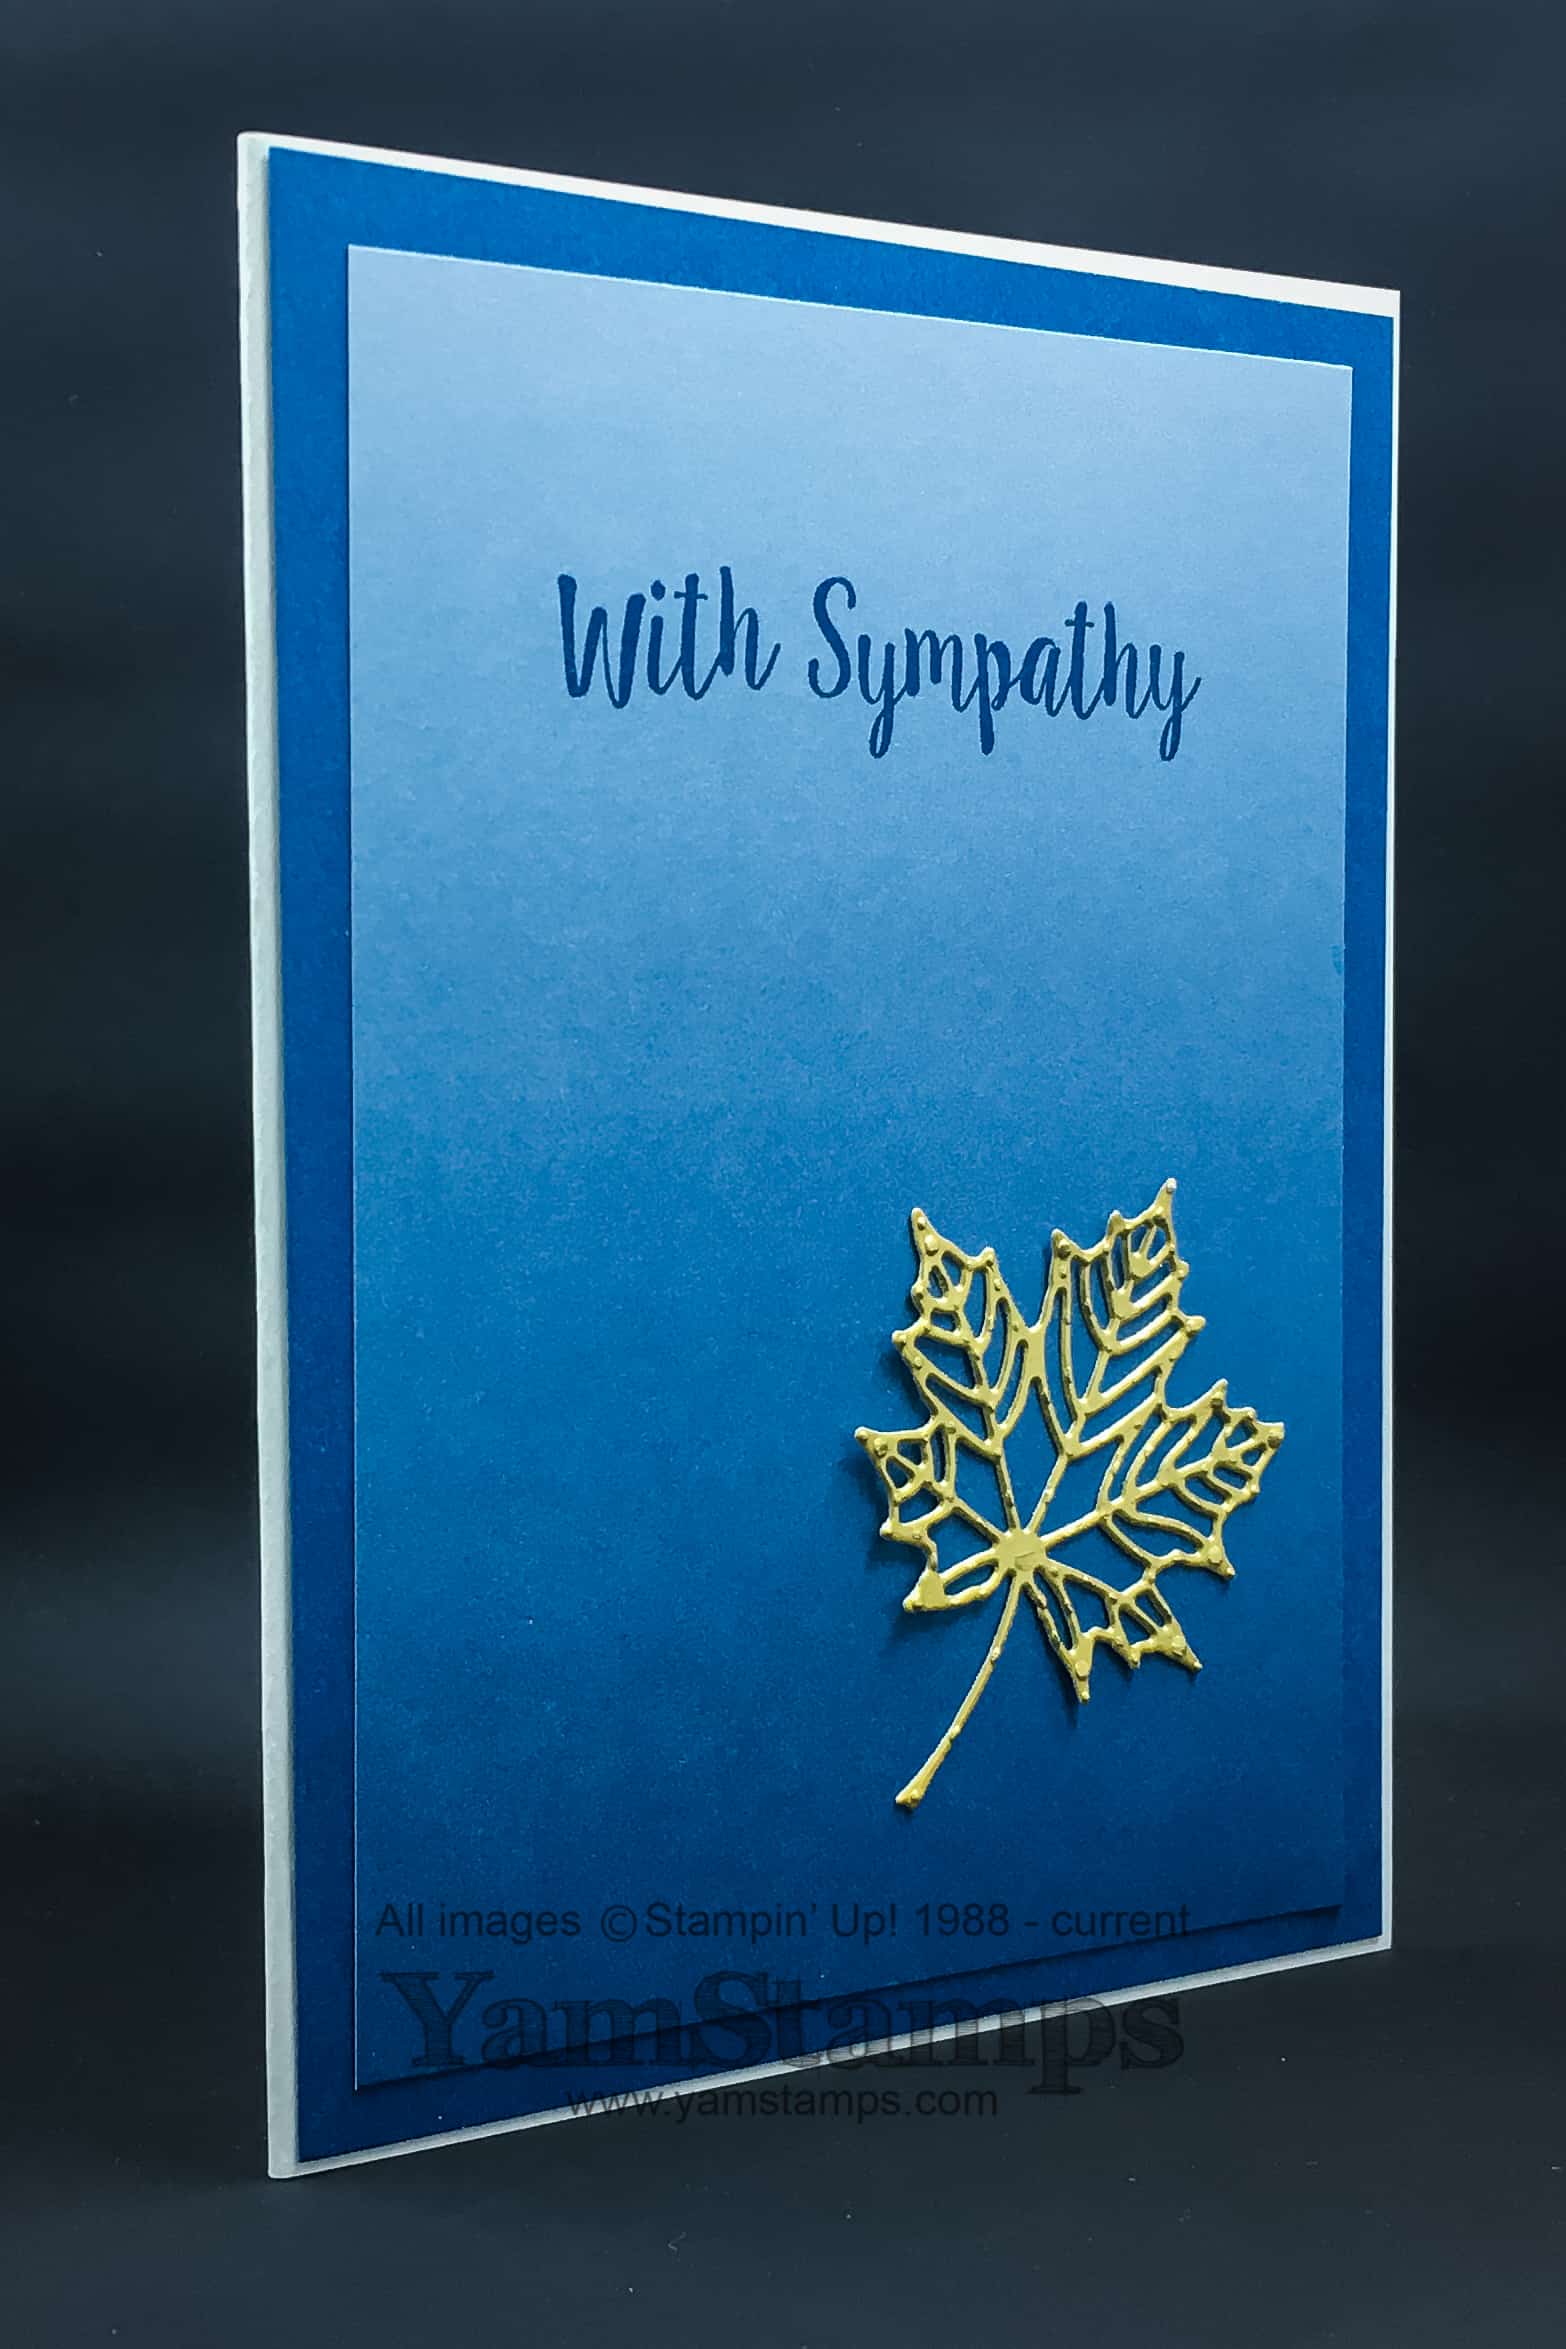
My least favourite card to make is a sympathy card, but it’s often the most appropriate and appreciated. Unfortunately, I’ve had to create a few of these for friends lately. I never feel that creative when I’m sad, so often when I “need” a sympathy card, I don’t feel like making any cards at all. My grandmother recently passed away just before her 99th birthday, and we received some lovely sympathy cards, including some beautiful handmade ones (I shared a few on the YamStamps Facebook page). A card can be like getting a hug from a friend in the mail, and it’s truly appreciated at a sad time, but this occasion also reminded me that I should send cards for happy occasions, and “just because”.
Simple, clean cards (also sometimes referred to as CAS – clean and simple – cards) are a great “go to” design in general, but especially when you don’t feel like fussing a lot. The featured sympathy card uses the Colo(u)r Theory Designer Series Paper Stack, the Seasonal Layers Thinlits Dies, and the Better Together stamp set, which is available in wood mount or clear mount. I love how the ombré paper makes this very simple design more interesting and eye catching but not too busy. This particular Designer Series Paper Stack has this design in a number of different colours so you can change up the colours as you feel inclined.
I love the detailed leaf die cut from the Seasonal Layers Thinlits, though it can be a bit “fussy” to adhere them to projects. The return of the Adhesive Sheets to the Stampin’ Up! catalogue has made attaching fussy cuts so easy! The sheets are 6″ x 12″. I cut my Gold Foil sheet to 6″ x 12″ and adhered the adhesive to the back, leaving the second liner sheet in place. It’s ready for die cutting after that – I cut my foil into 2″ strips, then die cut the leaf. Peel off the remaining liner sheet, and it exposes the sticky adhesive, already in place on the back of the die cut! The other option is to place a the die cut piece onto an adhesive sheet to tranfer the adhesive onto the back of the die cut. This is great for those moments when you don’t have a pre-lined piece of cardstock prepped, or for the more solid cut outs, but I do find it can be a bit messy for me with the more detailed cuts.
I often find it helpful to make a few sympathy cards to have on hand in my stash, so that I’m prepared if I need one. Often, in my classes I will have a card that doesn’t have a sentiment on it, so that it can be an all purpose card, or so that you can stamp the sentiment when you know what kind of card you need. My Monthly Card Classes are always the first Wednesday of each month here in Burlington, ON, but I also take them on the road for private card classes too. Please feel free to contact me if you have any questions, want to register for a class, or want to book a private class with your friends and family.
Sep 30, 2017 | Announcements, specials, Stampin' Up!
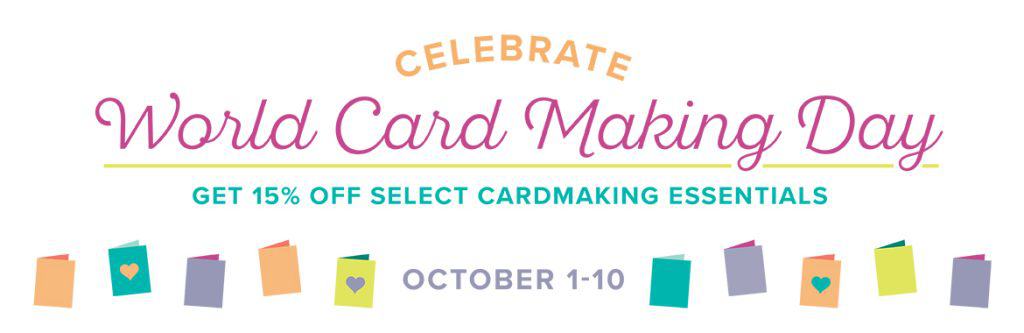
Save and Celebrate! World Card Making Day is October 7th, and Stampin’ Up! is helping with the supplies you’ll need to make a card to send!
These items are on sale October 1 – 10, and a lot of them have coordinating Designer Series Paper. If you’re on my mailing list, you’ll already know that there’s a Buy 3 Get 1 Free Deal happening the entire month of October for Selected Designer Series Papers! All the Coordinating Papers listed are part of the sale, plus the Painted Autumn Designer Series Paper.
In addition, during October 1-10, purchase a Fast Fuse Adhesive , get TWO Fast Fuse Refills for FREE! The Fast Fuse retails for $13.50 and the Refills are $10 each….you do the math….
Here are the sales items – REMEMBER: Sales Price is effective October 1-10 ONLY.
These are great deals that you can use to build up your card making supply stash! (Save money? That’s something to celebrate for sure!) Happy Shopping! If you live in Quebec (customer online ordering unavailable) or need assistance placing your order, please contact me. I can place the order for you and have it shipped directly anywhere in Canada! As always, please contact me if you have any questions. Remember, the sales start OCTOBER 1, 2017.
Sep 28, 2017 | Announcements, Christmas, Subscribe
Starting next week, it’s the Annual Twelve Weeks of Christmas! Here are the facts and answers to your burning questions….
- Yes, next week really is twelve weeks until Christmas
- Yes, this is done each year….
- It is a FREE, exclusive gift for YamStamps subscribers only
- It is in addition to the regular YamStamps emails – so lots of inspiration coming at you for the year end
- It features a different holiday project each week – we start with cards, move on to gifts, and finish up with wrapping and tag ideas
- These projects will be exclusive to this series – they won’t be seen here on the YamStamps blog, Instagram, Facebook or Twitter.
Any other questions? Please feel free to contact me – and be sure to be signed up!
Sep 19, 2017 | cards, Christmas, event, Stampin' Up!
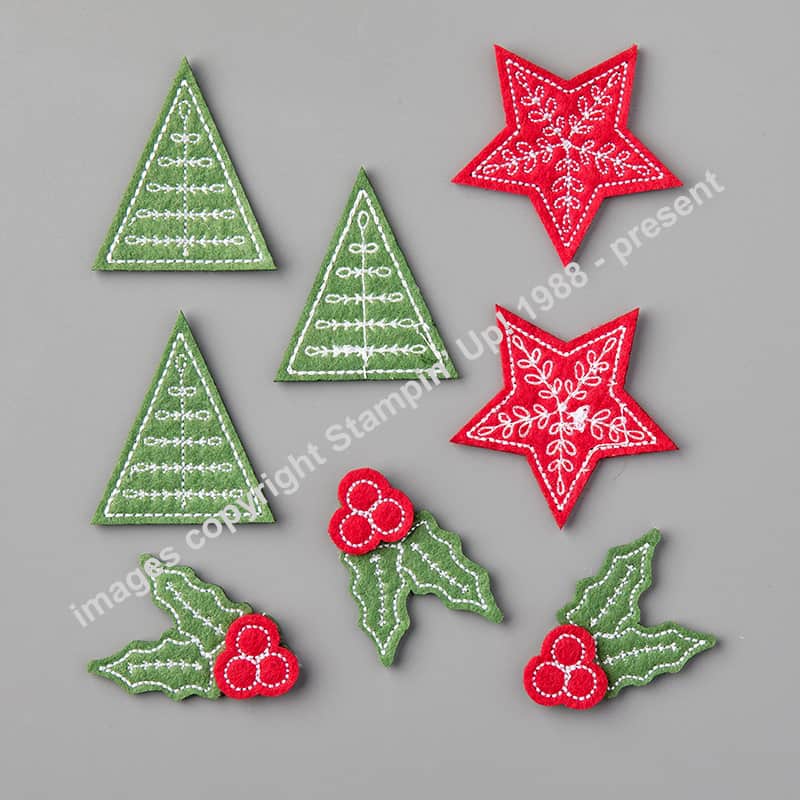
Aren’t these Stitched Felt Embellishments cute? This is what participants in the October Christmas Card Class will be receiving as part of their class fee! A package of 15 embellishments (5 of 3 different designs) that we will use on that day’s four different card projects. These will add a fun dimensional effect to our cards, but the remainder of the package can be used after class – either to recreate the cards from class, or on original projects and gift packaging!
There are two remaining Christmas Card Classes on my books at this point in time (I know – only two?!). Wednesday, October 25th at 1pm or 7pm, and Wednesday, November 22nd at 1pm or 7pm. For the October class, there is one option – the $30 class fee will include a package of the Stitched Felt Embellishments. Due to the nature of this accessory, it’s easiest if each participant has their own package for projects. For November, the product will be the Mini Tinsel Trim Combo, and there are two class fee options – $20 for the class supplies only, or $30 which also includes a package of the Mini Tinsel Trim.
Of course, if you can’t make the scheduled class dates, get a group of friends together, and we can set up a private class for you! Please remember that this is always an option if you see a class you’re interested in but need a different time or date option. Contact me to book a private class – it could be a Christmas Card Class, an All Occasions Card Class, a Birthday Card Class….you get the idea.
As always, check the YamStamps Events page to see upcoming classes and events – it’s continuously being updated – and sign up for my newsletters – you’ll get project ideas PLUS notification of specials and events in your inbox! Please contact me if you have any questions or are ready to register for a class!
Sep 15, 2017 | cards, Stampin' Up!
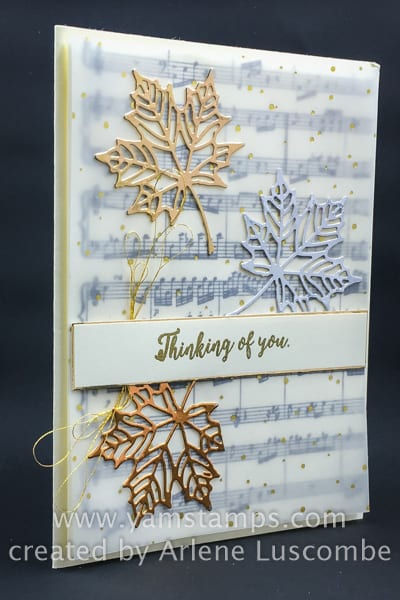
This is an elegant thinking of you card that we received this week from Arlene – a member of my Stampin’ Up! demonstrator group. Isn’t it gorgeous? I love the die cut leaves (from the Seasonal Layers Thinlits) and the musical background – the Sheet Music stamp in wood mount or clear mount – on my wish list still… The three metallic tones (gold, silver, copper) and placement of the leaves is so artistic! Arlene is very good about getting cards in the mail – I am still working on that habit!
This past week our family has received a number of cards due to the passing of my grandmother, who passed away just before her 99th birthday this past weekend. We have so many happy memories of a woman who lived a very full, very extraordinary life with a lot of verve while she could. That definitely eases our sadness, as has the expressions of support and sympathy we’ve received. Lovely cards like this have also reminded me how nice it is to receive cards in the mail. I’m going to renew my efforts to get more cards in the mail – especially the “just because” kind – because I think an unexpected piece of art in the mail is the best way to brighten a day and remind someone what they mean to you – besides getting to see them in person.
I plan on spending some time with friends and family this weekend, and also getting some more cards created and actually mailed. I’m pretty good about sharing them “virtually” – online – but I’m going to make more of an effort to share them in real life. Join me?
Sep 8, 2017 | scrapbooking
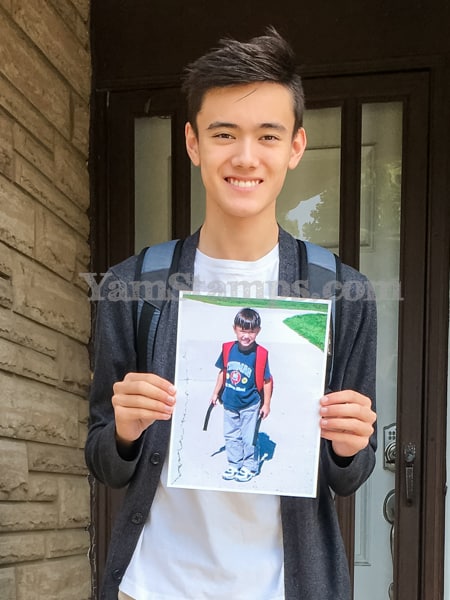
Back to Class! This is a first first day and last first day photo that I shared on Facebook and Instagram earlier in the week. I printed a photo from my son’s first day of school (well, first day of Senior Kindergarten in the school system…) and then had him pose with it this week as he went to high school for his last first day of school (well, for the public school system….and for the “official” count….and there’s always potential there could be a ‘victory lap’). I didn’t think this one up myself – I have seen other versions of it, but loved it – so remembered it for this year. My son & I talk about trying to go back to the school where the photo was taken so he can stand in the same spot – which we may still do. It’s amazing to think of all the growth that has happened over the years.
I may turn this into a scrapbook page that I will frame….or I may just let it be a stand alone picture. Or maybe both. It makes me a little sentimental looking at it! Anyway, I hope that when you have a senior high school student, you may do something like this just to have a comparison at back to school/back to class time.
While I don’t have pictures, a lot of students also came back to class this past week after taking a few months off in the summer. It was nice to have some familiar faces rejoin us in the Monthly Card Class for September. We always have a fun time. The class has two time options – 1pm and 7pm, so if you’re able to make it to Burlington, please register to join in! The fee is $20 and includes all supplies required to complete the cards. You’ll leave class with four different handmade cards, complete with envelopes – ready to send to someone special. We have a range of ages and experience in the class – from moms grabbing a little “me” time, to retirees getting a creative social time together, from those who are trying stamping for the first time to experienced paper crafters.
One other option if you’re looking to learn some techniques and get some “me” / crafting time into your day is to join the Stampers Club. Much like the Card Class, we make 4 different cards and all the supplies are prepped and ready for you to make your masterpieces. Instead of paying a class fee, though, members place a $33 order each monthly club session during their 6 month club membership. At one of the sessions, they’ll also get to spend the Stampin’ Rewards earned from that month’s orders (minimum $20 free product). The club runs monthly, year round, and new members can start their 6 month cycle at any club session. Some of the club members use this as a way to metre out their spending and some other members use it primarily as a social/crafting outlet. Whatever the reason, the result is the same – a great stash of handmade cards, free crafting product, and lifelong learning! Please contact me to join, or ask about the online option!
In addition to these regular classes, there are “special” classes – for example, right now, the Christmas Card Classes (see more about the upcoming September class here – and register by Monday if you’d like to join us!). There’s also the custom, private class option – get a group of friends together, and we’ll have a class just for you!
If you’d like to come back to class, or come to class for the first time – please check out the YamStamps Events Page for upcoming dates, and then contact me to register or to book a date for a private class!
Sep 6, 2017 | Paper Pumpkin, specials, Stampin' Up!
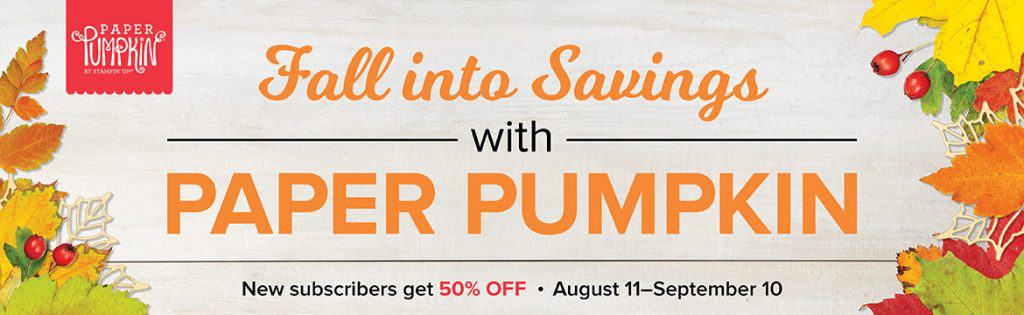
A reminder that you only have a few days left to take advantage of this special for new subscribers to Paper Pumpkin! Go HERE and enter the code HALFOFF0917 to get September’s kit for half price! A hint about what’s coming in the fall kit – check out the die cut leaves on the sales image above…rumour has it that it’s a sneak peek at what is in the September Paper Pumpkin! If you want more information about the Paper Pumpkin program, you can go here to check out some FAQ. From that page, f you want to get in on the promotion, be sure to click the MONTHLY SUBSCRIPTION button (the one on the left of the page) – as prepaid subscriptions aren’t eligible for the promotion. (Hint – purchase the monthly subscription now, then consider purchasing a prepaid subscription for October onwards!).
Paper Pumpkin is Paper Crafting Happy Mail every month!
Sep 4, 2017 | cards, Seasonal Catalogue, Stampin' Up!
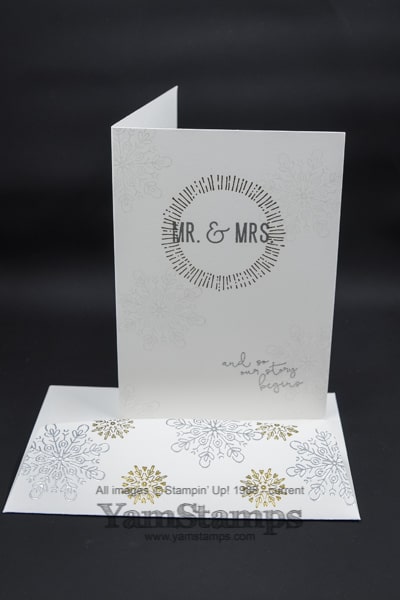
This is a handmade wedding thank you card that I created to share with the Weddingbells Magazine staff – I think you could see it in the photo on their Instagram feed. I used the Stampin’ Up! Holiday Catalogue set Cheers to the Year (available in clear mount or woodmount). It’s the same set that I used for the card the other day – with a different focus.
I used the silver and gold scheme once again, this time, embossing the words in silver and the accent in gold. If you look closely, scattered over the cardfront I tamped the snowflake lightly in Smoky Slate – to add another dimension but not dark enough to draw the eye too much. The other thing I did on the front of the card is that I omitted a letter on one of the stamps! The sentiment is actually “and so your story begins” – but I inked up the stamp and then carefully removed the ink from the “y” so that it says “our” – which I thought was more suitable for a thank you card. If I was bulk producing this handmade wedding thank you card, I would probably just cut the stamp – this is obviously easiest or most forgiving if you use a clear mount set. If you do a straight cut, you can keep the portion of rubber, and use it when you want… since I was just making one card here, I chose not to cut the stamp.
For the envelope flap, I randomly stamped the snowflakes and then heat embossed. I stamped & embossed the larger silver snowflakes first, then to be safe, I swiped the flap with my Embossing Buddy to ensure when I did the smaller snowflakes that the gold embossing powder wouldn’t go astray too much. These are the Whisper White notecards, so the card and envelope are slightly smaller than the “usual” half sheet cards. The notecards are thick Whisper White cardstock, so they feel quite substantial, and the embossing makes everything more “wow”. I think handmade wedding thank you cards are a wonderful personal touch you can add to your wedding stationery.
Around here, we’ve been focusing on a different type of stationery – that would be the back to school kind of stationery. My son is not so keen on the whole back to school shopping idea (well, shopping in general, actually). I, on the other hand, LOVE the office supply store…so back to school supply shopping is always a happy thing for me! (Please tell me I’m not alone in that regard…) I actually picked up a great item that helped me with my ongoing organization kick, so tune in later to see that.
I hope everyone has a great first day of school tomorrow! I know that my son will enjoy it since he doesn’t actually start until 1230!!! The grade 9 students start at the regular hour, but the rest of the school starts later. It’s a nice way to ease the grade 9s into highschool, I think. While the kids get back to school, don’t forget that you can get back to class as well! Wednesday is the Monthly Card Class, and the September Christmas Card Class is coming up on the 13th! See the YamStamps event page for more information, and contact me to reserve your spot! Hope to see you in class soon!