Feb 3, 2019 | birthday, cards, Sale-A-Bration, Stampin' Up!
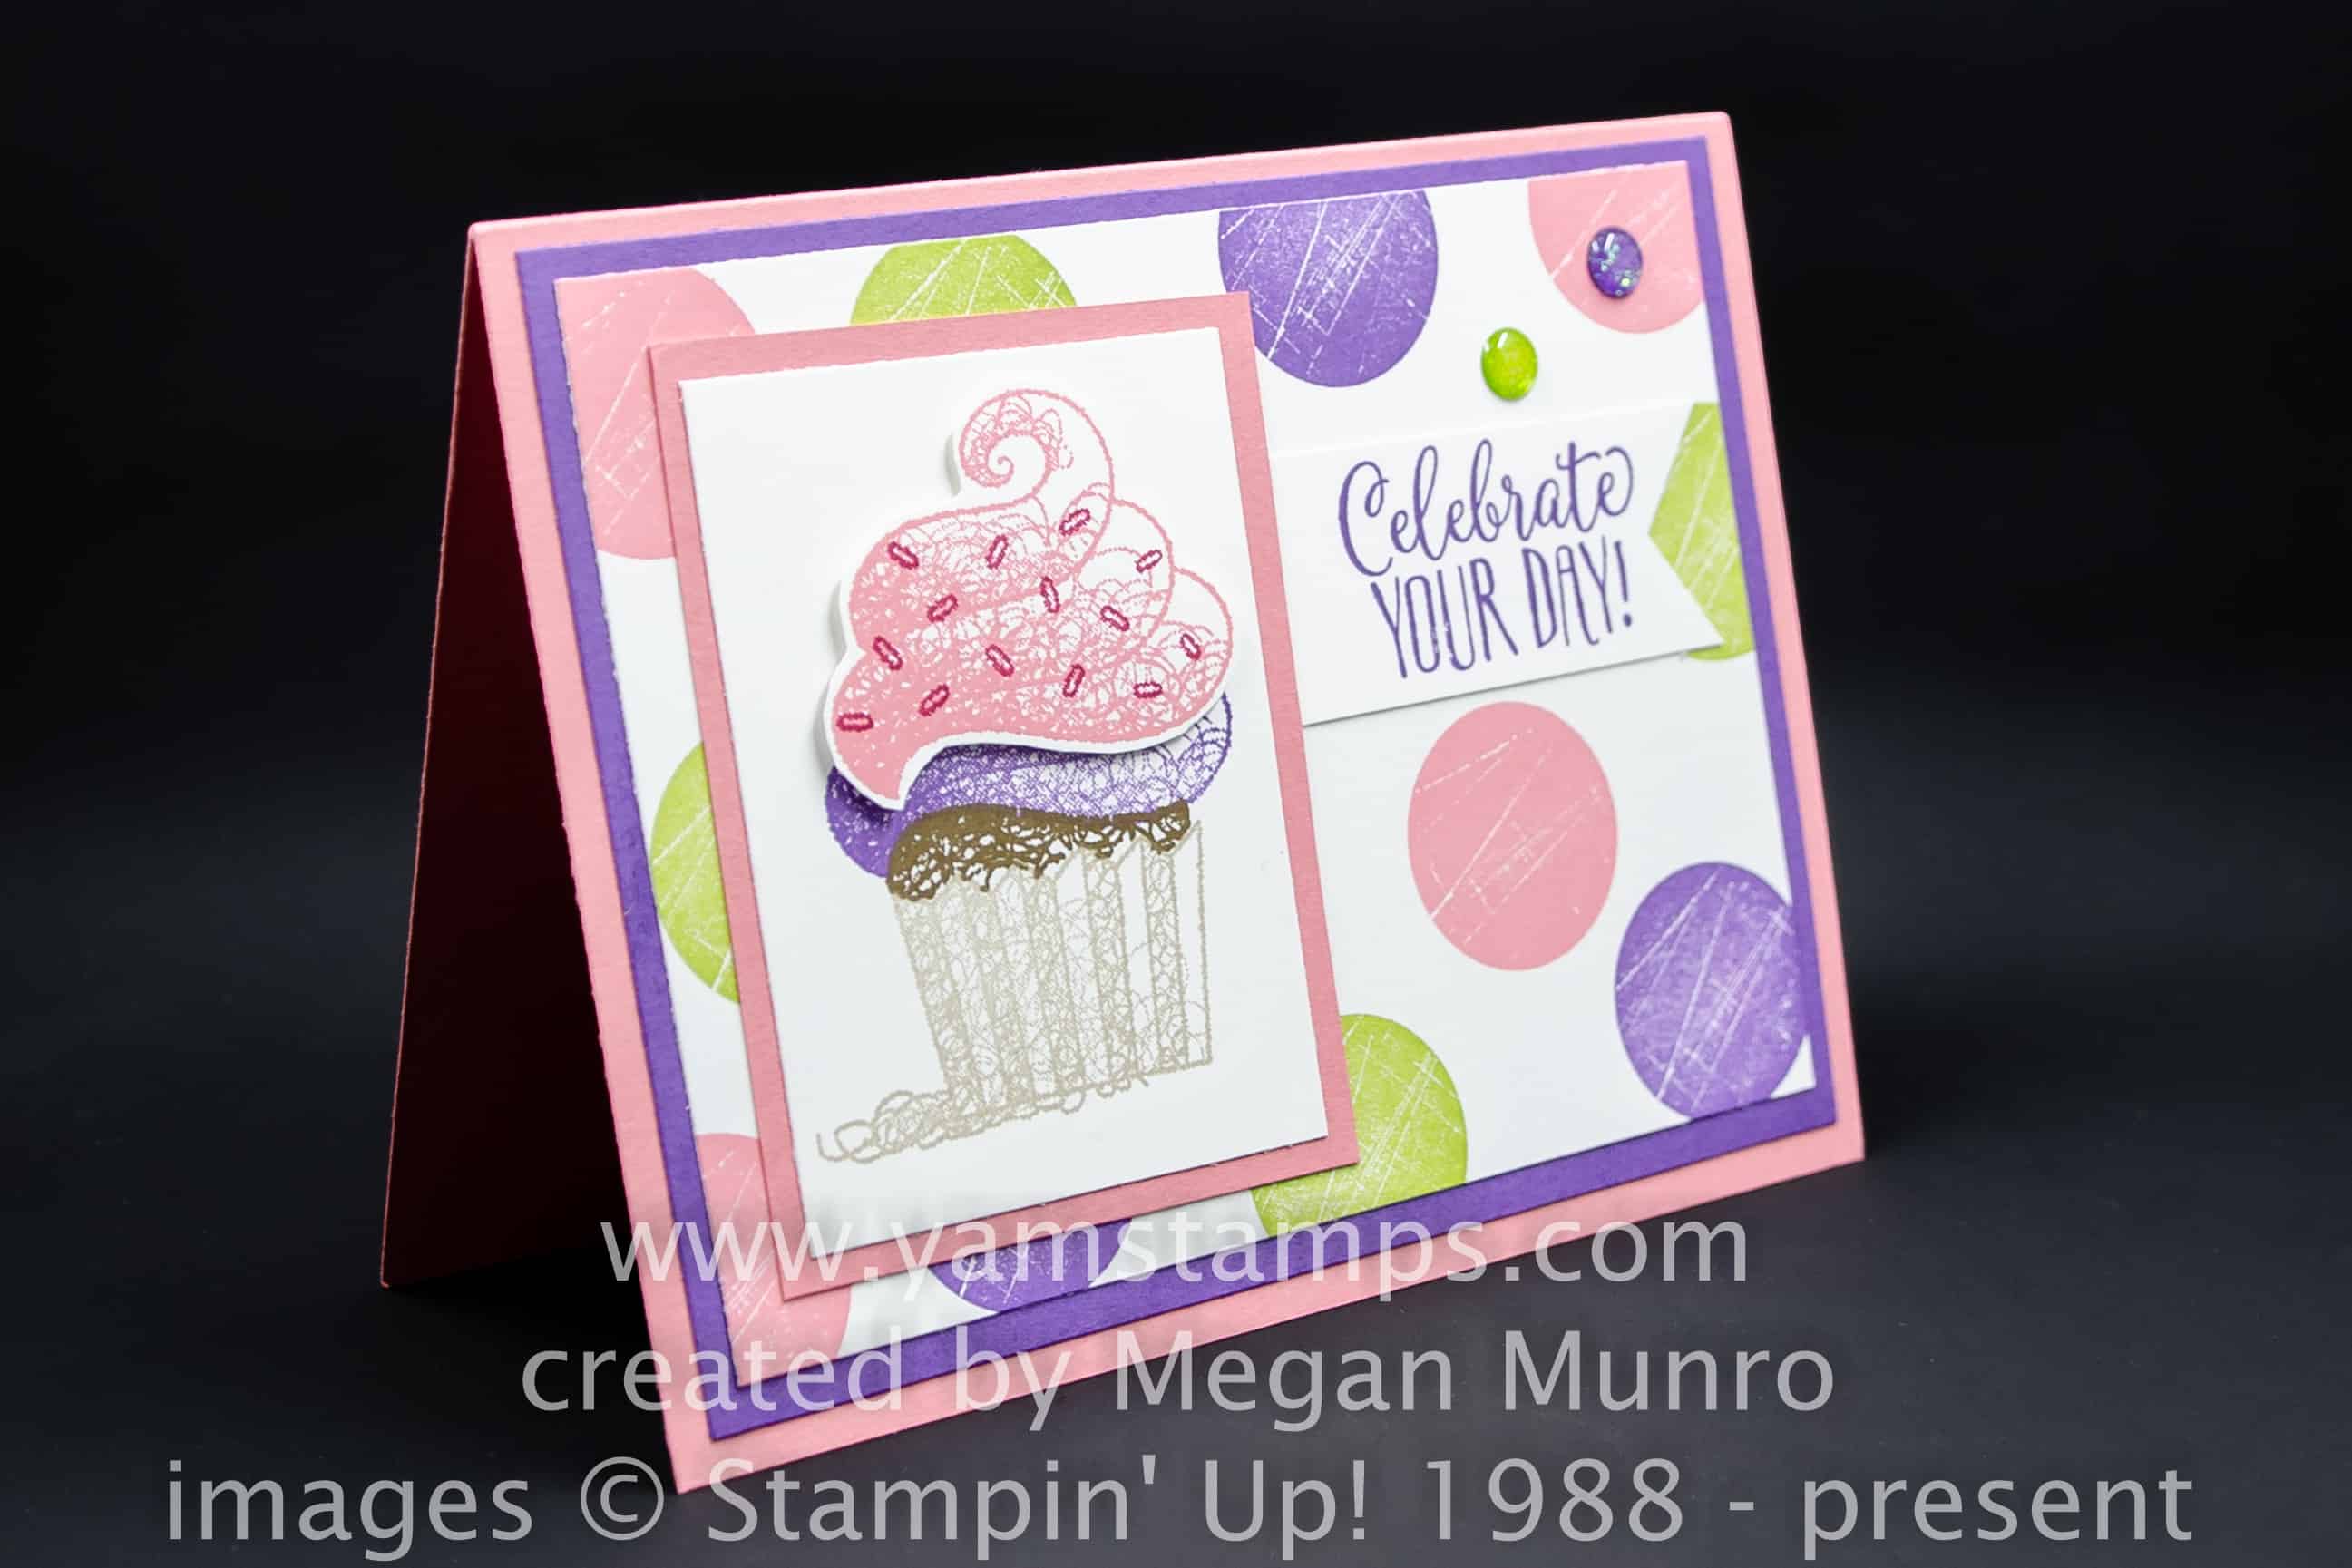
Hey cupcake! Send a sweet greeting to a friend using Stampin’ Up!’s Hello Cupcake photopolymer stamp set. This is a Level 1 Sale-a-Bration reward that you can select for free with a product purchase of $60 CAD.
It’s Sunday, so that means a Sunday Swap Share – like this card created by Megan Munro. (Check out the YamStamps Facebook Page, where I’ll be posting a different cupcake card idea!). Apparently there’s also some sort of a sporting event happening today, but since it’s not the Olympics, I’m not really keeping track…
It’s such a fun card! Love the Glitter Enamel Dots accents. Also – true confessions – I can’t figure out what paper or set she used as the background paper, so if you can, let me know…LOL. **EDITED TO ADD: Thanks Linda Snyder! She was diligent and actually contacted Megan (haha why didn’t I think of that?!) and Megan kindly responded and let us know that she used the stamp “Wood Words” (available in red rubber clear mount or red rubber wood mount) to create the background!!**
One thing to notice on this card and the one I’m sharing on Facebook – both creators took the time to “fussy cut” the icing image. If you know me, that will often knock a card out of “I’m going to copy this card” contention. HOWEVER – starting in March, Stampin’ Up! will be featuring some limited time items that coordinate with Sale-a-Bration products – including FRAMELITS for the Hello Cupcake set!! So hey cupcake, guess what card is now back in the “copy” category for me?! These items will be available for purchase as of March 1 – and I will definitely post more information closer to that time.
In the meantime, I’ll try to stay focused while I’m waiting for my product preorder to arrive! One of the fun aspects of being a demonstrator is that we can preorder upcoming products ahead of their general release. This is in order to give us a chance to come up with some fun samples and prep to use them in clubs and classes (or just to have fun playing with the product ourselves….LOL).
If you’re interested in hearing more about becoming a Stampin’ Up! demonstrator with my group, you can RSVP for my free Information Evening! The next one will be held Thursday, February 7 at 7pm. You’ll find out more about what’s involved and how I can help you run your business in a way that works for you. If you can’t make that time, contact me to set up a different time to meet up, or check out my FAQ page here.
Oh – and hey cupcake, don’t forget to visit the YamStamps Facebook page to see another cupcake card sample! Happy Superbowl Sunday 🙂
Dec 7, 2018 | birthday, cards, specials, Stampin' Up!
So…if you haven’t figured it out, I really like clean and simple designs. Here’s another one! A clean and simple birthday card. This is a two step stamp set, meaning that there are two (or more) stamps that combine to make a complete image. By using Stampin’ Up!’s stamp positioning tool Stamparatus, this is made even more easy!
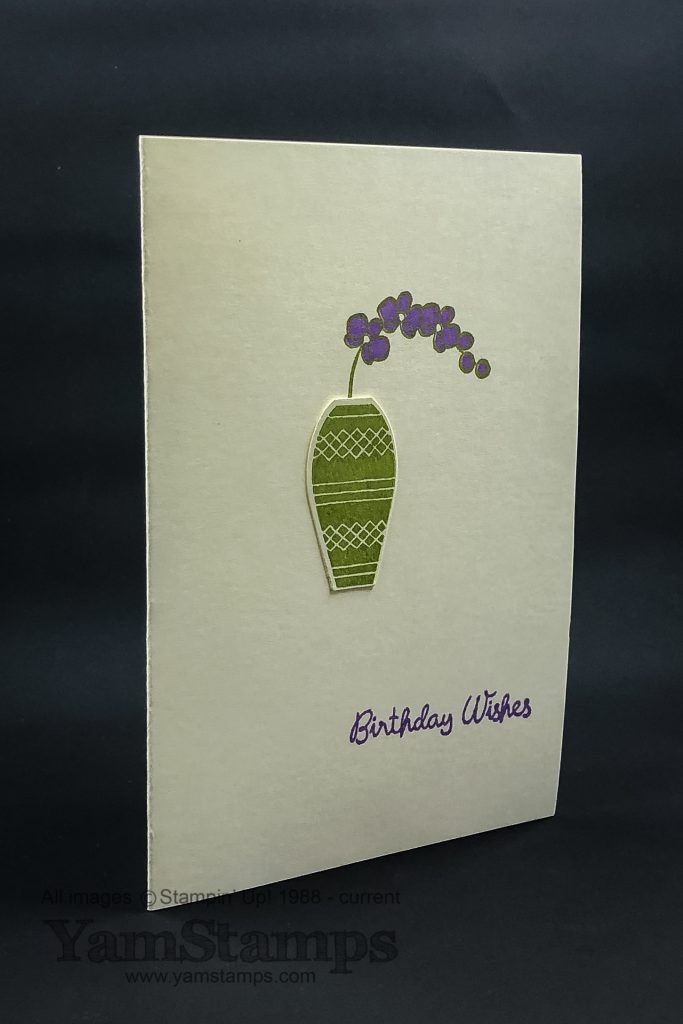
This card uses the Varied Vases stamp set, which has a coordinating Vases Builder Punch – and you can get them together in a discounted bundle. Since it’s a photopolymer set, it can be used with clear blocks or the Stamparatus. For a class situation (like the Monthly Card Class or Stampers Club), it’s great to use the Stamparatus. I just set it up, and align the stamps, and it will be perfect each time. In this case, the stem and flower outline is one stamp, and the flower colour is another. Since the sentiment and flowers are the same colour, I put those stamps together on one side of the plate, and put the outline on the other side. Not seen – the inside sentiment, which was on the other plate. Subscribe to the YamStamps Facebook Page and you’ll get a notification of when I go live next – I’ll show how quickly this clean and simple birthday card comes together!
Stampin’ Up! challenged us to share some #simplestamping ideas – and this qualifies as that! Though…I may have cheated slightly by adding a layer. I think Stampin’ Up! wants to define Simple Stamping as a notecard, ink and stamps only….so maybe I pushed those boundaries a bit haha! I used a scrap of Very Vanilla to stamp the vase and punch it out, and then simply adhered it in place on the front of the card. So maybe it’s just a clean and simple birthday card because of that?! Ah well. I still like it.
The Stamparatus is great if you’re doing multiples of the same card since you’re guaranteed to get the same placement each time. Perhaps I should be using it to help me crank out some more Christmas cards to send?! I may convert them into Holiday/New Year cards…since between me still fiddling with them and Canada Post dealing with a backlog of mail to sort through…
Stampin’ Up! is offering some discounts on selected product as part of the Year End Closeout! Check out the Year End Closeout in the YamStamps Online Stampin’ Up! Canada store. (or download the list here) You’ll see which items are retiring from the Holiday Catalogue, and which items are being offered at a discount – while supplies last. You can shop 24/7 in the online store, or you can contact me if you have any questions or need assistance placing your order. Happy Shopping!
Nov 16, 2018 | birthday, cards, Stampin' Up!
Simple Stamping (#simplestamping)
While at Stampin’ Up!’s On Stage event last week, one of the things they talked about was #SimpleStamping. The idea was about getting back to the basics, and they showcased a lot of clean and simple cards. Essentially…..like most of my cards!! LOL. Truly, while I appreciate some intricate and over the top designs, if it’s not easy to make, I don’t want to deal with it…but I still want it to look good.
So with that in mind, I present a recent class card that truly is simple stamping. One colour ink, and a couple of accent colours of cardstock. That’s it. It uses the Big Wishes stamp set which is available in wood mount or red rubber clear mount. The ink is Bermuda Bay and the other accent colour cardstock in the background is Lemon Lime Twist.
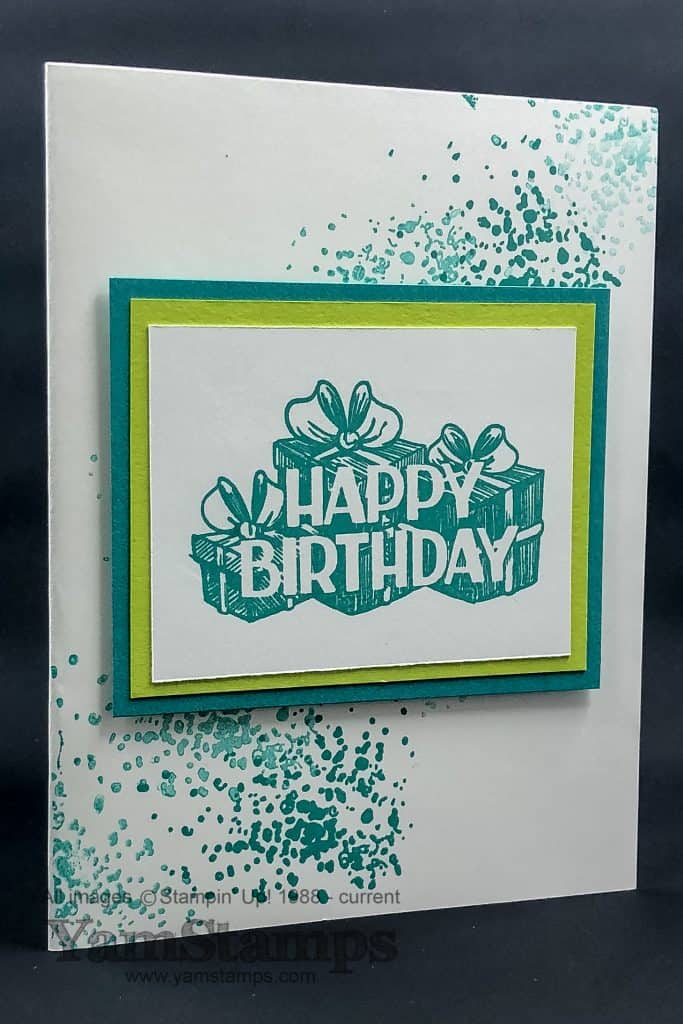
To add more interest and depth to this simple stamping card, the splatters from Artisan Textures (available in red rubber wood mount or red rubber clear mount) were stamped in Bermuda Bay in a combination of first, second and third generation images. (First generation = ink the stamp, then stamp on the cardstock; second generation = second stamping onto cardstock without re-inking…etc). The one caution I will give if using a combination of these images is that you need to be aware that if your first generation stamping goes off the edge of your cardstock, you will NOT want to do a second generation image at that time – because the ink will not have been removed from the rubber of the stamp evenly, so you’ll likely end up with an image with a definite demarcation between a lighter and darker image. Ask me how I know… Perhaps that’s a good topic for a future Monday Mistakes Facebook Live on the YamStamps Page?!
If you’re looking to add to your card stash or your card making supplies stash, consider joining my Monthly Stampers Club! We meet in north Burlington on the third Monday of each month, and new members can start at any time! Commitment is a 6 month period, and during that period, at each club class you’ll make 4 different cards and place a $33 order. Once during your 6 month cycle, you’ll also receive a minimum of $20 free product! Contact me to join or if you have any questions. The next club date is this Monday, November 19th, and we meet at 1pm or 7pm. Simple Stamping in this case is being able to have some regular crafting time set aside!
Oct 5, 2018 | Big Shot, birthday, cards, Stampin' Up!
Stampin’ Up! has so many great Designer Series Paper packages. These coordinating patterned papers make paper crafting a snap – and here’s an easy birthday card to share! The main feature is the die cut sentiment, and then you can change up the background paper to suit your need.
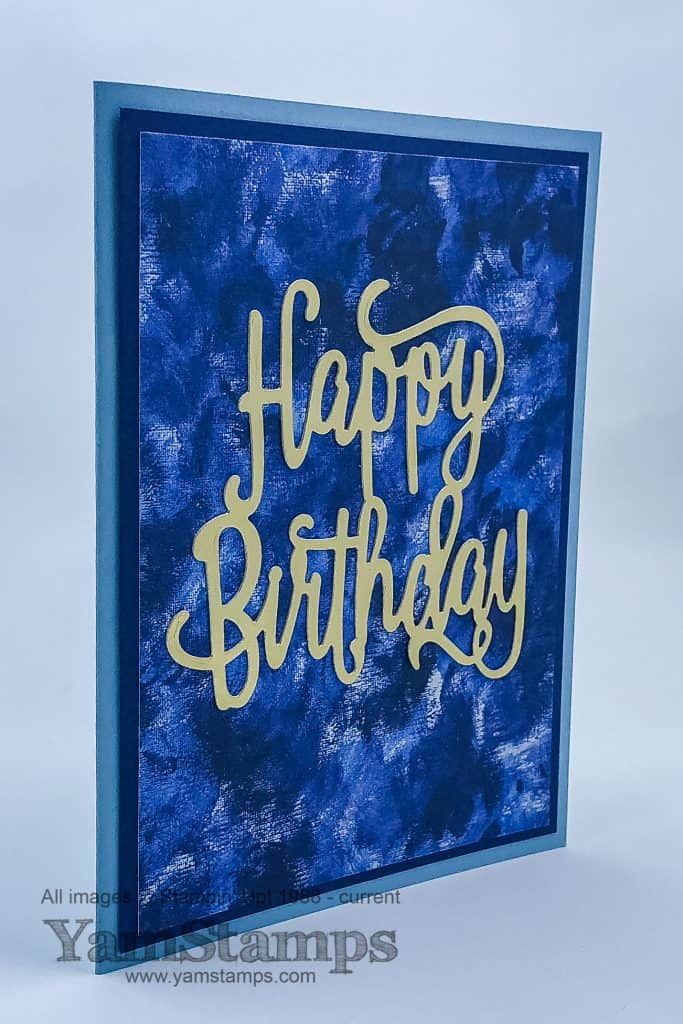
The sentiment on this card is created with the Happy Birthday Thinlits Die and Gold Foil Sheets. There’s a couple of tips to share with you with this thinlit and the gold foil to be sure this easy birthday card is…easy. First – when you die cut the Gold Foil sheet and remove it from the die, you may notice some “bumps” on the foil from the thinlit die. You can remove these or smooth them out by running the die cut shape through your Big Shot a second time on its own – just be sure that the Plastic Cutting Plate next to the Foil side/good side is fairly blemish free. I tend to try to use one Plate as the bottom one all the time, and the other Plate as the top one all the time, so that only one gets really scuffed up. A non-scarred Plate will not transfer any marks to the foil sheet. To adhere the die cut shape to your card, there’s two methods I prefer. One is to use the Multipurpose LIquid Glue – use the pointy tip end and just apply dots to the thicker areas on the back of the die cut. The other way I like is to use a Multipurpose Adhesive Sheet. If you want to use an adhesive sheet, adhere the non-cut cardstock or foil sheet to the adhesive sheet BEFORE die cutting. Then after it’s cut, you just peel off the remaining liner paper and adhere it in place.
I like the abstract pattern of this Designer Series Paper – it’s from the Garden Impressions package. If you want a more floral look, you could simply change out the paper – or in this case, flip the paper over! The flipside of this pattern is a random floral design. See? It really is an easy birthday card! You could make a whole bunch of these in advance using different papers and then have them on hand when you need a birthday card. If you are looking to build your stash of cards and want a regular outing, consider joining the Stampers Club! Each month, on the third Monday, the Stampers Club members get together for their class – at 1pm or 7pm (you can see dates on the YamStamps Events Page). Each member commits to 6 months of membership, during which time they place a minimum order at each class. Then, once during their 6 month membership, they’ll also receive a minimum of $20 free product of their choice (or $20 towards a Demonstrator Starter Kit, their choice). It’s a great way to get to know other people who are interested in crafting, and a fun afternoon or evening out! Contact me for more information or to sign up. New members are welcome to start at any time. See you in club soon?!
Sep 30, 2018 | Big Shot, birthday, cards, Seasonal Catalogue, Stampin' Up!
Happy Sunday to you! Can you believe it’s the end of September already?! Today’s Sunday Swap Share is a gorgeous fall birthday card – but you could easily switch out the sentiment to suit your purposes for any card you’d like to send out this autumn. Today was a bit of a rude awakening for me – I spent the last few days in New Orleans at a business retreat/mastermind. It was great to see my fellow stamping business owners, mahy who have become such good friends. The weather was very humid and warm, and the food was great….and now I’m back to reality in Ontario where it’s autumn weather and I have to cook for myself LOL!!!

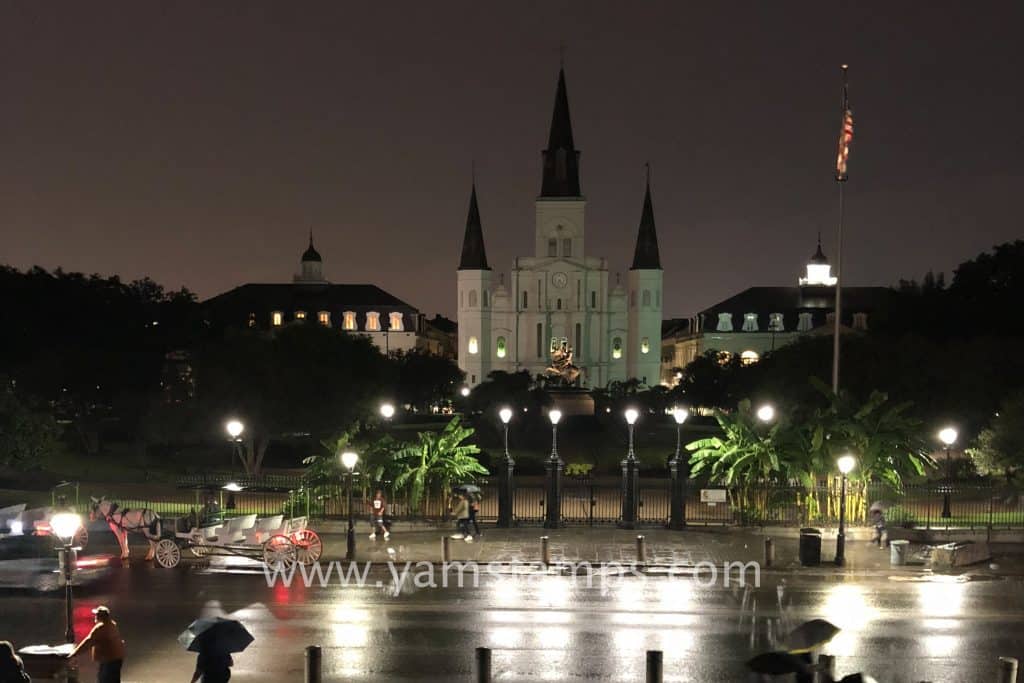
A couple of touristy shots from the trip including the NOLA equivalent of stopping at the doughnut shop?! You can see some other photos from my trip on the YamStamps Instagram account and Facebook page.
So back to that Sunday Swap Share…being at the retreat/mastermind these past few days have reinforced to me that stampers really are some great people! Lots of ideas, inspiration and sharing occurred as we focused on running and growing our businesses. Another aspect of this line of work is of course the creative side. I often will participate in smaller, organized card swaps to get creative inspiration for myself (and thus for my cusomters!) – and I love seeing samples with sets that I might not own myself (yet?!).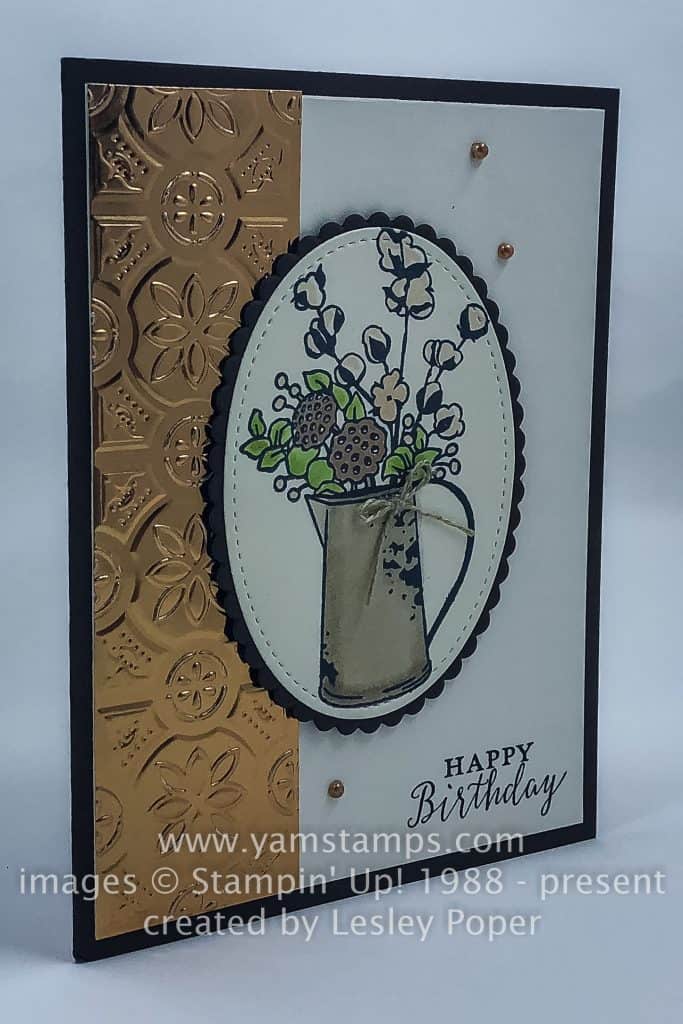
This card was created by Lesley Poper. I love the effect of the Tin Tile Dynamic Textured Impressions Embossing Folder on the Copper Foil Sheet.The depth from the dynamic folders really is quite stunning! The main image on this card is from the Country Home stamp set. I believe that she used Stampin’ Blends to add colour to the image. The sentiment is from the set Detailed With Love, which is available in red rubber clear mount or red rubber wood mount. The colours and sentiment make this a fall birthday card, but as I mentioned, you could change out the sentiment and even the bouquet )the stamp set has options) and/or colours to suit whatever card giving occasion you have!
If you are looking for seasonal cards, the October Christmas Class is scheduled for Wednesday, October 24. The 1pm class is already full! There are still some spots in the 7pm class though! Please contact me to register by October 9th – there are some options for this class – $20 version for card supplies only – $30 includes 1/2 package of Joyous Noel Designer Series Paper and $40 includes a full package of Joyous Noel Designer Series Paper. For the paper included options I will cut your card supplies from your portion of the paper, and you will have the remainder to take with you, which will be more than enough to recreate those designs or use them for other projects. If you register after October 9th please note there will be an additional fee to ensure that your class supplies will arrive in time for your class. Again – please contact me to register or if you have any questions. Upcoming events can be seen on the YamStamps Events Page. Hope to see you at a class or event soon!
Aug 5, 2018 | birthday, cards, Stampin' Up!
This truly is often the story of my card sending….I make a great card, put effort into it….and then it goes south. Not literally traveling in a southerly direction, because that often would be helpful. No, my card sending often gets derailed. I either misplace the card in my crafty black hole of a room….or get it into the envelope and then can’t find the address….or carry the addressed (AND STAMPED) envelope in my bag for days and days before I remember when I’m near a post box…..*sigh* So belated birthday cards come in handy for me!

While I didn’t create this swap card (Lesley Poper did), I certainly appreciate the sentiment! Perhaps you might as well?! Fashionably late card vs belated birthday card! It uses the Stampin’ Up! set Wonderful Moments (available in clear photopolymer stamps), which she coloured with Stampin’ Blends. The images are stamped in Memento Tuxedo Black ink, which is what you need to use when colouring with alcohol based markers like the Blends. A strip of the beautiful Nature’s Poem Designer Series Paper is along the side of the card and gives inspiration for the colour palette.
I love the Blends for colouring – but I also love Watercolour Pencils! There’s a new set of colours available right now – and you’ll get them if you choose the “Deluxe” Class version of the August Christmas Card Class! For $40 you’ll attend the class (in Burlington ON) and make 4 different Christmas cards, all using the Watercolour pencils in a variety of methods. When you’re done, you’ll take the finished cards, envelopes and your package of 10 Watercolour pencils home with you! If you’re interested in attending on Wednesday, August 22 (1pm or 7pm), please message me. If you want the deluxe class, please register and pay by August 8 to allow time for your pencils to arrive (otherwise there may be an express shipping surcharge of $25 on your class fee). The basic class option is also available – $20 for class supplies only. You’ll share my set of pencils to finish your projects in class. Online version coming soon too! Please contact me if you have any questions. Otherwise, I hope you’ll come to a class soon so that you have cards that you can mail….in time for any event…. (do as I say, not as I do, right?! hahaha). Oh, and happy long weekend if you’re Canadian!

