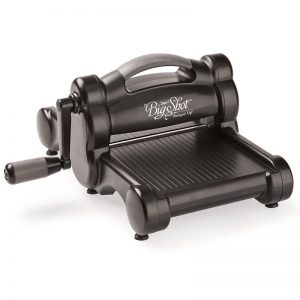
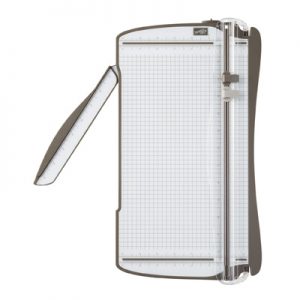
Stampin’ Up! Retiring Product News! While the full retiring list won’t be released for a few days yet, we do know of a few items that will be retiring – notably the Big Shot Die Cutting Machine and the Stampin’ Trimmer!
What to know:
Stampin’ Up! will still continue to offer dies and embossing folders, and moving forward these items will be made by a different supplier, so you will notice some difference in them. Exciting – the dies will have an inner edge or lip so that they will line up right against the stamped image – making them easier to align perfectly, rather than having to judge the amount of space you’re leaving around the stamped image. In the meantime, carry over dies and embossing folders may be the “old style” when ordered, until current stock is depleted.
Stampin’ Up!’s Trimmer and all associated tools will be retiring – which means the replacement blades and mats. There is currently a 3 item limit on replacement blades, but after April 15th, it will move up to a 6 item limit. This means that you can stock up on the blades and they should last you a long time still.
While neither of these items will be in the 2019-2020 Annual Catalogue, Stampin’ Up! is moving forward with coming up with new offerings in these categories (and will let us know when they’re ready to be released!).
I know that this Stampin’ Up! Retiring Product News may be a bit of a surprise – I personally LOVE my Big Shot – but I know that Stampin’ Up! is working toward offering their own product that will fill the paper crafter’s needs, and I’m looking forward to see what they will be offering.
In the meantime, as always – if you have any questions, you can either leave a comment below or message me. If you need to grab these items (or associated accessories) – please visit yamstamps.com/shop (or click on the images above to see them in the YamStamps Online Stampin’ Up! Canada Store).
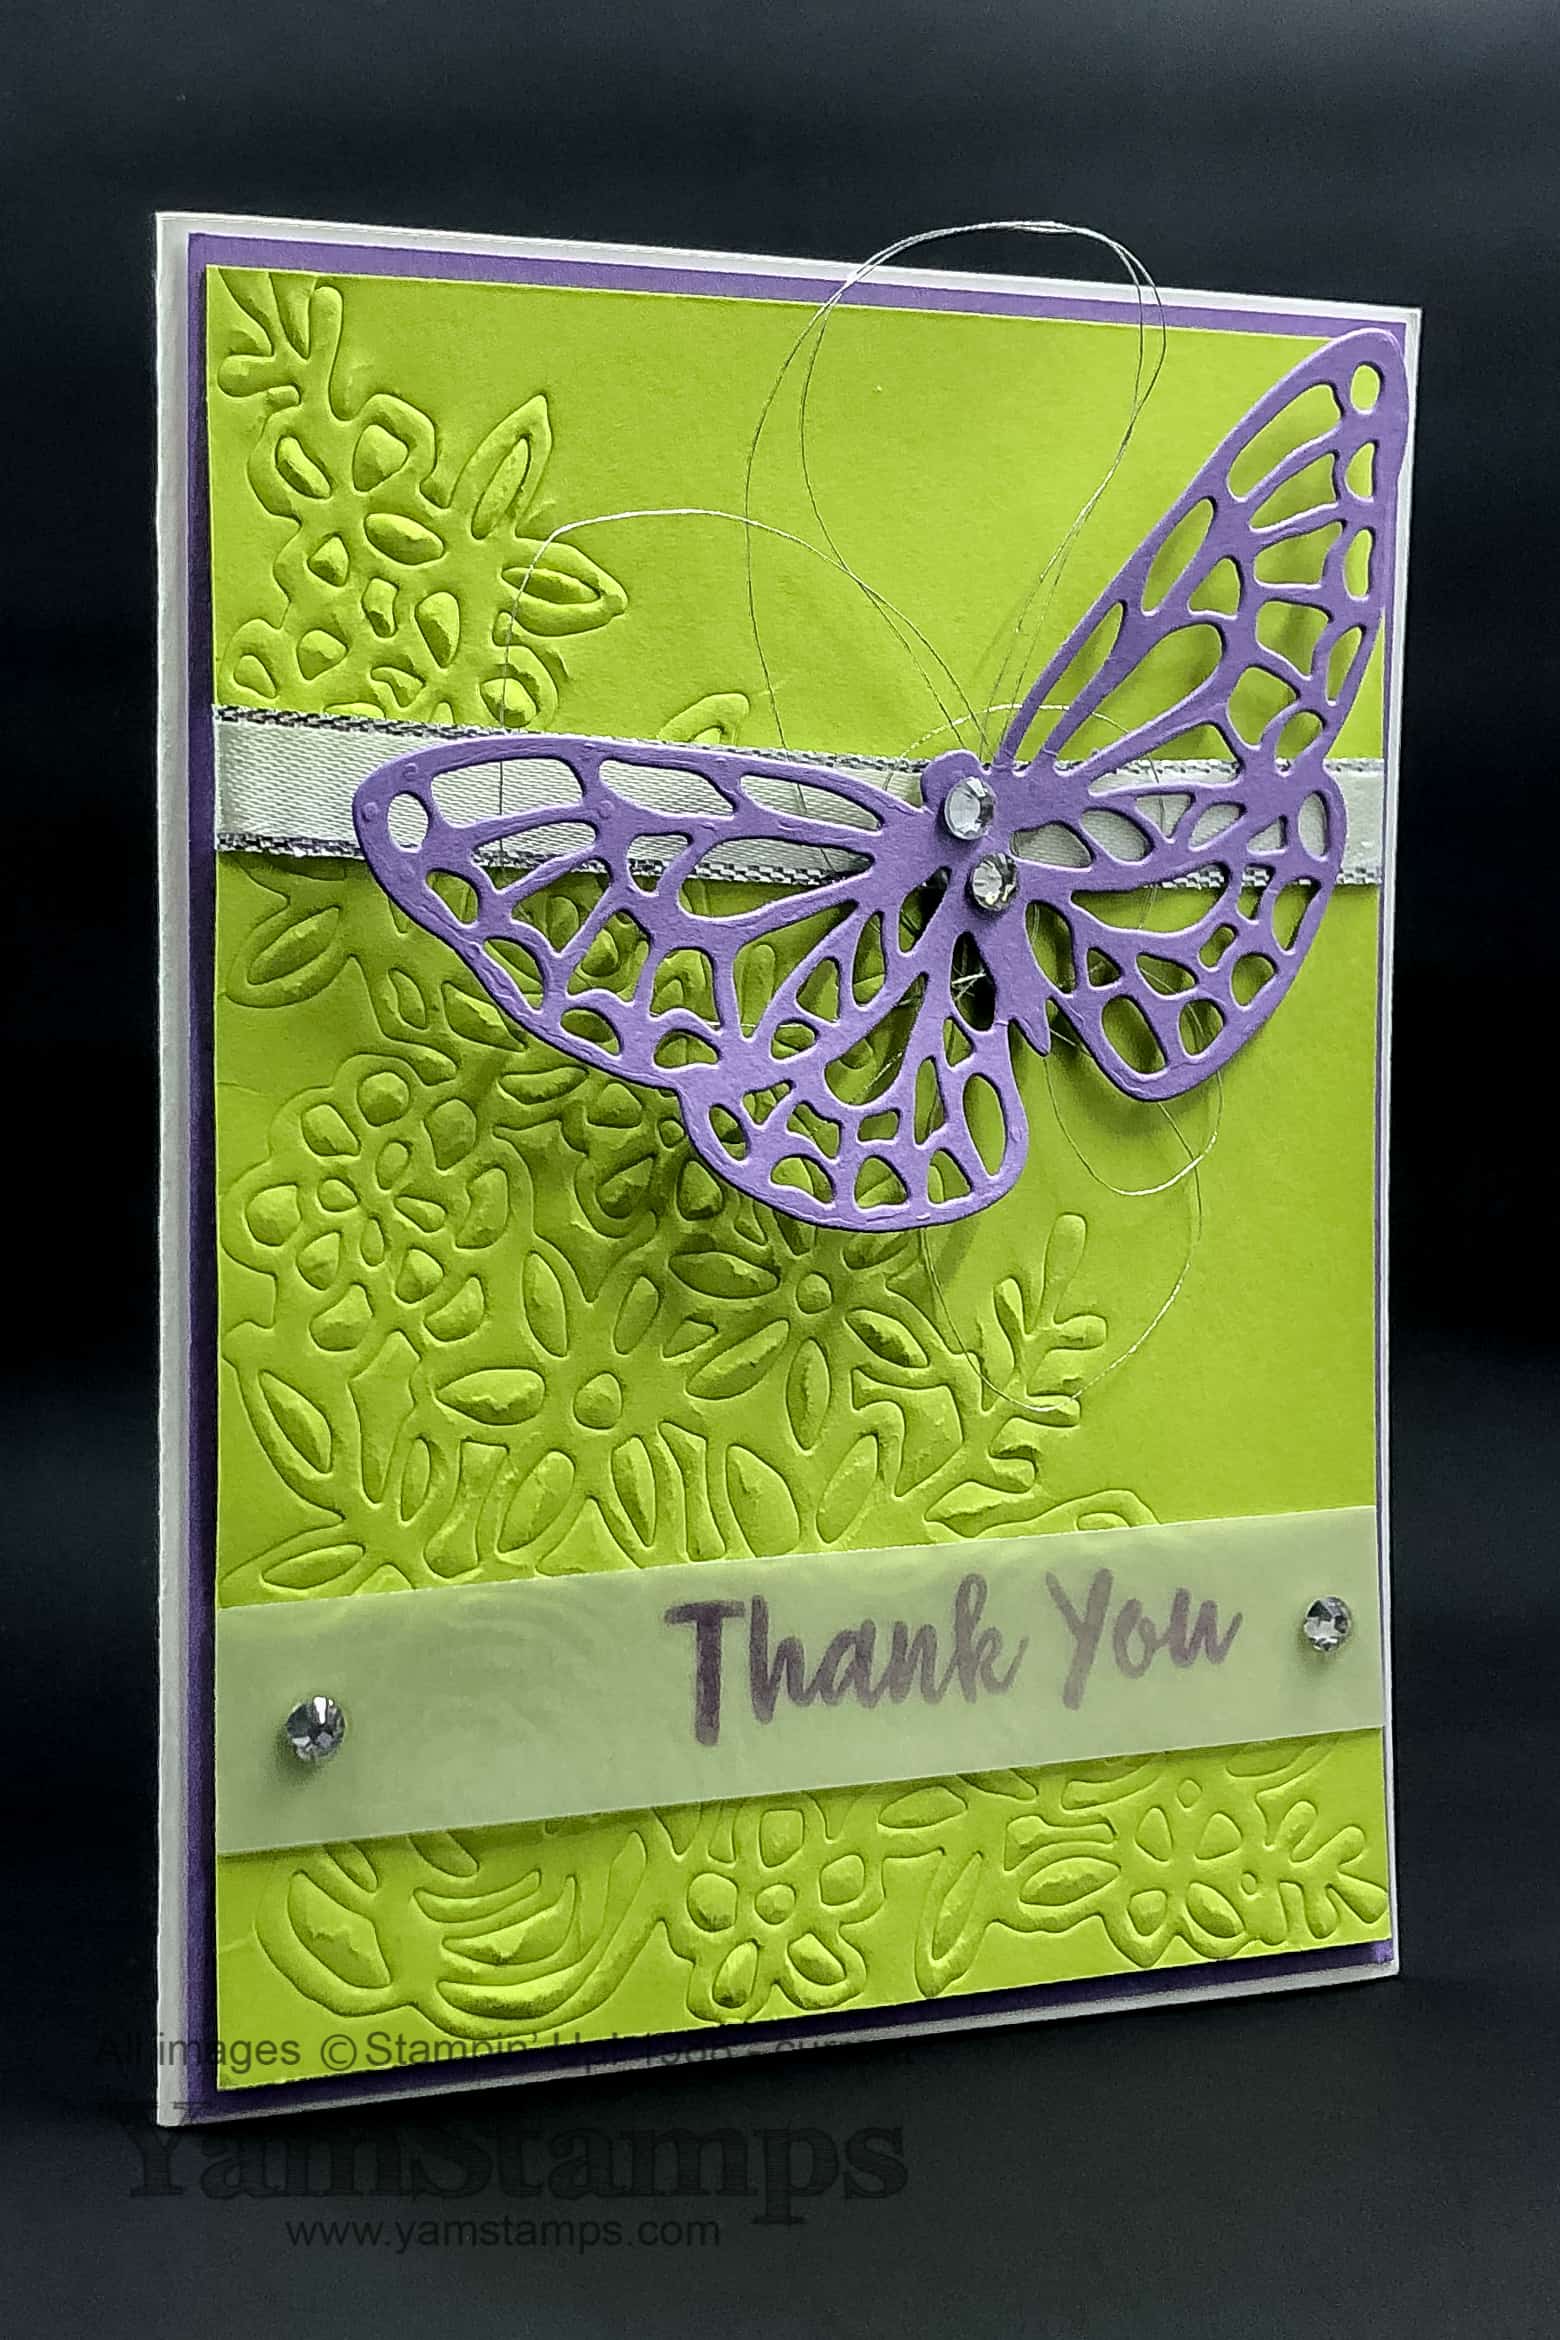
Spring has sprung! Thank goodness – and fingers crossed that the weather stays spring-like. This is a card we did this month in class – a spring thank you card!
This card features the Abstract Impressions discounted bundle – which includes the Abstract Impressions Photopolymer Stamp Set (the clear stamps) and the Springtime Impressions Thinlits Dies. While we wait to see what will be carried over into the next Stampin’ Up! Annual Catalogue (coming out in June 2019), one thing that usually happens is that current bundles are discontinued. The individual products may appear in the next catalogue, but the discounted bundle option is no longer available. So – if you like these products, you may want to consider grabbing this bundle soon!
For this card, we played with the Big Shot Embossing Mat – which allows you to emboss with the metal dies, rather than cut. This means you can use these tools in more ways and get more value! (Maybe I should have saved this card for a Frugal Friday feature?!). For this card, the corner flower die was used to emboss the Lemon Lime Twist Cardstock. I love the texture it gives without drawing too much attention away from the die cut butterfly. These colours and images were just perfect for a spring thank you card, in my opinion!
On this Manic Monday I thought I’d highlight a few crafting tips that I shared in the recent Live session I did on the YamStamps Facebook Page. The shortened video version is below, but thought I’d highlight a few things if you like to read vs watch…
full video below….
Distinktive Stamps are more photorealistic and have multiple depths on the same stamp. Crafting Tips for good distinktive images: To get a clear image of all the different depths, it helps if your ink pad is not too juicy – you can rub the surface of the ink pad with the back of a spoon or your bone folder to push excess ink into the pad vs having it on the surface to get better definition in your stamped image. The stamp set used in the video is Forever Lovely; another distinktive stamp set example is Baby Bear.
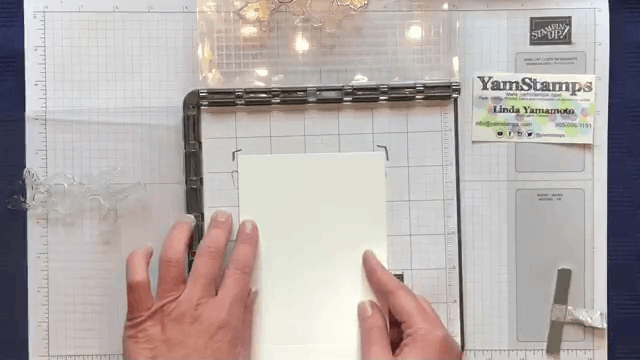
Crafting Tips with the Small Grid Paper: Positioning multiple step stamps and coordinating framelits. In the video, I use the Stamparatus to stamp the images – because once they’re in the right place on the plates, you don’t have to think about it again! My tip – stamp onto the Small Grid Paper so you can see where your image will end up. Position your card stock and mark where the corners of the cardstock are on the grid paper so you know where to place it for future reference.
You can also position the framelit over the stamped image and mark where the side edges of the framelit are on the grid paper so you have it for reference. You can use the grid paper when stamping with the stamparatus, then remove it and place it onto your Big Shot plastic cutting plate as a reference for placement of the framelit – just be sure to remove it before you cut!!
That way, your reference sheet will be intact and ready for future use.
Last tip you might have picked up in the video – put your Big Shot Die Brush and foam pad into a small shallow box to catch all the bits (and store everything together! I used an old cardboard box (it actually held my carvable stamp set, remember that one?), but you could also use one of the full wide stamp cases.
How do you prefer to get your crafting tips & tricks? Video? Written format? Let me know so I can be sure to have you covered for future tutorials – leave me a comment below or message me!
Swap Share Sunday is here again – how did that happen so quickly? It’s a Sweet Celebration Card today, created by Dana Hancock. So many things happening today – Oscars, National Cupcake Day….and the end of Reading Week so that means a road trip to take my son back to school. A busy day, with crazy windy weather too! Glad you could stop in to check out the card.
I did mention that it’s National Cupcake Day, which is another occasion for a sweet celebration card! I shared a couple of different Cupcake cards on the YamStamps Facebook Page and Instagram feed – did you see them? The one card featured some products that will be coming out on March 1st. Stampin’ Up! is introducing a few products that you will be able to purchase in March that coordinate with Sale-a-Bration products! There are 4 different sets of framelits – coordinating with the Hello Cupcake, So Hoppy Together, Lovely Lily and the second release Painted Season sets. There’s also a punch, and a new sentiment set that goes with images from the various sets but could also stand alone or be used with different images. I’ll be sharing more details on March 1st, when these items are available to order, so please come back to the YamStamps blog to find out more!
In the meantime, I’m off to check out the Oscars fashions and cross my fingers that the power doesn’t go out with the wind! I’ll be coming up with some designs for the March Monthly Card Class coming up on Wednesday March 6 – will you be joining us? Check out the YamStamps Events Page for all the upcoming events, and RSVP to make sure you’ve got a seat in class!
I love coordinating crafting products, and Stampin’ Up! has a whole bunch of them. I used some to create this die cut edge card which is made easier by using a Stamparatus!
I actually found it a bit tricky to take a photo of this card as I had to have it lying flat so that you could see the alignment of the image and the edge! Hope you get the idea.
I love how the flower framelit coordinates with the flower stamp, but the accent stamp is left to peek out.
I am planning on doing a Facebook Live to show how I created this die cut edge card, but essentially I used the Stamparatus and the Stamparatus grid sheets. I figured out where the image would end up on the inside edge of the card by marking where the edge of my cardstock was on a grid sheet, and then stamping onto the GRID sheet rather than the cardstock to create a reference guide. I left this grid sheet in the Stamparatus so I knew where to place the cardstock (especially because I chose not to place the cardstock in the corner of the Stamparatus). I stamped a second grid sheet the same way, marking the edge of the cardstock, but then I also placed the framelit over the stamped image in the correct alignment and marked the edges of the framelit. The framelit extends JUST beyond where the side edges of the cardstock are.
Once I stamped the back inside edge of the card, I then prepped to die cut the front edge of the card. You’ll want the Magnetic Platform for the Big Shot to make it even easier. Once the Cutting Plate was on the Platform, I placed the second grid sheet on it, then aligned the front edge of the cardstock with the marks on it. I then placed the framelit onto the cardstock, lining up the edges of the framelit with the marks on the grid sheet. You can use a bit of washi tape or adhesive tape to hold the framelit in place securely, then remove the grid sheet so you can use it again (otherwise it would be cut and all your reference marks would be gone!). Place the top Plastic Cutting Plate in place, and die cut.
Seriously. Just be sure to “like” and “follow” the YamStamps Facebook Page so you’ll be notified of the Live video for this die cut edge card, because I’m starting to confuse myself. LOL.
In any case, I promise, once it was set up it was pretty straight forward…LOL.
If all goes according to plan, I’ll share the die cut edge card “how to” on Thursday. If you aren’t able to make it to the “live”, the recording will be available after the fact on the YamStamps Facebook page. If you have any questions in the meantime, feel free to contact me! Stampers Club Members made this card in February – why not join us starting in March and see what we get up to next month?! Check out the YamStamps Events Page for other upcoming dates!
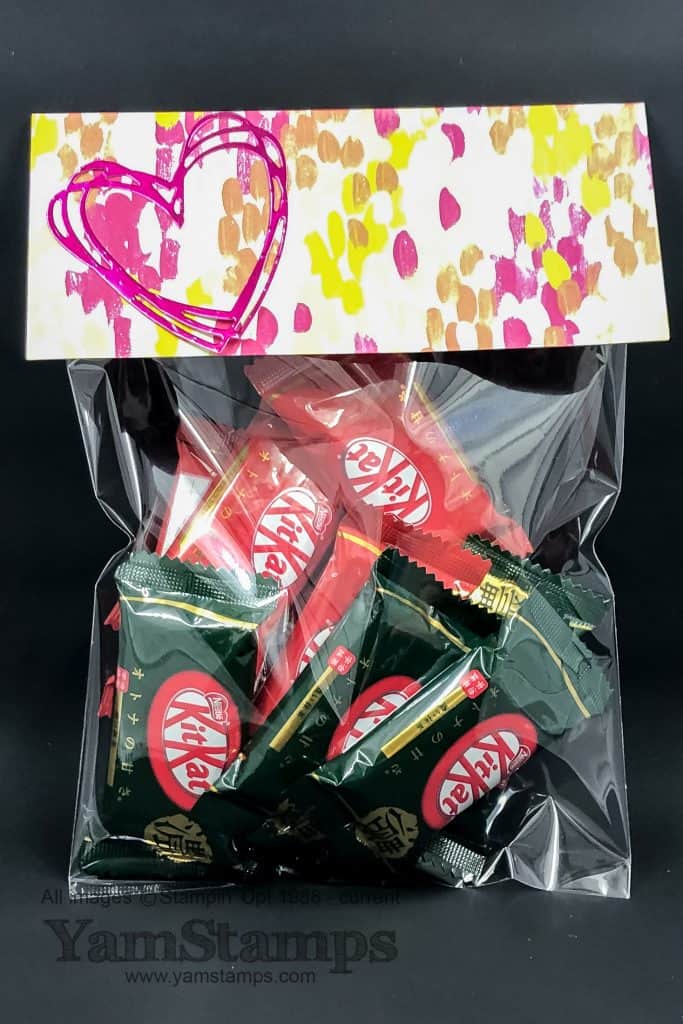
Happy Valentine’s Day! There’s still time to whip up a cute treat for someone special – like this fun treat topper!
This is a quick and easy way to present a sweet treat to someone. Using Stampin’ Up! food safe cello bags, simply close the bag (I just used adhesive tape) and then fold some Designer Series Paper over the top and adhere in place! In this case, I die cut a Lovely Lipstick Foil Sheet (Level 1 Sale-a-Bration choice – free with a $60 CAD product order) heart from the Sunshine Wishes Thinlits and adhered it onto a piece of Garden Impressions Designer Series Paper.
If you’re wondering about the treats – our family has enjoyed trying the different flavours of Japanese Kit Kats…though the ones in this gift bag are pretty “tame” – strawberry and matcha green tea. One of my “bucket list” trips is to go to Japan…and of course I will have to search out some different flavours to try once I get there! We’ve been trying out the Bokksu boxes as well in the meantime – a different box of a variety of Japanese snacks arrives in the mail each month. February’s did include some Kits Kats, so I was particularly happy about that! (click on the referral link for $5 off if you want to try a box!).