Sep 25, 2018 | cards, rubber stamping, Stampin' Up!
If you’ve been following the YamStamps Blog, Facebook Page or Instagram – first of all, thank you, and next of all – you’ll know there’s nothing I like better (well, not too much) than an easy card design! I used this card design recently and liked it so much, I did a variation of it as well (keep reading to see both).
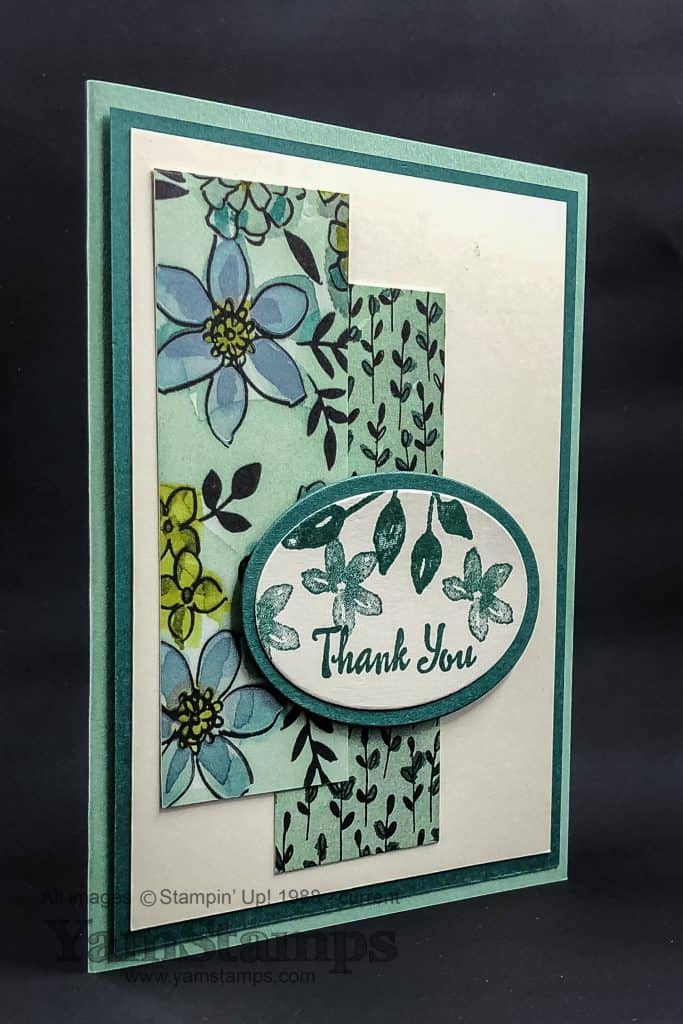
One of the things that makes this an easy card design is the use of Designer Series Paper. Using a patterned paper makes a card design interesting, without having to fuss much. In this case, I used two strips from the Share What You Love Specialty Designer Series Paper. I happen to have a fair bit of this paper around, in part because I love it and in part because it’s the paper used for the Scrapbook in a Box Class! In this case, you could use scraps of it to stretch your investment even further. Using two patterns from the same package of paper means they will coordinate in colours too. I used two designs that featured a fair bit of Tranquil Tide and Mint Macaron. I used images from the Petal Palette stamp set, which is available in red rubber clear mount or red rubber wood mount. I cut the oval of Tranquil Tide out of the back layer of cardstock – one of my favourite frugal crafting tricks! If you wanted to step up this design a bit more, you could always use an embossing folder to add texture to the Very Vanilla cardstock in the background.
So when you like a design, and as a bonus, it’s an easy card design, the only appropriate thing to do is make a variation!! In this case, I used the Nature’s Poem Designer Series Paper, and just one main colour – Rich Razzleberry. The images are from the Perennial Birthday stamp set – available in red rubber clear mount or red rubber wood mount. As you can see, the possibilities are endless – just change out the Designer Series Paper used, pick out the coordinating colour and add a sentiment of your choice!
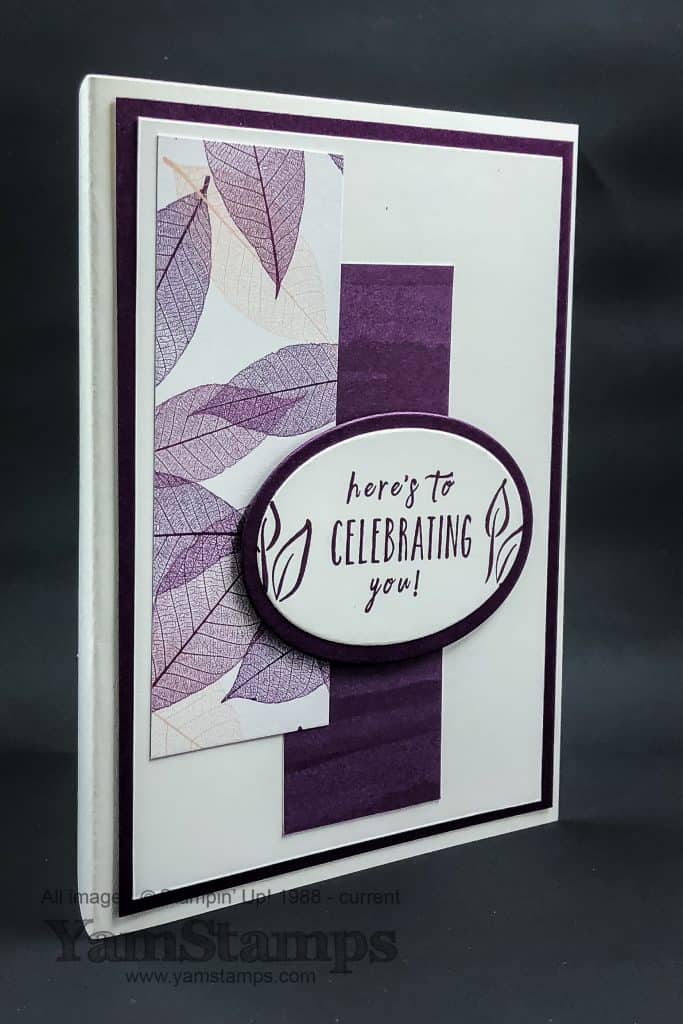
I continue to work on getting the cards out and IN THE MAIL! So when I come upon an easy card design, I will use it as much as possible – but because you can change out elements, it means that it’s not always “the same card”. A bunch of cards just hit the mail (fingers crossed they arrive at their destinations soon…amid rumours of pending Canada Post strike action…) so I’m feeling almost accomplished! If you are looking for ways to build your card stash – I can help!! There are spots in the Monthly Card Class – October’s date is Wednesday, October 3 at 1pm or 7pm. You can contact me to register, or register online through the YamStamps Events page. If you’re not local to Burlington, consider one of my online classes – ideas and inspiration with lifetime access! Check out the list at YamStampsMore. As always if you have any questions, please feel free to contact me.
Sep 23, 2018 | cards, Stampin' Up!
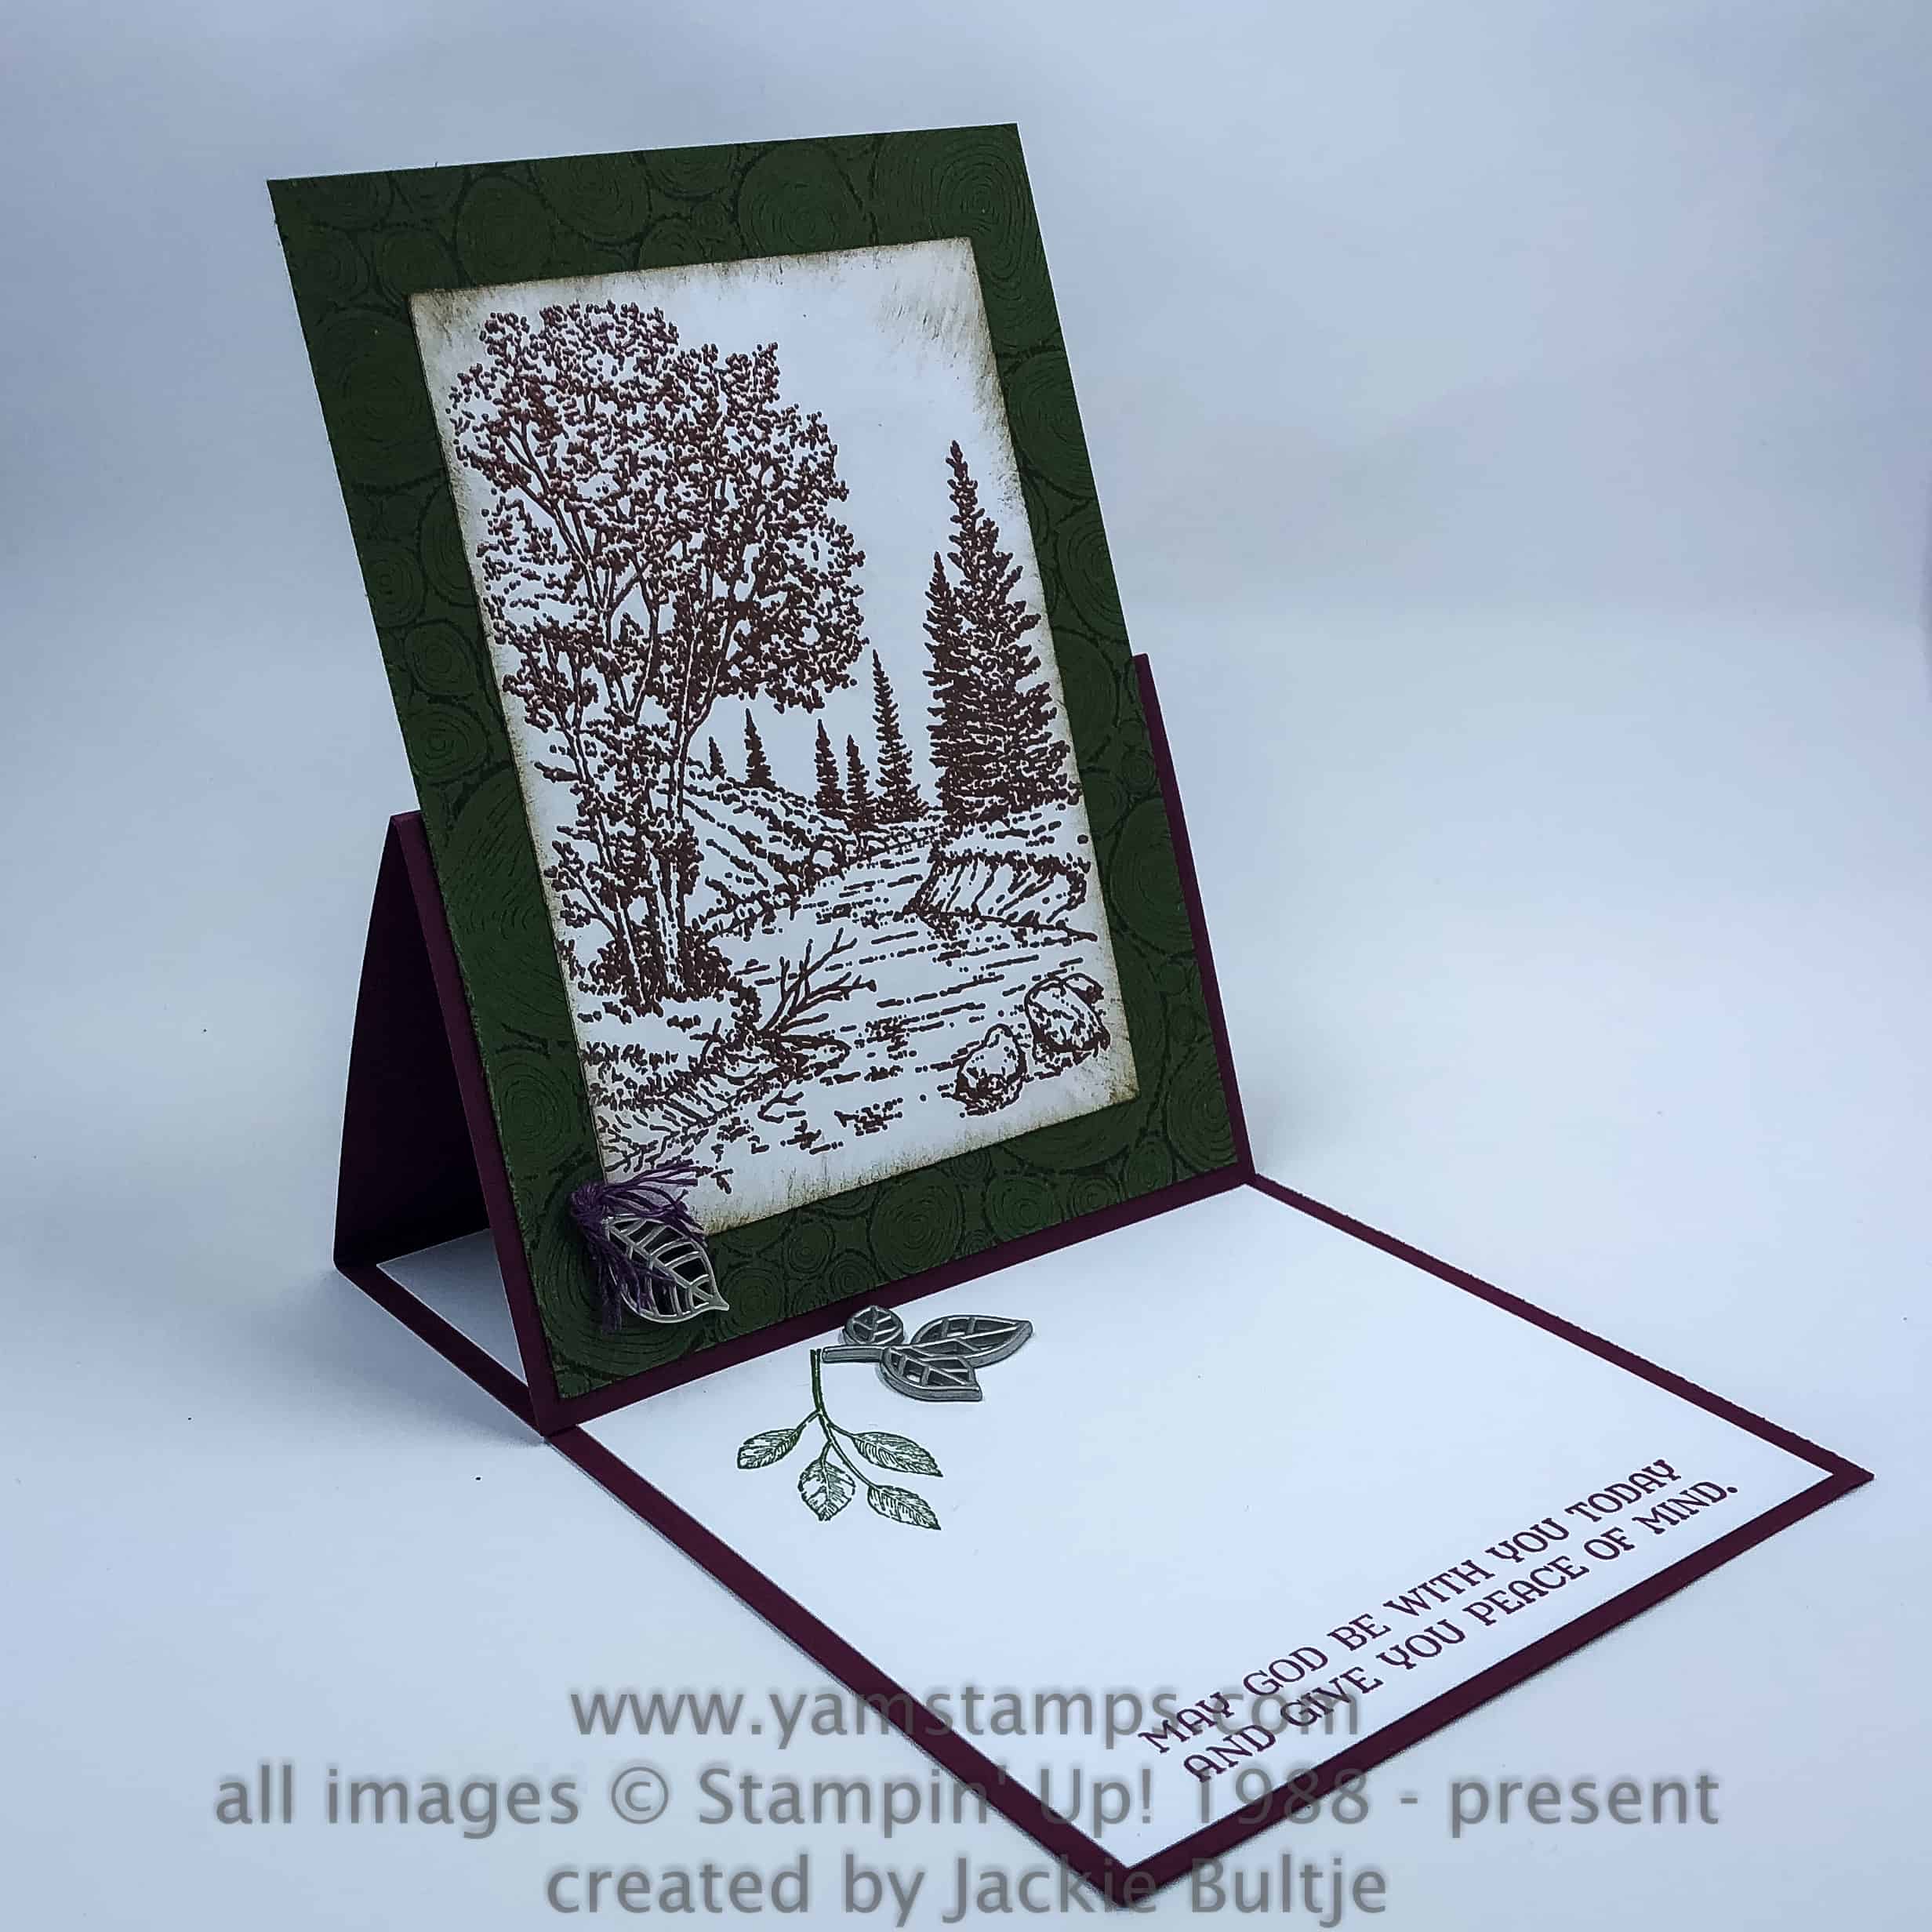
Happy Sunday – and happy Autumn! Sharing this easel style card that I received in a demonstrator swap for the Annual Catalogue. Easel Cards are impressive – and also impressively easy! This card features the Stampin’ Up! set Peaceful Place – available in clear mount or wood mount. The colours used for this card bring an autumn feel.
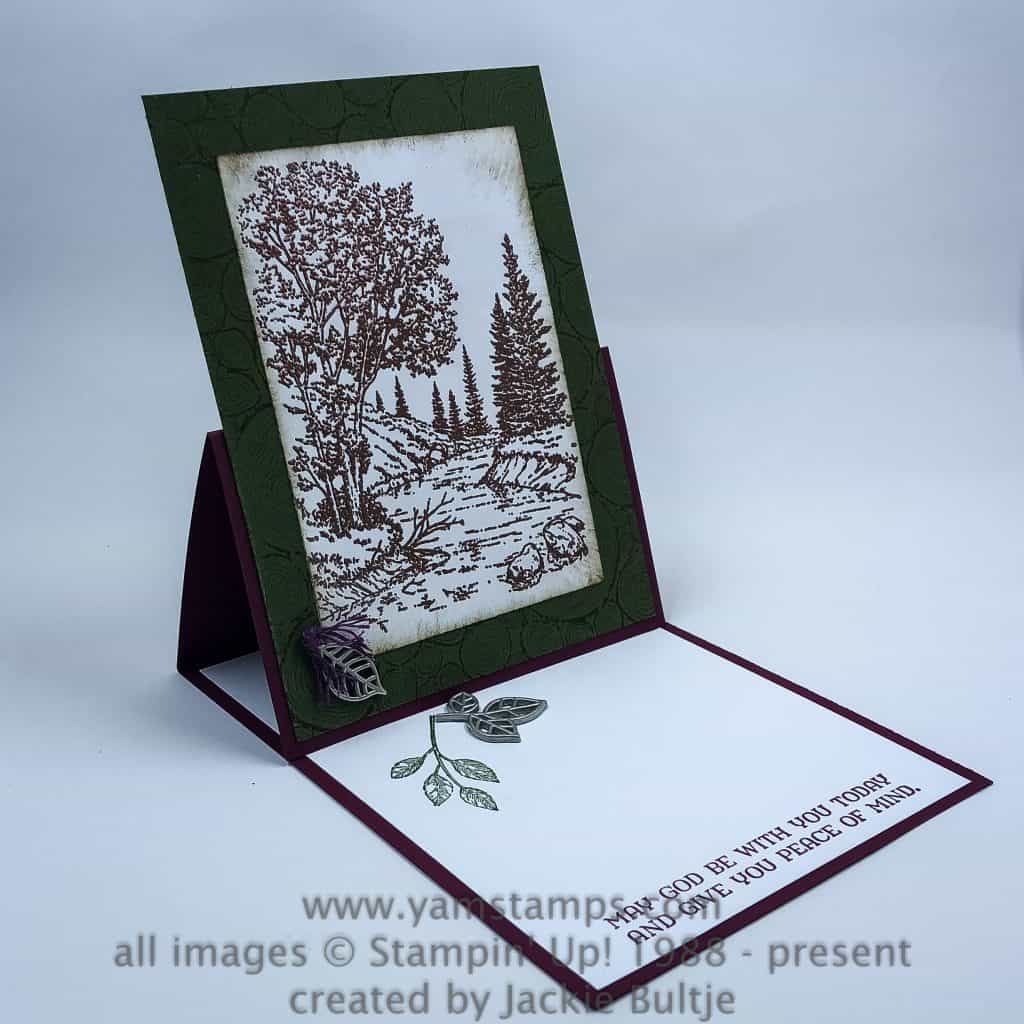
This card is cut to 4.25″ x 11″ and then folded in half. The front of an easel card is scored in the centre, and the top layer is attached on the bottom portion only. This way, the card can be mailed flat in a regular envelope, but propped up once opened. In this card, Jackie used the Leaves Trinkets as accents and to act as the anchor to hold the bottom of the front of the card in place.
If you’re interested in other fancy fold or movement-type cards, you might want to join the Clever Cards Online Class. This class features 5 different card styles that are interactive and definitely a step up from the regular half sheet folded card. While the particular examples use certain dies or stamps, you could easily substitute other stamps and either other punches/dies or just a paper cutter! You can find out more about this online class at http://yamstampsmore.com/clever-cards-class-info/ If you have any questions, feel free to contact me. Like all my online classes, you’ll have lifetime access to the class materials. I hope to see you in class soon!
Sep 19, 2018 | cards, Seasonal Catalogue, Stampin' Up!
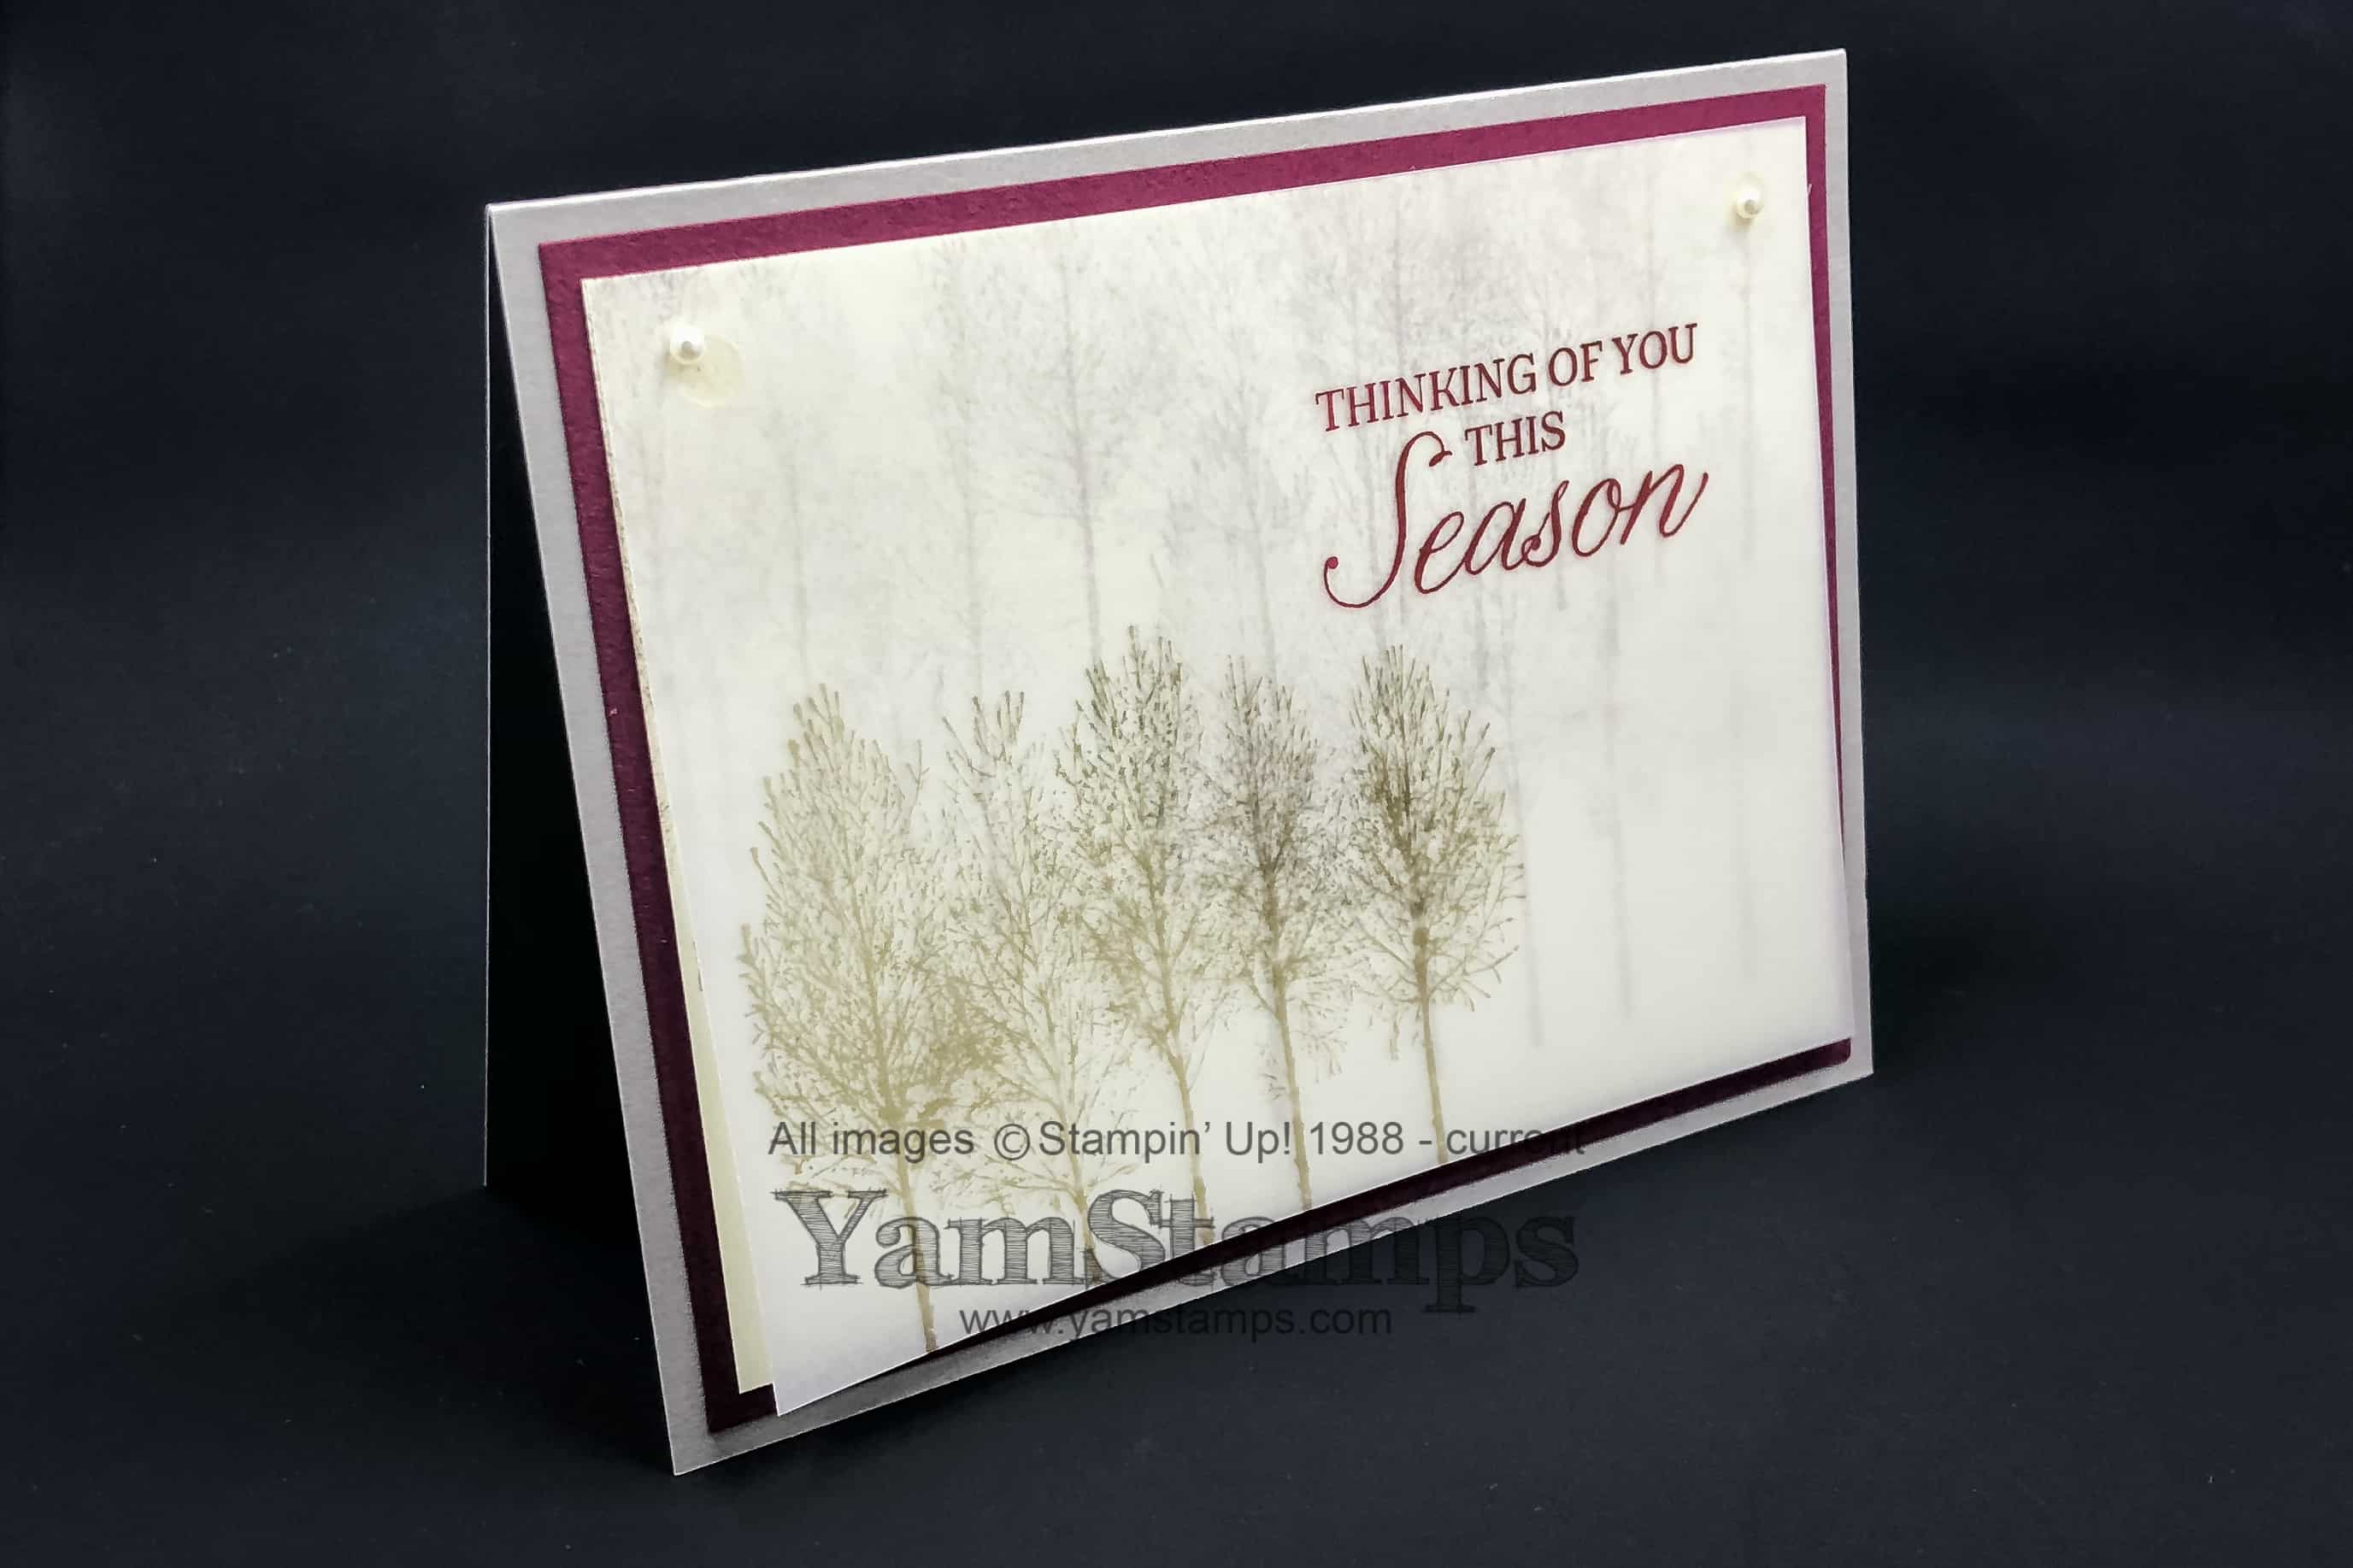
Stampin’ Up!’s Holiday Catalogue has some great sets and bundles. The Winter Woods stamp set is a lovely one that could be used for holiday or non-holiday cards. It’s available in red rubber clear mount or red rubber wood mount stamps, and is also available in a discounted bundle with the coordinating In the Woods framelits (red rubber clear mount bundle / red rubber wood mount bundle). This vellum card shows off the elegance of the images. I love using vellum on cards – it instantly makes it seem more artistic! You do have to be sure to allow a bit of time for it to dry, and there are some sneaky tips for adhering it, but it’s worth it!
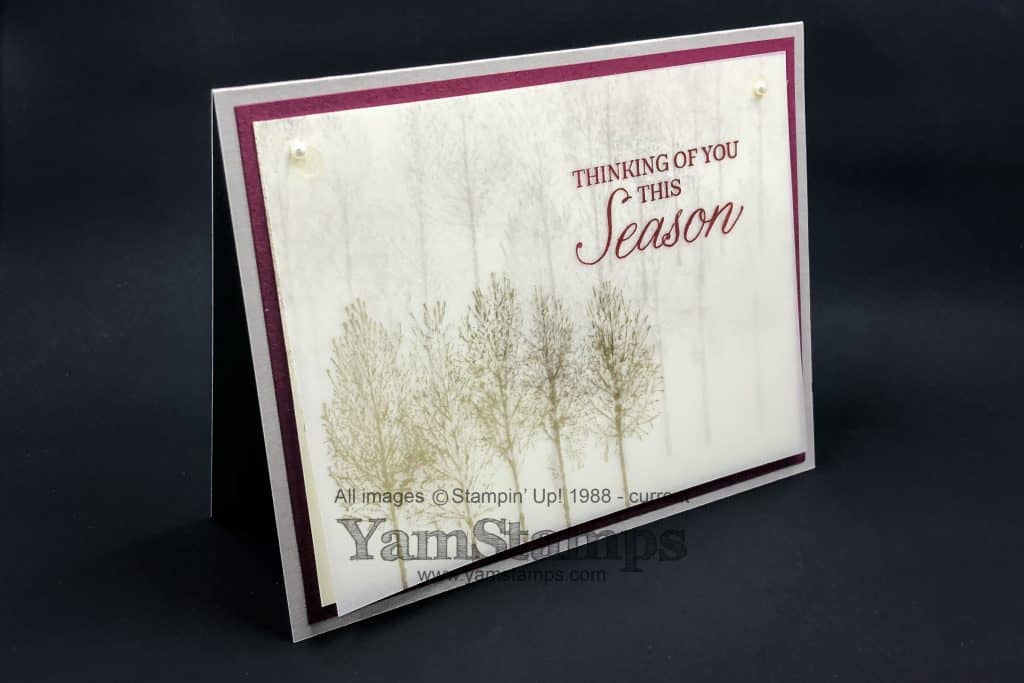
I used some of the new colours on this one – Grey (or Gray if you must LOL) Granite and Merry Merlot. I realize that the picture lighting makes the cardstock look a little ombré-ish…but it’s not. The layer under the vellum is Very Vanilla cardstock. The tree image was stamped a number of times in Grey Granite, and once on the vellum. The sentiment is stamped in Merry Merlot. I love these new colours – and they’re part of the Neutrals Colour Group. Once the vellum was completely dry, I used two Mini Glue dots to adhere the vellum over the Very Vanilla cardstock, then used two Pearl Basic Jewels to mask the adhesive. I made a number of these as my contribution for a demonstrator card swap, and actually let the vellum dry overnight to be absolutely sure there would be no smudging or bleeding. I had vellum spread out all over my craft room!
We had a small get together of my demonstrator group tonight, and I had this as a “make and take” for the local people who were able to attend in person. Next month we will attempt to do a make and take in person and online….wish me luck with the prep for that! (If you want to see it in person and laugh at me yourself, you’ll have to join my demonstrator team first!). In the meantime, holiday cards abound around here – this afternoon was the September Christmas Card Class featuring the fun Santa’s Workshop Enamel Shapes – and tomorrow is the evening version – I had to move the dates and times around slightly to accomodate some travel! Next month, the Christmas Card Class is back on the fourth Wednesday – and you won’t want to miss it! It is going to focus on the GORGEOUS Joyous Noel Designer Series Paper. Check out the YamStamps Events Page for all the upcoming classes! Hope you can join me soon – either in person or online!
Sep 16, 2018 | cards, Seasonal Catalogue, Stampin' Up!
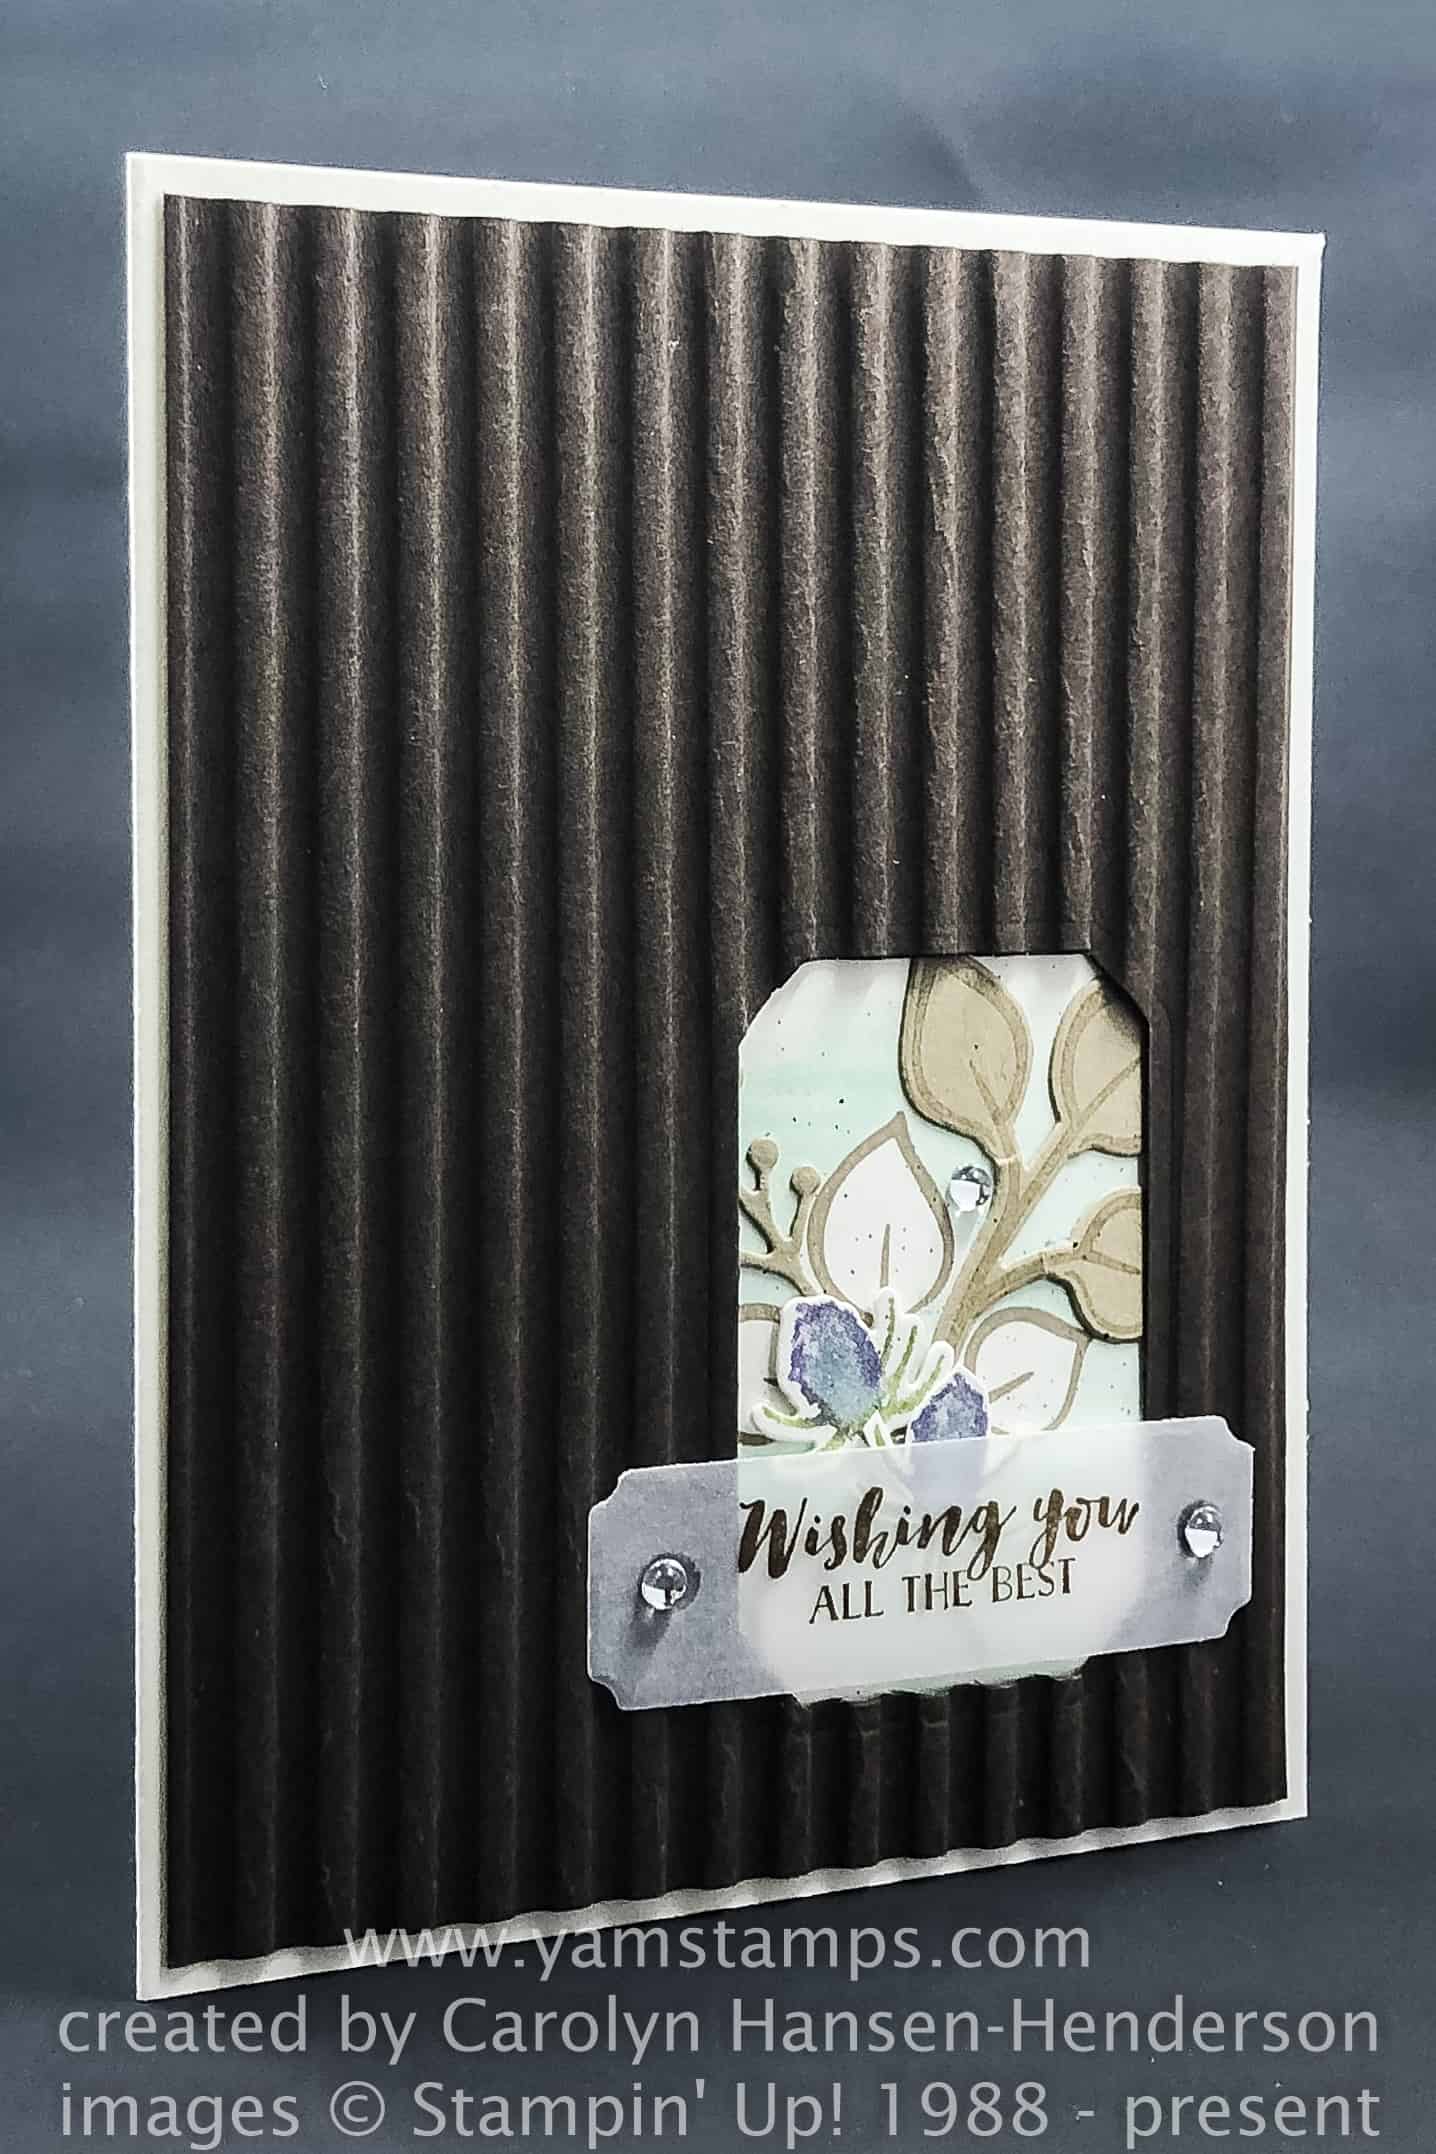
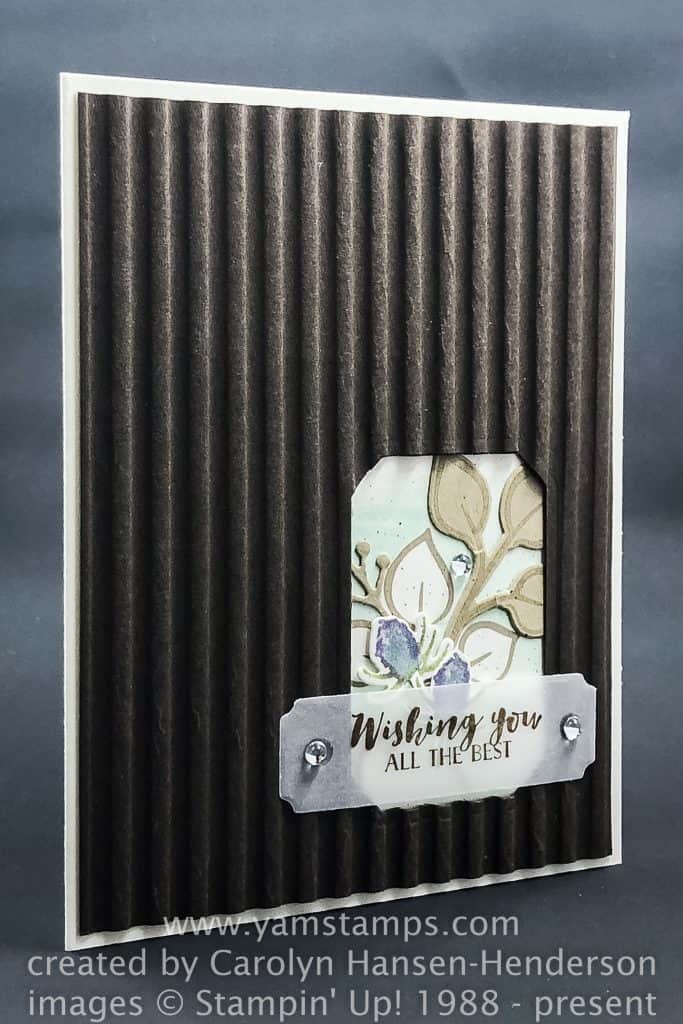
Today’s Sunday Swap Card Share is a best wishes card, created by Helen Hansen-Henderson. Though it’s a simple layout (love those), the details make it even more interesting. The card uses the First Frost stamp set, which is available in red rubber wood mount or red rubber clear mount, or with the Frosted Bouquet Framelits in a discounted wood mount bundle or clear mount bundle. I love the window cut out of the cardstock textured with the Corrugated Embossing Folder that reveals the images from the stamp set, and the layers of die cut images over the stamped image. These items are in the Stampin’ Up! Holiday Catalogue which is now in effect. This set has a few sentiments in it – not just for the Christmas season, and the images could be used year round as well.
I hope you have a great Sunday, and a great run day if you’re participating in one of the Terry Fox Runs being held around Canada. I know that they were up really early getting things set up for the runners along the waterfront here in Burlington, and it was humid early on, so hopefully everyone takes it easy and stays well hydrated!
I’m finishing up final prep – it’s a busy week here – Stampers Club on Monday, and then Christmas Card Classes on Wednesday afternoon and Thursday evening. I split the times this week because the evening of the third Wednesday of the month is my demonstrator group meeting. This month will be more of a “hybrid” type meeting as some people will be here in Burlington in person, and some will be joining us online. Maybe I should be asking for best wishes for my prep this week?! LOL Upcoming events are listed on the YamStamps Events Page, so you can check out what’s happening locally, but I also have some online class options as well. Please contact me if you have any questions or want to register for an upcoming event.
Sep 9, 2018 | Business Opportunity, cards, Stampin' Up!
This week’s Sunday Swap share is a celebration of the fact that it’s technically still summer….even though by this point in the month it feels like we are into the next season. However, well will highlight this Tropical Thank You Card and remind ourselves that it is not yet September 23rd…
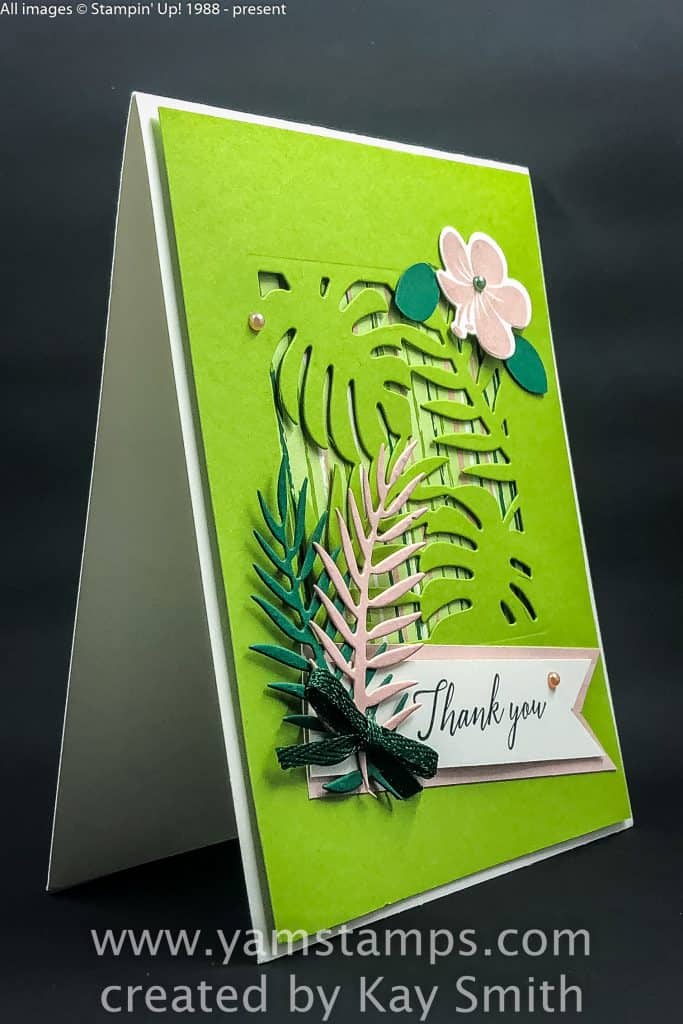
Kay Smith created this lovely, tropical thank you card! It was created with the Tropical Thinlits dies and coordinating stamp set – Tropical Chic. The set is available in red rubber clear mount or red rubber wood mount, and is also available as part of a discounted bundle (wood mount or clear mount) with the thinlits. On this card, you can see some of the Tropical Escape Designer Series Paper peeking out through the die cut window. Love the coordination of the images and colours. Stampin’ Up! really does a great job of presenting coordinating products in suites so that it’s easy for the crafter to pick up on the colour theme or image theme for their projects. Perfect for a lazy crafter like me. I don’t want to work too hard to come up with something that looks great!
As a Stampin’ Up! Demonstrator, I’m often asked where I get my card ideas. I often get inspiration from the products themselves, but I also get inspiration from other demonstrators! I love participating in card swaps with other demonstrators – we each design one card and make multiples of that card – and in return for participating in the swap, we get a variety of cards back (including our own). It’s great to see how others interpret sets and images, and a great way to expand my sample collection – especially when I don’t actually own that particular stamp set or framelit. Shocking, I know, but I don’t actually own everything in the catalogue!! If you enjoy card making or scrapbooking, consider joining my group of Stampin’ Up! Demonstrators – we’re known as the “Eh” Team! You can “support your own crafting habit”, and make a little money as well doing something you love. Please come to my Information Evening on Wednesday, September 12th at 7pm in north Burlington. All that’s required is an RSVP! No cost, no pressure. Come and hear about how being a demonstrator can add a little creativity and income to your life! Maybe you’ll get a tropical thank you card for attending! (or maybe a non-tropical one…since I don’t actually own this set….yet). Hope to see you soon!
Sep 5, 2018 | cards, Christmas, Seasonal Catalogue, Stampin' Up!
Happy New Catalogue Day! The Stampin’ Up! Canada Holiday Catalogue is now “live” and up for ordering. Demonstrators have had access to the catalogue since last month, including an opportunity to preorder merchandise, so it’s been fun playing with new products, but hard to wait to share! Today I’m sharing a wintery card with you to celebrate. Oh and I’m not going to say ANYTHING about the humidity level, because I jinxed it last time I talked about it. Thank goodness the air conditioning is working in here, that’s all I can say….
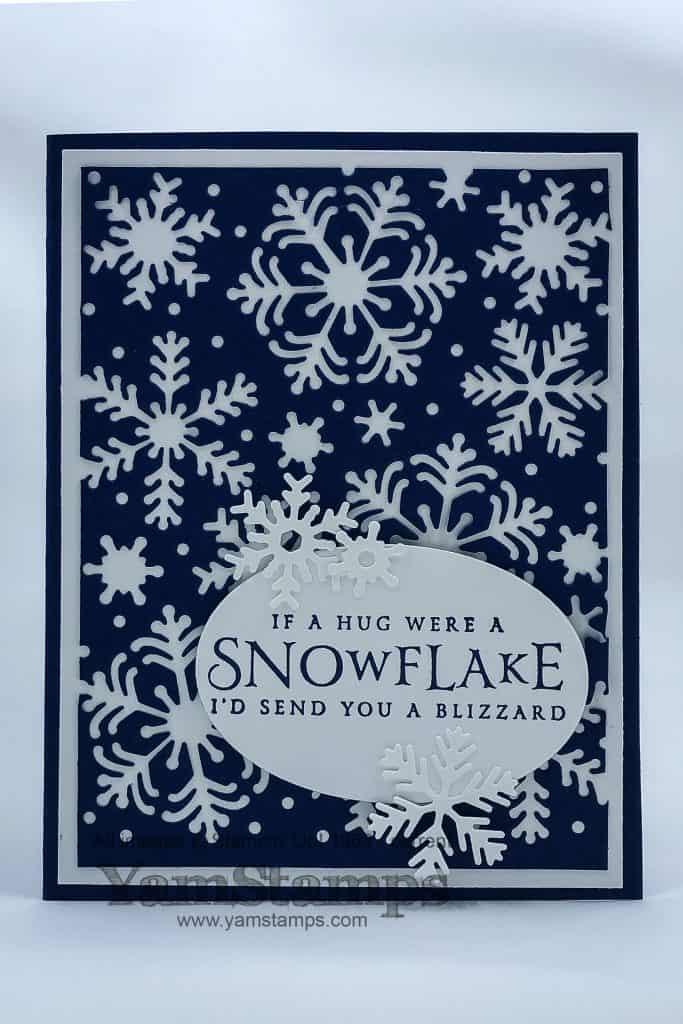
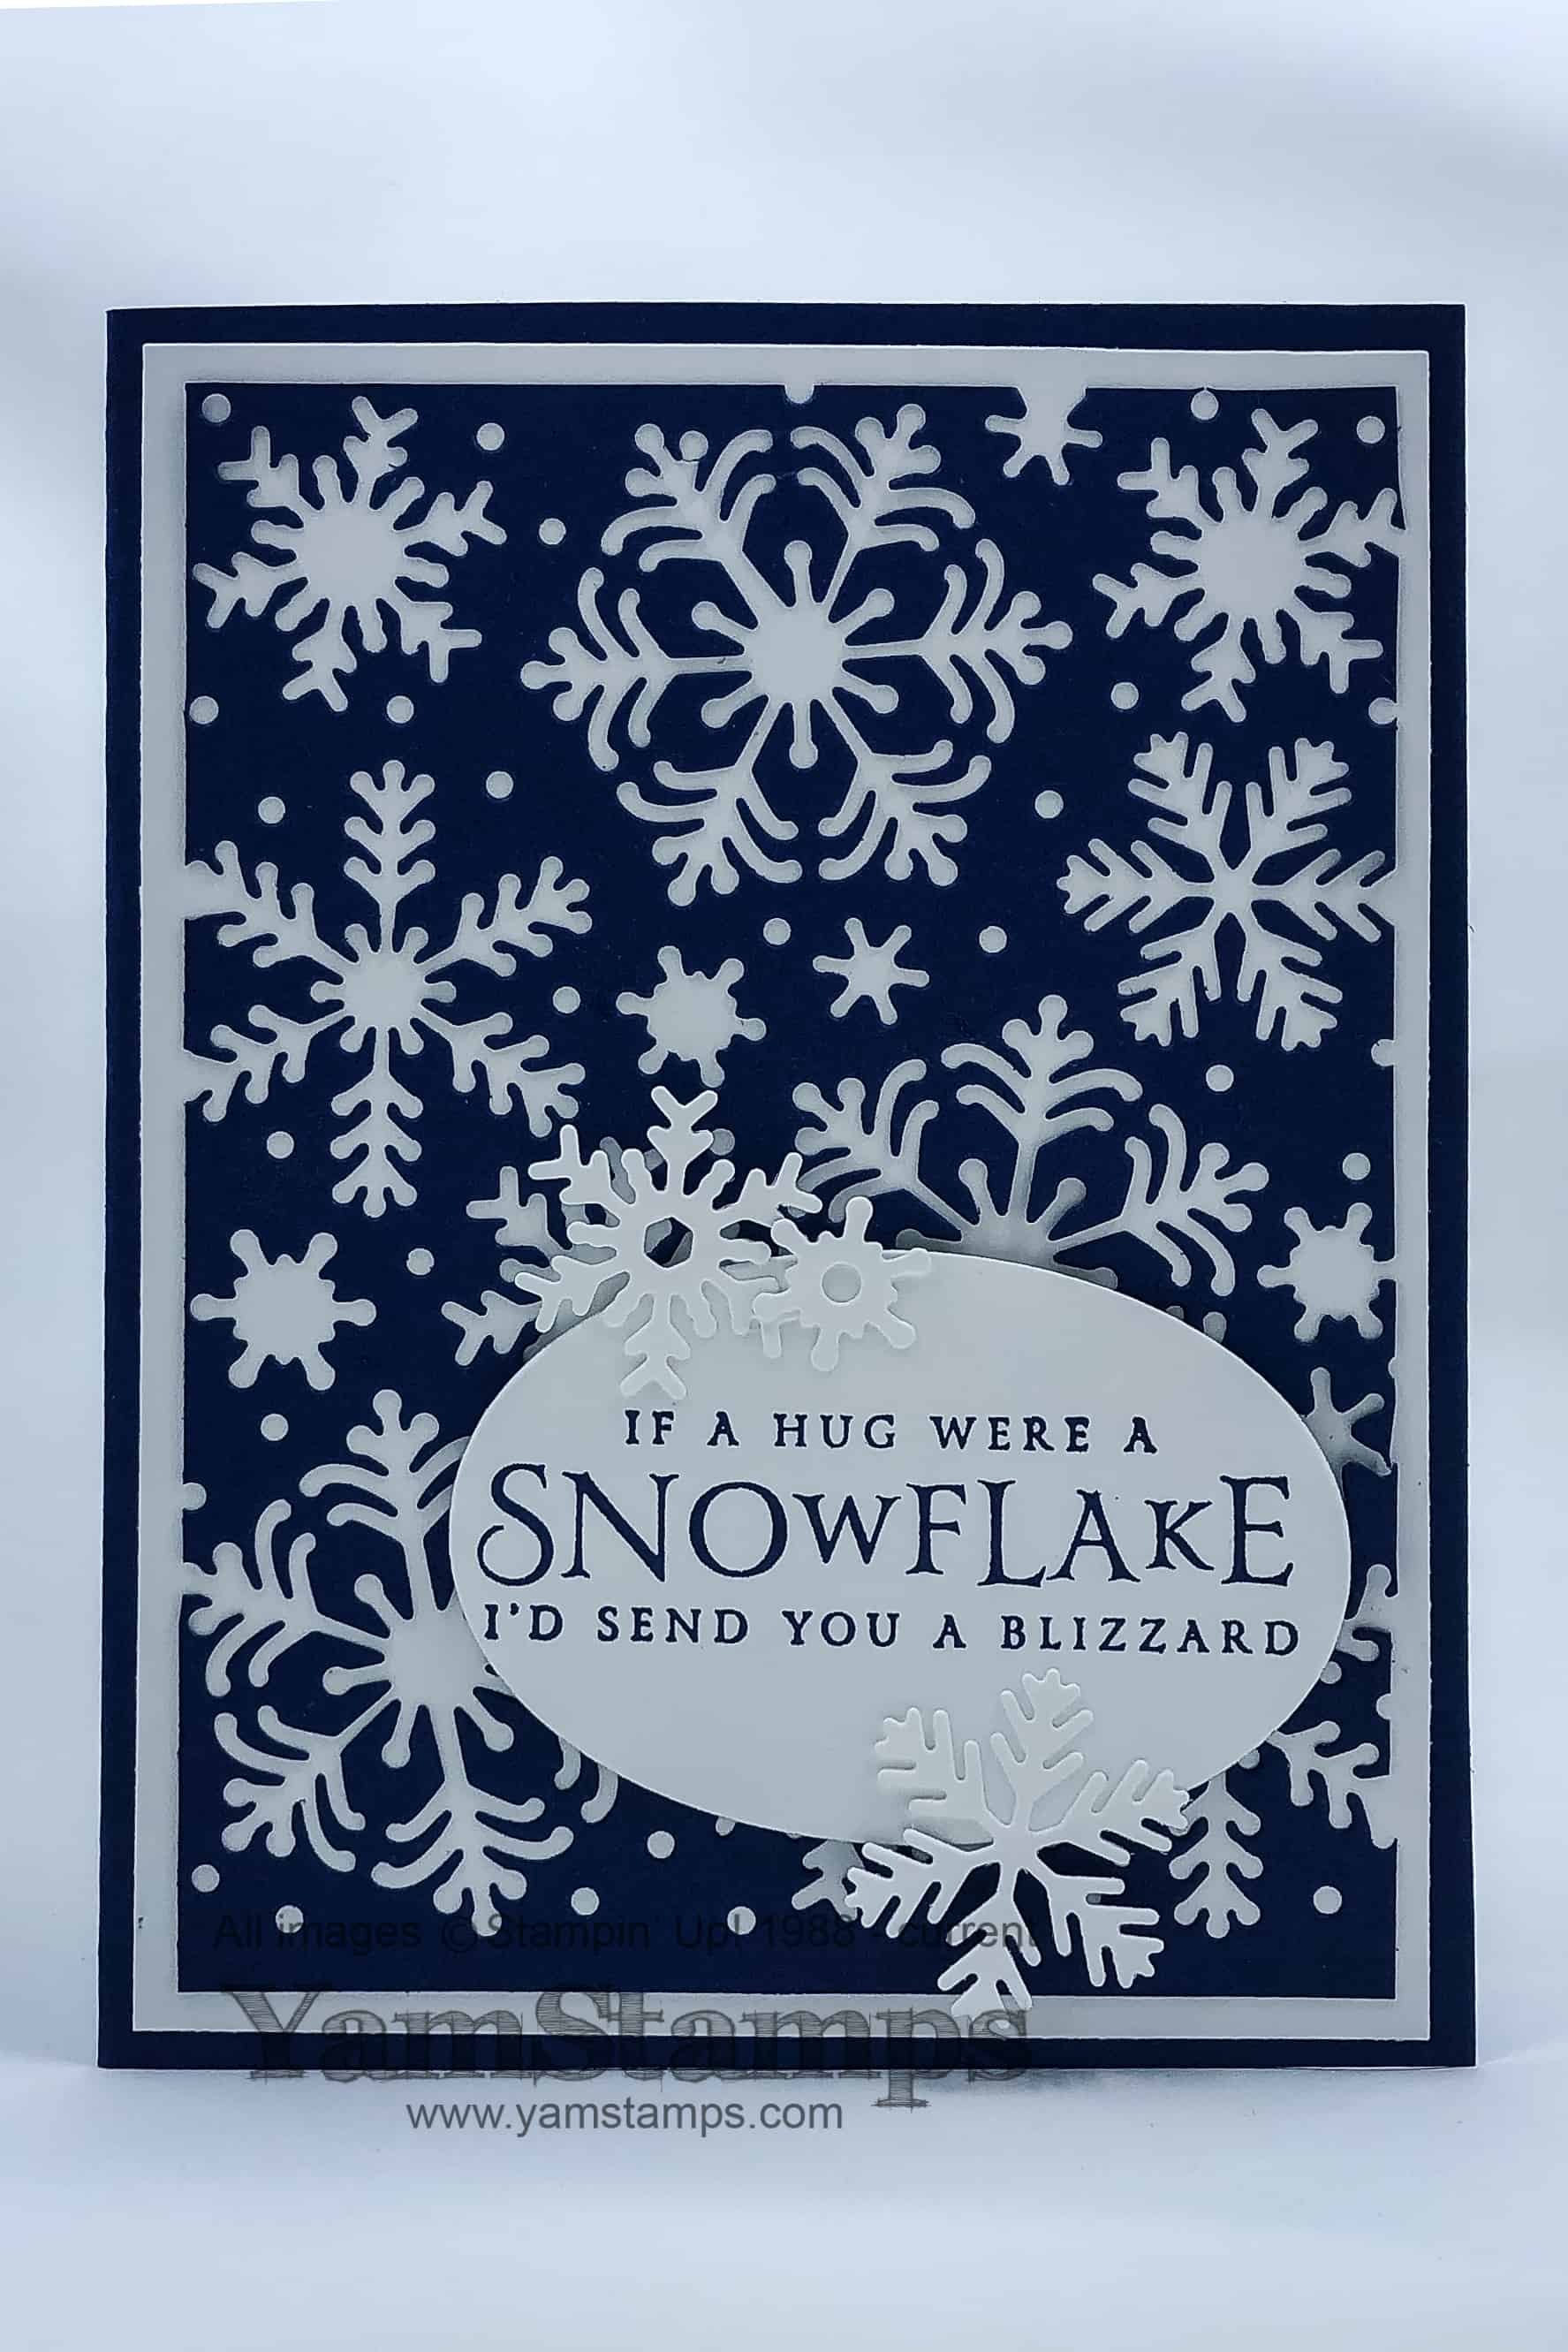
This card was created using the new Beautiful Blizzard bundle. The Beautiful Blizzard stamp set comes in either red rubber clear mount or red rubber wood mount stamps, and coordinates with the Blizzard Thinlits Die. Purchase the wood mount bundle or clear mount bundle and save 10% off the individula prices of the stamp set and die. The Blizzard thinlit die is a single die, so I used it on the background Night of Navy cardstock. I ran it through with Whisper White cardstock as well to get the snowflakes that accent the Layering Oval with the sentiment. This is one of my favourite items in the new holiday catalogue! Hint: with some of the dies that have more details or more cuts, I often like to run the die through in one direction, then turn it 90 degrees and run it through again. This way, if my plastic cutting sheets have any bowing or areas that might not contact as well, I figure it makes up for that. The other thing to get a good cut – use the Precision Base Plate.
There are so many fun holiday products – and it’s not just Christmas stuff – there’s also Hallowe’en and autumn choices, and seasonal vs “holiday” items too. If you still need a copy of the new catalogue and don’t have a demonstrator that you’re already working with, you can contact me about getting a copy. If you are looking to make holiday cards, September’s Christmas Card Class will be using the Santa’s Workshop Enamel Shapes as the featured product. Your class fee of $30 will include all the supplies required to create 4 different holiday cards, and each one will use the accents as decoration. You’ll use some of your package on the cards in class, and take the rest home for your own creative projects! Please contact me to reserve your spot – ASAP as I need to order the product ahead of time to ensure it will arrive in time for class. Class Dates: Wednesday, September 19 at 1pm or Thursday, September 20 at 7pm. See the YamStamps Events Page for other dates and classes! In the meantime – happy shopping!