Mar 9, 2018 | cards, Frugal Friday, Occasions, Retired List, Stampin' Up!
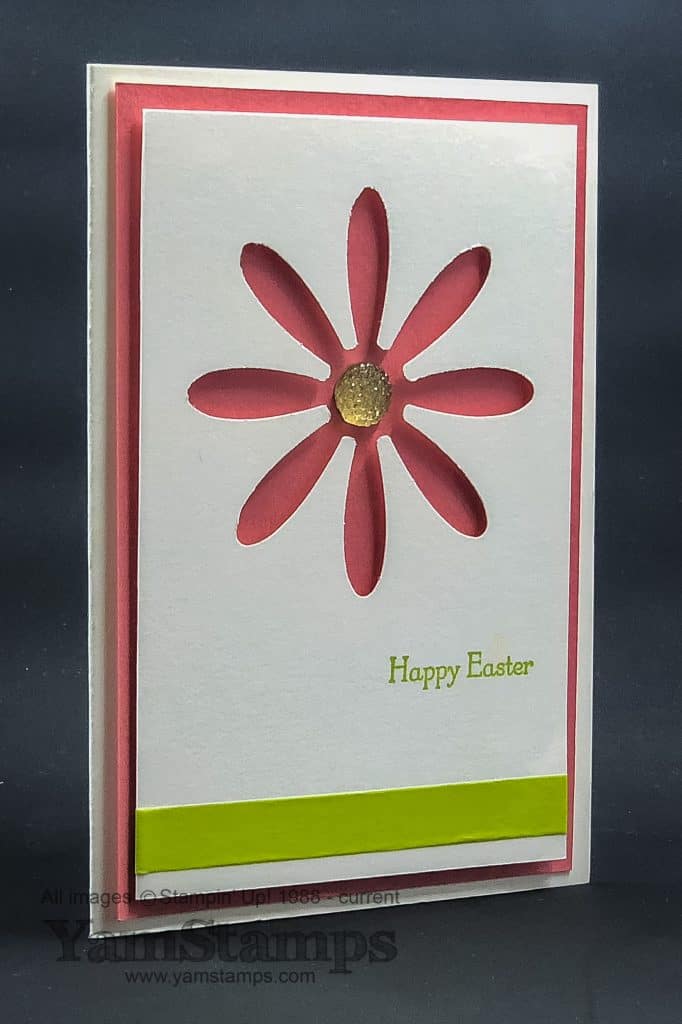
Every once in a while I like to do a “Frugal Friday” post – so today’s post features a Daisy Punch Out Card. This card is in the frugal category because the negative space is the part featured on this card – so that you can use the flower for another project – or to decorate the envelope or a package.
This card uses Flirty Flamingo cardstock as the backdrop. Flirty Flamingo is one of Stampin’ Up!’s 2016-2018 In Colours which will be retiring at the end of May. If you love one of these colours, you will want to stock up ASAP – including a reinker for that ink pad. That way, you’ll be able to use the colour for quite a while! I would recommend grabbing your supplies sooner rather than later, because retiring product like cardstock, accessories and ink pads are available while supplies last once they’re officially on the retiring list – as opposed to most of the stamp sets which usually have guaranteed availability to closer to the end date of the catalogue. The Daisy Punch is used on a piece of Thick Whisper White cardstock which is accented with a stripe of Tutti Frutti washi tape. The cardbase itself is actually one of Stampin’ Up!’s notecards. You can get a set of 20 Whisper White Notecards and Envelopes which are 5″ x 3.5″ – a little smaller than the half sheet cards that we traditionally make, but still within Canada Post mailing requirements. The centre of the flower is a large Gold Faceted Gem, which doesn’t stick out too much because the punched out cardstock is mounted with Stampin’ Dimensionals. The sentiment, stamped in Lemon Lime Twist is from Teeny Tiny Wishes (available in wood mount or clear mount) – one of the most functional stamp sets because it covers SO many different occasions! We made this card in the Monthly Card Class the other day and other options chosen included “Just For You” and “Happy Birthday”.
If you live in the Halton region, you may have been able to catch me on YourTV’s Halton News TV Program earlier in the week. I’m working on getting a copy of the short segment so I can post it to the YamStamps YouTube channel. It was a very quick card (actually using the Daisy Punch!) since it was a quick spot – mentioning the fact that it’s International Craft Month! Thanks to Jessica and everyone who works on the show for having me. It’s always a fun experience! In the meantime, I hope that you will celebrate Craft Month by spending a bit of time crafting – obviously I’m biased towards paper crafting….but anything creative is good! If you need a little help kick starting your creativity and crafting, consider joining me at one of my Monthly Card Classes, or join the Stampers Club for some regular craft time (and freebies)! See the YamStamps Events page for details. Please contact me if you have any questions or to register for an upcoming event!
Feb 26, 2018 | cards, Occasions, Stampin' Up!
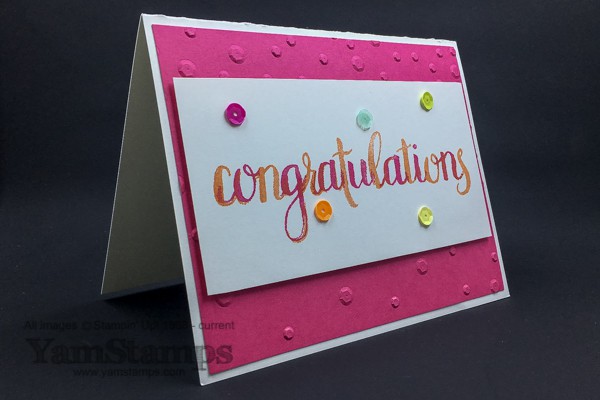
I seem to be on a bit of a congratulations / celebration card kick of late. This quick and easy congratulations card was made after I received my Stamparatus the other day! When I saw the Amazing Congratulations stamp set in the Stampin’ Up! Occasions Catalogue, I knew it would be a great one for the Stamparatus, since it was multiple step stamping. I was one of the lucky ones who got in on the first preorder window for this new stamp positioning tool from Stampin’ Up! (check out the GIF below to see it in action)
The main sentiment is stamped with two different stamps. I decided to do a multicolour version of this, because I could! I lined up the one set of letters, stamped it, then lined up the second set of letters and stamped with a different coloured ink. The two inks in this sample are Tangerine Tango and Melon Mambo, because I wanted something bright. I used the Scattered Sequins Embossing Folder in the background, and the Self Adhesive Tutti-Frutti sequins as accents. So even though the lettering looks complicated, this really was a quick and easy congratulations card! I am going to send out these cards to some members of my Stampin’ Up! demonstrator group, the “Eh” Team to congratulate them on hitting some targets and promotions!
I’ve done some work on hand lettering, and I know I have a ways to go to continue to improve my skills there, so in the meantime, this is a great way for me to get the handlettered look (and know it will look okay!! haha).Check out the YamStamps Facebook page for a slightly different colour combination on this quick and easy congratulations card. The great thing is when I used the Stamparatus, I simply cleaned the stamps off (left them attached to the plates) and just changed the ink colours as I wished. If you weren’t able to get in on the preorder for the Stamparatus, you’ll be able to place an order for one when it’s available in the next catalogue in June. Members of the Paper Crafting with YamStamps Facebook Group or the YamStamps mailing list may also have another opportunity to get their hands on a Stamparatus….just saying…. and then maybe I’ll have to make more quick and easy congratulations cards!!
In the meantime, please feel free to contact me if you have any questions, or want to come to a class or club to make one of these cards yourself!
Jan 31, 2018 | cards, Occasions, Stampin' Up!
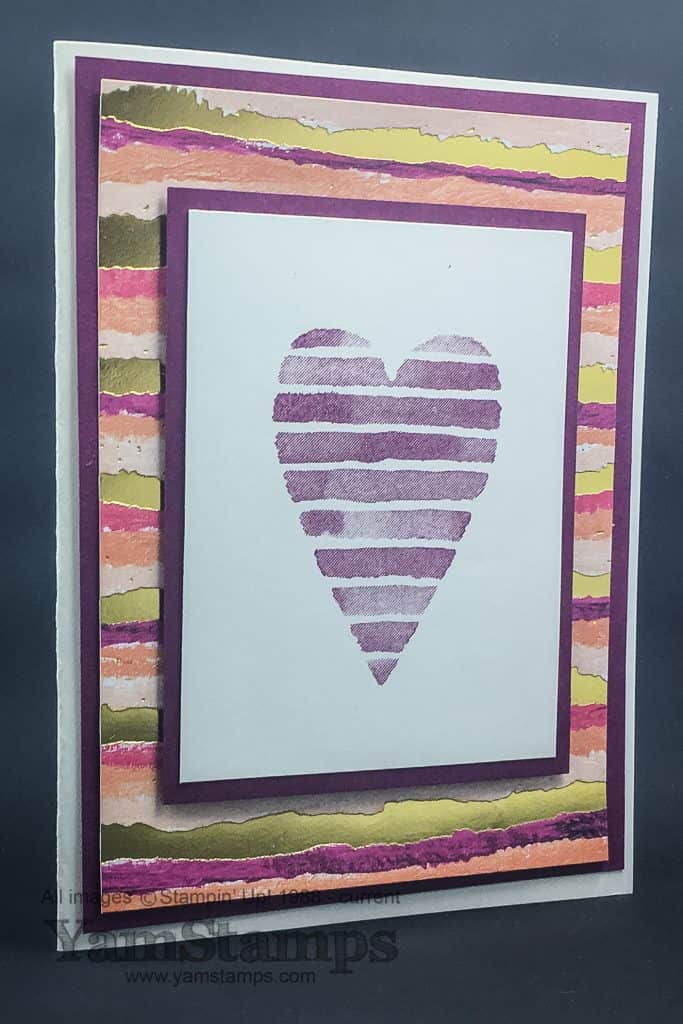
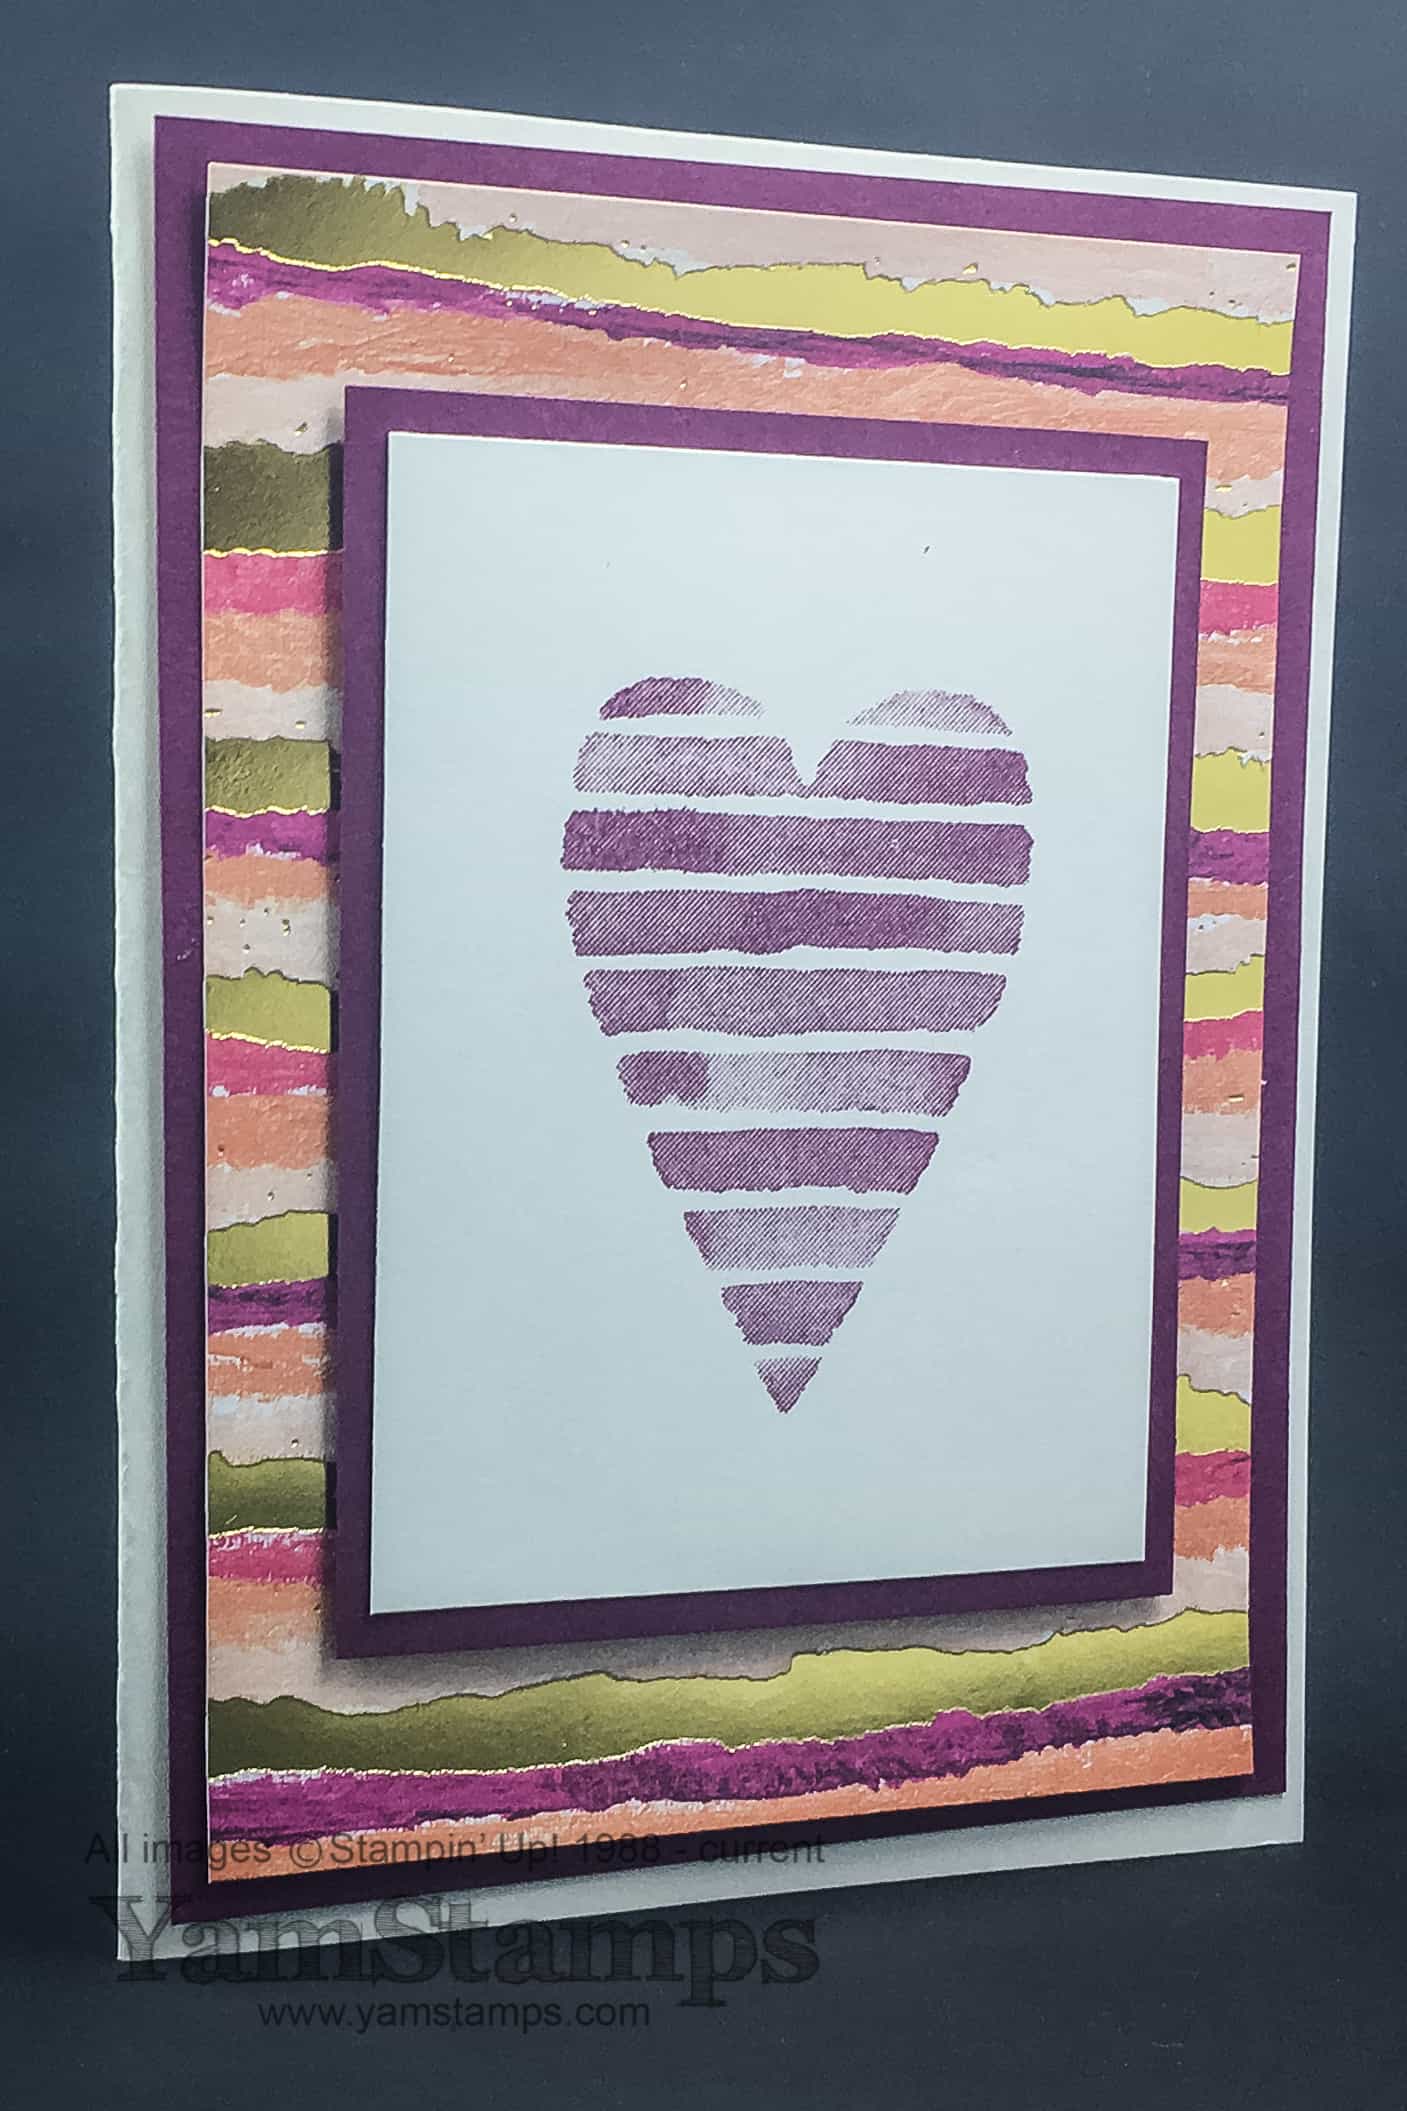
Are you looking for a Valentine’s Day Card Idea? Here’s one – use decorative papers to make your card stand out easily. In this card, the backing paper is Stampin’ Up!’s gorgeous specialty Designer Series Paper, Painted With Love. These papers are so beautiful, feature some of my favourite colours and have a metallic touch that makes everything more impressive. I tied in the linear theme with the striped heart image from the set Heart Happiness, also from the Occasions catalogue. The Designer Series Paper features Rich Razzleberry, so I used that colour for the backing cardstock and ink. The variations in the stamped image are created by the stamp itself – so literally all you do is ink the stamp, stamp it on the paper and admire the results!
We will be doing a version of this card in the upcoming February Card Class – Wednesday, February 7th at 1pm or 7pm. Please contact me to reserve your spot! As always, we will have a variety of cards in the class, so you’ll get a Valentine’s Day card idea (well, I guess you’ll actually get the card too LOL), plus 3 other cards to use for a variety of occasions. A lot of times, I leave sentiments off the class cards, so that you can add a sentiment later or use the blank inside to write an appropriate message. This card is actually blank on the inside, so it could be a Valentine’s Day card, or could be used for any other time you want to send a message of caring and support to someone. (Hey, today is also Bell Let’s Talk Day, so this could be an appropriate card to send “just because” to someone!)
As you can see, this is a fairly straightforward card layout – another way to make your cardmaking easier. A basic layout can look very different when you vary the colours, images and backgrounds – but the essential design is the same – whether you’re needing a Valentine’s Day card idea, a birthday card idea or an Easter card idea! (and you thought being a Stampin’ Up! demonstrator was difficult? haha sorry to blow that illusion…) The other day when I had a bit of a creative block, I decided it was better to be productive than to mess around and not come up with anything at all – so I used the January Paper Pumpkin kit. Without having to use much brain power, I was able to create a whole whack of cards that I can now share with others. I’m planning on sending them to members of demonstrator group to share the love and thank them for being part of my team! I shared a photo on the YamStamps Instagram account – I guess that’s another Valentine’s Day Card idea for you? Hope to see you at a YamStamps event this month to create cards for the special people in your life!!
Jan 14, 2018 | cards, Occasions, Sale-A-Bration, Seasonal Catalogue, Stampin' Up!
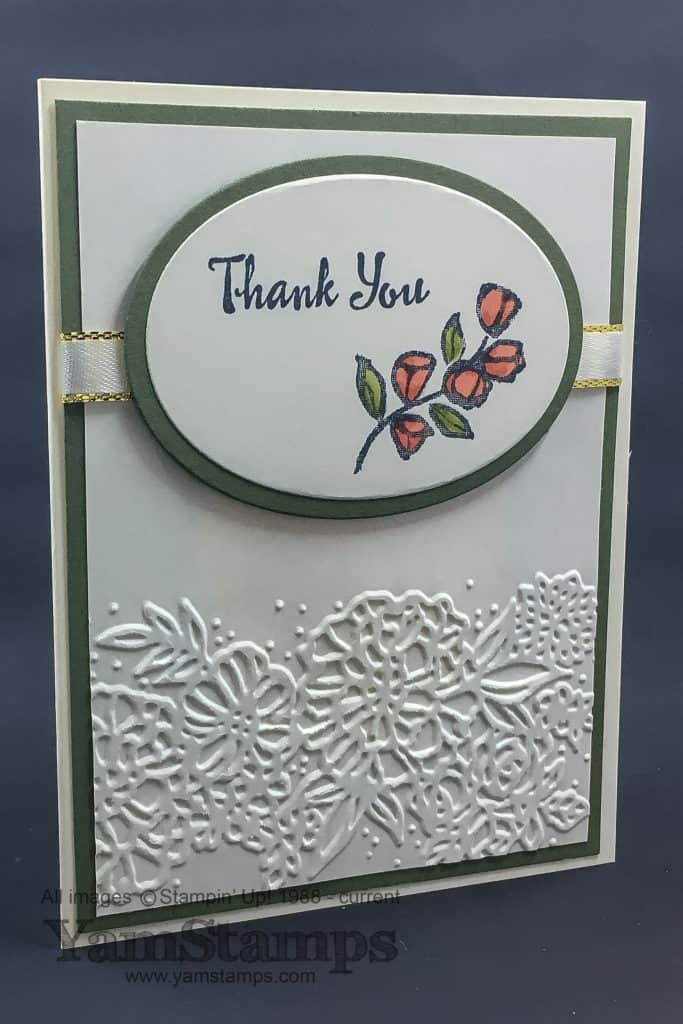
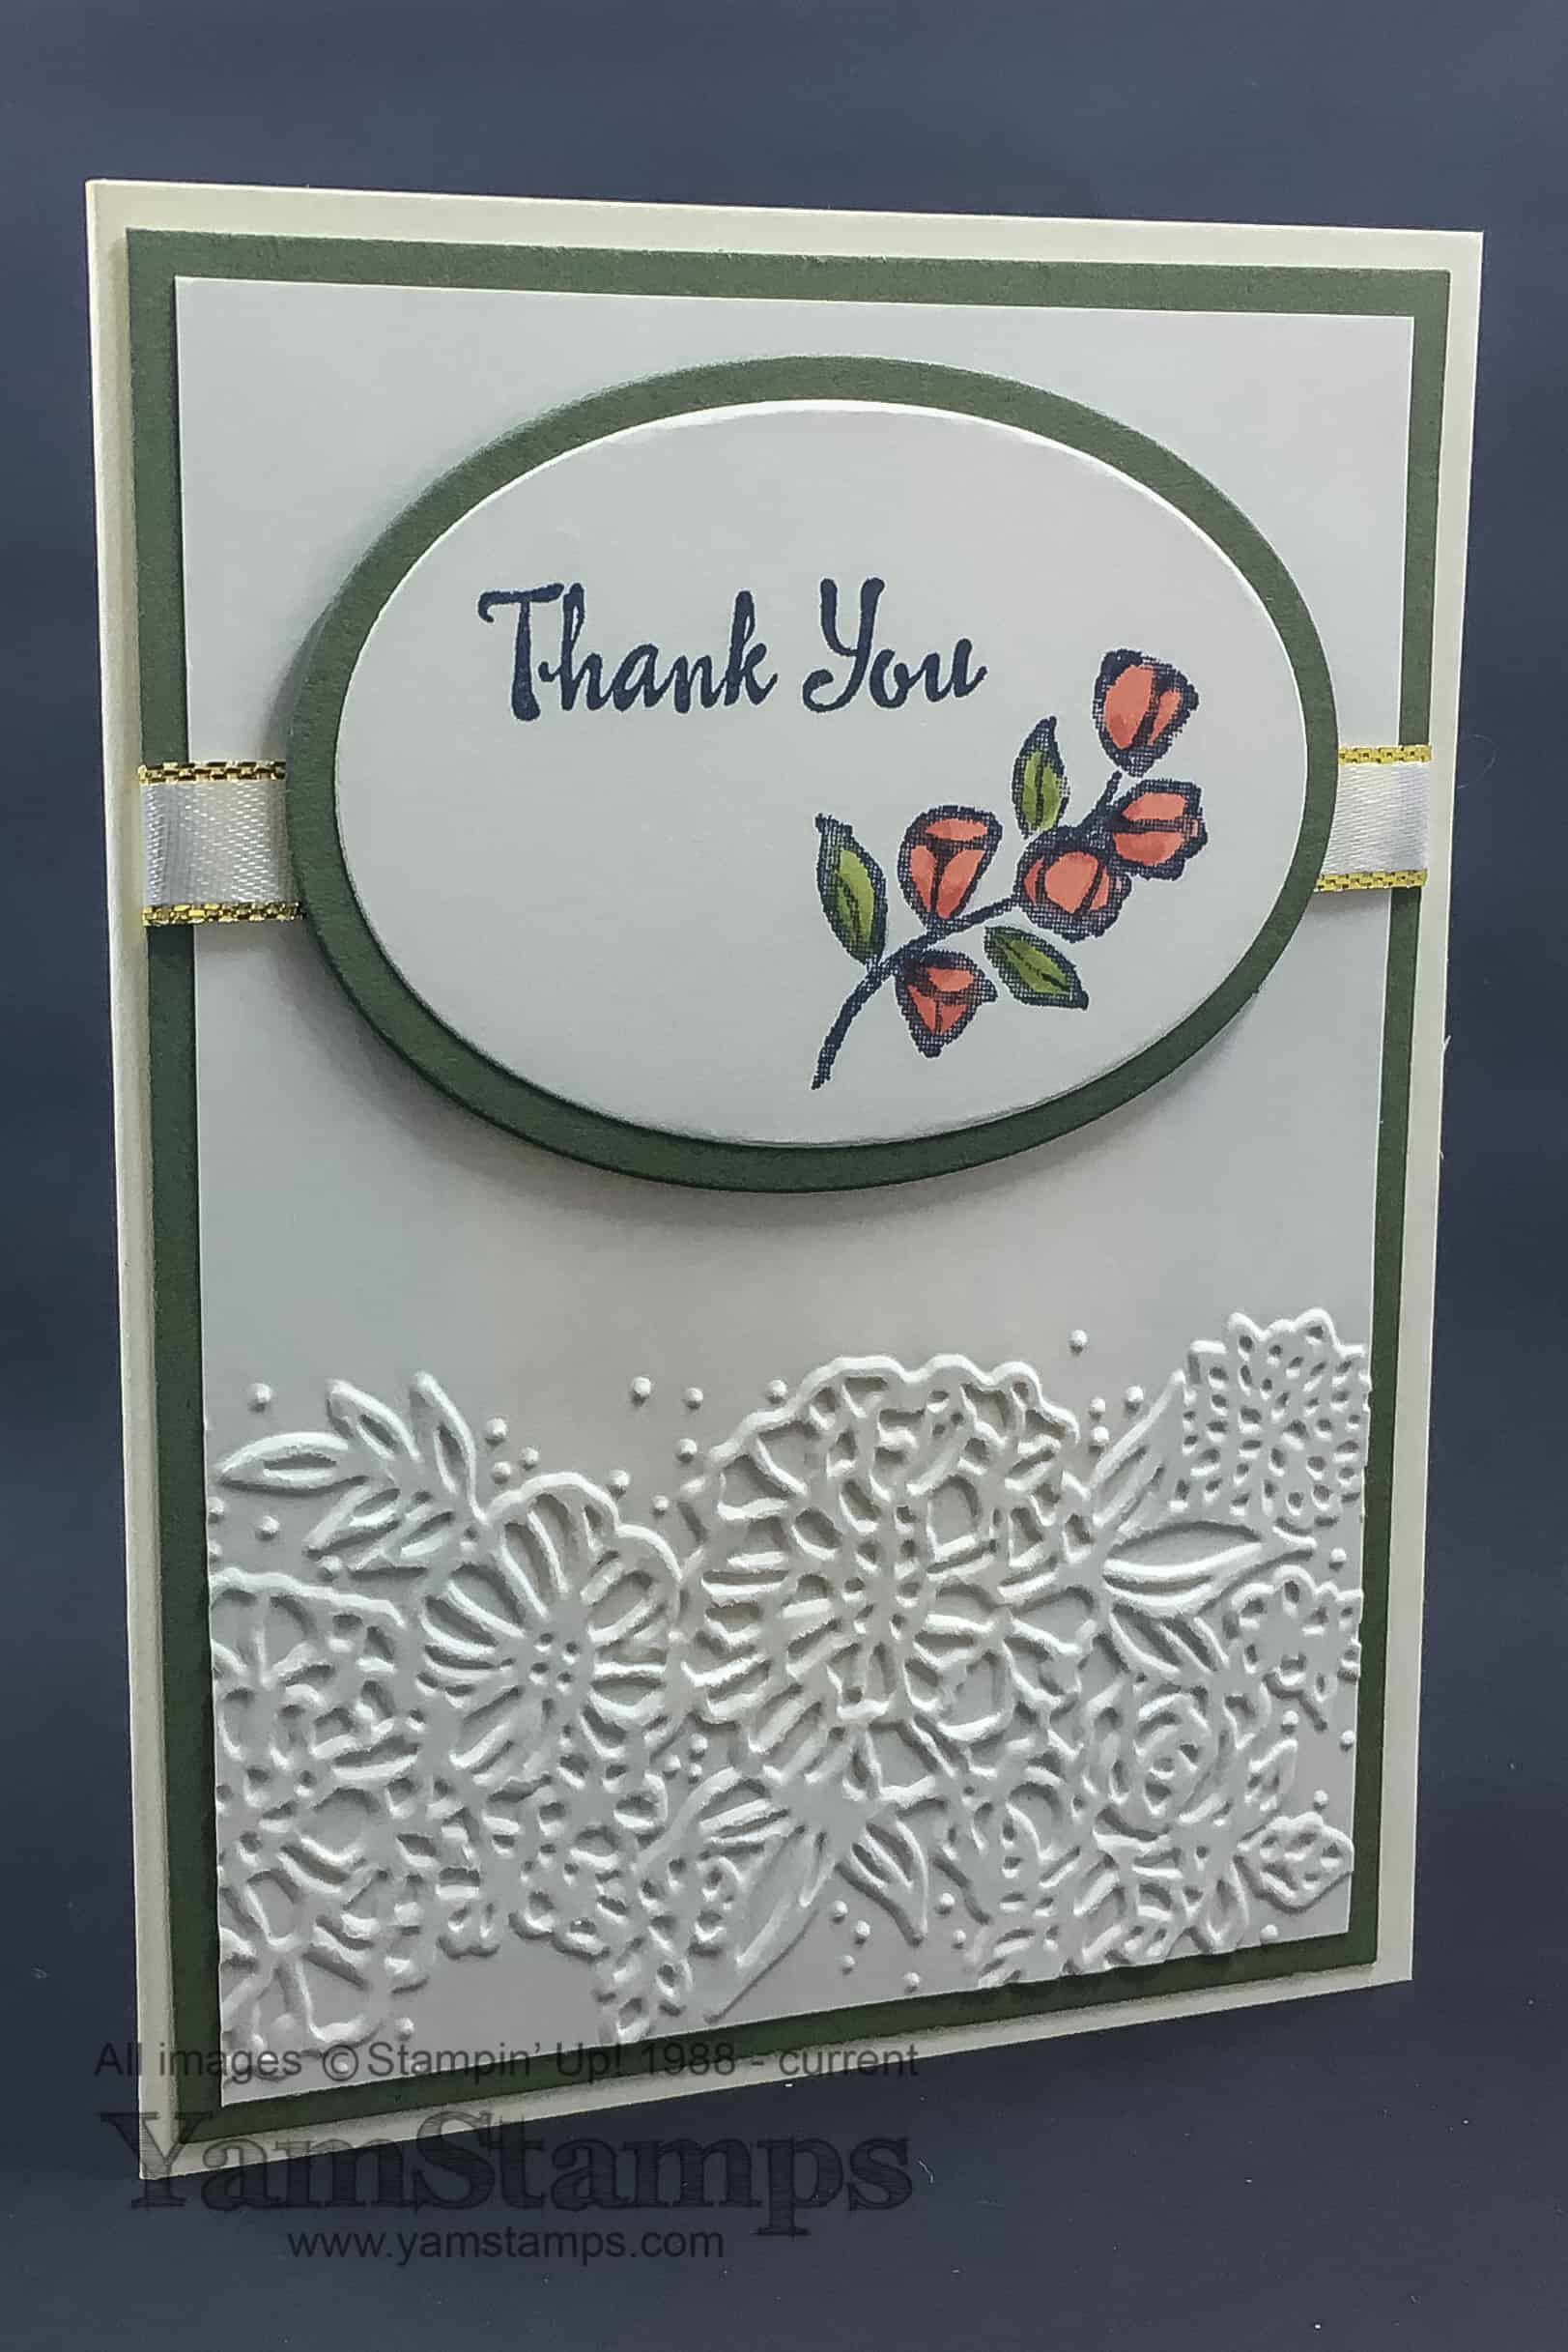
OK here’s a crafty share first of all – apologies for the lack of activity! So – sharing a thank you card using new product from the Occasions Catalogue to help with my apology?! This card features the Petal Palette stamp set (available in wood mount or clear mount), the Petal Pair Embossing Folders, the Layering Ovals Framelits and Gold 3/8″ Metallic-Edge Ribbon. I used Stampin’ Blends to colour in the floral images.
So with the lead up to the holidays plus my trip away, my pre-planning did not always go according to…well….plan. I also seem to forget how much time zone changes throw me. While I am able to be up at the “usual” time (or close to it), many of my waking hours seem to be in a zombie-like state (or more so than usual LOL) on my return to my “home zone”. However, that being said, I would not trade my recent time away for anything!
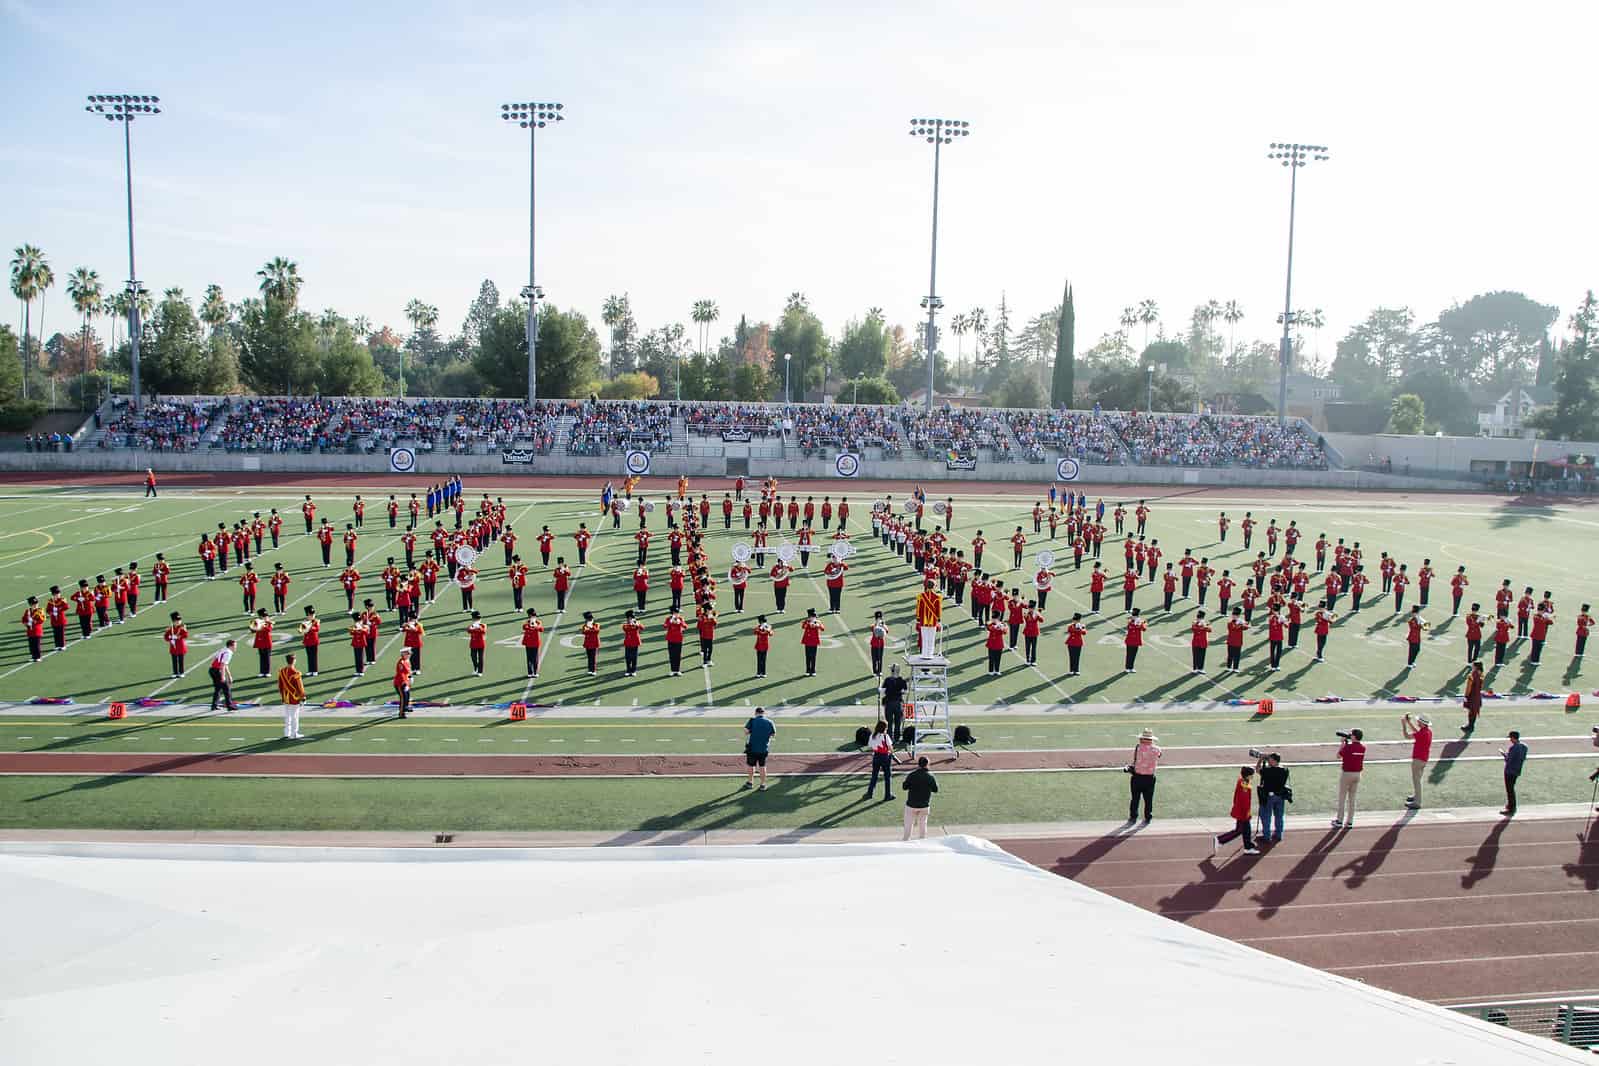
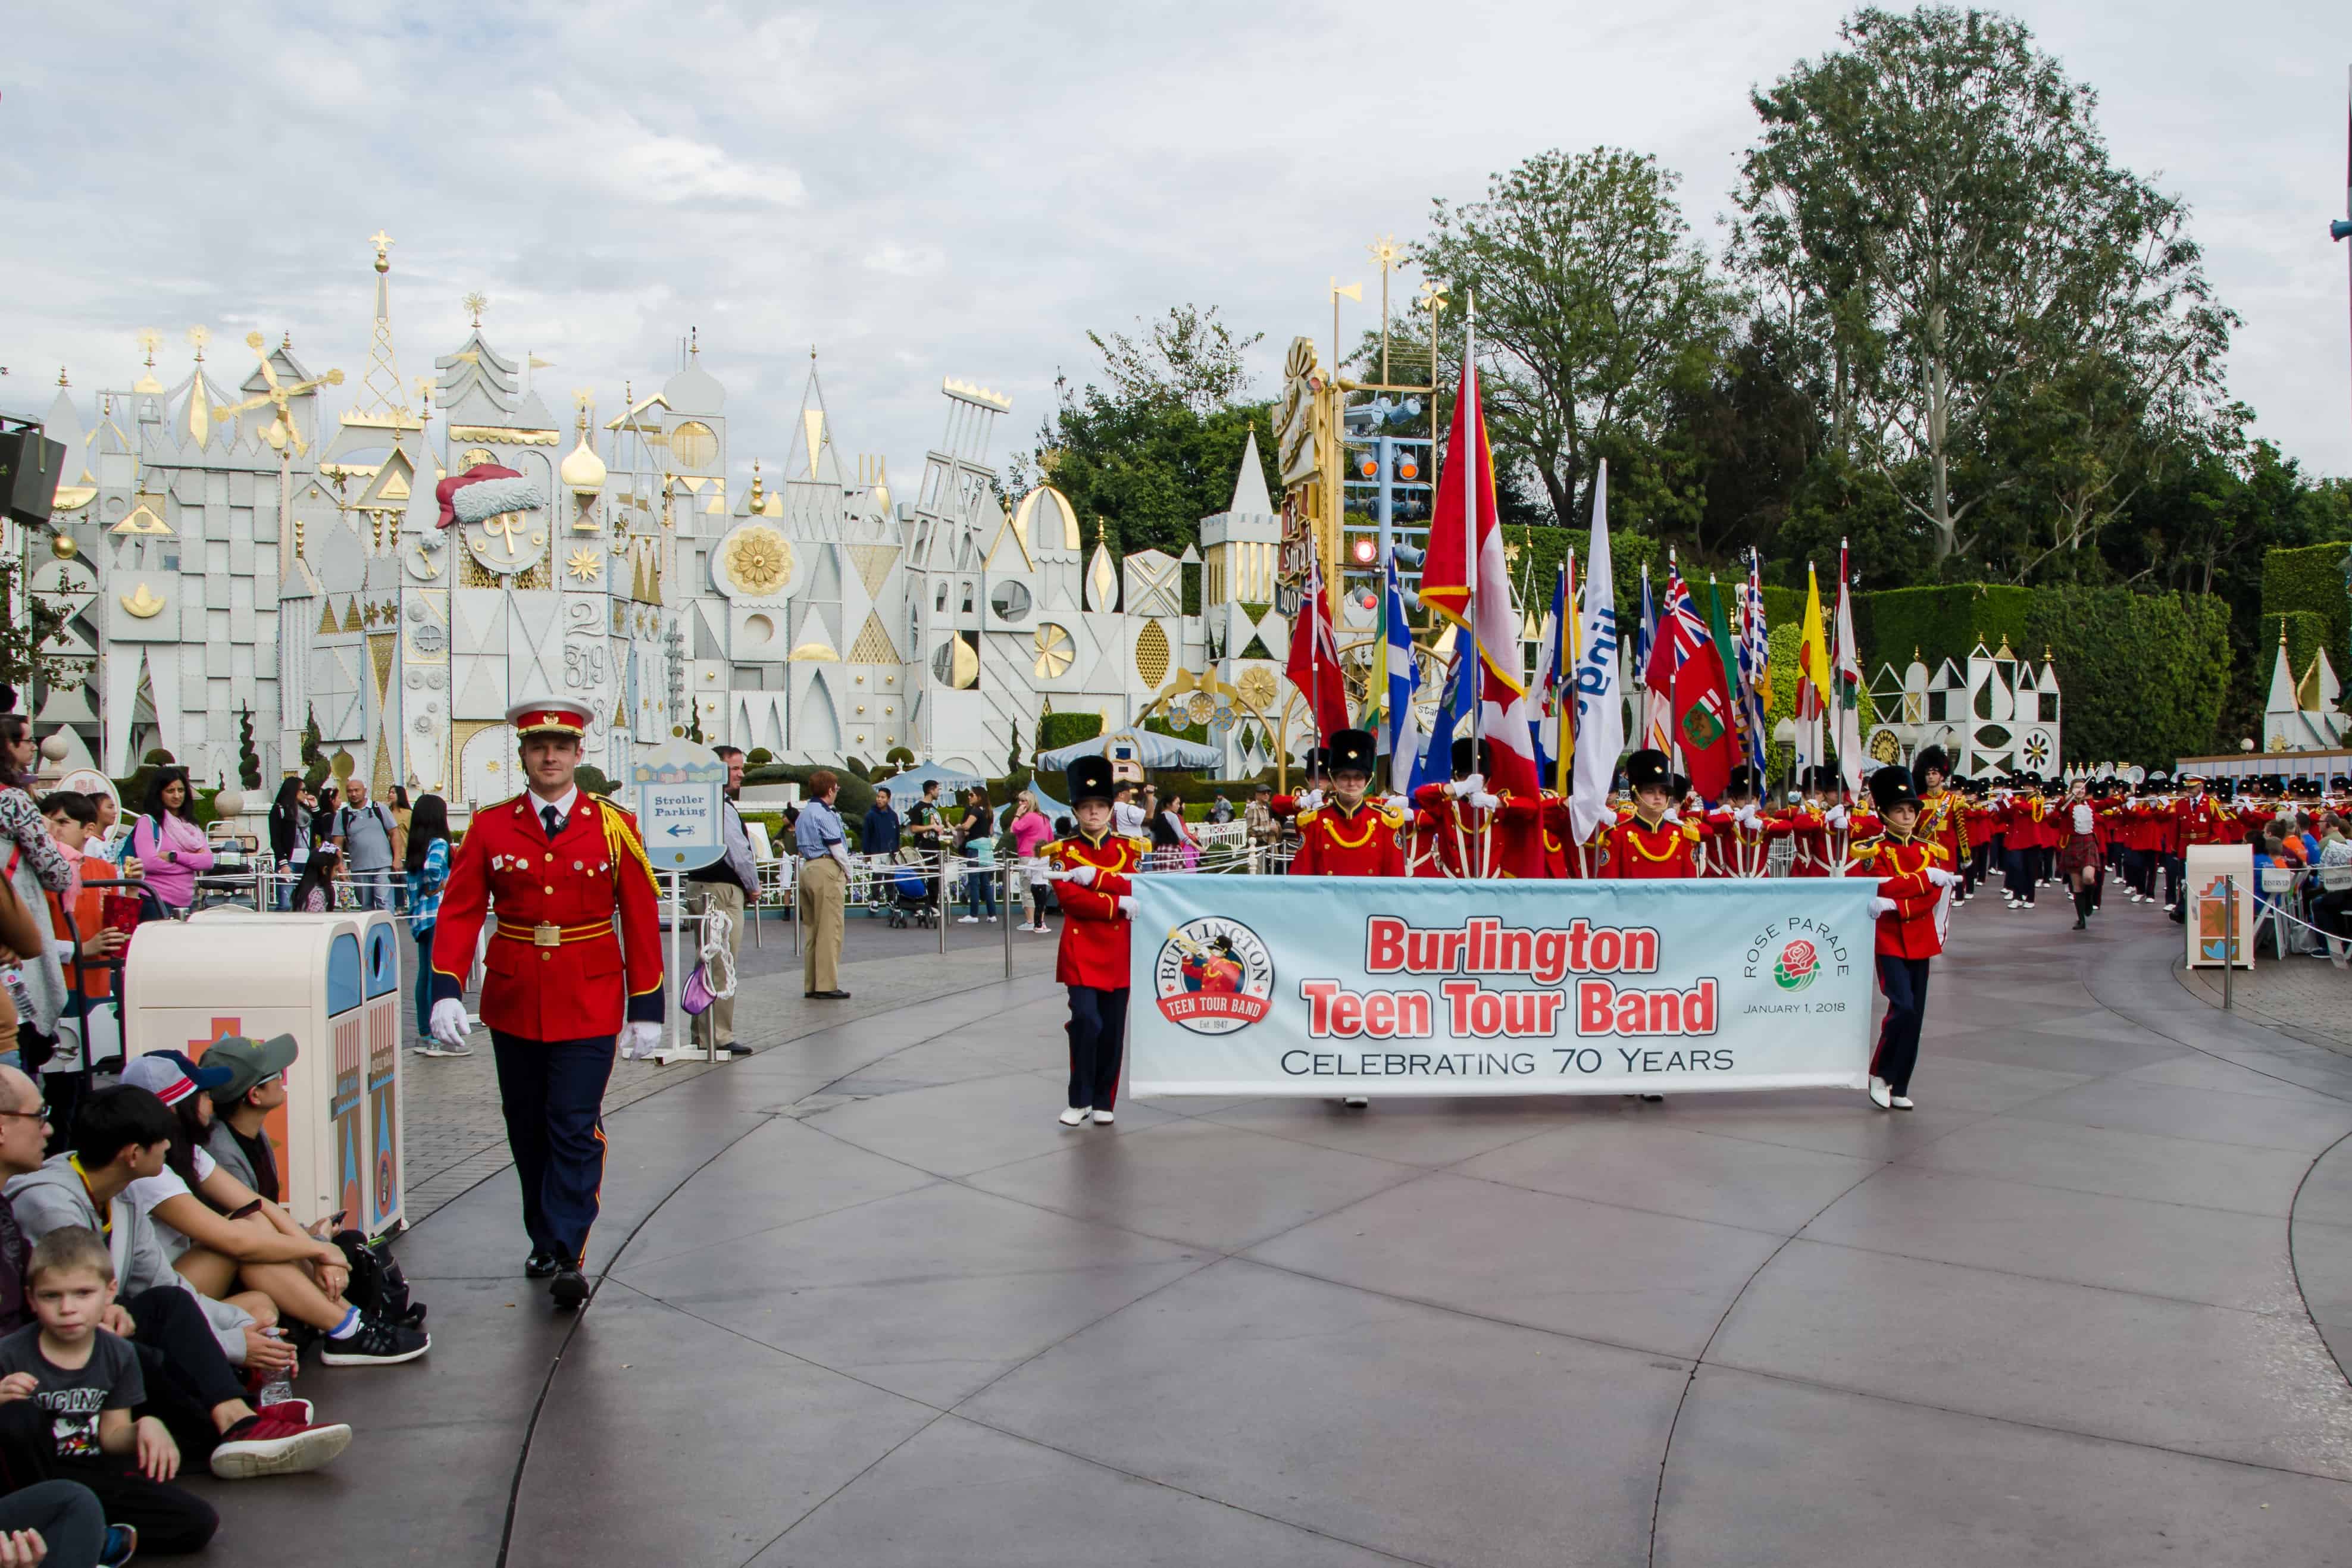
If you live in Burlington ON, or somewhere close by, you probably have heard of the Burlington Teen Tour Band. I was actually a member when I was a teenager, so it’s a joy for me that my son is currently a member of the same organization. After a detailed selection process, they were invited to the Rose Parade in Pasadena California, for January 1, 2018 (the band’s FIFTH time to this historic event!). I was fortunate enough to attend as one of the band photographers and as a chaperone. So from December 26th to January 5th, I got to hang out with some of my favourite teens and adults! This was a busy trip, but it was great to be in the sunshine….we missed the record cold temps of Burlington during our absence (sorry not sorry), and there were some definite once in a lifetime kind of experiences happening.

The band getting ready to perform at Pasadena Bandfest.
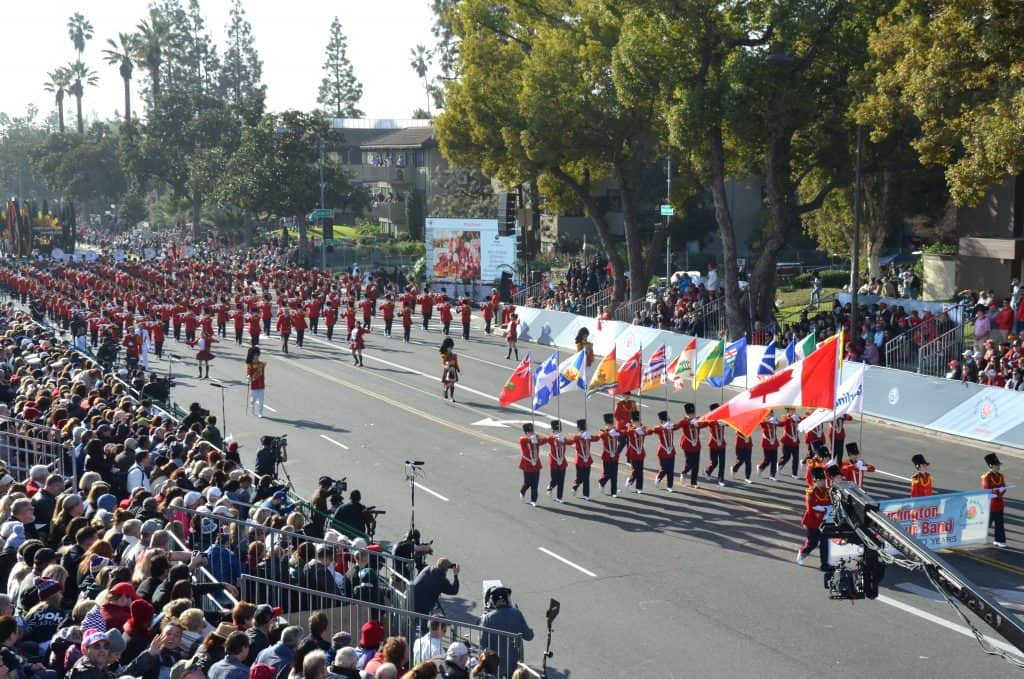
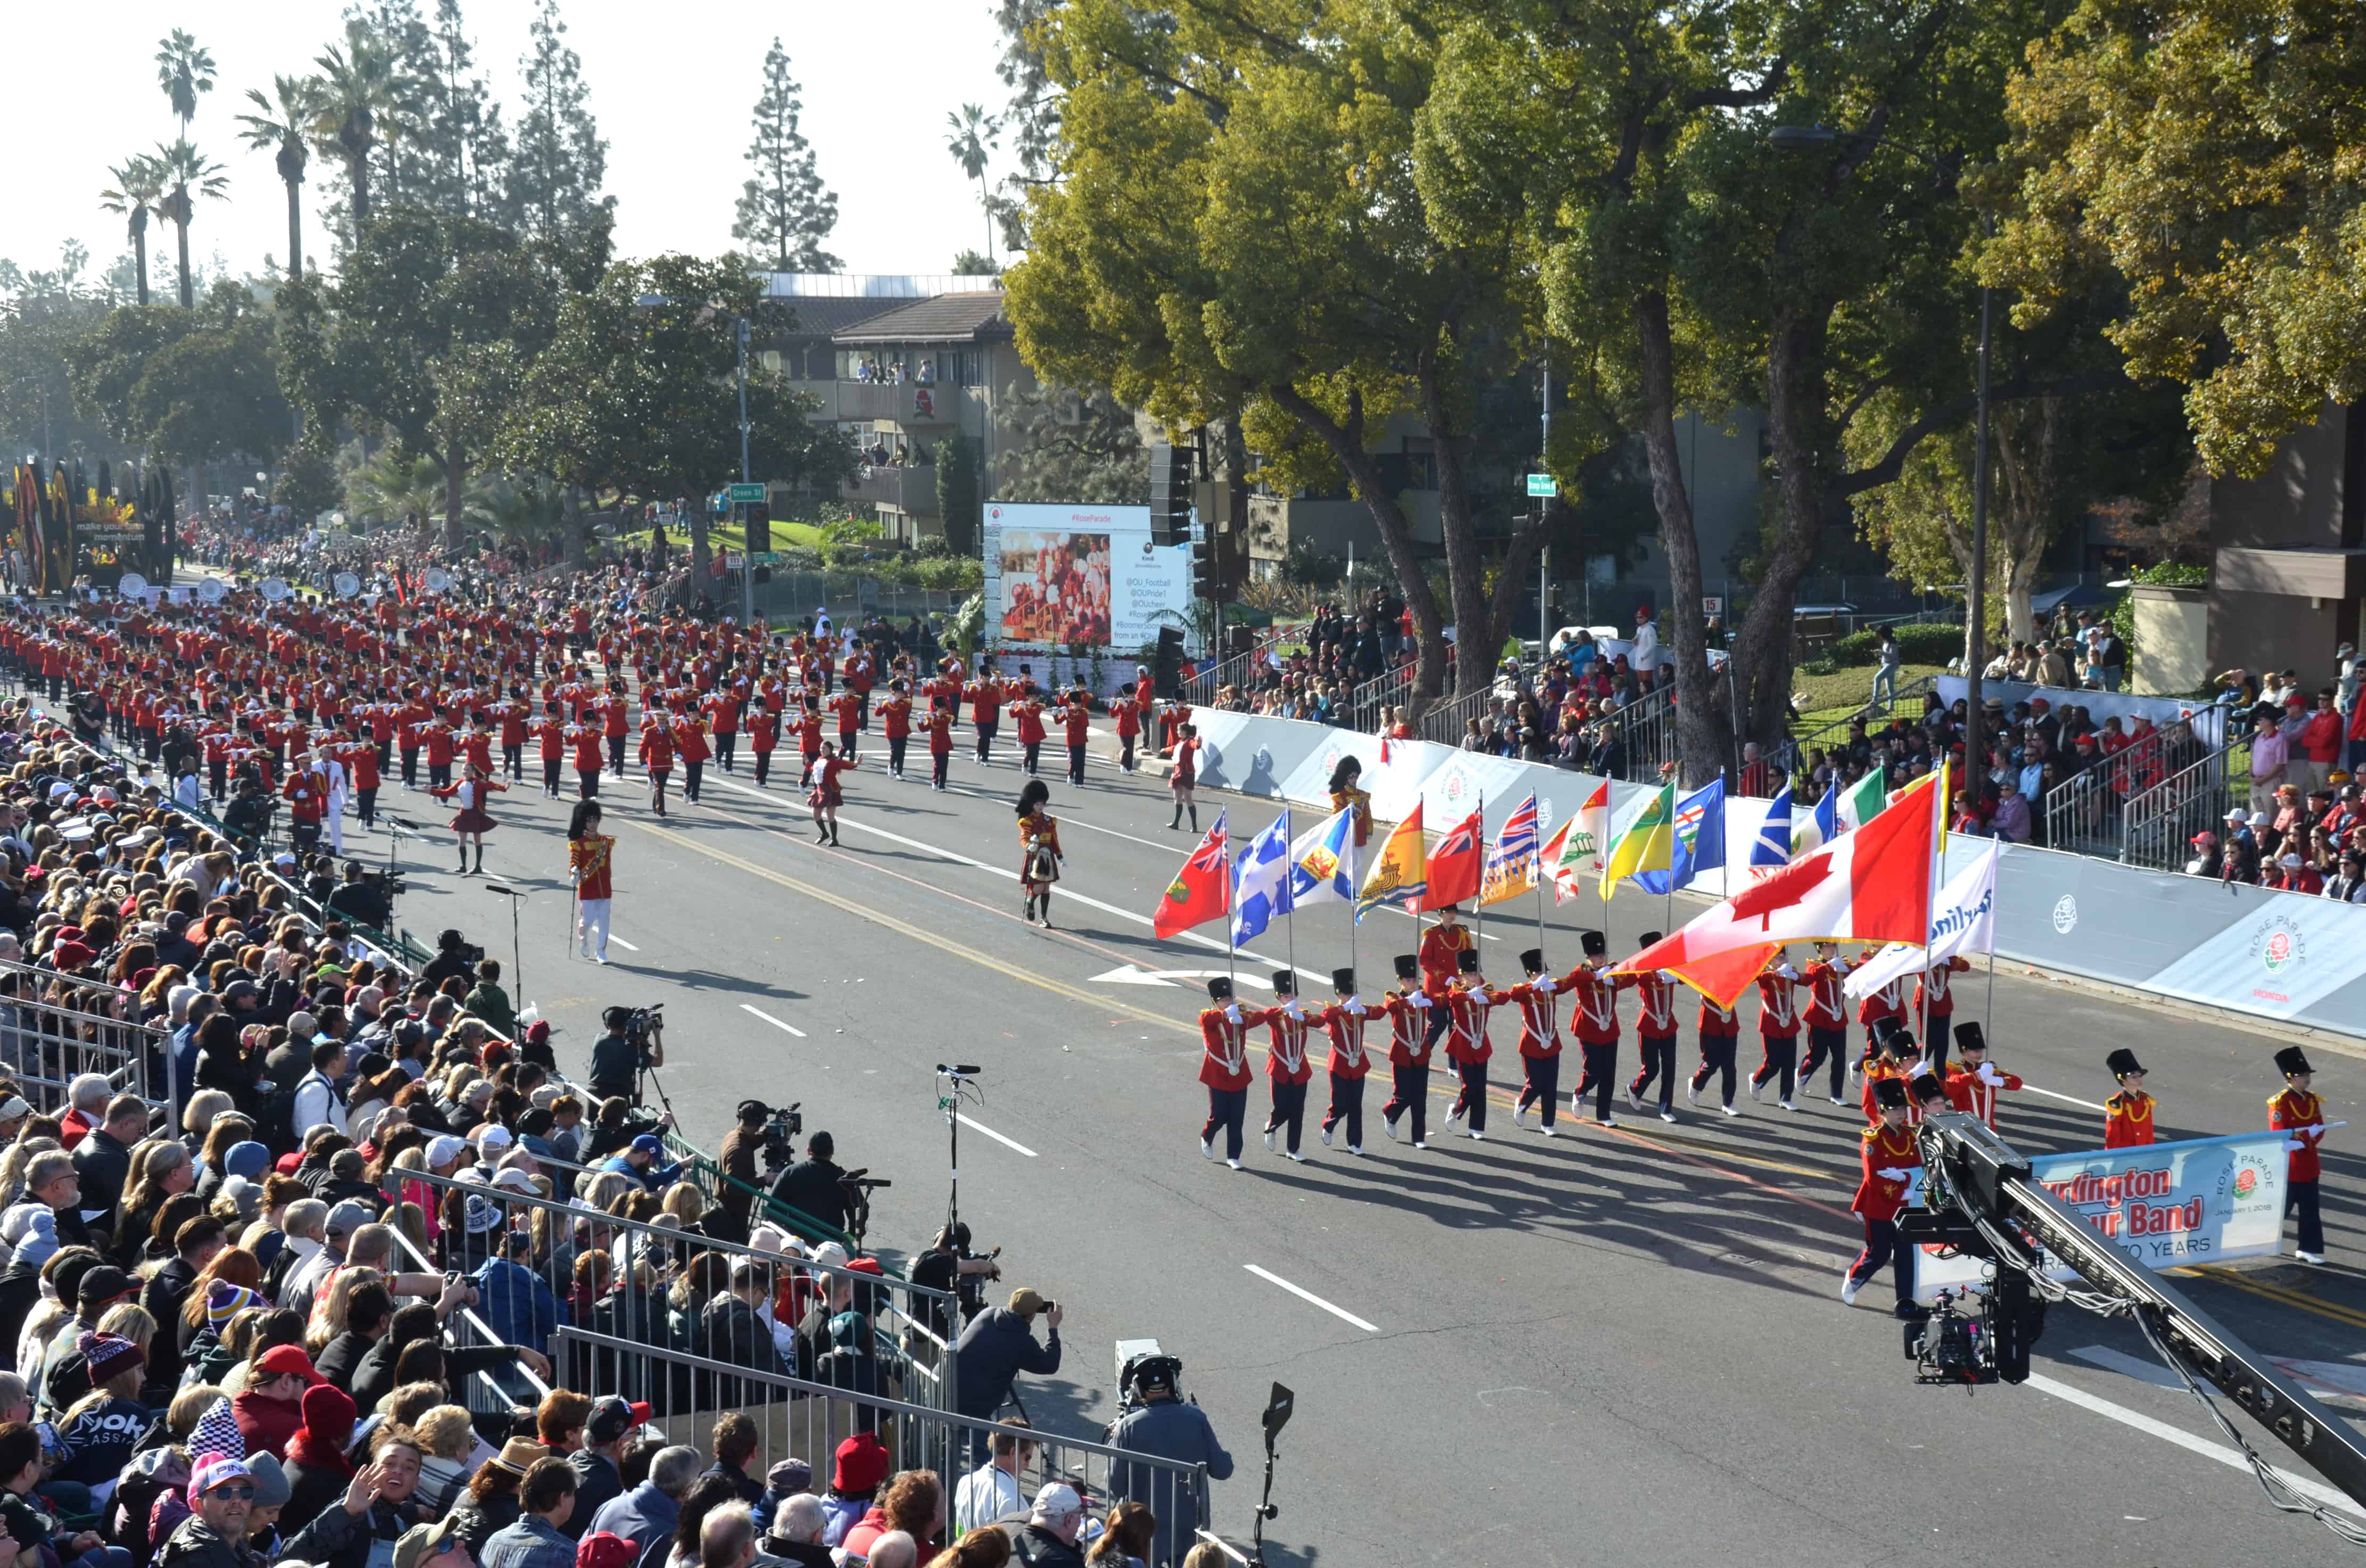
The band at the parade. (thanks Andrea, fellow photographer for this capture).
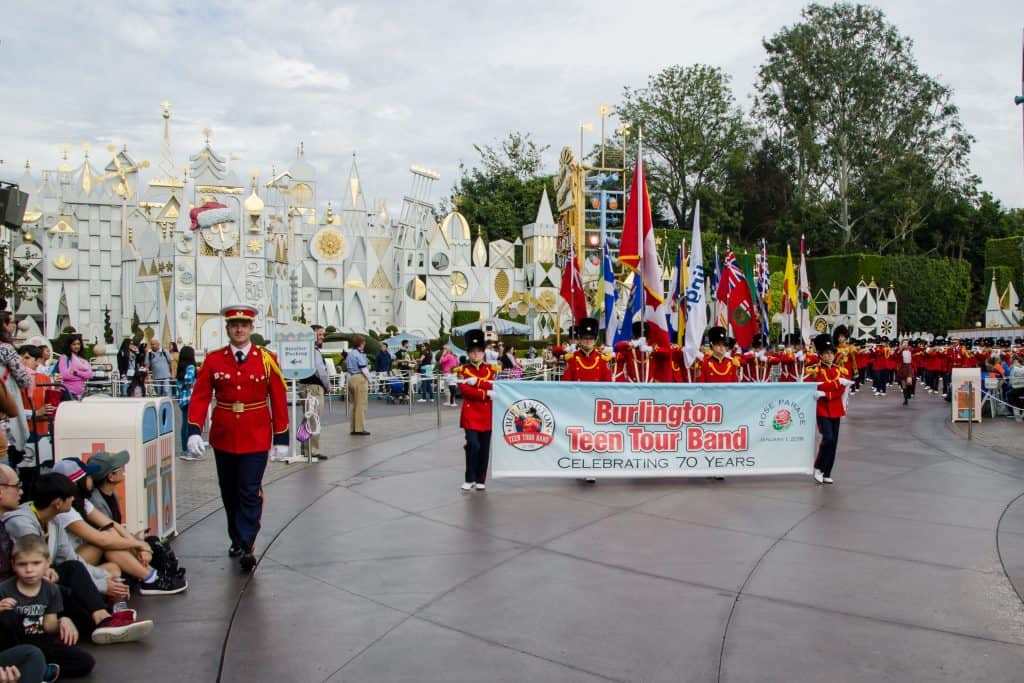
The band performing at Disneyland – last performance of the tour (what a way to finish!)
Sidenote – the band has red jackets that members and chaperones usually have to wear when out and about. Georgia was one of the teams in the Rose Bowl game – and their greeting to fellow Georgia Bulldogs fans is apparently to bark at them….which kind of threw a number of us when this happened while we were touring around California – until we figured out why strangers would bark at us (and until they figured out we were NOT from Georgia! LOL).
Now that we’re home again, the laundry is done and the bags are almost all put away (I’m a little slow on that one…), the house will be ready for Stampers Club tomorrow and it’s back to the regular grind. Well, technicially it was back to the grind last week, but it was definitely a dazed stumble-through week for me. Let’s hope this week gets a bit better.
I’ve sent out a number of Occasions and Sale-a-Bration catalogues to people, but if you still need one, let me know. I am in the midst of following up with those on my mailing list, to be sure that they actuallyarrived…. You can see the online versions here, but there’s nothing like having a hard copy in hand, I know. Until the end of March, select free merchandise with each $60 product purchase, get extra product for hosting a party with qualified sales, and get 2 free additional stamp sets if you purchase the Demonstrator starter kit! Contact me for more details or to book a date!
Oct 31, 2017 | cards, Christmas, Occasions, specials, Stampin' Up!
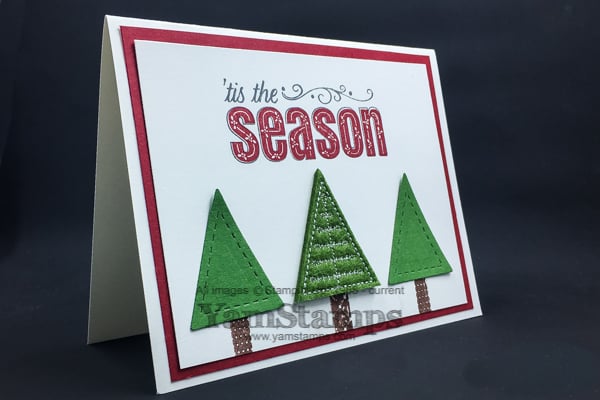
Boo! Scary thing is – it’s the last day that you could get the Merry Patterns stamp set for free! This is the stamp set that Stampin’ Up! is offering free with a $375 product order (and NO, it doesn’t have to be just one person ordering – most people have earned it by having a group of friends place orders together, or having a card making party). This card is from October’s Christmas Card Class – each participant received a package of Stitched Felt Embellishments that we then used on the cards. The sentiment is from the Merry Patterns set – as are the tree trunks (those are the patterned candle portions). The “stitched” cardstock trees are created using the Quilt Builder Framelit Dies – which you can also get in a discounted bundle along with the Christmas Quilt Stamp Set. I thought this combination was fun and coordinated well!
More scary news – it’s also the last day for the Buy 3 Get 1 Free Designer Series Paper Sale! Selected papers have been part of this special, and if you still need to stock up, you have until end of day to take advantage of this deal! I put together a huge binder featuring all the different designer series papers that were part of the special and had it on hand at the Scrapfest / CreativFest booth this past weekend. I’ll still be able to share this way of seeing the papers, but the deal will be gone….*sigh*
So here’s some good scariness…..how about a Halloween card?!

I received this fun card as part of a demonstrator swap a little while back! We each created a number of copies of our card design, and received a card from everyone participating in the swap! I love this card from Lesley Poper. The eyeballs peeking out of the cup make me laugh….and of course the cup reminds me of my oh so favourite “Grande, Coconut Milk Chai Latte…with cinnamon powder please”. Not sure how happy I’d be to see those eyeballs looking at me though… I am sharing a number of the Halloween themed cards on my various media platforms today at various times – so besides here at the YamStamps blog, you can also check out YamStamps on Facebook, Twitter and Instagram to see different fun holiday projects!
I hope that you and your goblins have a fun and safe Happy Halloween!!
Apr 16, 2017 | cards, Occasions, Retired List, Seasonal Catalogue, Stampin' Up!
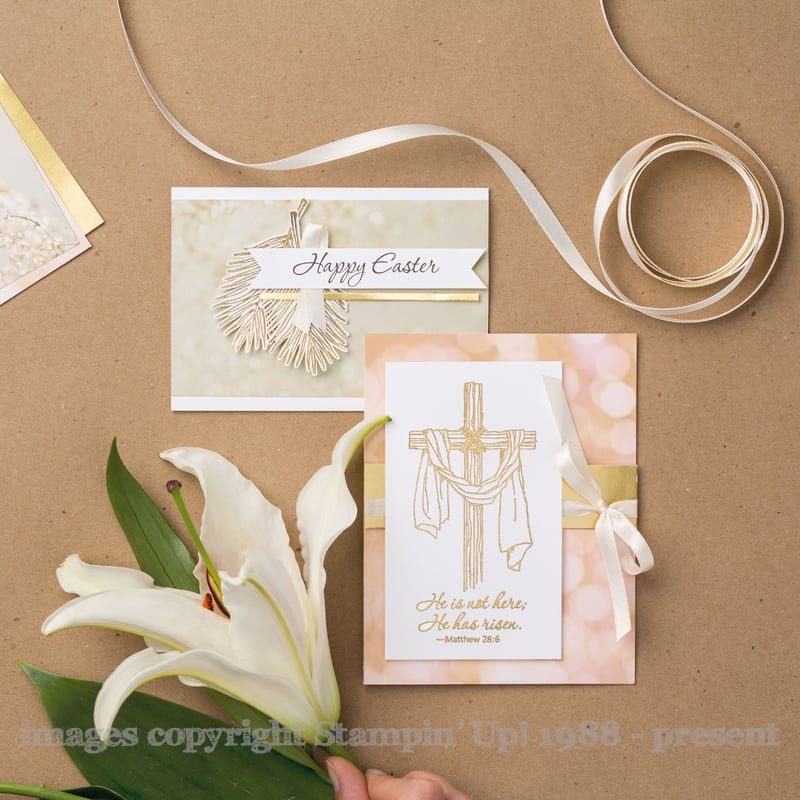
Wishing you a Happy Easter! Sharing some samples from Stampin’ Up!’s Easter Message stamp set – available in clear mount or wood mount. If you like these images, grab them while you can! This set is retiring so will be available until the end of May; stamp sets are guaranteed until May 21st, after which they will be as supplies last. You can shop online, or contact me if you have any questions or need assistance placing your order.