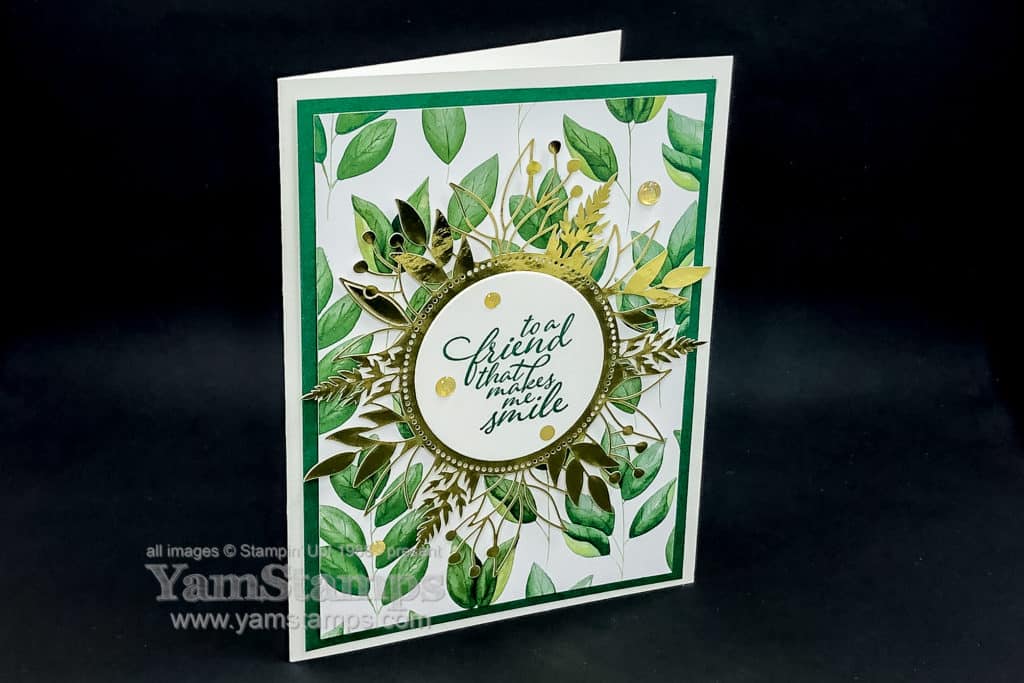
Stampin’ Up! Product Suites typically include a bundle (stamp set and a punch or die set that coordinates), Designer Series Paper, embellishments and often another coordinating tool. From the Forever Greenery Suite, I chose to use the Forever Fern stamp set (it also comes in a discounted bundle with the Forever Flourishing Dies), the Forever Greenery Designer Series Paper, and the Forever Gold Laser Cut Specialty Paper. By purchasing the suite, it’s like the “Easy” button for the products – you don’t have to enter each item’s code one by one – you get all the coordinating products with one easy item code. It’s a nice option if you know you love everything in the suite anyway!
For this Greenery Greeting Card, I added a die cut circle of Whisper White Cardstock, stamped the sentiment in Shaded Spruce (which is one of the colours used in the Designer Series Papers) and then added a few Gold Glitter Enamel Dots – the one item that is not part of the suite, but coordinates nicely with the gold theme.
Super easy! Honestly, I think the most time consuming part was being sure to be careful when removing the gold laser cut element from the sheet! This greenery greeting card probably took me about 5 minutes max. Perfect for a Manic Monday!! Pick the elements from the suite, pick the colour to coordinate and you’re off to the races.
The YamStamps Newsletter is going out tomorrow and will feature a card tutorial that also features leaves, but in a totally different colour scheme (and with a totally different stamp set than today). Be sure to be subscribed to get weekly paper crafting information and inspiration! In the meantime, I’m off to play with my new Stampin’ Cut & Emboss Machine! (Did you see the pic I shared on the YamStamps Facebook Page?) Demonstrators get to order the machine right now – before actual sales open up in September. By then I’ll be all set to help you figure out how to use it when you get to place your order next month!
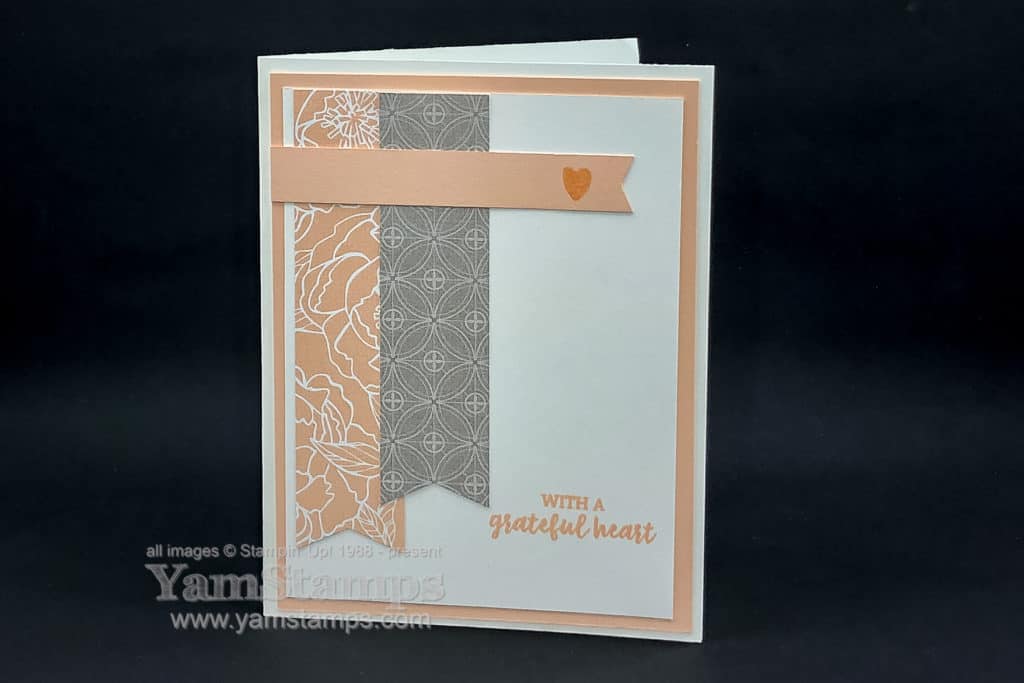
One of the things I love about being a Stampin’ Up! Demonstrator is the chance to get a head start on crafting with new products. Demonstrators were able to preorder from the August-December Mini Catalogue last month, so I’ve been able to create some projects to have ready to go this month. Here’s a pink and grey banners card with some new product – slightly different shade of pink than this pink & grey card that I made a little while back.
Stampin’ Up! has a number of punches that are designed to work with varying widths of cardstock. In all honesty, I can’t count on remembering what those widths are when I’m in the midst of creating something – so I’ve gotten into the habit of labelling those punches like in the photo below.
The Banners Pick a Punch will work on 0.5, 0.75 and 1 inch widths, so I labelled the top of the punch with those measurements. Makes my crafting quicker and easier! (Plus it makes me look organized…which is not always the case in reality haha). For the pink and grey banners card, I used a 0.5″ wide strip of Petal Pink Cardstock and 1″ wide strips of Designer Series Paper.
Have you checked out the new Stampin’ Up! site and store lately? The shortcut to shop online with me in Canada is still yamstamps.com/shop – and exciting – the new store supports online shopping if you’re living in Quebec!! If you’re a returning customer, you’ll have to enter your password the first time you go shopping, since your browser will not recognize the site since it’s been overhauled. If you can’t remember your password, you can always hit the password reset button (and then be sure to check your spam folder just in case – so you don’t miss the email!). If you have any questions or need assistance placing an order, you can always contact me.
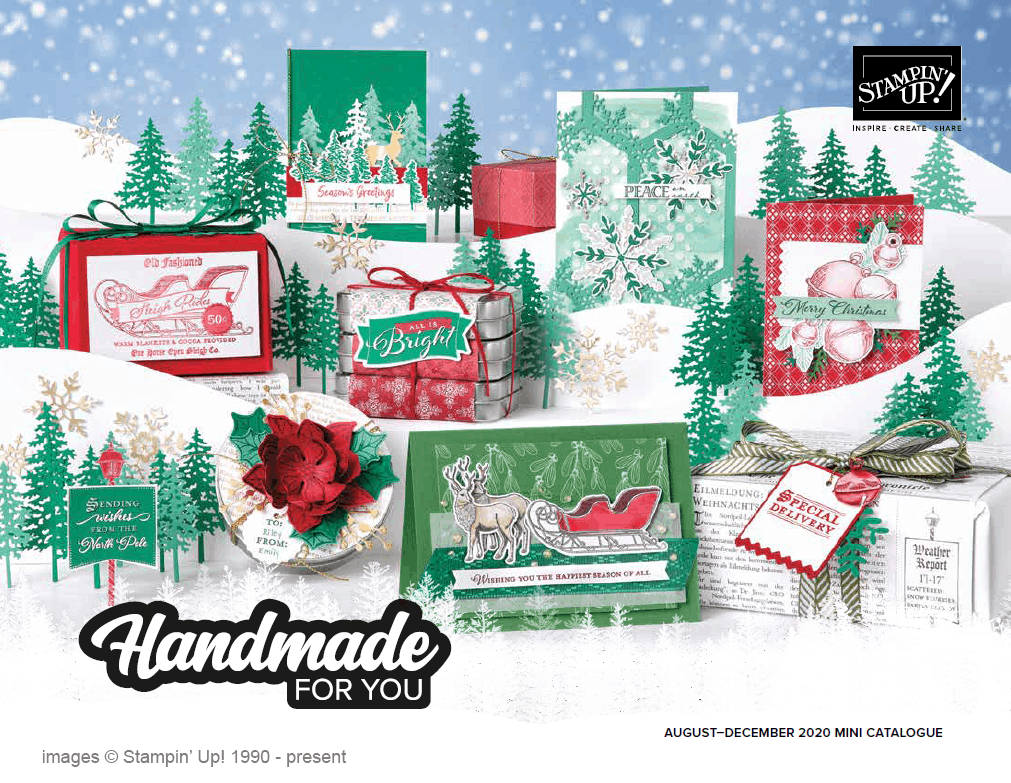
Today is the first day that the August- December 2020 Mini Catalogue is live! Or as I call it “The Catalogue Previously Known as the Holiday Catalogue”. Whatever you call it, you can order from it starting today!
You may also notice that the Stampin’ Up! site (and my YamStamps Online Stampin’ Up! Canada Store) look slightly different. The site’s been updated – so first things first – you’ll have to manually enter your username and password at least on your first visit. Your browser will think it’s a different site so won’t automatically plug in your password if that’s how you usually access it. If not – you can always use the password reset link (and then check your email spam folder in case it gets sent there).
Since the store got changed over, a lot of the links to products are not working as they used to – so I’m in the process of going through and fixing them up as I can – you can imagine what kind of a job that is LOL!! Thank you for your patience in the meantime!
Enjoy the catalogue, and don’t forget to spend those Bonus Days coupon codes – you have until August 31st to do so! As always, please contact me if you have any questions or need assistance placing an order.
Much like last week’s papercrafting representation of my weekend – here’s this week’s version of how I spent my Saturday.
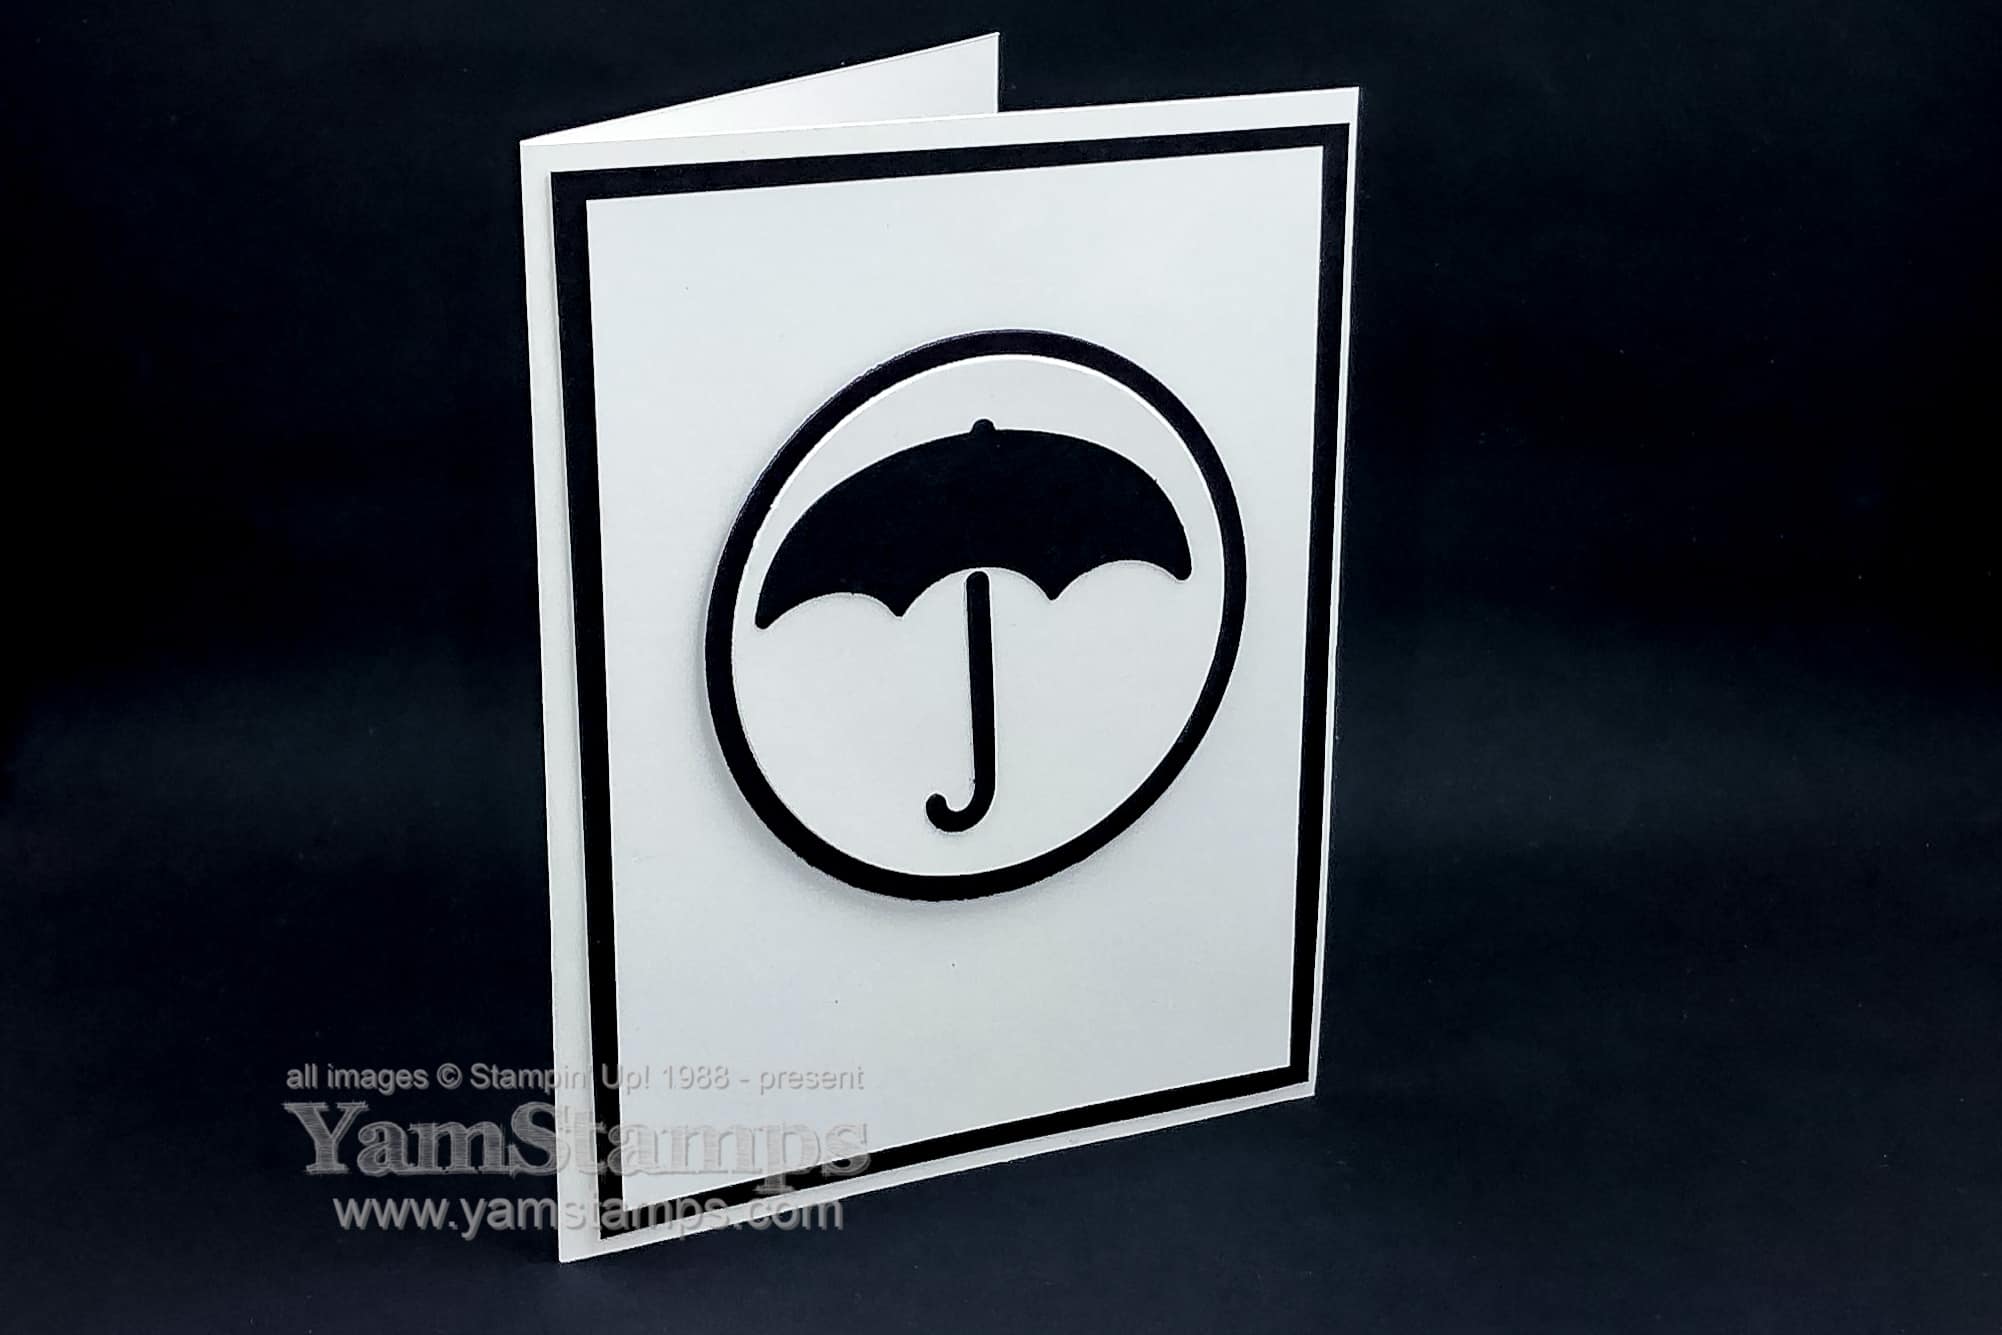
f you recognize this logo, you’ll probably have spent a few hours like me binge watching the second season of the Umbrella Academy on Netflix. In all honesty, I watched the first season initially because I was looking for local landmarks since it was filmed next door in Hamilton, Ontario (well, also Toronto). I did recognize a number of locations that they used for filming, which is fun. I got hooked on the storyline (though I did close my eyes for some of the gorier portions, something I learned to do a long time ago LOL). After spending a number of hours burning through the episodes, I was feeling a bit guilty for neglecting some other tasks (just a bit, though – it is a holiday weekend, after all), so I whipped up this super fast card to share on the blog. Really easy with Stampin’ Up!’s Umbrella Builder Punch and Layering Circles Dies, and since the logo is black and white themed, the colour choices were also really easy LOL.
Just a heads up – you may want to spend a moment or two this weekend to check that you actually know your Stampin’ Up! site password if you shop online. On Tuesday, Stampin’ Up! is rolling out a new website/platform, so your browser will likely not recognize the site as one you’ve visited before, and won’t automatically fill in your username/password (if you use your browser settings for that). So make sure you know your password because you will probably have to enter it yourself (at least the first time! Fingers crossed for a smooth transition. The August-December Mini Catalogue will also be live on Tuesday, so lots of excitement happening that day!
If you are a fan or know a fan of the Umbrella Academy, leave me a comment and I’ll randomly pick someone and send this card to them! (This way I can also test if comments are working on my site…) When I send out thank you cards in my business, I use post-it notes for my notes inside the card – that way, the recipient can remove the post-it and mail it to someone else!
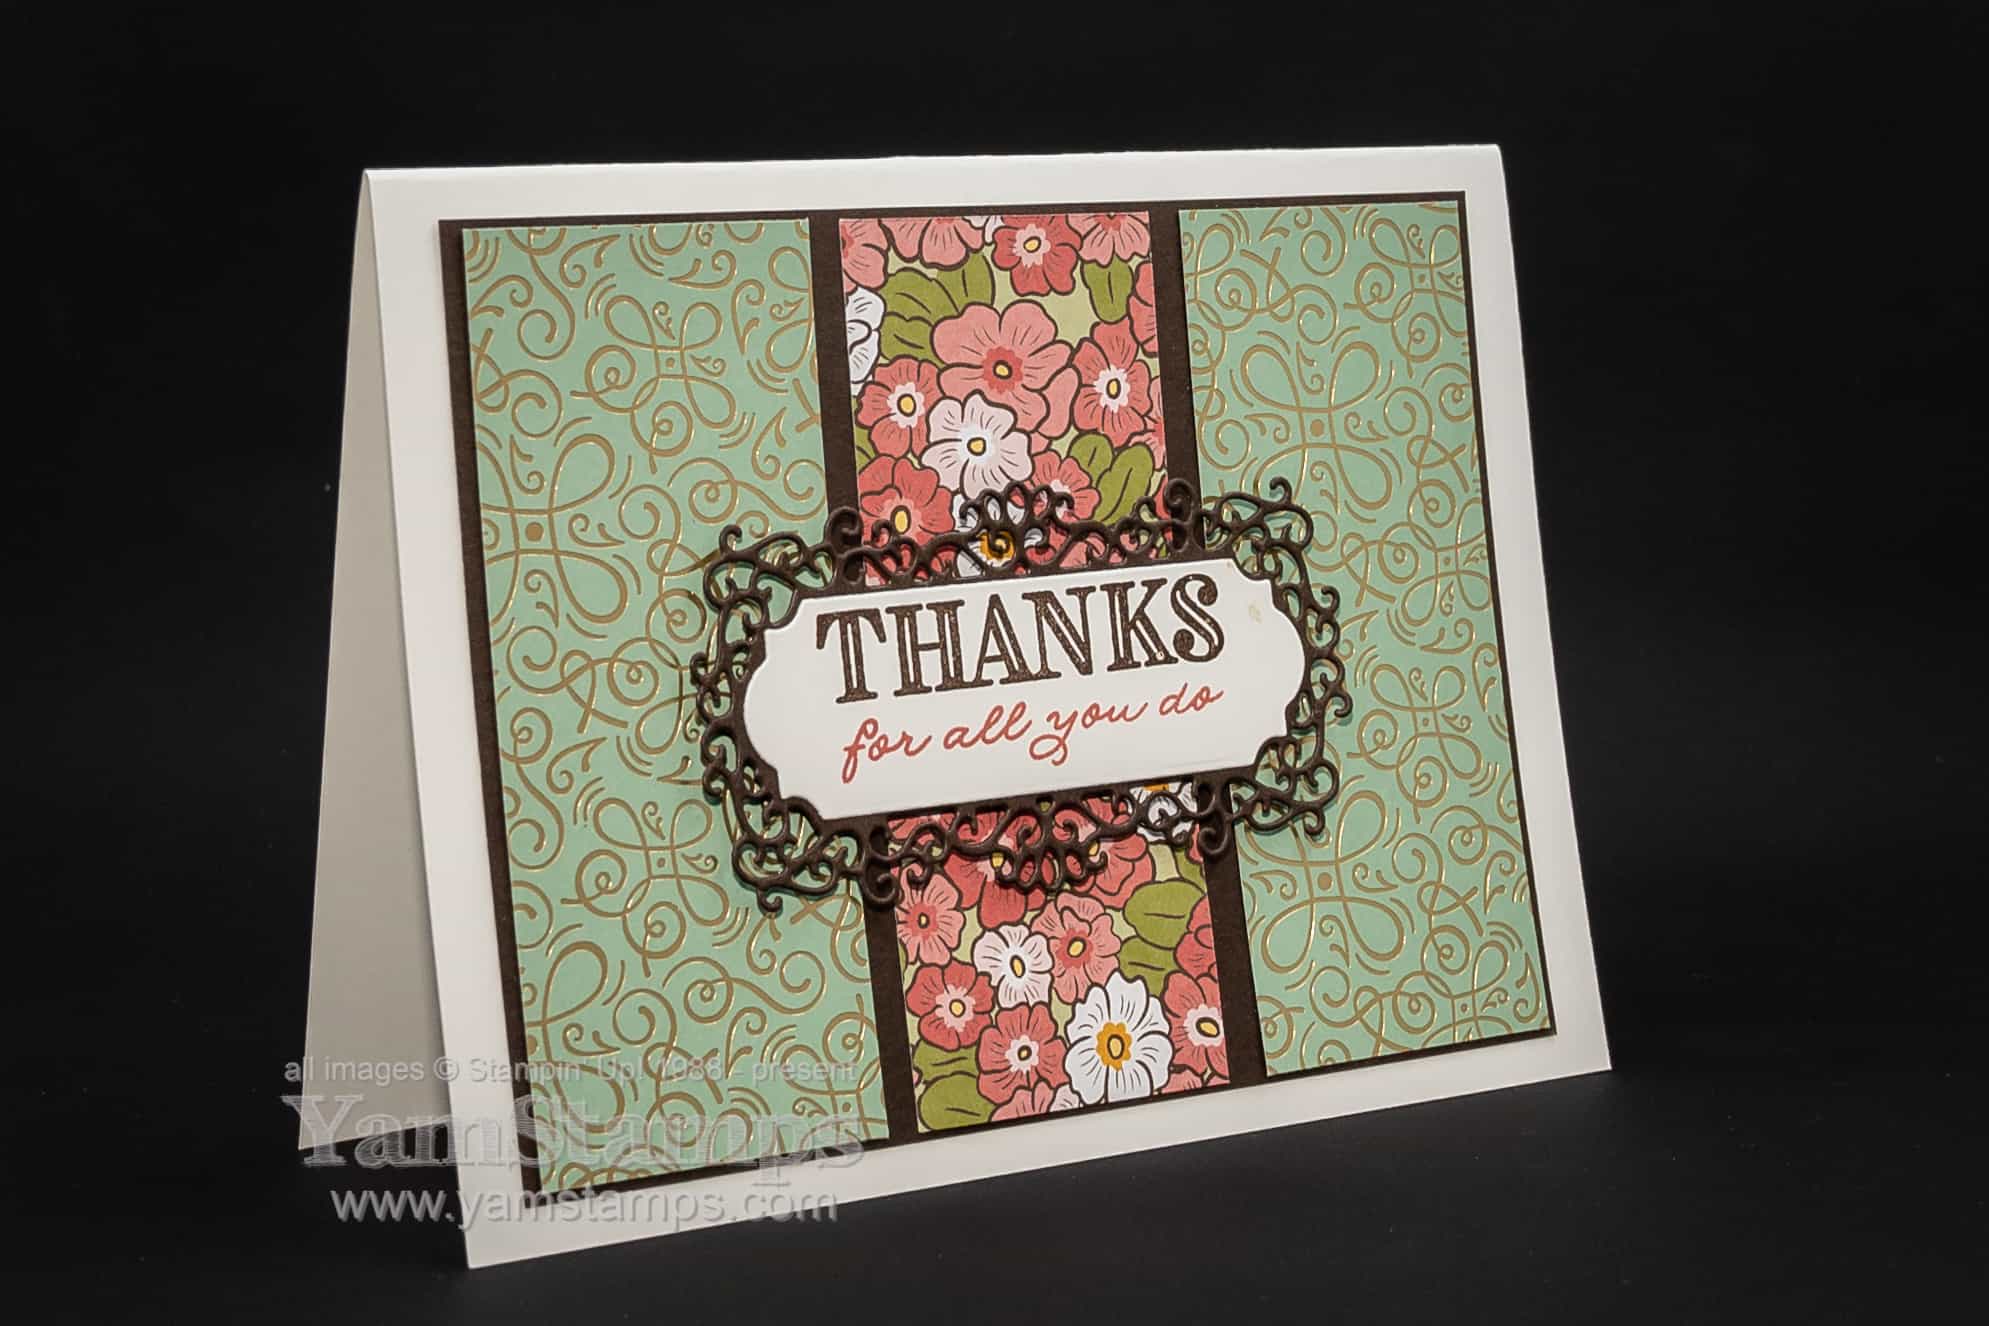
My favourite kind of paper crafting is easy but impressive, so when I say this is an ornate thanks card, it’s because it uses the Ornate Thanks stamp set…and theOrnate Layers dies!
The layout for this card is fairly straightforward – three pieces of the Ornate Garden Specialty Designer Series Paper [DSP] onto a backing piece of Early Espresso cardstock. The centre piece of DSP is the flip side of the other pattern (the papers have double sided designs) – so no thinking involved LOL. The ornate frame is die cut from Early Espresso Cardstock and the sentiment from Ornate Thanks is stamped onto the Very Vanilla label in Early Espresso and Terracotta Tile. I selected the ink and backing cardstock colours by checking out what colours were featured in the DSP so they would match. Stampin’ Up! does a really nice job of having coordinating colour products that make my paper crafting a little easier.
When you order these dies, I would also recommend investing in the Brush Tip for the Take Your Pick tool as it makes it easier to get all the little bits out of the detailed die cuts, so you’ll be able to make your own Ornate Thanks Card even more quickly. After you run the die through your die cutting machine, place the die and or the die cut (sometimes the detailed ones need a bit of coaxing to release) on the foam mat that comes with the Brush Tip, and then run the Brush Tip over to release the die cut and bits.
If you are looking for other crafting ideas and inspiration, the YamStamps Newsletter goes out every Tuesday with information, and tutorials that aren’t featured anywhere else in the YamStamps world. You can sign up for the newsletter here to keep in touch. The multi-project monthly newsletter will be out on August 4th showcasing some August-December Mini Catalogue products so be sure to get on the list before then! In the meantime, happy crafting!
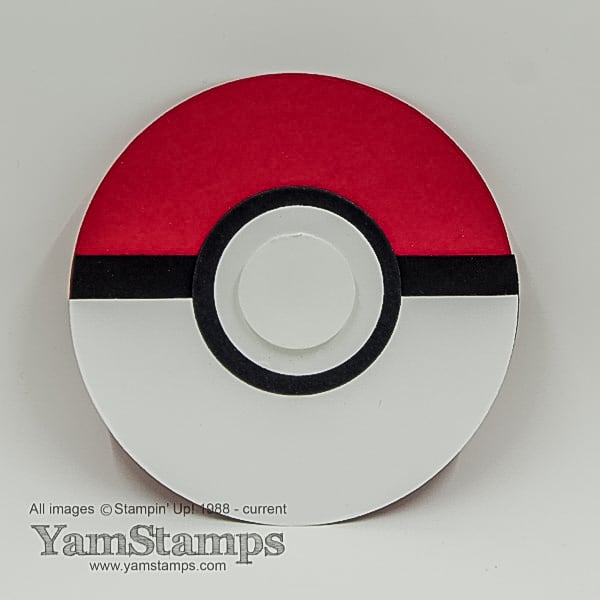
While these are crazy and new Pandemic times that we are living through, there are some positives to be found. I’ve actually enjoyed spending lots of family time over the last few months, with members of the family under the same roof for a while. One thing that my university aged son and I have done recently is played Pokemon Go. He loved Pokemon when he was younger and we spent a lot of time getting Pokemon cards and watching the show and movies. A few years ago when Pokemon Go came out, we played it on our phones, and recently have renewed our interest in playing the game for fun. I thought I’d pull out this older Pokemon Punch Art piece that I did a number of years ago.
All you need are a number of circle dies (like Stampin’ Up!’s Layering Circles Dies) or punches, Whisper White, Basic Black and Real Red Cardstock and you’re good to go! Cut 3 large circles (same size) of each of the colours for the body of the ball, cutting the white one just less than half way and the black one just more. Cut 3 progressively smaller circles in black and white and adhere everything together – it’s a Pokeball!
This project is from four years ago – but it’s amazing how this Pokemon craze lives on and is constantly being rediscovered by kids (of all ages) all the time.
For me this weekend, I’m getting August-December Mini Catalogues into envelopes for mailing [fill out this form if you don’t have a Stampin’ Up! Canada Demonstrator and need a copy!], working on some designs for the Holidays (yes, it’s true) and running outside every once in a while with my son to catch Pokemon during the Pokemon Go Fest. So if you’re passing through my neighbourhood and see me out and about staring at my phone instead of enjoying the scenery, you’ll know why.
Don’t forget that until August 3rd you’ll earn a $6 coupon code when you place an order for $60 (before shipping/taxes). You’ll be able to use the coupon August 4-31 – so you can grab some new products from the August-December Mini Catalogue! In the meantime, when you need a break from the sun – why not create some Pokemon Punch Art? Great gift tags or fun cards for the Pokemon fan in your life. Happy crafting!