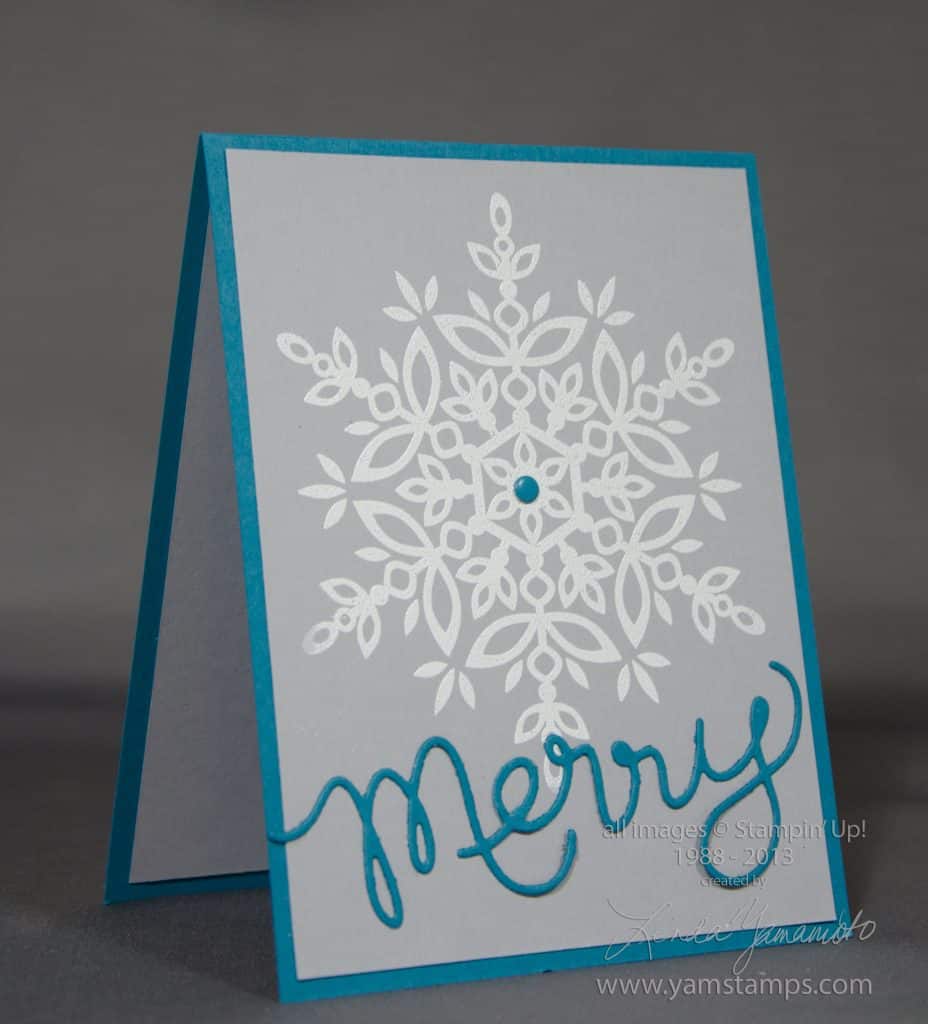
 Never too early to start prepping those holiday cards. We created this card during Stampers Club this month. The large snowflake from Stampin’ Up!’s Festive Flurry set is heat embossed in white on Smoky Slate cardstock (love this new colour), and the Expressions Thinlit “Merry” adds the sentiment. An Island Indigo Candy Dot ties it together. I really like this card, but I have to admit that initially during Club it was driving me crazy…until I figured out a hint – and I’ll share it here.
Expressions Thinlits Hints
1) Use the Magnetic Platform. I looooooove this tool. You don’t need to have brand new, pristine cutting plates, but you do need to have ones that are fairly straight – not warped, in order for the magnet to be able to hold the metal framelit or thinlit in place.
2) Use a layer (or two) of waxed paper between your cardstock and thinlit if you’re having trouble getting the cardstock to “release”.
3) Use your paper piercer tool to poke gently through the little holes in the thinlit to push your diecut out if you’re having trouble getting the cardstock to “release”
4) Use an extra piece of cardstock on top of the cutting plate as a “shim” to add extra pressure along the thinlit
5) Run the thinlit through lengthwise rather than widthwise!!! This is the hint we discovered at Club night. If you run the word through horizontally, you may have uneven pressure across the thinlit. In my case, the centre of the thinlit wasn’t cutting as cleanly as the edges. It may be that my cutting plates were slightly warped or perhaps because my Big Shot has been used and abused since I got it…LOL. Anyway, check out the photo below for the visual as to the set up (the top cutting plate is missing in the photo just so you can see it better). Obviously with some of the longer words (i.e. “thankful”) it’s a given, but with the word “merry” or “love”…not so much!
If you have any tips or tricks you’d like to share about using the thinlits or Big Shot, please leave a comment below, or on my facebook page so we can all learn!


