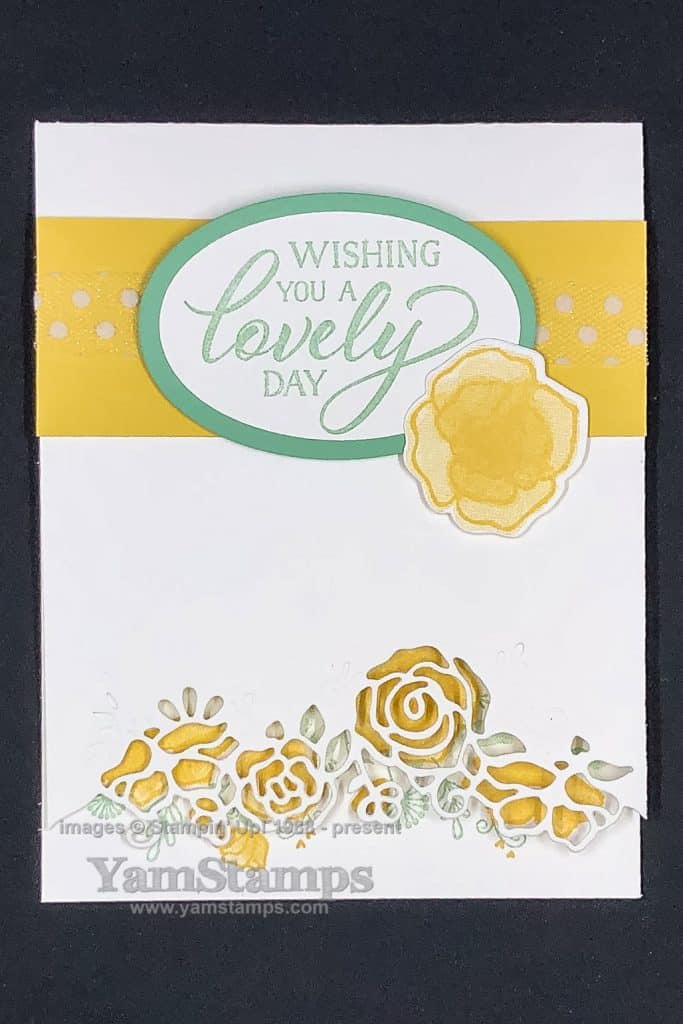
I love coordinating crafting products, and Stampin’ Up! has a whole bunch of them. I used some to create this die cut edge card which is made easier by using a Stamparatus!

I actually found it a bit tricky to take a photo of this card as I had to have it lying flat so that you could see the alignment of the image and the edge! Hope you get the idea.
Anyway – this card features the Forever Lovely bundle from the Occasions Catalogue. The discounted bundle includes the Forever Lovely photopolymer (clear) stamp set and the Lovely Flowers Edgelits Dies.
I love how the flower framelit coordinates with the flower stamp, but the accent stamp is left to peek out.
I am planning on doing a Facebook Live to show how I created this die cut edge card, but essentially I used the Stamparatus and the Stamparatus grid sheets. I figured out where the image would end up on the inside edge of the card by marking where the edge of my cardstock was on a grid sheet, and then stamping onto the GRID sheet rather than the cardstock to create a reference guide. I left this grid sheet in the Stamparatus so I knew where to place the cardstock (especially because I chose not to place the cardstock in the corner of the Stamparatus). I stamped a second grid sheet the same way, marking the edge of the cardstock, but then I also placed the framelit over the stamped image in the correct alignment and marked the edges of the framelit. The framelit extends JUST beyond where the side edges of the cardstock are.
Once I stamped the back inside edge of the card, I then prepped to die cut the front edge of the card. You’ll want the Magnetic Platform for the Big Shot to make it even easier. Once the Cutting Plate was on the Platform, I placed the second grid sheet on it, then aligned the front edge of the cardstock with the marks on it. I then placed the framelit onto the cardstock, lining up the edges of the framelit with the marks on the grid sheet. You can use a bit of washi tape or adhesive tape to hold the framelit in place securely, then remove the grid sheet so you can use it again (otherwise it would be cut and all your reference marks would be gone!). Place the top Plastic Cutting Plate in place, and die cut.
Seriously. Just be sure to “like” and “follow” the YamStamps Facebook Page so you’ll be notified of the Live video for this die cut edge card, because I’m starting to confuse myself. LOL.
In any case, I promise, once it was set up it was pretty straight forward…LOL.
If all goes according to plan, I’ll share the die cut edge card “how to” on Thursday. If you aren’t able to make it to the “live”, the recording will be available after the fact on the YamStamps Facebook page. If you have any questions in the meantime, feel free to contact me! Stampers Club Members made this card in February – why not join us starting in March and see what we get up to next month?! Check out the YamStamps Events Page for other upcoming dates!


