I am choosing to focus on stars and rainbows today (happy thoughts, happy thoughts)….because it’s Monday and because Facebook hates me LOL. If you follow the YamStamps Facebook Page and have visited it recently, you may notice that a lot of my recent project posts are GONE. This goes for the same in the Paper Crafting with YamStamps Facebook Group. Trust me, this wasn’t by my choice! Facebook decided that it didn’t like the Canadian Stampin’ Up! official site (you know, where the YamStamps Online Store is essentially housed) – so every single post that I had tagged with a product or anything that linked to the online store got taken down without any notice. If you heard a collective wail in the wind – it was all the affected Canadian Stampin’ Up! demonstrators. Painful.
So.
I am choosing to focus on positive things and things I can control as much as I can (stars and rainbows, stars and rainbows….LOL) – like most of the YamStamps Instagram is intact, and of course, best of all, the YamStamps Site and emails are not touched by the far reach of Facebook/Meta/whatever it’s called now.
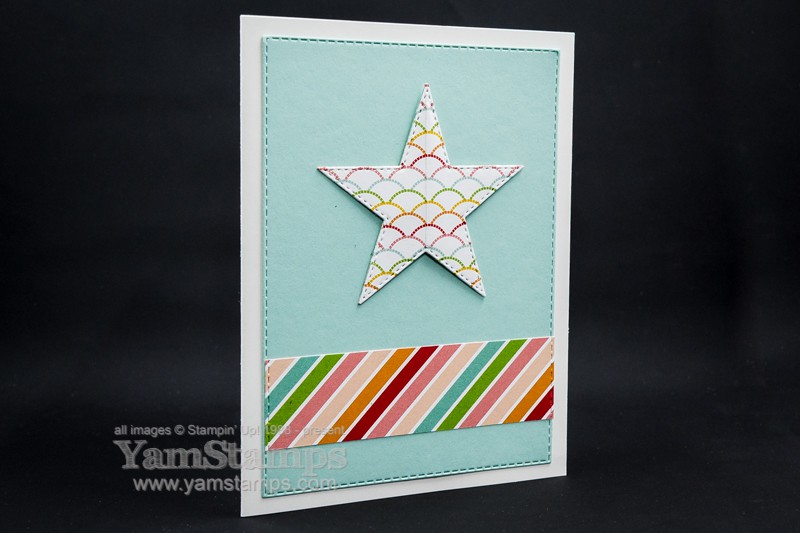
Stars and Rainbows card
Stars and Rainbows Card! So here’s a card that makes me happy. I love the Pattern Party Host Designer Series Paper – it’s got so many patterns – black and white or full of colour, depending on which side of the 12″ x 12″ sheet you choose! Obviously for this card, I chose the full of colour sides…
It’s often the little details on a project that make it stand out – so I coordinated the stitched effect on the Stitched Die Stars and the Stitched Rectangle die cut background – and please notice the stitched edges on the strip of Designer Series Paper along the bottom of the card! I cut the strips and then ran them through my Stampin’ Cut & Emboss Machine in the Stitched Rectangle die so that I could get that effect.
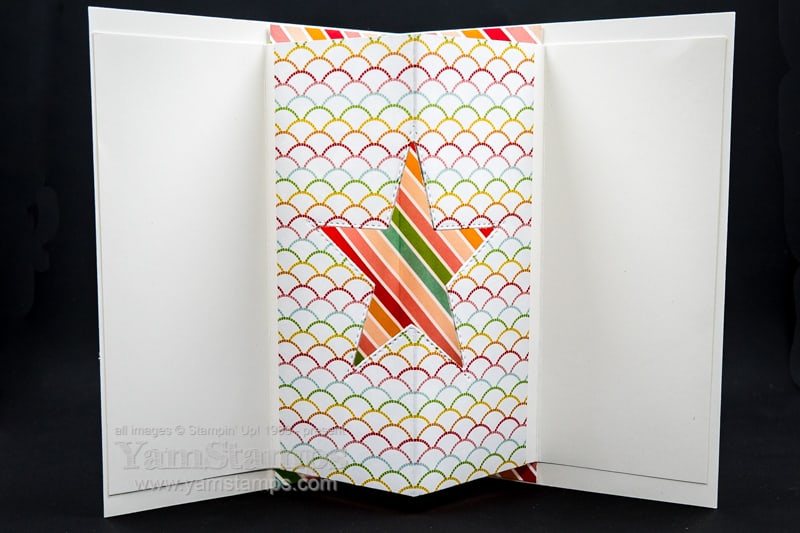
Stars and Rainbows interior
This was the fun detail from the inside of the card – I love the peek through effect. The die cut star ended up on the front of the card – so no waste on this project at all!
If you want to be sure not to miss a project that I share, be sure to come back and visit the YamStamps blog, and subscribe to the YamStamps newsletter – that way, you _know_ you’ll be seeing what I’m up to (and I will know too!). I will continue to use Facebook and Instagram too, but here’s hoping they don’t mess with my posts anymore!! Sending stars and rainbows in your direction in the meantime.
If you’re on my mailing list, you’ll have already received information about my next online class – Watercolour 101. It’s an online class showing you basic watercolour techniques and ways to incorporate it into your rubber stamping, cardmaking and paper crafting. Early Bird Pricing is on right now (save $5 off regular class price) until class opens Thursday 11 November 2021. Click here for the Class info/registration page or check out the video below.
Here’s some FAQs (and their answers)
Q: When does the class start? A: Early bird pricing is on now ($20CAD, save $5). The class site will open Thursday 11 November 2021.
Q: Is this an online class? A: Yes. Once you’ve paid and registered (through the links on the class info page), you’ll have access to the site (after 11 Nov 21) and can watch the class videos there.
Q: Is there a specific time for the class? A: No – this is a self paced, learn as you’re able type of class with prerecorded videos. The videos will be there for you to watch and re-watch as needed, whenever you have the chance – all you need is internet & a phone/tablet/computer!
Q: How long do I have to access this class? A: Lifetime access (or reasonable facsimile?!). Basically once you’ve paid, (and once the class officially launches) you’ll be able to access class materials (videos, written info) whenever you need to!
You do not need all of these supplies, and can probably make do with what you already have on hand (you may be surprised…). Some of these videos have been in the YamStamps vault for a little while, so you’ll notice that I use some retired stamps, and some of the tools have been replaced by updated versions (that work the same way!).
You’ll be able to take the techniques that you see in the Watercolour 101 class and apply them to your rubber stamping and cardmaking efforts. It’s a fun, artistic way to add some colour to your crafting! Please feel free to message me if you have any questions, otherwise I hope to “see” you in class!
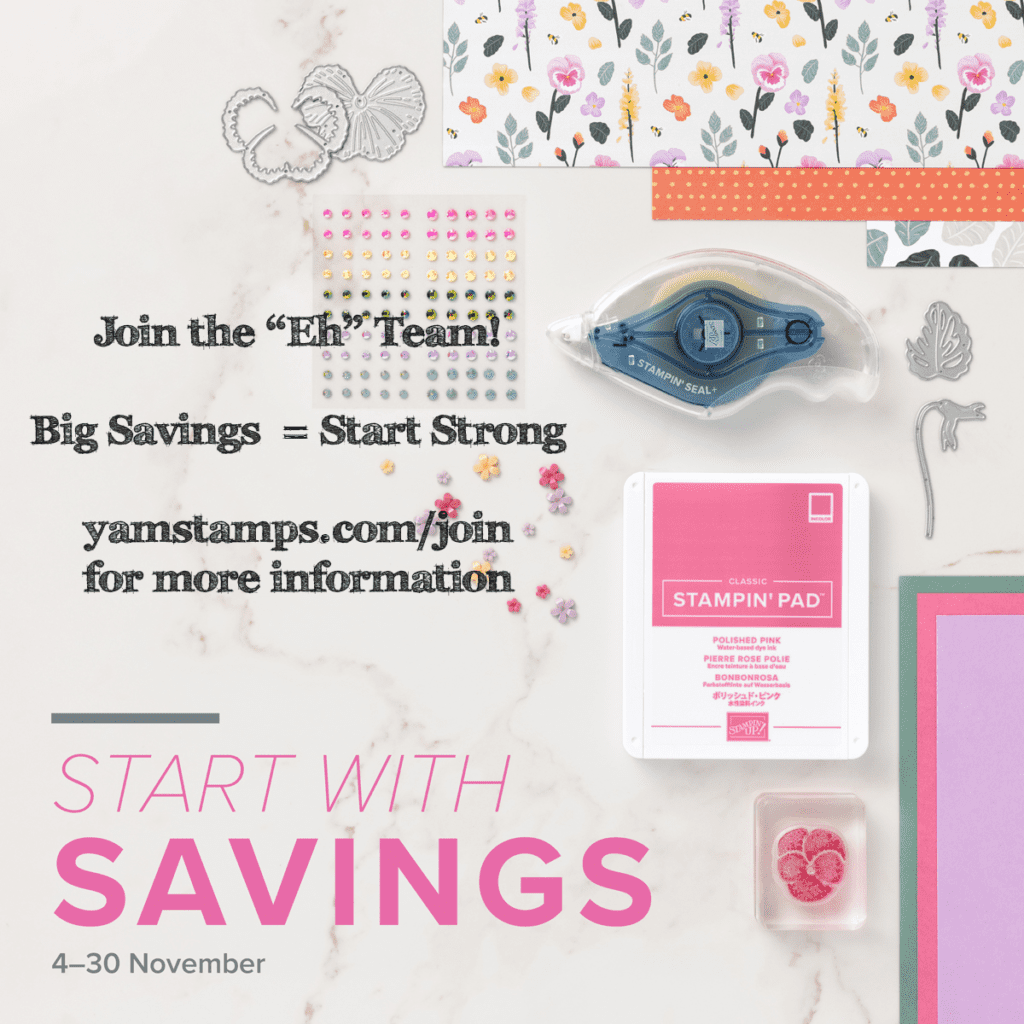
Starting today, until the end of the month, Stampin’ Up! Canada’s Demonstrator Starter Kit is on special! As always, you’ll select $165 worth of Stampin’ Up! crafting products of your choice and will receive enough business supplies so that you can start your business right away – but for the rest of this month, you’ll pay only $100CAD. That’s a saving of $35 off the regular starter kit price (which was already a bargain!).
You can get more information at yamstamps.com/join or message me. I’m hosting an Online Information Evening on Thursday 14 November at 7pm Eastern – RSVP and I’ll send you the Zoom link. You can hear about what it means to be a Stampin’ Up! Demonstrator with my group, The “Eh” Team, and get your questions answered. If you can’t make it that evening, I’m happy to set up a chat with you at a mutually convenient time.
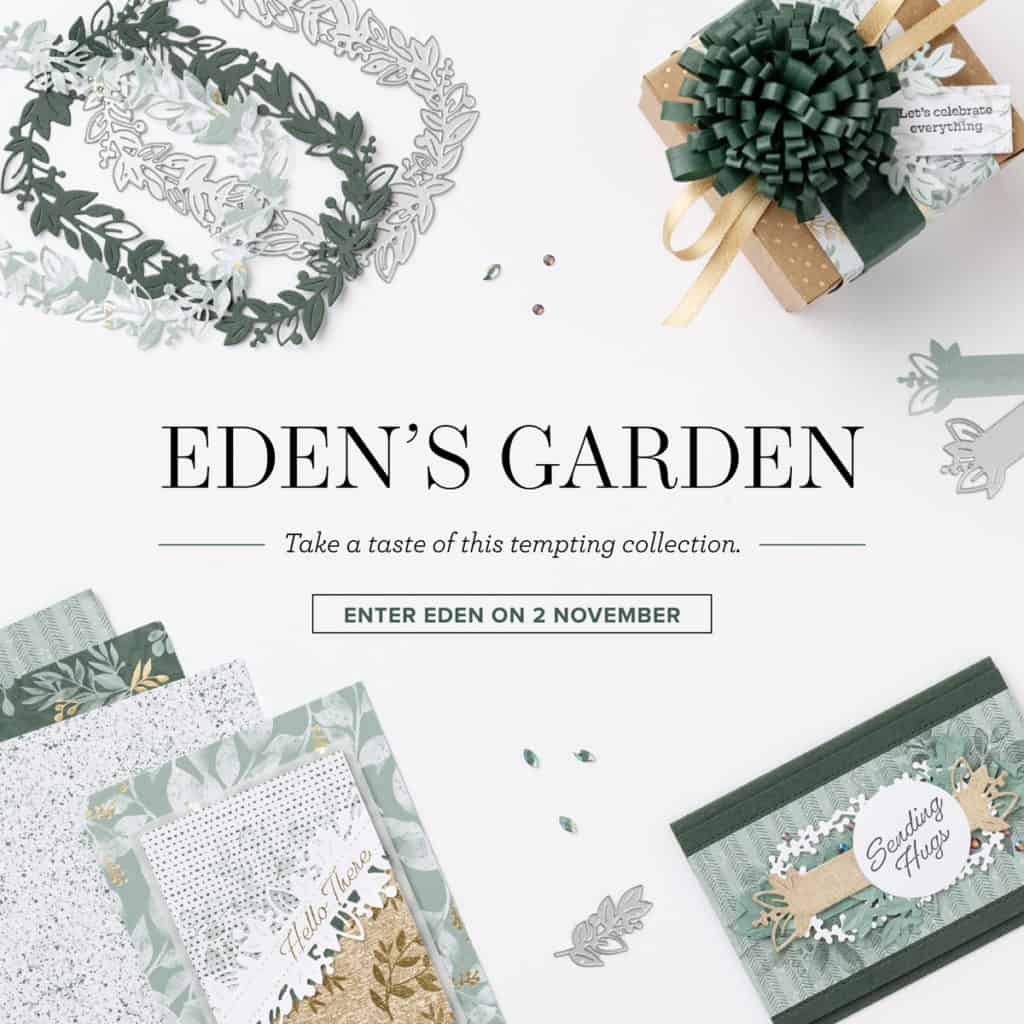
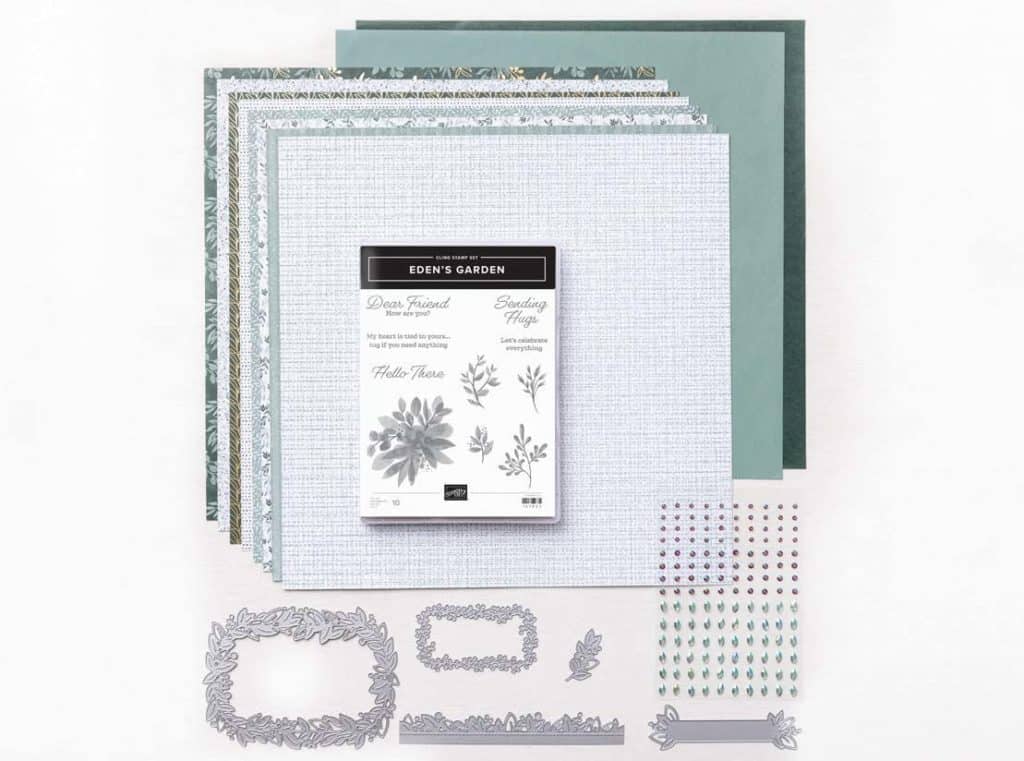
Stampin’ Up! has a new collection available starting tomorrow! A few items are previews – they’ll be available in the January-June Mini Catalogue, and a few are exclusive to this order period only.
The Eden’s Garden stamp set and Eden Dies and the discounted bundle that includes both are early releases from the January-June 2022 Mini Catalogue. Exclusive to the promotion period are the Ever Eden Specialty Designer Series Paper, the Ever Eden Cotton Paper (both of these are 12″ x 12″) and the Garden Gems, which are adhesive backed round and marquise shaped gems.
You’ll be able to grab these items starting tomorrow, 2 November 2021 until 3 January 2022. Please note that the exclusive promotion items (the papers and the gems) will be available only while supplies last. You can shop online 24/7 in the YamStamps Stampin’ Up! Canada Store by going to the shortcut https://yamstamps.com/shop (or clicking on the link). You can message me if you’d like assistance placing your order or would like to pay by etransfer.
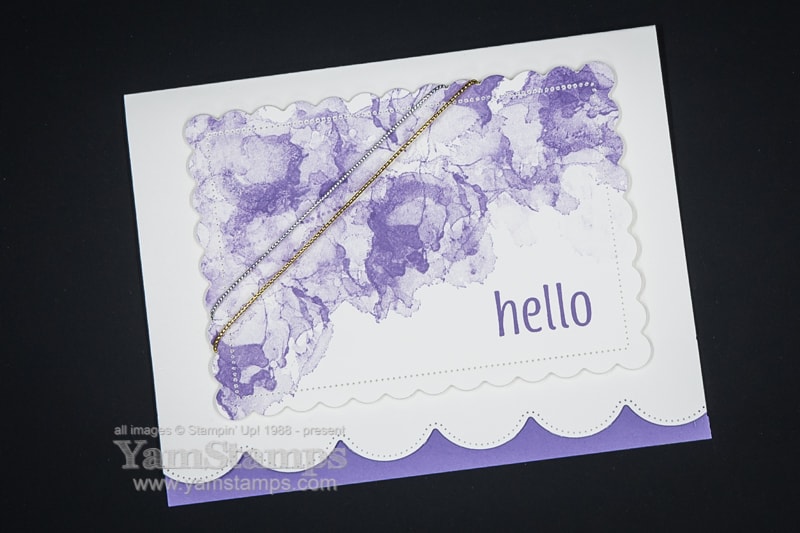
This is a purple hello card that I made recently and have been working on sending out in the mail! Honestly, the most difficult part for me is the getting the envelope delivered to the mailbox…so in the meantime, here’s the card.
Purple Hello Card
I coordinated a scalloped edge on the cardfront with the scalloped rectangle for the main sentiment/image area, and added a Highland Heather strip of cardstock along in the inside of the card to show off the detail. I love this abstract stamp! It’s from the Artistically Inked Stamp Set.
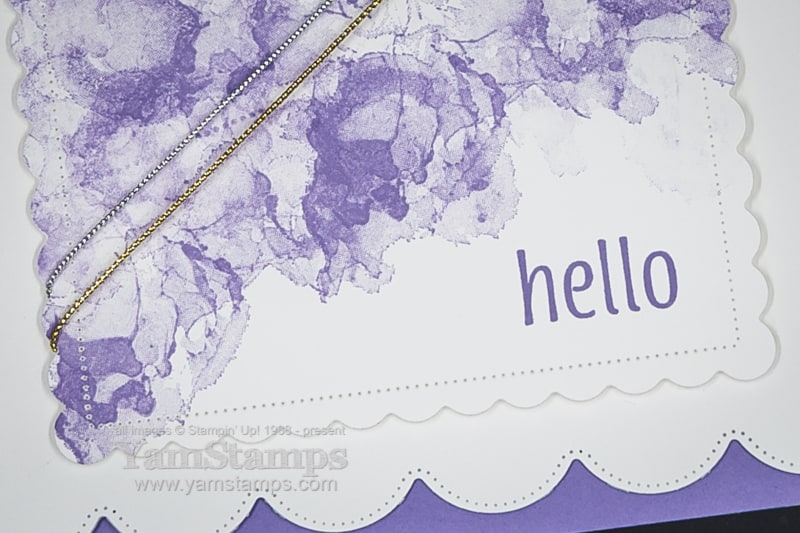
closeup – can you see what I see?
I stamped the abstract swirl numerous times on the diagonal across my die cut piece. Posting this closeup I discovered something – can you see what I see? I stamped the swirl and then would restamp to get different depths of ink and colour coverage…. Now that I post it – I can see the line of dots from where I had stamped over the stitched die cut area, and then restamped – so there was more ink left on the stamp in the area of the stitched marks that transferred to the next image! Ah well. I don’t think it’s the end of the world…and as I always say – if the recipient critiques a handmade card, they don’t deserve it!!
(by the way, if you received this particular purple hello card – sorry, oops, and consider it a unique little mark of the maker).
I mass produced a number of these for my Demonstrator Team reward recipients and recent customers. After I die cut the scalloped rectangles, I kept one outline of the rectangle (with the scalloped rectangle hole in it) and put that into my Stamparatus. I used it as a guide for placing the scalloped rectangles and lining up the “hello” stamp on the stamping plate. I only had to fuss over the alignment and placement at the beginning, and after that, I could watch Netflix and stamp cards at the same time!! Simply put a scalloped rectangle into the hole of my template, ink up the stamp on the plate and close the Stamparatus. Remove and repeat!
Hopefully that mass production tip helps you with your holiday cards…since today marks 2 months until Christmas!!! This week’s Twelve Weeks of Christmas email will be the last card project – we move on to giftables/packaging next – you can still catch the remaining weeks if you subscribe to the YamStamps newsletter today!